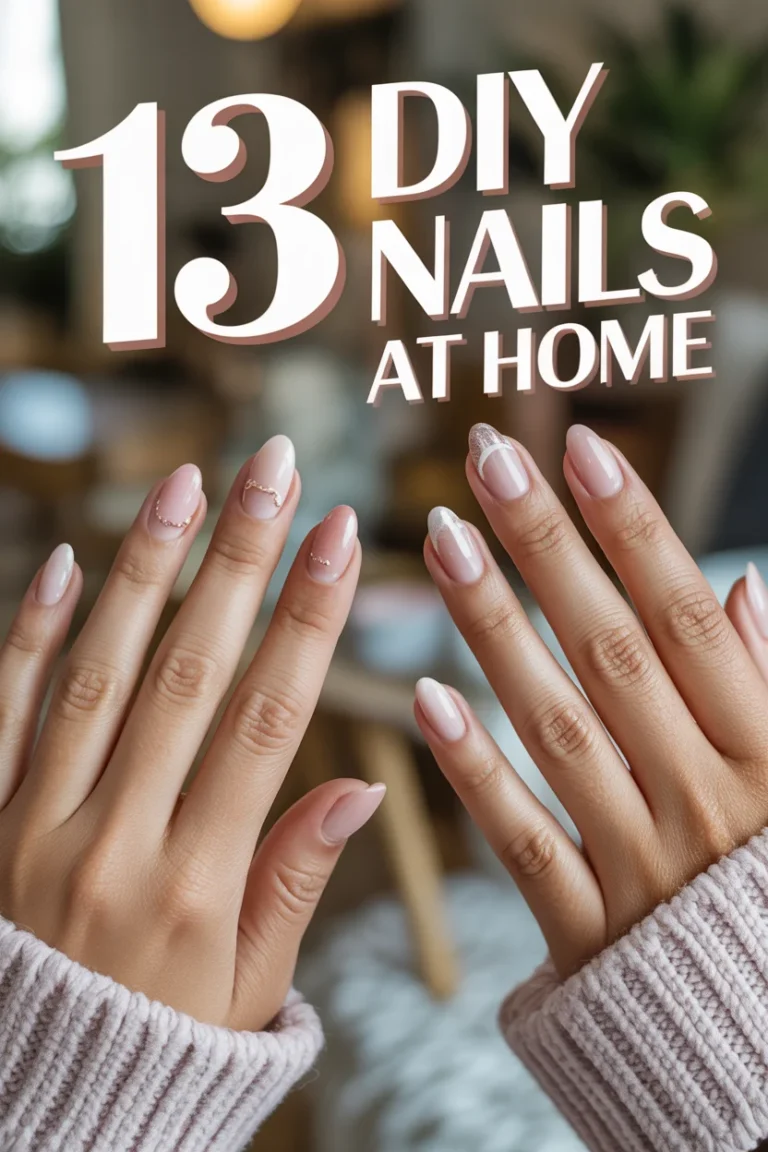
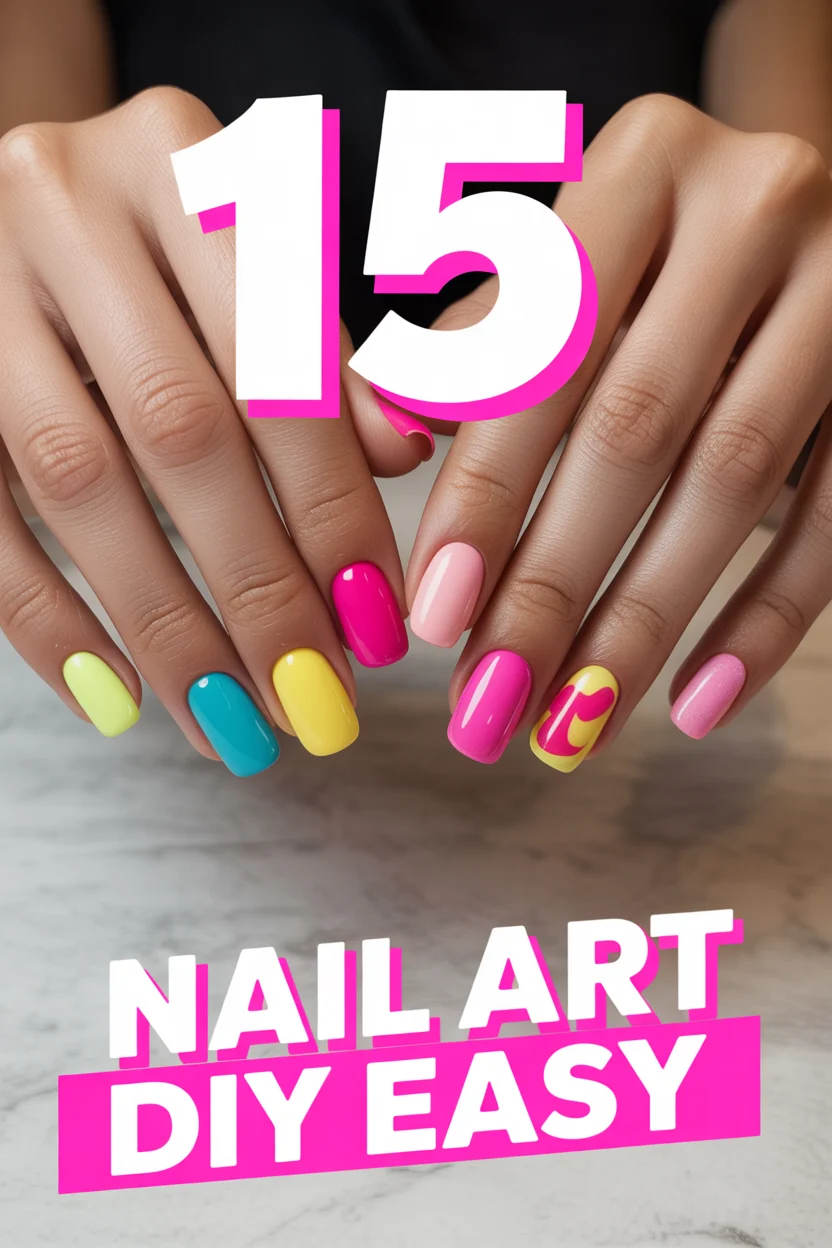
✨ 15 Nail Art DIY Easy
🛠️ The Ultimate Maker's Toolkit
I've tested thousands of craft tools over the years. Whether you are quilting, crafting, or building mixed-media art, these are the top 5 absolute non-negotiable tools I personally recommend to guarantee professional results.
🪡 SINGER Heavy Duty 4452 Sewing Machine
The sewing community highly recommends this as the ultimate "bulletproof" entry-level machine. Its heavy metal frame powerfully pushes through thick denim and heavy quilt layers that would instantly jam a standard plastic machine.
✂️ Fiskars 8" Orange-Handled Scissors
Never settle for dull dollar-store blades. Wirecutter repeatedly names Fiskars the absolute best all-purpose craft scissor due to its legendary precision-ground blades and an ergonomic grip that prevents hand-cramping.
🔥 Gorilla Dual Temp Hot Glue Gun
Named Wirecutter's top choice because it literally does the work of two tools. It features dual-temperature settings offering low heat for delicate florals and blistering high heat for heavy wood adhesion repairs.
🖌️ Mod Podge Waterbase Gloss Sealer
The absolute undisputed champion of decoupage and paper crafts. Experts rely exclusively on this exact water-based formula because it glues, seals, and finishes beautifully without yellowing or flaking over time.
🎨 Apple Barrel Acrylic Paint (2 oz)
The quintessential, incredibly inexpensive craft paint. Woodworkers and hobby painters swear by its smooth flow and matte finish, providing massive value and remarkably thick color coverage on rough surfaces.
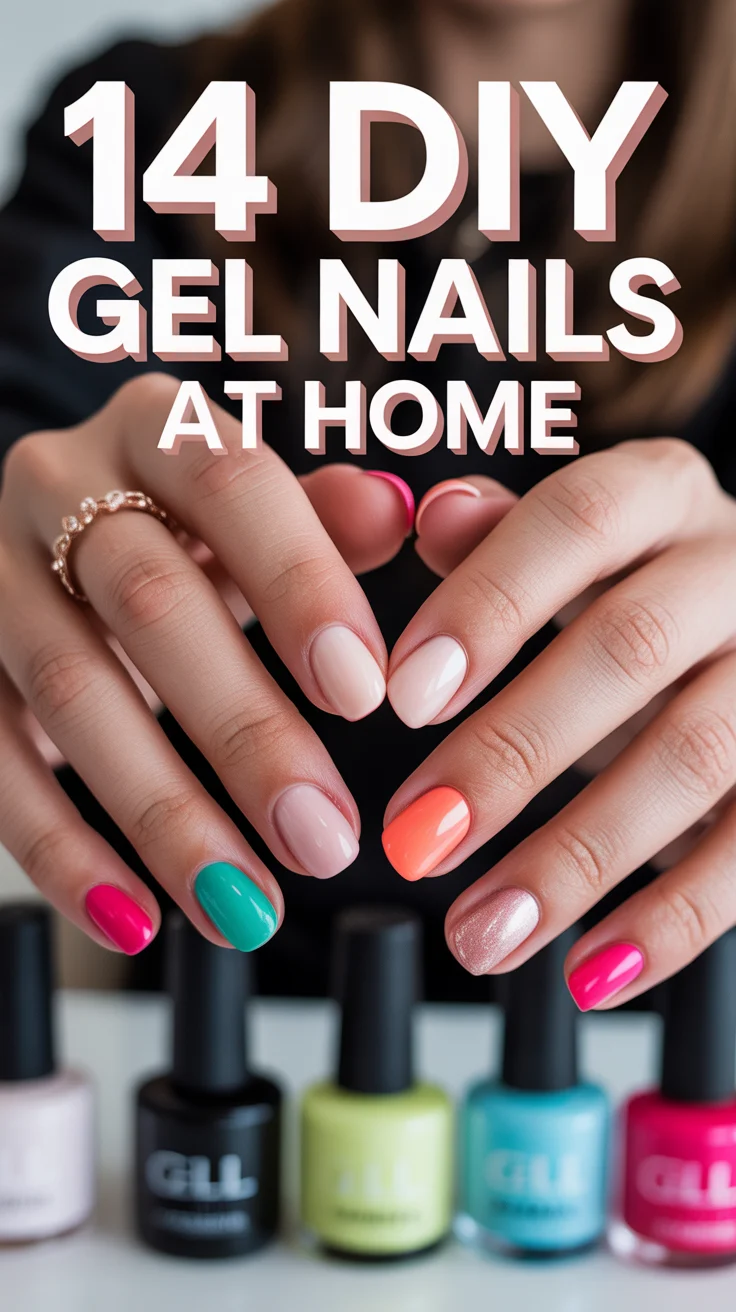
Okay, real talk. Who hasn’t scrolled through Insta, seen those insane nail art designs, and thought, ‘Yeah, right, I’ll just stick to a single color, thanks.’ Well, guess what, buttercup? We’re about to change that narrative. You don’t need the steady hand of a surgeon or a degree in fine art to rock some seriously cool digits. We’re talking zero fuss, maximum slay.
Forget those intimidating tutorials. These Nail Art DIY Easy hacks are so simple, you’ll wonder why you ever hesitated. Grab your polishes, maybe a toothpick, and let’s get those nails looking salon-fresh without leaving your couch.
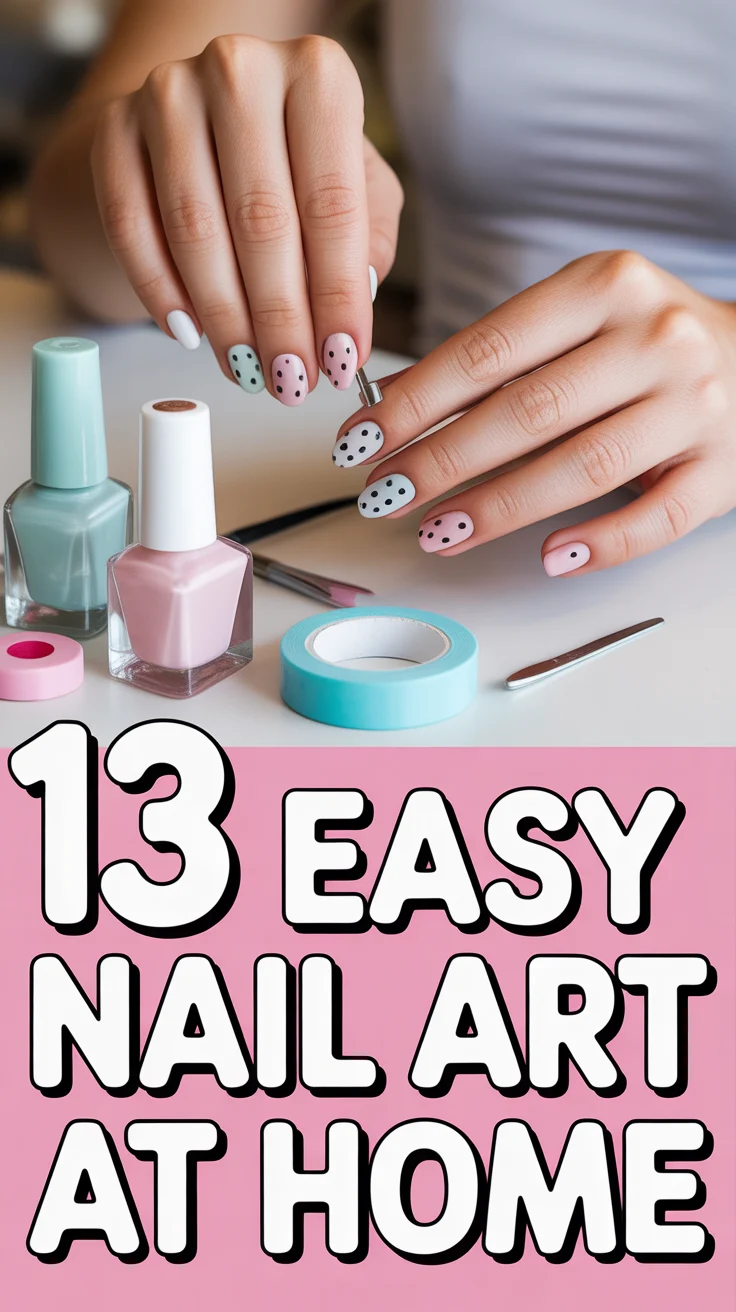
1. Simple Dots
Who knew geometry could be so chic? Grab a bobby pin or a toothpick, dip it in a contrasting polish, and dot away. Think polka dots, a line down the middle, or tiny clusters for an instant upgrade.
Pro tip: Don’t overload your tool; a little goes a long way for crisp dots that won’t bleed. This trick gives you an instant cute factor with zero effort.
2. Sponge Ombre
Gradient nails without the salon price tag? Yes, please. Paint a base color. On a makeup sponge, paint two or three complementary polish stripes. Dab the sponge onto your nail, repeating for intensity. Just like magic.
Pro tip: Dab a liquid latex barrier or petroleum jelly around your cuticles first for an easy cleanup. It looks super fancy but is surprisingly forgiving.
3. Tape Stripes
Straight lines, no shaky hands required. After your base color is completely dry, apply thin strips of tape in your desired pattern. Paint over with a contrasting color, then peel off the tape while the polish is still wet.
Pro tip: Use painter’s tape or specific nail art tape for the cleanest lines. Scotch tape can be too sticky and might ruin your base. This gives that crisp, geometric vibe without the struggle.
4. Glitter Gradient
Sparkle and shine, darling, but make it subtle. Apply your base coat. While it’s still tacky, sprinkle fine glitter onto the tip of your nail, letting it fade towards the cuticle. Seal it all in with a top coat.
Pro tip: Use an old makeup brush to gently sweep away excess glitter before your top coat. It adds a touch of glam that’s surprisingly easy to execute.
5. Abstract Swirls
Art class, but on your nails, and way less pressure. Paint a base color. While it’s still wet, drop a few small dots of a contrasting polish. Use a toothpick or a dotting tool to gently swirl the colors together.
Pro tip: Work quickly before the polish dries, and don’t over-swirl, or you’ll just mix the colors into a muddy mess. This creates unique, organic patterns every single time.
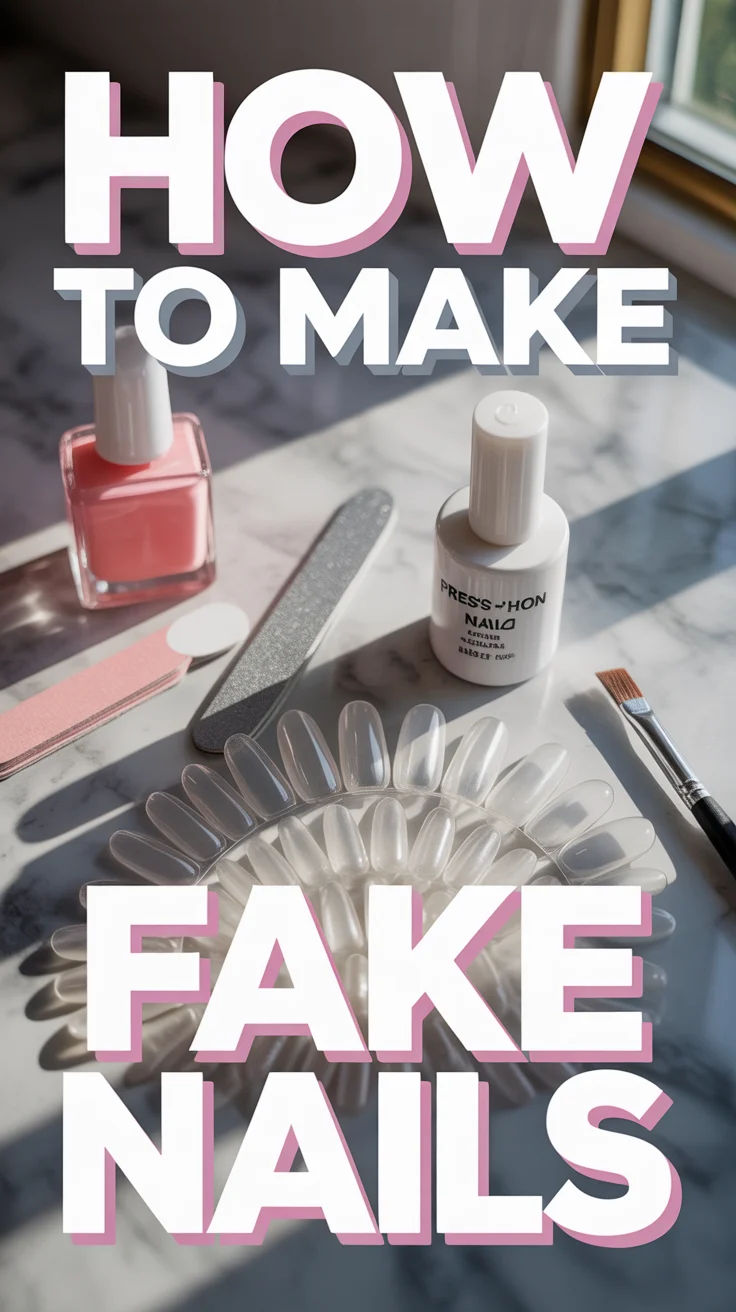
6. Water Decals & Stickers
Cheating? Maybe. Genius? Definitely. These pre-made designs are your secret weapon. For water decals, cut out the design, dip in water, then slide onto your nail. For stickers, just peel and press.
Pro tip: Always finish with a good clear top coat to seal them in and make them last. It’s instant intricate designs without any actual painting skill.
7. Negative Space Designs
Less is more, especially when you’re feeling minimalist chic. Instead of painting your whole nail, leave sections bare. Think a clear base with a single painted stripe, or geometric shapes outlined in polish.
Pro tip: A steady hand helps, but you can always use tape to create crisp negative space lines. It’s modern, sophisticated, and surprisingly simple to achieve.
8. French Tip Hack
The classic French mani, now officially foolproof. After your base coat, use a rubber band stretched across your nail, or the sticky part of a band-aid as a stencil for your tip. Paint over, then carefully peel away.
Pro tip: Let your base coat dry completely, and pull the stencil off before the white polish dries to prevent smudges. Perfectly crisp French tips, even if your freehand game is weak.
9. Matte & Gloss Contrast
Playing with textures is the new black. Paint your nails with a glossy color. Once dry, apply a matte top coat over part of the nail, like a stripe or a half-moon. The contrast is seriously cool.
Pro tip: Make sure your underlying polish is super dry, or the matte top coat might drag. It adds an unexpected, high-fashion twist with minimal effort.
10. Reverse French Mani
Flipping the script on a classic, because why not? Instead of the tip, highlight the cuticle area. Paint your entire nail one color, then use a contrasting color to paint a curved line just above your cuticle.
Pro tip: A small, thin brush or a dotting tool can help create that perfect curve at the base. It’s a subtle nod to an iconic look that feels fresh and modern.
11. Half Moon Mani
Vintage vibes, modern twist. Similar to the reverse French, but you’re creating a distinct “half moon” shape at the base of your nail. You can use a circle sticker as a stencil if you’re feeling fancy.
Pro tip: Apply a clear base coat, then a small sticker near your cuticle. Paint over the rest of the nail, peel, then add a top coat. Elegance on demand, without needing to be an expert.
12. Dry Brush Strokes
Embrace the messy, artistic side of life. Dip your brush into polish, then wipe almost all of it off on the bottle neck. Lightly drag the mostly dry brush across your nail to create textured, abstract strokes.
Pro tip: Use contrasting colors for maximum impact, and don’t overthink it; the more spontaneous, the better. It looks effortlessly cool and artistic, even if you just kinda winged it.
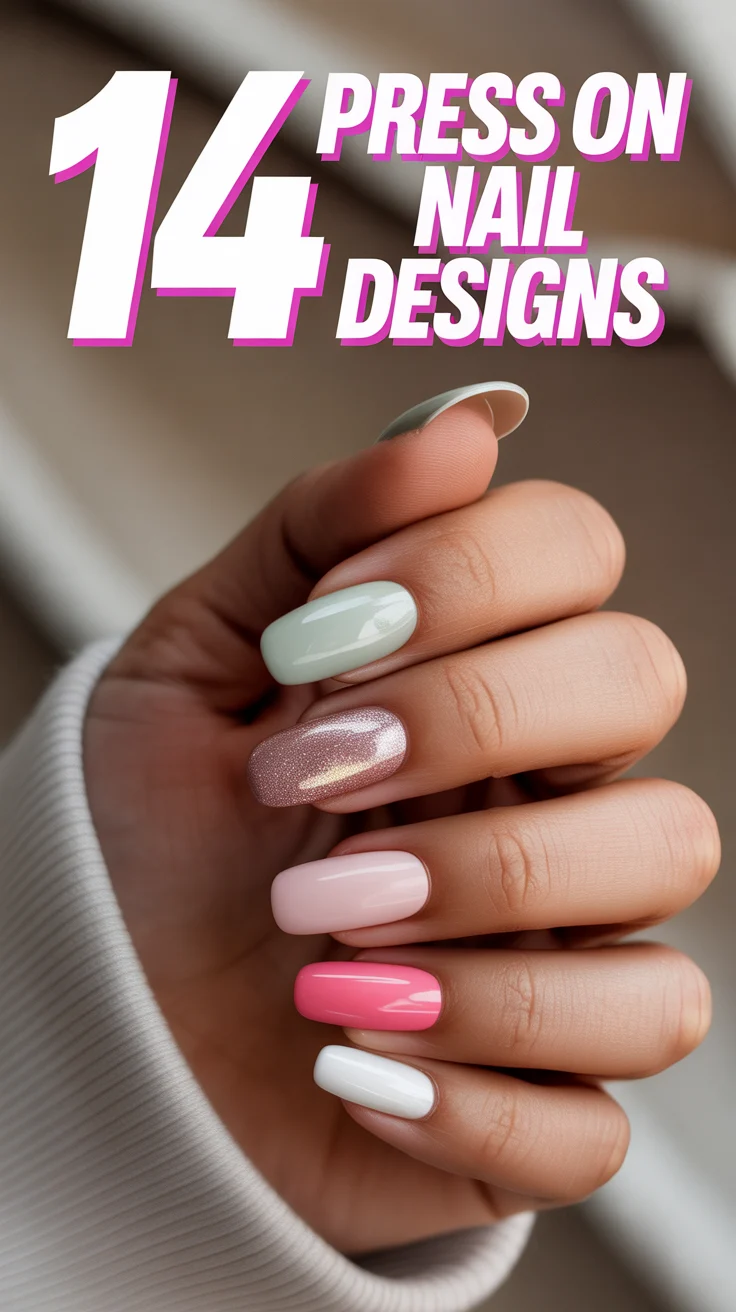
13. Accent Nail Pop
Because sometimes, one nail just wants to be extra. Paint all your nails one color, then choose one (usually the ring finger) to completely glam up with glitter, a sticker, a different color, or even a simple dot design.
Pro tip: This is your chance to use that one glitter polish you love but can’t commit to all ten fingers. It instantly elevates your manicure without needing to do detailed art on every single nail.
14. Sharpie Art
Your middle school art skills just got a major glow-up. After your base coat is completely dry, use a fine-tip Sharpie (any color!) to draw simple lines, hearts, stars, or squiggles. Seal with a top coat.
Pro tip: Make sure the top coat is a quick-dry formula and apply it gently to avoid smudging your Sharpie masterpiece. It unleashes your inner artist with tools you already have.
15. Foil Flakes
Get that iridescent, magical unicorn vibe, stat. Apply a base color. While it’s still slightly tacky, press small flakes of nail art foil onto your nail with tweezers or a silicone tool. Seal with a top coat.
Pro tip: Don’t use too much foil; a few strategically placed flakes look more chic than an overloaded nail. It adds incredible shimmer and texture with minimal fuss.
✨ New Member Etsy Shops (100% Unsponsored!)
We are incredibly proud of the talent in this community! 💖 We've rounded up some gorgeous new Etsy shops launched by our very own members.
There are ZERO affiliate links in this post—just 100% pure support for our makers. Click below to shop small, show them some love, and find your new favorite items! 👇🛍️


Conclusion
So there you have it, bestie. Fifteen ways to trick everyone into thinking you spent hours (or dolla bills) at the salon. Seriously, these aren’t just ‘easy,’ they’re ‘I-can-do-this-while-binge-watching-my-favorite-show’ easy. Go forth and conquer those digits. Your nails, and your wallet, will thank you.