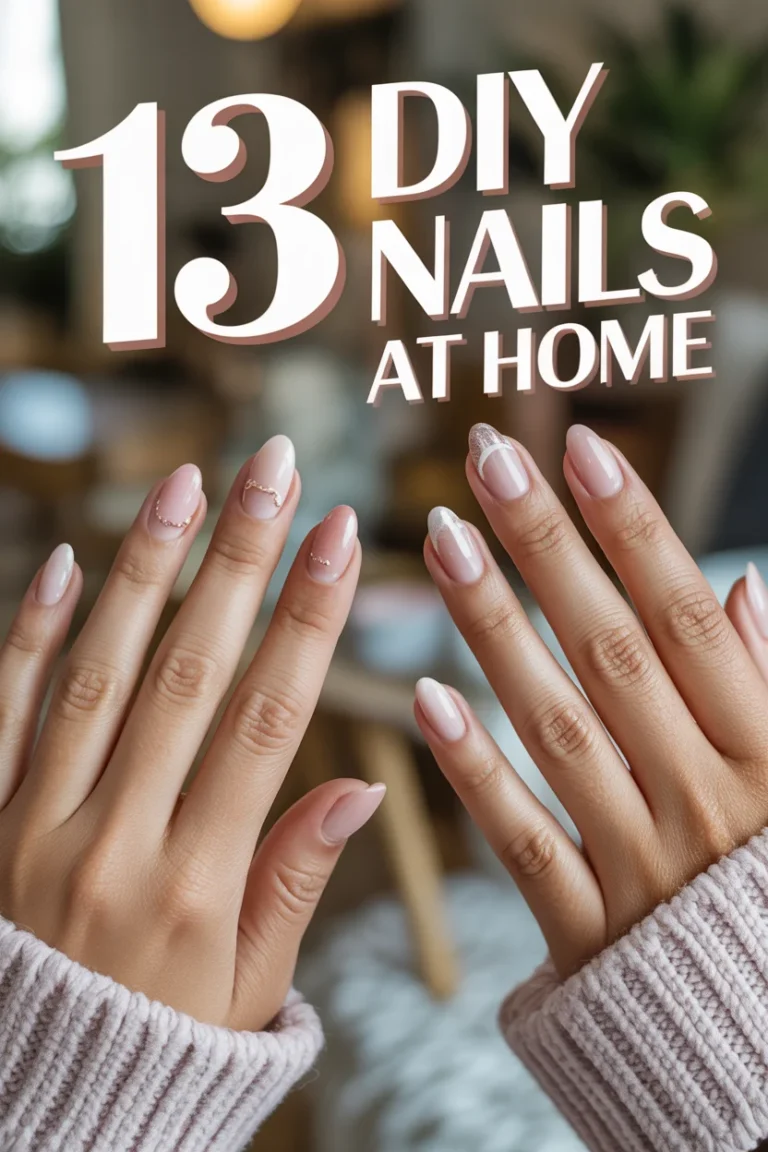
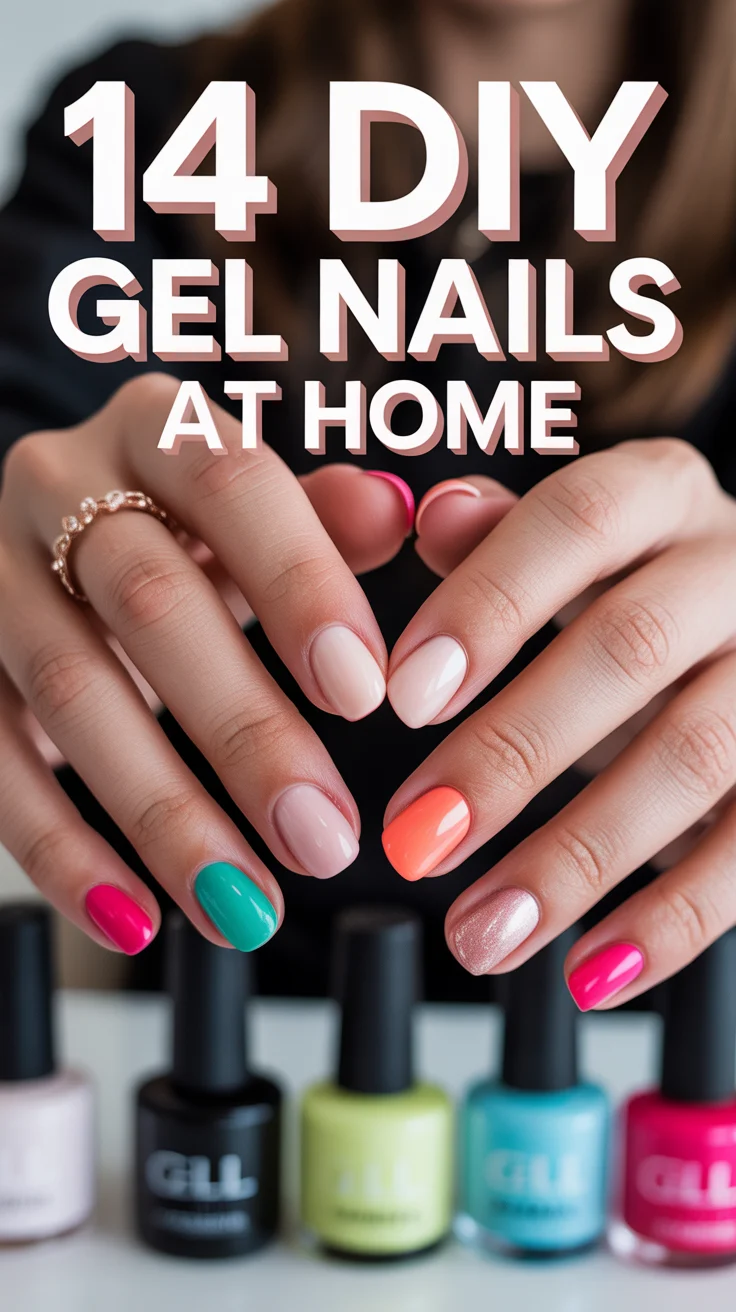
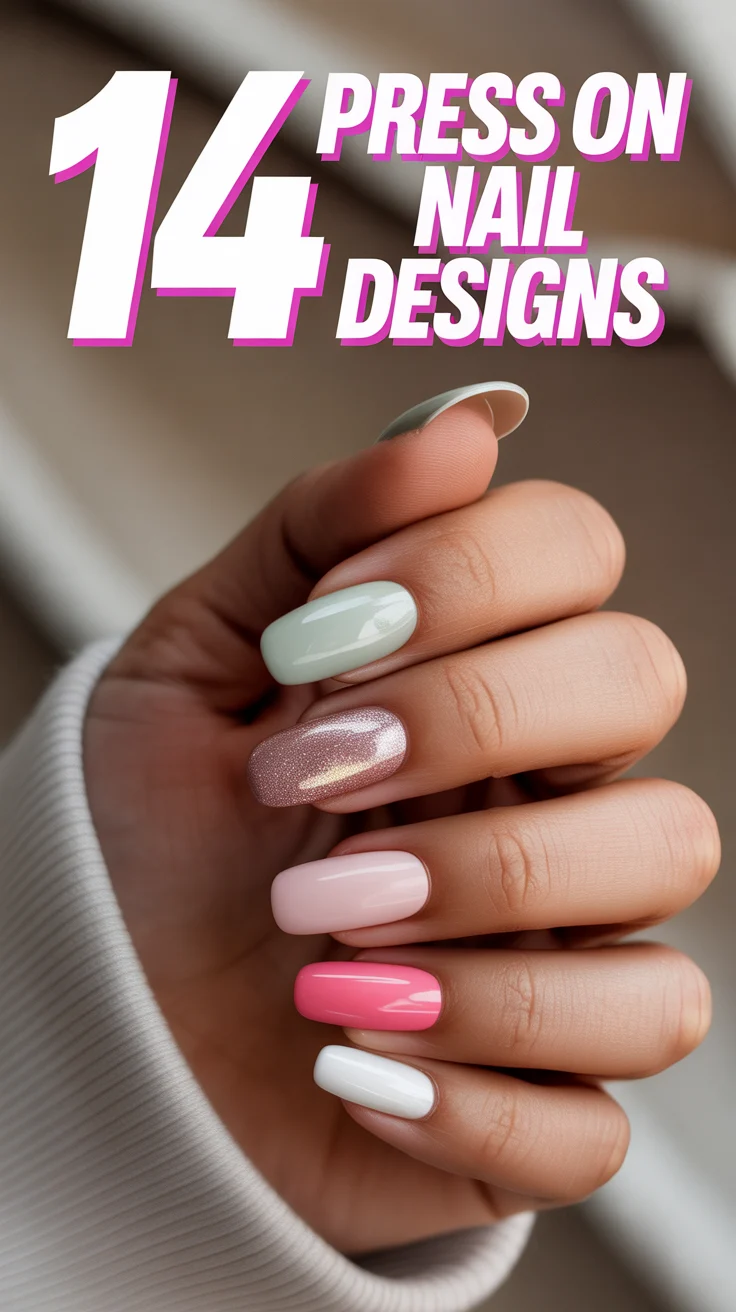
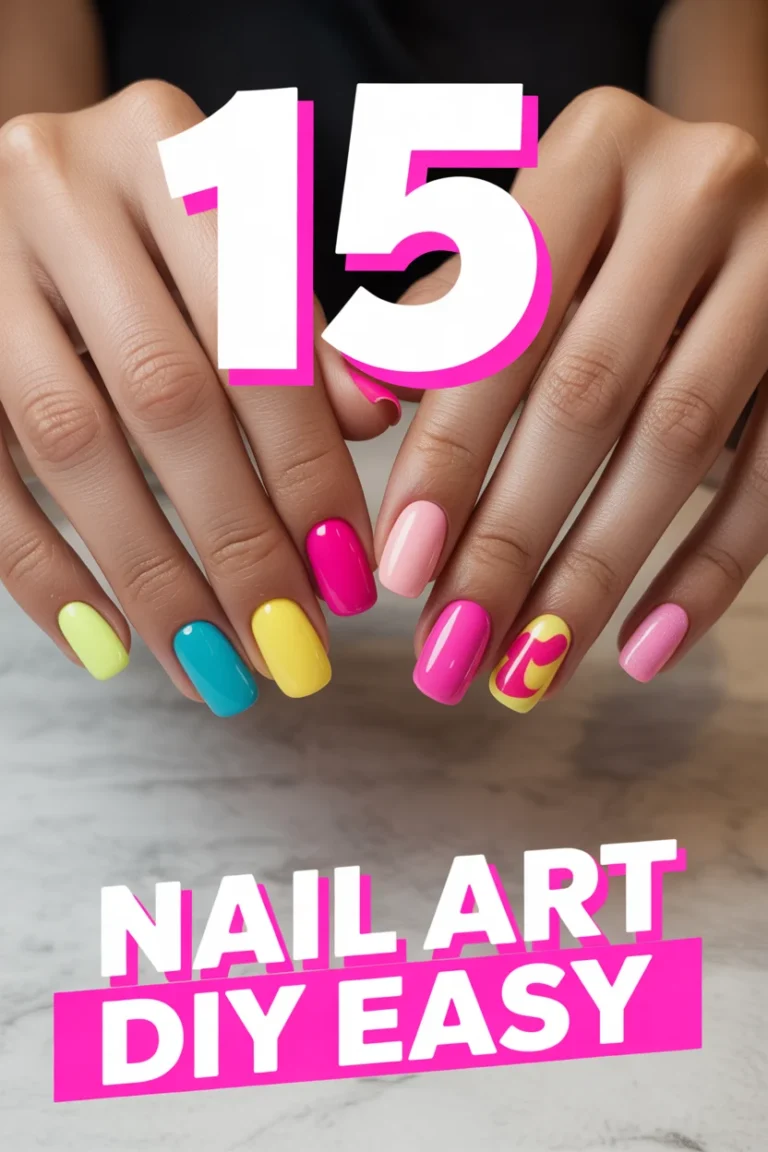
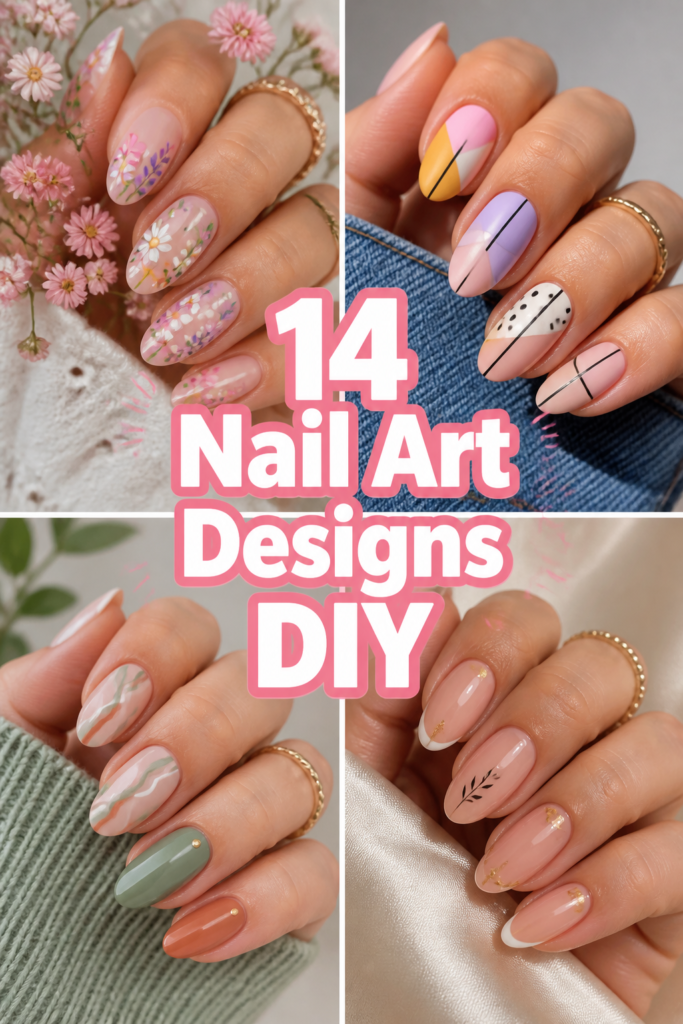
💅 14 Nail Art Designs DIY
🛠️ The Ultimate Maker's Toolkit
I've tested thousands of craft tools over the years. Whether you are quilting, crafting, or building mixed-media art, these are the top 5 absolute non-negotiable tools I personally recommend to guarantee professional results.
🪡 SINGER Heavy Duty 4452 Sewing Machine
The sewing community highly recommends this as the ultimate "bulletproof" entry-level machine. Its heavy metal frame powerfully pushes through thick denim and heavy quilt layers that would instantly jam a standard plastic machine.
✂️ Fiskars 8" Orange-Handled Scissors
Never settle for dull dollar-store blades. Wirecutter repeatedly names Fiskars the absolute best all-purpose craft scissor due to its legendary precision-ground blades and an ergonomic grip that prevents hand-cramping.
🔥 Gorilla Dual Temp Hot Glue Gun
Named Wirecutter's top choice because it literally does the work of two tools. It features dual-temperature settings offering low heat for delicate florals and blistering high heat for heavy wood adhesion repairs.
🖌️ Mod Podge Waterbase Gloss Sealer
The absolute undisputed champion of decoupage and paper crafts. Experts rely exclusively on this exact water-based formula because it glues, seals, and finishes beautifully without yellowing or flaking over time.
🎨 Apple Barrel Acrylic Paint (2 oz)
The quintessential, incredibly inexpensive craft paint. Woodworkers and hobby painters swear by its smooth flow and matte finish, providing massive value and remarkably thick color coverage on rough surfaces.
Ever stare at your nails, dreaming of salon-worthy art but then remember your wallet has other plans?
Yeah, us too. But guess what? You don’t need a pro to rock some seriously cool designs.
Grab your polish and get ready to unleash your inner nail artist with these killer DIY ideas.
1. Ombre Gradient Glam
- Best For: Weekend vibes, date night.
- Vibe: Effortlessly chic, a little bit extra.
- Why it works: Creates a smooth color transition with minimal fuss.
Forget trying to blend with a brush; a makeup sponge is your secret weapon here. Pick two or three complementary colors, like a soft pink transitioning to a vibrant coral, or a deep blue fading into a sparkly silver.
Dab the polishes onto the sponge, then gently press onto your nail. Repeat a few times for intensity, then seal it all with a glossy top coat.
Pro Tip: Apply liquid latex or petroleum jelly around your cuticles first for super easy cleanup after sponging. You’ll thank us.
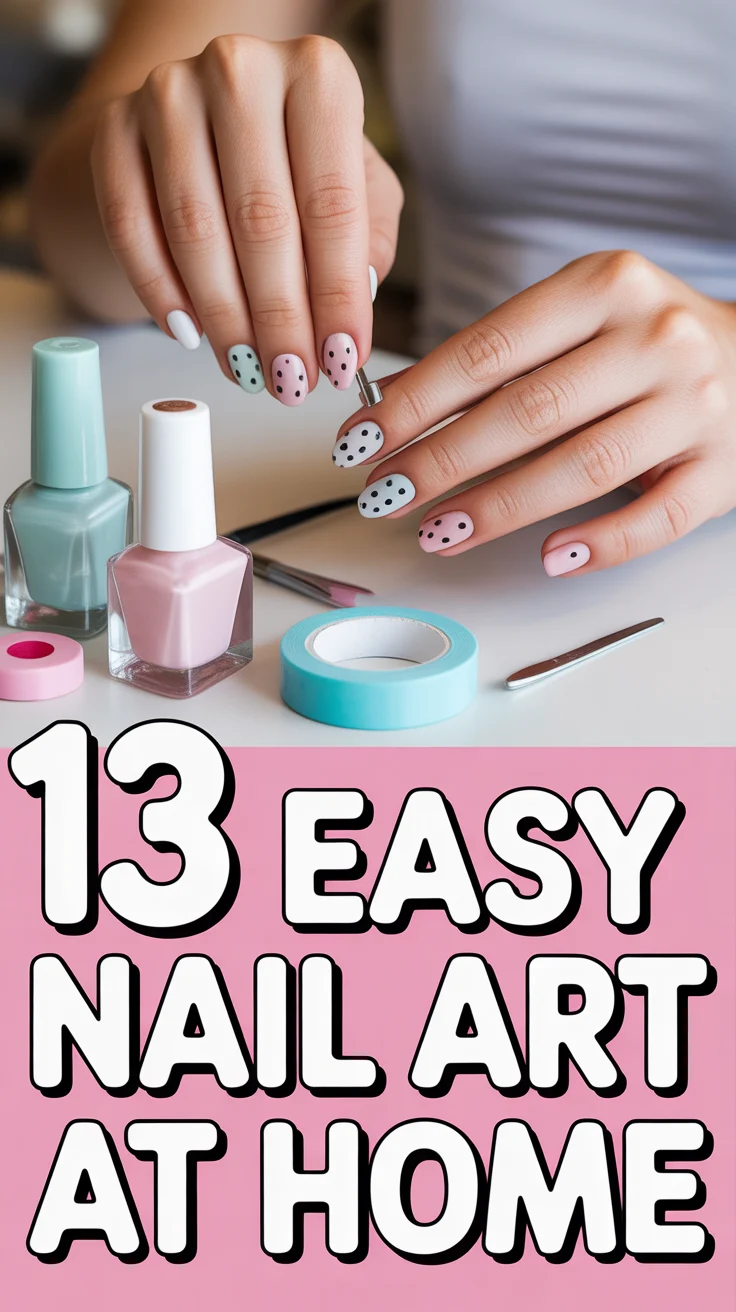
2. Minimalist Dotting Tool Magic
- Best For: Office appropriate, subtle flair.
- Vibe: Clean, modern, understated cool.
- Why it works: Simple dots create intricate patterns quickly.
You don’t even need fancy tools for this one; a bobby pin or a toothpick works wonders. Choose a neutral base, like a creamy nude or sheer pink, then use a contrasting color, perhaps black or white, for your dots.
Experiment with different sizes and placements: a single dot at the base of each nail, a line of tiny dots down the center, or a cluster of varying sizes. It’s surprisingly chic and barely takes any time.
Pro Tip: Dip your tool lightly into the polish for crisp, round dots. Too much polish equals blob city.
3. Abstract Swirls & Squiggles
- Best For: Art gallery visits, creative expression.
- Vibe: Artsy, free-spirited, unique.
- Why it works: No need for perfection, just go with the flow.
Channel your inner Picasso with this one. Start with a light base color, then use a fine-tipped brush or even a toothpick to draw random, organic lines and swirls in contrasting colors.
Think wavy lines, small loops, or even abstract shapes. Don’t overthink it; the beauty is in the imperfection. A few dabs of gold or silver can really elevate this look.
Pro Tip: Work quickly before the base polish dries completely, or use a tiny bit of nail polish remover on your brush to blend colors slightly.
4. Glitter Accent Nail
- Best For: Party nights, adding sparkle to your day.
- Vibe: Glamorous, fun, eye-catching.
- Why it works: Instant glam with minimal effort.
Sometimes, all you need is a little sparkle. Paint three nails a solid color, maybe a deep burgundy or a classic black, and then go all out on your ring finger with a chunky glitter polish.
Layer the glitter for maximum impact, building it up until it’s opaque. It’s a low-commitment way to try out a bold look without going full disco ball on all ten digits.
Pro Tip: For extra glitter payoff, dab the glitter polish onto your nail with the brush instead of swiping. And definitely use a good peel-off base coat for easier removal later. You know the struggle.
5. French Mani with a Twist
- Best For: Classic elegance, modern update.
- Vibe: Sophisticated, playful, unexpected.
- Why it works: Elevates a timeless look with a contemporary edge.
Bored of the traditional white tip? Us too. Keep your base nude or clear, but instead of white, try a vibrant color like electric blue, neon green, or even a metallic silver for your tips.
You can freehand it if you’re brave, or use sticky guides for a super crisp line. For extra credit, try a reverse French mani with the color at the cuticle instead.
Pro Tip: Use a thin striping brush or even a piece of tape to get that perfect, curved smile line. Precision is key here, darling.
6. Geometric Line Play
- Best For: Modern aesthetics, architectural vibes.
- Vibe: Edgy, structured, minimalist-chic.
- Why it works: Creates sharp, clean designs with simple lines.
Grab some striping tape or a super fine brush. Paint your nails a solid color, then once dry, lay down tape in geometric patterns – think triangles, squares, or intersecting lines.
Paint over the tape with a contrasting color, let it dry for a hot sec, and then peel off the tape to reveal your crisp lines. Black and white is always a winner, but don’t shy away from pastels and metallics.
Pro Tip: Make sure your base color is completely dry before applying tape, or you’ll lift more than just the tape. Patience is a virtue, especially in nail art.
7. Water Marbling Whimsy
- Best For: Experimental artists, unique patterns.
- Vibe: Swirly, psychedelic, one-of-a-kind.
- Why it works: Produces intricate, organic designs you can’t replicate by hand.
This one requires a little practice, but the results are totally worth it. Fill a small cup with room temperature water, then drop in alternating colors of polish. Use a toothpick to swirl them into a design.
Dip your nail into the design, then carefully remove it. You’ll get a mesmerizing, swirly pattern. It’s messy, but oh-so-cool.
Pro Tip: Use polishes that are on the thinner side and not too old; thick polish won’t spread well in the water. And again, protect your skin around the nail.
8. Matte & Gloss Contrast
- Best For: Sophisticated events, subtle statement.
- Vibe: Elegant, edgy, high-fashion.
- Why it works: Creates an interesting visual texture without new colors.
Paint your nails with a rich, dark color like deep plum or forest green, and then apply a matte top coat over all of them. Once that’s dry, use a regular glossy top coat to draw simple designs.
Think stripes, dots, or even a delicate heart. The contrast between the velvety matte and the shiny gloss is unexpectedly striking and super chic. It’s like a secret handshake for your nails.
Pro Tip: Ensure your matte top coat is completely dry before adding the glossy details, otherwise, you’ll just smudge everything. Precision is your friend here.
9. Stamping Plate Perfection
- Best For: Intricate designs, quick patterns.
- Vibe: Detailed, professional-looking, impressive.
- Why it works: Transfers complex designs flawlessly with minimal skill.
Okay, so this isn’t strictly freehand, but stamping plates are a DIY dream. Invest in a few plates with cool patterns, a stamper, and a scraper. Paint a special stamping polish onto the design, scrape the excess, then pick it up with the stamper.
Roll the stamper onto your nail, and boom – instant intricate art. It takes a minute to get the hang of it, but once you do, your nail art game will be next level.
Pro Tip: Work fast! Stamping polish dries quickly. Also, clean your stamper and plate with acetone after every use for crisp transfers.
10. Galaxy Nails
- Best For: Sci-fi fans, cosmic dreamers.
- Vibe: Mystical, otherworldly, dazzling.
- Why it works: Layering colors and glitter creates an illusion of depth and space.
Start with a dark base, like black or a deep navy. Then, using a small piece of a makeup sponge, dab on patches of dark blue, purple, and even a bit of pink. Don’t cover everything; leave some of the base peeking through.
Next, dab on some white polish for distant stars, and finish with a glitter top coat for that sparkly galaxy dust effect. It’s like having the universe at your fingertips.
Pro Tip: Use a very light hand when sponging the lighter colors; you want wisps, not blobs. Less is more for that ethereal look.
11. Dry Brush Strokes
- Best For: Artistic types, abstract lovers.
- Vibe: Textured, painterly, avant-garde.
- Why it works: Creates a unique, distressed texture with minimal effort.
This is probably the easiest “artistic” technique out there. Paint your nails a base color, let it dry completely. Then, wipe almost all the polish off your brush for a contrasting color.
Lightly drag the mostly dry brush across your nail in random directions. Repeat with one or two more colors for a layered, textured effect. It looks super professional, but it’s basically controlled messiness.
Pro Tip: Don’t overload your brush; you want just enough polish to leave a streaky mark. Too much and you’re back to a full coat.
12. Half-Moon Mani
- Best For: Retro chic, elegant simplicity.
- Vibe: Vintage glamour, sophisticated, clean.
- Why it works: Offers a subtle yet stylish twist on a classic manicure.
Instead of a French tip, this design focuses on the lunula (the pale, crescent-shaped area at the base of your nail). Paint your entire nail a base color, then use a small, curved sticker or even a hole-punch reinforcement sticker to block off the half-moon area.
Paint the rest of your nail with a contrasting color. Peel off the sticker to reveal a perfect, unpainted (or different colored) crescent. It’s a throwback that’s always in style.
Pro Tip: Make sure your first layer of polish is completely dry before applying the sticker, or you’ll peel off more than just the sticker. Trust us on this.
13. Foil Flakes & Gold Leaf
- Best For: Luxe looks, special occasions.
- Vibe: Decadent, opulent, high-end.
- Why it works: Adds instant luxury and texture with minimal effort.
You don’t need to be a millionaire to have gold on your nails. Apply a base color, then while it’s still slightly tacky, use tweezers or a silicone tool to gently press small pieces of nail art foil flakes or gold leaf onto your nail.
You can cover the whole nail or just add strategic accents. Seal it all with a generous top coat to keep those precious flakes in place. Prepare for compliments.
Pro Tip: Less is often more with foil flakes; a few strategically placed pieces can look more expensive than a fully covered nail.
14. Negative Space Designs
- Best For: Minimalist fashionistas, modern statements.
- Vibe: Chic, understated, effortlessly cool.
- Why it works: Uses your natural nail as part of the design for a unique look.
This trend is all about showing off your natural nail. Instead of painting the entire nail, use striping tape or a fine brush to create shapes and lines, leaving parts of your natural nail exposed.
Think a single line down the middle, a triangle at the base, or abstract cutouts. The contrast between your natural nail and the polish creates a super modern and clean aesthetic. Plus, it’s pretty forgiving.
Pro Tip: Apply a clear base coat first to protect your natural nail, then get creative with your shapes. A crisp, clean line is your best friend here.
Our Top Recommended Finds
- Fine-tipped Detail Brushes: Essential for those tiny lines, dots, and intricate patterns. You’ll wonder how you lived without them.
- Quality Top Coat: A good top coat is non-negotiable for sealing your art and making it last. Don’t let your masterpiece chip away after a day.
- Nail Art Dotting Tools: Perfect for creating various sized dots and picking up small embellishments. Way better than a bobby pin, trust us.
Which of these will you try first?
See? You absolutely don’t need a salon appointment to rock amazing nails. With a little polish, some basic tools, and these ideas, you’re officially a DIY nail art guru.
Now, spill the tea: which design are you giving a whirl this weekend? Drop your faves in the comments below!