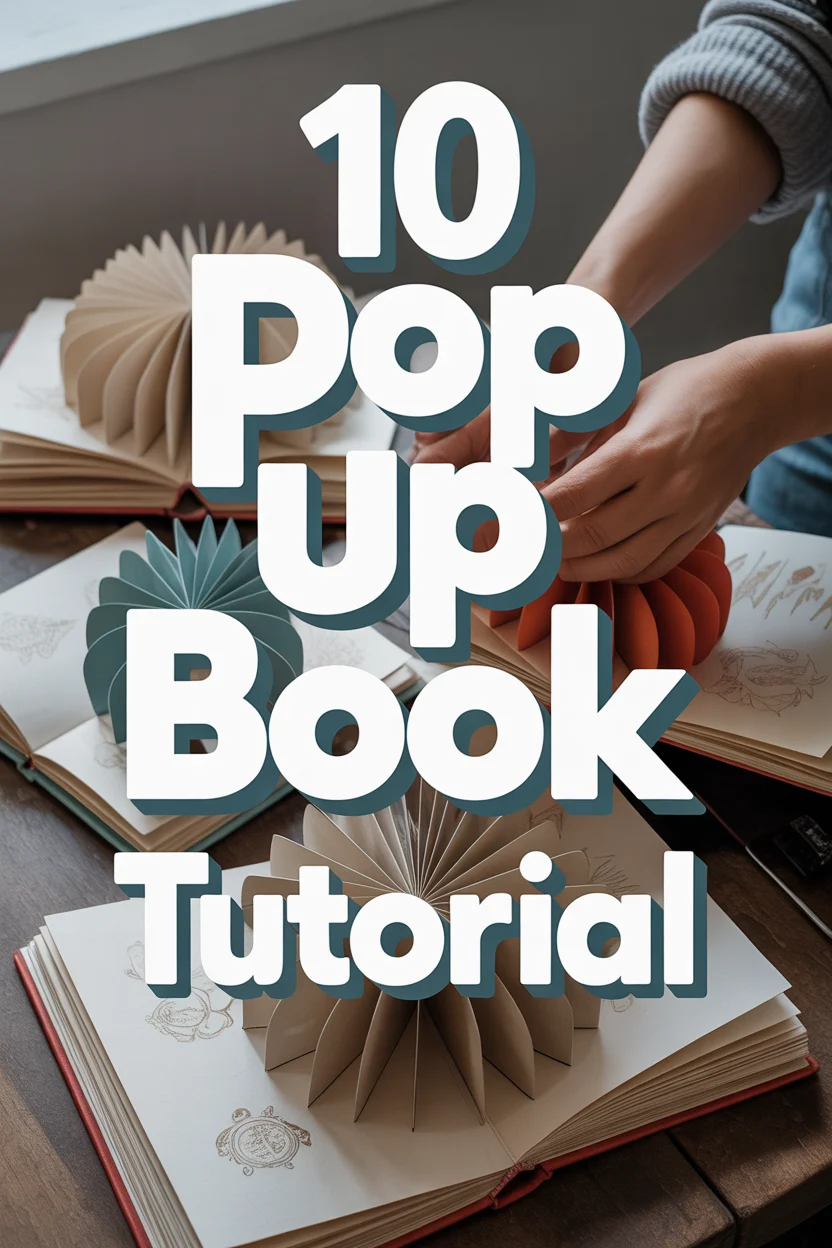
🎨 10 Pop Up Book Tutorial
🛠️ The Ultimate Maker's Toolkit
I've tested thousands of craft tools over the years. Whether you are quilting, crafting, or building mixed-media art, these are the top 5 absolute non-negotiable tools I personally recommend to guarantee professional results.
🪡 SINGER Heavy Duty 4452 Sewing Machine
The sewing community highly recommends this as the ultimate "bulletproof" entry-level machine. Its heavy metal frame powerfully pushes through thick denim and heavy quilt layers that would instantly jam a standard plastic machine.
✂️ Fiskars 8" Orange-Handled Scissors
Never settle for dull dollar-store blades. Wirecutter repeatedly names Fiskars the absolute best all-purpose craft scissor due to its legendary precision-ground blades and an ergonomic grip that prevents hand-cramping.
🔥 Gorilla Dual Temp Hot Glue Gun
Named Wirecutter's top choice because it literally does the work of two tools. It features dual-temperature settings offering low heat for delicate florals and blistering high heat for heavy wood adhesion repairs.
🖌️ Mod Podge Waterbase Gloss Sealer
The absolute undisputed champion of decoupage and paper crafts. Experts rely exclusively on this exact water-based formula because it glues, seals, and finishes beautifully without yellowing or flaking over time.
🎨 Apple Barrel Acrylic Paint (2 oz)
The quintessential, incredibly inexpensive craft paint. Woodworkers and hobby painters swear by its smooth flow and matte finish, providing massive value and remarkably thick color coverage on rough surfaces.
Ever stared at those insane pop-up books and thought, “How in the actual heck do they do that?” Well, buckle up buttercup, because we’re about to demystify that paper wizardry. Forget those flimsy school projects, we’re talking next-level paper engineering that’ll make your friends think you secretly moonlight as an architect. Let’s get folding!
1. V-Fold Basics
Let’s start with the OG of pop-ups, the V-Fold. This is your gateway drug into the world of paper magic, creating a single element that springs forward when you open the page. It’s surprisingly simple to master, making it perfect for your first foray.
You just cut two parallel lines into your folded paper, then push the cut section forward from the back. When you open the page, boom, a little stand-up piece appears. Pro tip: don’t be shy with your fold lines; a crisp crease is your best friend here. This technique is perfect for making simple objects like trees or characters literally pop off the page.
2. Parallel Fold Power
Ready to level up slightly from the V-Fold’s solo act? The Parallel Fold lets you create multiple elements that pop up at once, or even a tiered effect. Think stairs, rows of tiny buildings, or a whole little landscape.
You’ll make two or more sets of parallel cuts, pushing each section forward to create different depths. It adds so much more dimension without adding much more difficulty. Measure twice, cut once is gospel here, especially if you want things to align perfectly. This method adds depth without too much brain strain, making scenes feel way more dynamic.
3. Box Pop-Up Brilliance
Want to make a whole little room appear out of nowhere? The Box Pop-Up is your go-to for creating sturdy, 3D structures that spring out. Imagine tiny houses, furniture, or even abstract sculptures.
This technique involves a series of cuts and folds that form a cube or rectangular prism. It’s a bit more involved but totally worth the effort for that impressive reveal. Score your fold lines gently before folding to get those super sharp edges. This design gives serious structural integrity to your pop-up elements, making them stand tall and proud.
4. Angle Fold Awesomeness
Who says everything has to pop straight up? Let’s get wonky with the Angle Fold. This method makes elements spring out diagonally or at an interesting slant, adding an unexpected dynamic to your page.
Instead of just parallel cuts, you introduce angled lines. This subtle change completely transforms how your elements appear, giving them a sense of motion or dramatic presentation. Experiment with different angles; a slight change can totally alter the effect. It adds a surprising twist and visual interest, making your designs feel more lively.
5. Layered Pop-Up Landscapes
Time to build a miniature diorama that lives inside your book. Layered Pop-Ups combine several V-folds or parallel folds at varying distances from the spine, creating incredible depth and perspective.
You’re essentially building a foreground, middle ground, and background all on one page. Think lush forests or bustling cityscapes. Use different sized elements for each layer to enhance the perception of depth. This technique transforms a flat page into a truly immersive scene, inviting readers deeper into your creation.
6. Spinning Disc Surprise
Alright, let’s get some motion in this paper party. The Spinning Disc mechanism adds a kinetic element, causing an attached object to rotate when the page opens. It’s pure magic, honestly.
This involves a cleverly hidden disc that pivots, making your chosen element twirl or spin. It’s a fantastic way to animate characters or add a playful touch. Make sure your central pivot point is super secure but not too tight, or nothing will move. This adds an unexpected kinetic element that’s sure to impress and delight.
7. Pull Tab Playfulness
Because who doesn’t love a good interactive surprise? Pull Tab mechanisms let you hide, reveal, or transform images with a simple tug. It’s like a secret message, but way cooler.
You create a tab that slides, moving an attached element to change a scene or uncover a hidden detail. It’s incredibly engaging for the reader. Use a heavier cardstock for your pull tabs; flimsy paper is just asking for trouble. This technique engages the reader directly and adds a playful element of discovery to your book.
8. Lever Pop-Up Logic
Feeling ambitious? Let’s try some proper paper mechanics with a Lever Pop-Up. This allows for more intricate and controlled movements, like an arm waving or an animal jumping across the page.
It uses a lever arm attached to your pop-up element, translating the page-opening motion into a more complex action. Start with simple lever designs before attempting anything too complex; precision is key. This unlocks a whole new world of dynamic, animated paper creations, bringing your story to life.
9. Tunnel Book Tease
Ever wanted to gaze into a paper wonderland? This simplified Tunnel Book technique is your ticket. It creates an incredible illusion of depth using multiple cutout frames that recede into the page.
While full tunnel books can be intense, a basic version still gives that fantastic deep perspective, like looking through a window into another world. Vary the size and detail of your cutouts to really sell that deep perspective. This method creates an amazing optical illusion with relatively simple cuts, making your scenes feel expansive.
10. Conical Pop-Up Coolness
Let’s get sculptural and make something truly unique with the Conical Pop-Up. This technique allows a cone or dome shape to spring up, adding a fantastic architectural element to your designs.
You cut a semi-circle, fold it into a cone, and attach it so it pops up when the page opens. Great for mountains, hats, or abstract shapes. Use a compass for a perfect semi-circle; nobody wants a wonky cone. This adds a fantastic 3D, architectural element that’s surprisingly sturdy and visually striking.
✨ New Member Etsy Shops (100% Unsponsored!)
We are incredibly proud of the talent in this community! 💖 We've rounded up some gorgeous new Etsy shops launched by our very own members.
There are ZERO affiliate links in this post—just 100% pure support for our makers. Click below to shop small, show them some love, and find your new favorite items! 👇🛍️


Conclusion
So there you have it, ten ways to transform a flat piece of paper into a miniature architectural marvel. Who knew paper engineering could be this fun and, dare I say, slightly addictive? You’re now equipped with the secrets to crafting pop-up wonders that’ll make even the most jaded reader gasp. Go forth, fearless paper artist, and make some magic happen. Your inner child (and probably your actual friends) will thank you.