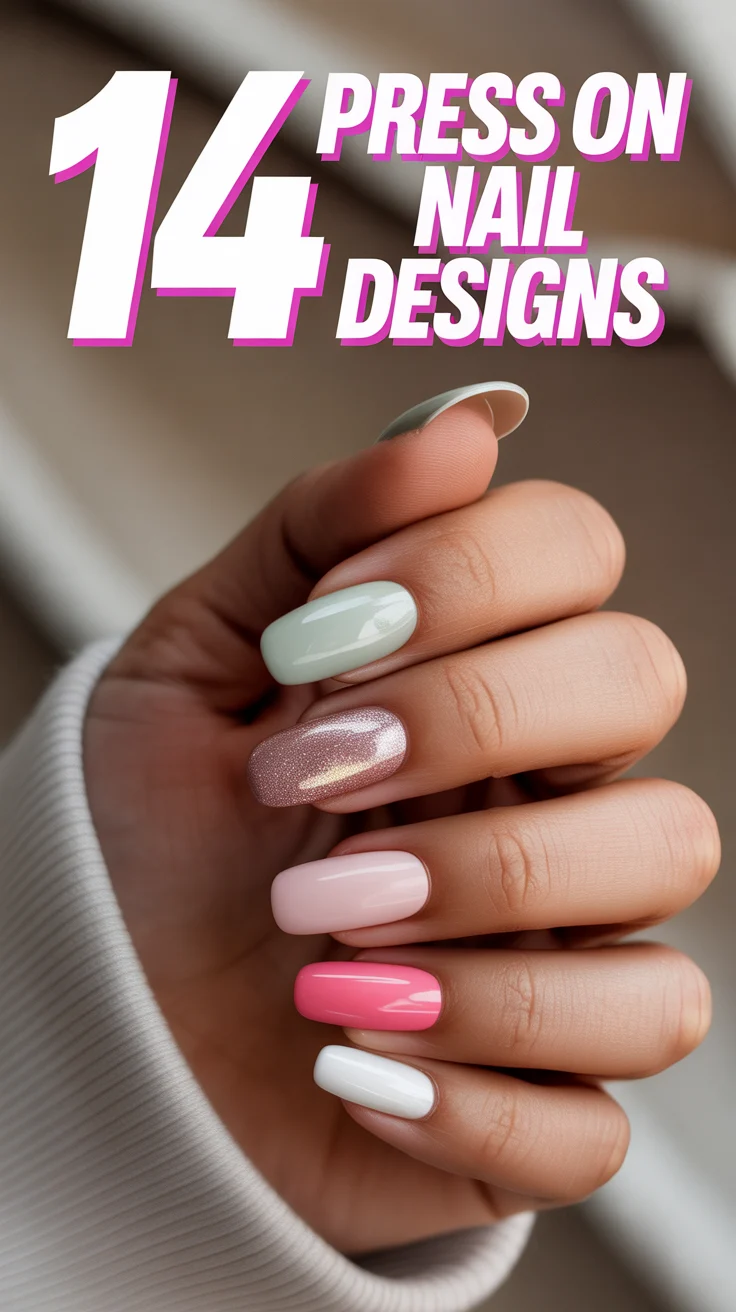
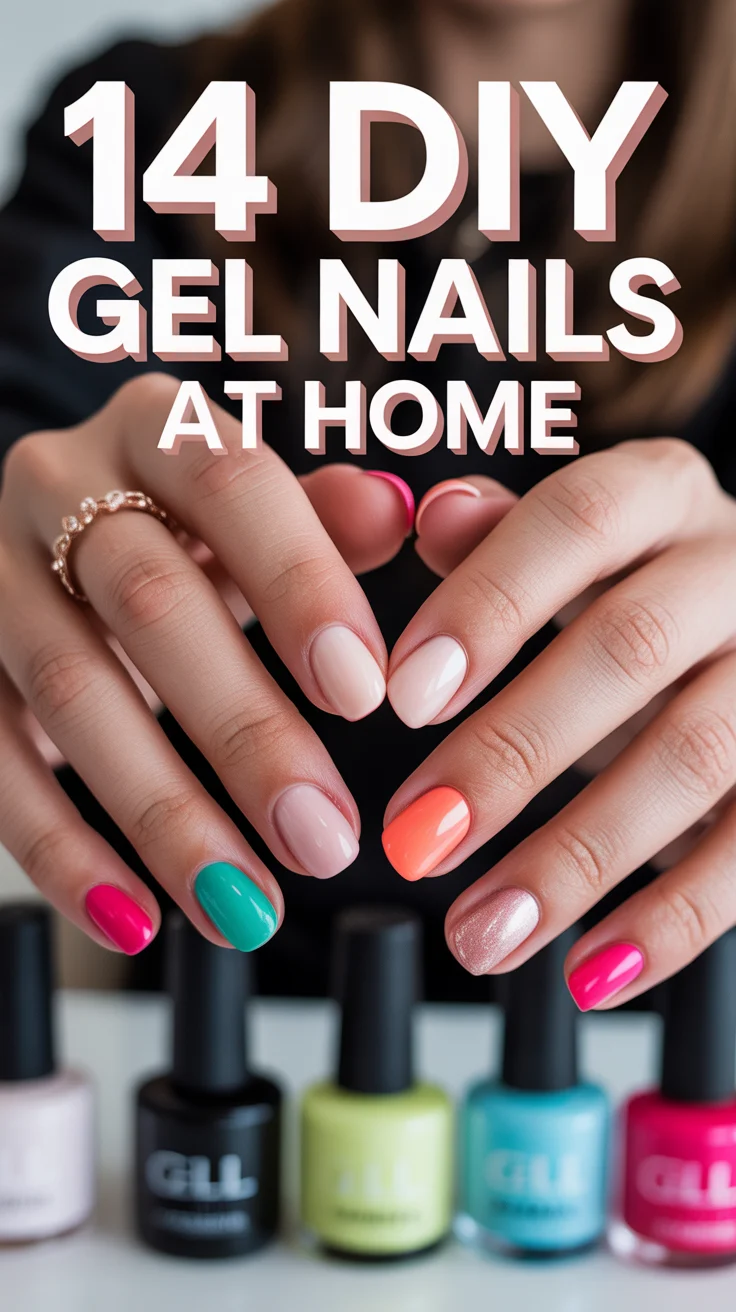
💅 14 DIY Gel Nails At Home
🛠️ The Ultimate Maker's Toolkit
I've tested thousands of craft tools over the years. Whether you are quilting, crafting, or building mixed-media art, these are the top 5 absolute non-negotiable tools I personally recommend to guarantee professional results.
🪡 SINGER Heavy Duty 4452 Sewing Machine
The sewing community highly recommends this as the ultimate "bulletproof" entry-level machine. Its heavy metal frame powerfully pushes through thick denim and heavy quilt layers that would instantly jam a standard plastic machine.
✂️ Fiskars 8" Orange-Handled Scissors
Never settle for dull dollar-store blades. Wirecutter repeatedly names Fiskars the absolute best all-purpose craft scissor due to its legendary precision-ground blades and an ergonomic grip that prevents hand-cramping.
🔥 Gorilla Dual Temp Hot Glue Gun
Named Wirecutter's top choice because it literally does the work of two tools. It features dual-temperature settings offering low heat for delicate florals and blistering high heat for heavy wood adhesion repairs.
🖌️ Mod Podge Waterbase Gloss Sealer
The absolute undisputed champion of decoupage and paper crafts. Experts rely exclusively on this exact water-based formula because it glues, seals, and finishes beautifully without yellowing or flaking over time.
🎨 Apple Barrel Acrylic Paint (2 oz)
The quintessential, incredibly inexpensive craft paint. Woodworkers and hobby painters swear by its smooth flow and matte finish, providing massive value and remarkably thick color coverage on rough surfaces.
Tired of shelling out major cash for a salon mani that chips way too soon? Girl, me too. What if I told you that achieving those glossy, chip-free gel nails is totally doable from the comfort of your couch? Grab your favorite comfy pants and let’s spill the tea on how to become your own nail tech. It’s easier (and way more fun) than you think, promise!
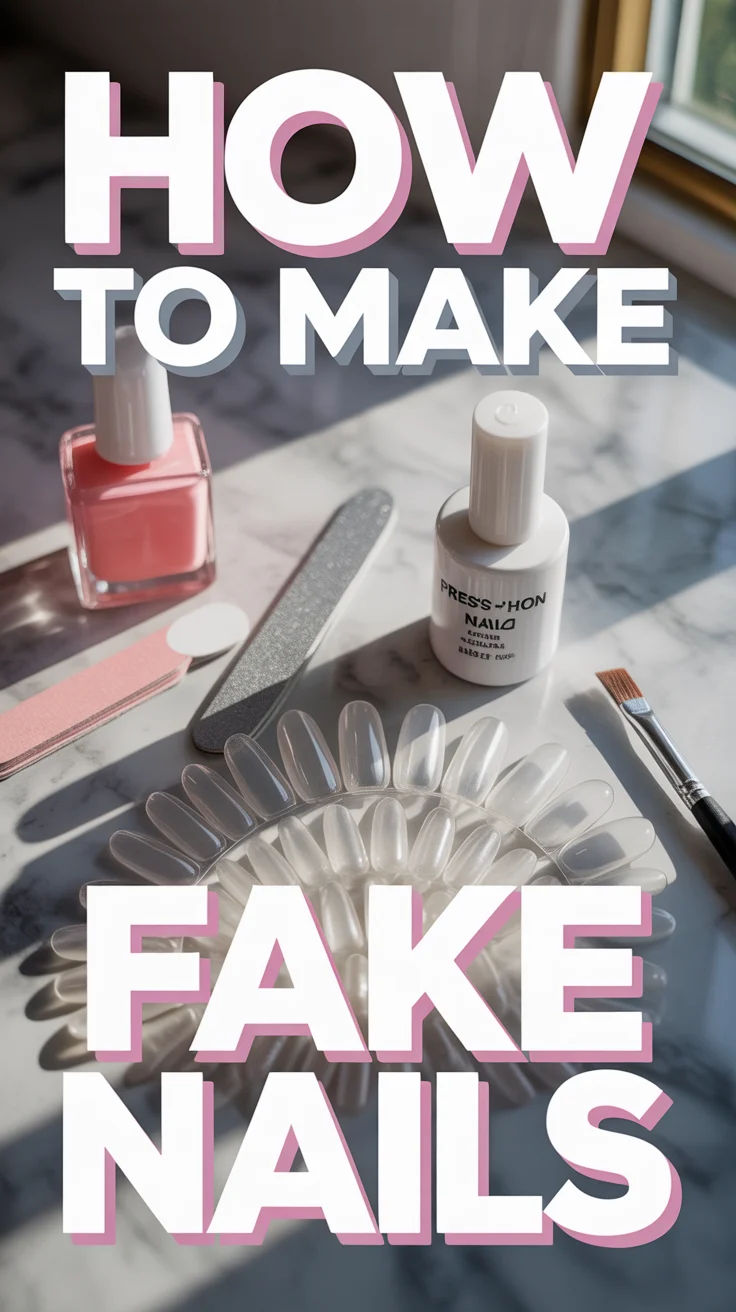
1. Your Starter Kit Must-Haves
Before we dive into the dazzling world of DIY gel, let’s talk gear. You absolutely need a UV or LED lamp, gel base and top coats, a few gel colors, and some prep essentials like a dehydrator and primer. Don’t forget a nail file, buffer, cuticle pusher, and some lint-free wipes. Having the right tools means half the battle is already won.
Pro tip: Seriously, don’t skimp on the lamp; a good one makes all the difference for proper curing and a long-lasting finish.
2. Nail Prep Perfection
Think of this as laying the groundwork for greatness. Gently push back your cuticles (never cut them, okay?), lightly buff the surface of your nail plate, and then cleanse thoroughly with alcohol or a dedicated dehydrator. Remove every trace of oil and dust. Proper prep prevents lifting and ensures your mani lasts ages.
Pro tip: Skip the cuticle cutting; pushing them back is safer and healthier for your nail bed.
3. Base Coat Brilliance
This is your sticky foundation for a long-lasting look. Apply a super thin, even layer of your gel base coat. Make sure to “cap” the free edge of your nail (brush a tiny bit of product across the very tip) to seal it in. Cure according to your lamp’s instructions. It’s the unsung hero protecting your natural nail and gripping that color.
Pro tip: A super thin base coat is crucial; thick layers often lead to bubbling or peeling down the line.
4. Color Coat Confidence
Time for the fun part – picking your shade! Apply thin layers of your chosen gel color. Two to three coats are usually perfect for opaque coverage, depending on the pigment. Remember to cure each layer completely before applying the next. Thin layers build strength and prevent a bulky, uneven finish.
Pro tip: Always cap the free edge with each color layer to seal it in and prevent premature chips.
5. Top Coat Triumph
Hello, mirror-like shine and chip protection! Finish your masterpiece with a generous, but not gloopy, layer of top coat. Cap the free edge one last time for good measure. Cure this final layer thoroughly. This final step locks everything in and gives you that salon-fresh gleam.
Pro tip: If your top coat feels sticky after curing, wipe it gently with an alcohol-soaked lint-free pad for that ultimate gloss.
6. Curing Like a Boss
Don’t rush this step; it’s where the magic truly happens. Always follow your lamp’s specific instructions for cure times. Under-curing leads to soft, sticky nails, while over-curing can sometimes weaken the gel. Patience here pays off with a rock-hard, durable finish.
Pro tip: Make sure all your nails, especially those tricky thumbs, are positioned correctly under the light for even curing.
7. Glitter Gradient Glam
Ready to add some sparkle without the actual glitter explosion? Apply a base color, then use a brush to dab glitter gel from the tip, fading it towards the middle of the nail. Build up layers for more intensity. Instant party nails, no actual mess required.
Pro tip: For a super smooth fade, use a dry brush to gently pat and blend the glitter upwards before curing.
8. Effortless French Tips
Classic, chic, and totally doable at home. After your base coat, use a thin nail art brush or even a French tip guide sticker to apply white gel neatly to the tips of your nails. Cure, then apply your top coat. You’ll look like you just left the Riviera.
Pro tip: Dip your brush in a little top coat or base coat first to help the white gel flow smoothly for a crisp line.
9. Ombre Oasis
Two colors, one stunning blend. It’s not as tricky as it looks! Apply your first color, cure it. Then, apply a small amount of the second color to a makeup sponge and gently dab onto the nail, blending upwards or downwards for that seamless gradient. Gradient goals achieved, and your friends will think you’re a wizard.
Pro tip: Don’t overload your sponge with gel; less is definitely more for a smooth, natural-looking blend.
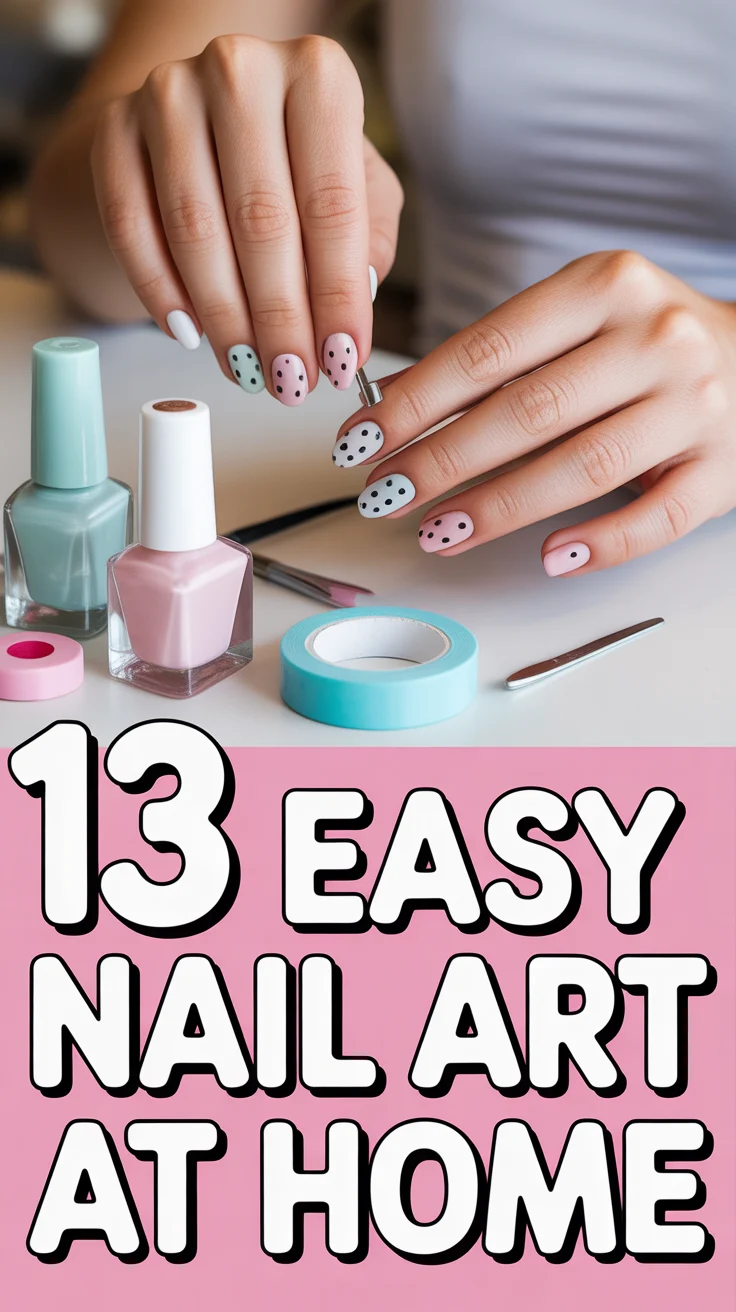
10. Accent Nail Art
One nail, infinite possibilities for making a statement. Pick one nail (usually the ring finger) to add a different color, some glitter, or a simple decal. It draws attention without being overwhelming. Your nails, your canvas, your rules.
Pro tip: Try a simple dotting tool for polka dots or tiny hearts; it’s surprisingly easy and incredibly effective.
11. Gentle Gel Removal
Peeling them off is a cardinal sin; let’s do this the right way to protect your natural nails. Gently file off the shine of your top coat. Soak cotton pads in 100% acetone, place them on your nails, and wrap securely with foil. Wait 10-15 minutes, then gently scrape off the softened gel. Patience protects your natural nails from damage, trust me.
Pro tip: Warm up your acetone slightly (place the bottle in a bowl of hot water) to speed up the removal process significantly.
12. Hydration Heroics
Your cuticles deserve some love too, darling. After your mani is complete, slather on some cuticle oil. Make this a daily habit to keep your cuticles soft and healthy, which also helps prevent annoying hangnails. Healthy cuticles mean a healthier, longer-lasting mani.
Pro tip: Keep a cuticle oil pen by your desk or bedside table for easy, consistent application throughout the day.
13. Troubleshooting Twists
Oops, a little smudge? Don’t panic, we’ve totally got you. If a gel smudges before curing, simply wipe it off with a lint-free wipe and alcohol, then reapply. For lifting issues, ensure proper prep and thin coats next time. Every artist has a few do-overs; it’s all part of the process.
Pro tip: Always have extra lint-free wipes and alcohol nearby for quick clean-ups before you hit the lamp.
14. Seasonal Color Swaps
Your nails are an extension of your vibe, so match the mood! Switch up your gel colors with the seasons. Think pastels for spring, brights for summer, deep tones for fall, and all the glitters for winter. Express yourself, one perfectly polished nail at a time.
Pro tip: Invest in mini gel polish sets to try out new colors without committing to a full bottle.
✨ New Member Etsy Shops (100% Unsponsored!)
We are incredibly proud of the talent in this community! 💖 We've rounded up some gorgeous new Etsy shops launched by our very own members.
There are ZERO affiliate links in this post—just 100% pure support for our makers. Click below to shop small, show them some love, and find your new favorite items! 👇🛍️


Conclusion
See? Getting those salon-quality gel nails at home isn’t just a dream; it’s your new reality. You’re saving cash, rocking gorgeous nails, and probably becoming a total pro in the process. Go forth and conquer, you nail art queen!