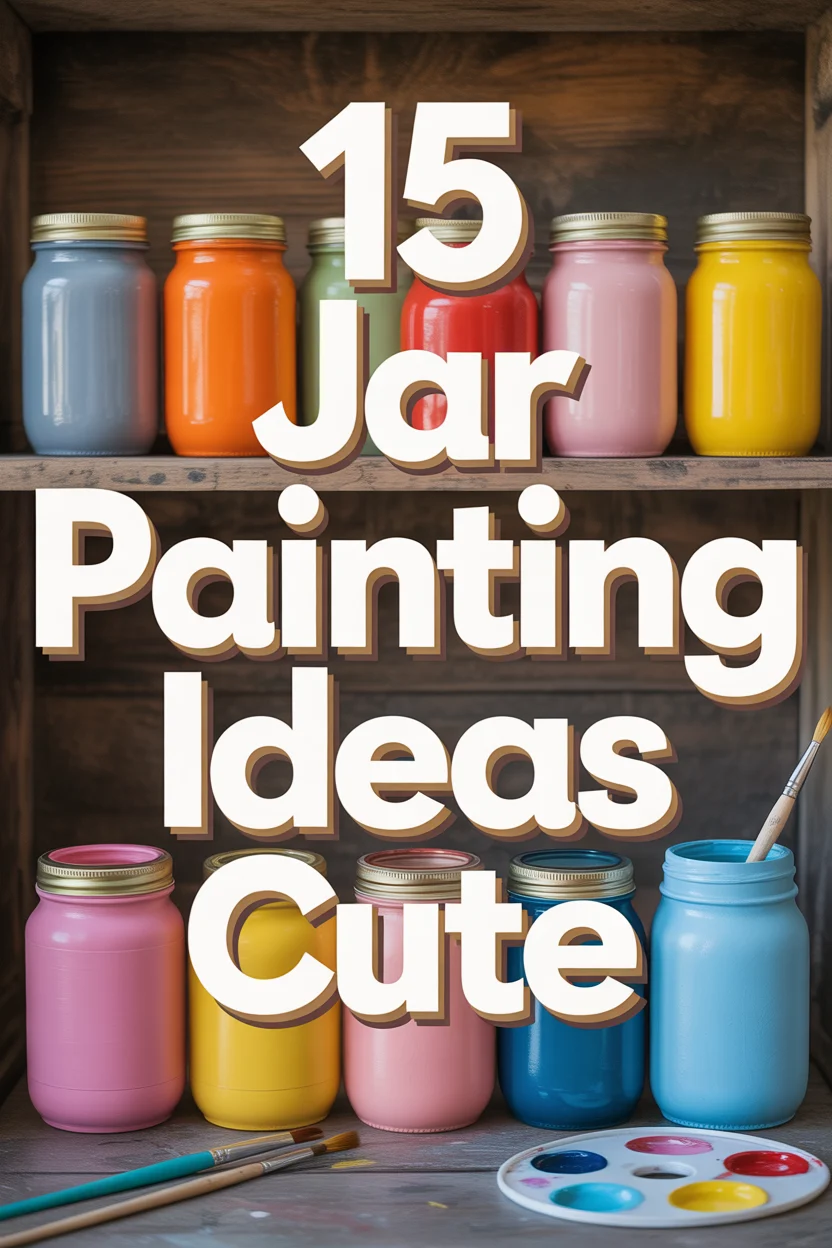
🎨 15 Jar Painting Ideas Cute
🛠️ The Ultimate Maker's Toolkit
I've tested thousands of craft tools over the years. Whether you are quilting, crafting, or building mixed-media art, these are the top 5 absolute non-negotiable tools I personally recommend to guarantee professional results.
🪡 SINGER Heavy Duty 4452 Sewing Machine
The sewing community highly recommends this as the ultimate "bulletproof" entry-level machine. Its heavy metal frame powerfully pushes through thick denim and heavy quilt layers that would instantly jam a standard plastic machine.
✂️ Fiskars 8" Orange-Handled Scissors
Never settle for dull dollar-store blades. Wirecutter repeatedly names Fiskars the absolute best all-purpose craft scissor due to its legendary precision-ground blades and an ergonomic grip that prevents hand-cramping.
🔥 Gorilla Dual Temp Hot Glue Gun
Named Wirecutter's top choice because it literally does the work of two tools. It features dual-temperature settings offering low heat for delicate florals and blistering high heat for heavy wood adhesion repairs.
🖌️ Mod Podge Waterbase Gloss Sealer
The absolute undisputed champion of decoupage and paper crafts. Experts rely exclusively on this exact water-based formula because it glues, seals, and finishes beautifully without yellowing or flaking over time.
🎨 Apple Barrel Acrylic Paint (2 oz)
The quintessential, incredibly inexpensive craft paint. Woodworkers and hobby painters swear by its smooth flow and matte finish, providing massive value and remarkably thick color coverage on rough surfaces.
You probably have a mountain of empty jars sitting under your sink right now. Instead of letting them collect dust or guilt-tripping yourself about your recycling habits, let’s make them look expensive. Grab some brushes and maybe a snack because we are about to upgrade your shelf game with some serious personality.
1. Pastel Polka Dots
Think 1950s diner vibes but make it modern for your desk. These dots effectively hide the fact that your jar once held spicy pickles. Acrylic paint works best here for that thick, opaque finish that covers everything. My favorite pro tip involves using the eraser end of a pencil to stamp perfect circles every time without the hand tremors. It works because circles are nearly impossible to mess up and they make everything look instantly organized.
2. Minimalist Daisy Chain
Floral vibes offer a high-end look without the high maintenance of actual living plants. Paint tiny yellow centers and surround them with simple white petals around the rim of the glass. Use a fine-liner brush to keep those delicate details from looking like blobs. A solid pro tip is to keep the spacing irregular so the design looks intentional and artsy rather than like a factory print. This turns a boring spaghetti sauce container into a cottagecore dream.
3. Terracotta Faux Finish
Make cheap glass look like expensive hand-thrown pottery with this easy hack. Mix your favorite shade of orange or tan paint with a little baking soda to get that gritty, earthy texture. Pro tip suggests dabbing the paint on with a sponge instead of a brush to avoid those annoying streak marks.
- Add a matte sealer
- Use muted earth tones
- Stick to chunky jars
It looks incredibly high-end and nobody will ever guess it used to hold salsa.
4. Galactic Nebula
Space is cool and your office supplies deserve a home that looks like a deep-space photograph. Layer dark purples, deep blues, and blacks using a damp sponge applicator to blend the edges. My pro tip is to flick white paint from a stiff toothbrush to create distant stars that actually have depth. This creates a moody, mysterious vibe that hides whatever random junk you decide to store inside.
5. Ombre Sunset
Transition your jars from a fiery orange at the bottom to a soft, dreamy pink at the top. Blend the colors while they are still wet to ensure a smooth gradient that doesn’t have harsh lines. Use matte sealant once it dries to keep the finish looking sophisticated and professional. Pro tip is to work in very thin layers so the paint doesn’t slide down the glass and get gloopy. It brings a warm, cozy glow to any room even when the actual sun is long gone.
6. Geometric Gold Accents
This is for when you want your room to feel fancy without spending your grocery budget on decor. Use painter’s tape to create sharp lines, triangles, or chevrons across the middle of the jar. A pro tip is to peel the tape while the paint is still slightly damp to prevent those jagged, ruined edges. This look screams boutique decor and pairs perfectly with white or black base coats.
7. Watermelon Slices
Bring those summer vibes into your kitchen all year round regardless of the weather. Paint the bottom rim green, add a thin white stripe, and fill the rest with a bright pink. Outdoor craft paint helps if you plan to put these on the patio for summer parties. Pro tip is to use a toothpick to drag the black “seed” dots into a teardrop shape. It is a refreshing pop of color that makes everyone smile.
8. Chalkboard Labels
This is the ultimate hack for people who love to reorganize their entire lives every Tuesday. Paint a solid rectangle or an oval with chalkboard paint so you can swap labels whenever you feel like it. Pro tip is to “season” the dried paint by rubbing a piece of chalk all over it and wiping it off before you write your first word.
- Organize your spices
- Label your craft supplies
- Track your savings
It makes you look like you have your life together even if the rest of the house is a mess.
9. Whimsical Fireflies
Create a jar that holds a little bit of magic for your bedside table. Use glow-in-the-dark paint on the inside of the jar to create tiny dots that shine when the lights go out. A pro tip is to vary the size of the dots to create a realistic sense of depth and movement. It works as a perfect, low-stress nightlight or a charming accent for a backyard evening.
10. Boho Rainbows
Muted tones and earthy vibes are the core of this trendy aesthetic. Paint simple, hand-drawn arches in shades of mustard, sage, and terracotta using flat brushes. Pro tip is to skip the ruler because “perfectly imperfect” is exactly what makes the boho style work. This adds a soft, calming touch to a nursery or a home office.
11. Glossy Marble Swirl
This technique makes your jars look like they were carved from expensive stone. Drop small amounts of paint into a bucket of water and dip the jar in to pick up the swirling patterns. Enamel paints provide the best shine and durability for this specific water-marbling technique. Pro tip is to move quickly before the paint forms a film on the water surface. Every single jar comes out as a one-of-a-kind masterpiece.
12. Cactus Garden
This idea is perfect for the brown thumbs who cannot keep a real plant alive for more than a week. Paint the entire jar a vibrant green and add white “V” shapes to represent the needles. A glossy topcoat makes the “cactus” look healthy and vibrant without needing a drop of water. Pro tip is to paint the jar lid a bright pink or yellow to look like a blooming flower. You get all the greenery vibes with zero risk of plant murder.
13. Vintage Lace Stencil
This look is classy and just a little bit nostalgic in the best way possible. Wrap a piece of lace trim around the jar and lightly spray paint over it to leave a delicate pattern behind. Pro tip is to use a tiny bit of repositionable spray adhesive to keep the lace perfectly flat against the glass. It creates a stunning pattern that looks incredible when you drop a tea light candle inside.
14. Spooky Ghosties
Halloween is a lifestyle and these little guys are too cute to only show up in October. Paint simple white blobs with black oval eyes all over the surface of the glass. Use satin finish paint to give the ghosts a subtle, ethereal sheen. Pro tip is to make the ghosts different sizes and orientations so they look like they are floating around the jar. It is a fun way to store your candy stash or your favorite pens.
15. Abstract Splatter Art
Channel your inner messy artist and let out some frustration with this one. Throw contrasting colors at the jar using a stiff-bristled brush for a high-energy look. Pro tip is to do this inside a deep cardboard box unless you want your kitchen walls to become a permanent art installation.
- Neon on black
- Gold on white
- Pastels on grey
It is chaotic, fun, and literally impossible to do wrong.
✨ New Member Etsy Shops (100% Unsponsored!)
We are incredibly proud of the talent in this community! 💖 We've rounded up some gorgeous new Etsy shops launched by our very own members.
There are ZERO affiliate links in this post—just 100% pure support for our makers. Click below to shop small, show them some love, and find your new favorite items! 👇🛍️


Conclusion
Now go forth and paint like the DIY legend you are. You officially have no excuse to keep those jars empty and boring anymore. Your shelves are about to look like a curated Pinterest board and your wallet will definitely thank you for the cheap decor upgrade.