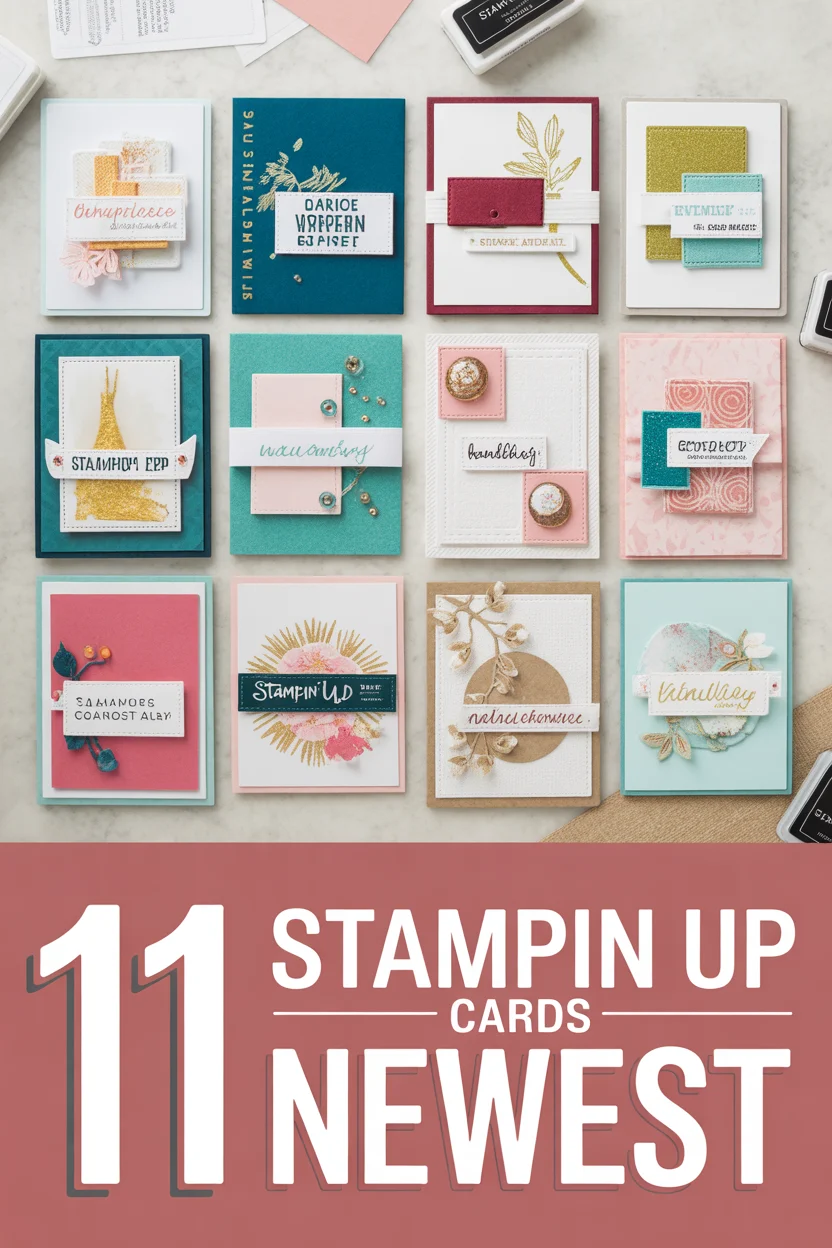
🎨 11 Stampin Up Cards Newest
🛠️ The Ultimate Maker's Toolkit
I've tested thousands of craft tools over the years. Whether you are quilting, crafting, or building mixed-media art, these are the top 5 absolute non-negotiable tools I personally recommend to guarantee professional results.
🪡 SINGER Heavy Duty 4452 Sewing Machine
The sewing community highly recommends this as the ultimate "bulletproof" entry-level machine. Its heavy metal frame powerfully pushes through thick denim and heavy quilt layers that would instantly jam a standard plastic machine.
✂️ Fiskars 8" Orange-Handled Scissors
Never settle for dull dollar-store blades. Wirecutter repeatedly names Fiskars the absolute best all-purpose craft scissor due to its legendary precision-ground blades and an ergonomic grip that prevents hand-cramping.
🔥 Gorilla Dual Temp Hot Glue Gun
Named Wirecutter's top choice because it literally does the work of two tools. It features dual-temperature settings offering low heat for delicate florals and blistering high heat for heavy wood adhesion repairs.
🖌️ Mod Podge Waterbase Gloss Sealer
The absolute undisputed champion of decoupage and paper crafts. Experts rely exclusively on this exact water-based formula because it glues, seals, and finishes beautifully without yellowing or flaking over time.
🎨 Apple Barrel Acrylic Paint (2 oz)
The quintessential, incredibly inexpensive craft paint. Woodworkers and hobby painters swear by its smooth flow and matte finish, providing massive value and remarkably thick color coverage on rough surfaces.
Alright, creative comrades, gather ’round! You know the drill. Just when you think your craft stash is peak fabulous, Stampin’ Up! drops a new catalog and suddenly, your wallet starts sweating. But hey, it’s a small price to pay for crafting pure joy, right? We’ve scoured the latest releases and brainstormed some seriously fresh takes to get your card-making mojo flowing. Get ready to ditch the crafting rut and embrace the shiny newness.
1. Dimensional Layering Extravaganza
This one is all about building up the visual interest, literally. Think multiple die-cut shapes stacked with foam adhesive, creating shadows and depth that just scream “touch me.” Grab your favorite new stamp set, maybe something from the ‘Whimsical Wonders’ collection, and go wild with coordinating dies.
The trick here is varying the height of your layers; don’t make everything the same level unless you’re aiming for a minimalist vibe (which we are not, today). Pro tip: Use Stampin’ Dimensionals in both regular and mini sizes for precision layering, especially with intricate elements. This technique adds an undeniable luxe feel, making even simple designs feel utterly grand.
2. Texture Paste Perfection
Who said cards had to be flat? Not us, and certainly not the newest trends! Texture paste, mixed with a few drops of reinker for custom colors, creates incredible tactile backgrounds. Apply it through a stencil for a subtle pattern or spread it freehand for an organic, artsy look.
This technique instantly elevates any card from “cute” to “gallery-worthy.” Just make sure to let it dry completely before you start adding your stamped images, unless you’re going for a delightfully smudged, mixed-media effect. It’s an easy way to add a sophisticated edge without needing a whole new skill set.
3. Clean and Simple Color Blocking
Sometimes less really is more, especially when you’re playing with bold color combinations. This trend focuses on crisp lines and distinct blocks of color, often using new cardstock shades from the latest release. Pick two or three vibrant hues and let them do all the talking.
A single, striking stamped sentiment often takes center stage here, proving that a strong message doesn’t need a lot of embellishment. Pro tip: Use a paper trimmer with a sharp blade for perfectly straight edges; wobbly lines totally ruin the effect. This style is surprisingly impactful and incredibly satisfying to create.
4. Watercolor Wash Backgrounds
Unleash your inner artist with dreamy watercolor washes. Grab your Stampin’ Up! ink pads, a clear block, and a Water Painter, and just let the colors blend. This creates a soft, ethereal backdrop perfect for delicate floral stamps or elegant sentiments.
Don’t overthink it; the beauty is in the imperfections and the organic flow of the water and ink. Pro tip: Use Shimmery White cardstock for an extra touch of sparkle and better water absorption. This technique makes every card feel unique and personally crafted, like a little piece of art.
5. Shaker Card Charm
Shaker cards are back and sassier than ever, especially with the newest embellishments. Fill them with tiny sequins, glitter, or even small die-cut shapes that coordinate with your theme. They’re interactive, fun, and guaranteed to bring a smile.
Pick a focal image, create a window with coordinating dies, and then go wild with your shaker bits. Pro tip: Use Foam Adhesive Strips around your window for a secure seal; nobody wants rogue glitter escaping into the envelope. These cards are pure joy in an envelope, making them perfect for any celebration.
6. Interactive Slider Cards
Why just send a card when you can send a mini experience? Slider cards involve an element that moves across the card front, revealing a hidden message or image. They’re surprisingly easy to make with a few clever cuts and some careful layering.
This technique adds an unexpected element of surprise and delight for the recipient. You’ll need a good craft knife and a ruler for precise cuts to ensure smooth movement. Pro tip: Use a penny or a small button with Dimensionals to create the sliding mechanism; it works like a charm. It’s definitely a step up from your average flat card, in the best way possible.
7. Ombre Ink Blending Masterpiece
Seamless color transitions are trending, and ombre ink blending is your ticket to achieving them. Pick two or three complementary ink colors, grab your Blending Brushes, and gently blend them from light to dark across your cardstock. The effect is simply stunning.
This technique creates a sophisticated and artistic background that can stand alone or serve as a base for stamped images. Practice makes perfect, so don’t be afraid to experiment with different color combinations. Pro tip: Start with the lightest color and work your way to the darkest for the smoothest blend. Your cards will look like they took hours, but they’re surprisingly quick.
8. Fussy Cutting Focal Points
Sometimes, the best new trend is rediscovering the simple joy of fussy cutting. With the intricate designs in the newest stamp sets, cutting out those detailed images by hand creates a truly bespoke look. Pop them up with Dimensionals for extra impact.
This method allows your stamped images to truly shine as the main event on your card. A good pair of paper snips is your best friend here for those tiny corners and curves. Pro tip: Rotate the paper, not your scissors, for smoother cuts and less hand fatigue. It’s a bit meditative and the results are always worth the effort.
9. Mixed Media Splatter Fun
Don’t be afraid to get a little messy! Splattering ink or watered-down paint onto your card provides an instant artistic, edgy vibe. It adds texture and interest without needing a ton of fancy tools. Just load up a brush and tap away.
This technique works especially well with abstract or masculine card designs, breaking up any stiffness. Pro tip: Cover up parts of your card you want to keep clean with scrap paper before you start splattering. It’s a quick way to add a dynamic, energetic feel to any project.
10. Monochromatic Elegance
Focusing on a single color family, using different shades and tones, creates a wonderfully cohesive and sophisticated card. Pick one of the new In Colors, for example, and use its various hues in your cardstock, ink, and embellishments. The result is pure harmony.
This approach proves that you don’t need a rainbow to make a statement; sometimes, restraint is key. Pro tip: Add texture through embossing or die-cutting within your chosen color scheme to prevent the card from looking flat. It’s a chic and understated way to showcase your favorite color.
11. Sentiment-Driven Designs
Let the words do the talking! With the amazing new fonts and sentiment stamps, making your message the star of the show is a big trend. Use large, bold sentiments, maybe heat embossed or die-cut multiple times for dimension, as your primary focal point.
This design style ensures your heartfelt message is impossible to miss. Pair it with a simple background or a subtle pattern so the sentiment truly pops. Pro tip: Stamp your sentiment first on a scrap piece to ensure perfect placement before committing to your final card front. It’s direct, impactful, and totally on point.
✨ New Member Etsy Shops (100% Unsponsored!)
We are incredibly proud of the talent in this community! 💖 We've rounded up some gorgeous new Etsy shops launched by our very own members.
There are ZERO affiliate links in this post—just 100% pure support for our makers. Click below to shop small, show them some love, and find your new favorite items! 👇🛍️


Conclusion
There you have it, eleven fresh ways to tackle your next Stampin’ Up! card project. From getting dimensional to embracing the splatter, these techniques are all about injecting new life into your crafting. So go on, raid that craft room, grab those new goodies, and start making some magic. Your friends’ mailboxes (and your creative soul) will thank you for it. Happy crafting!