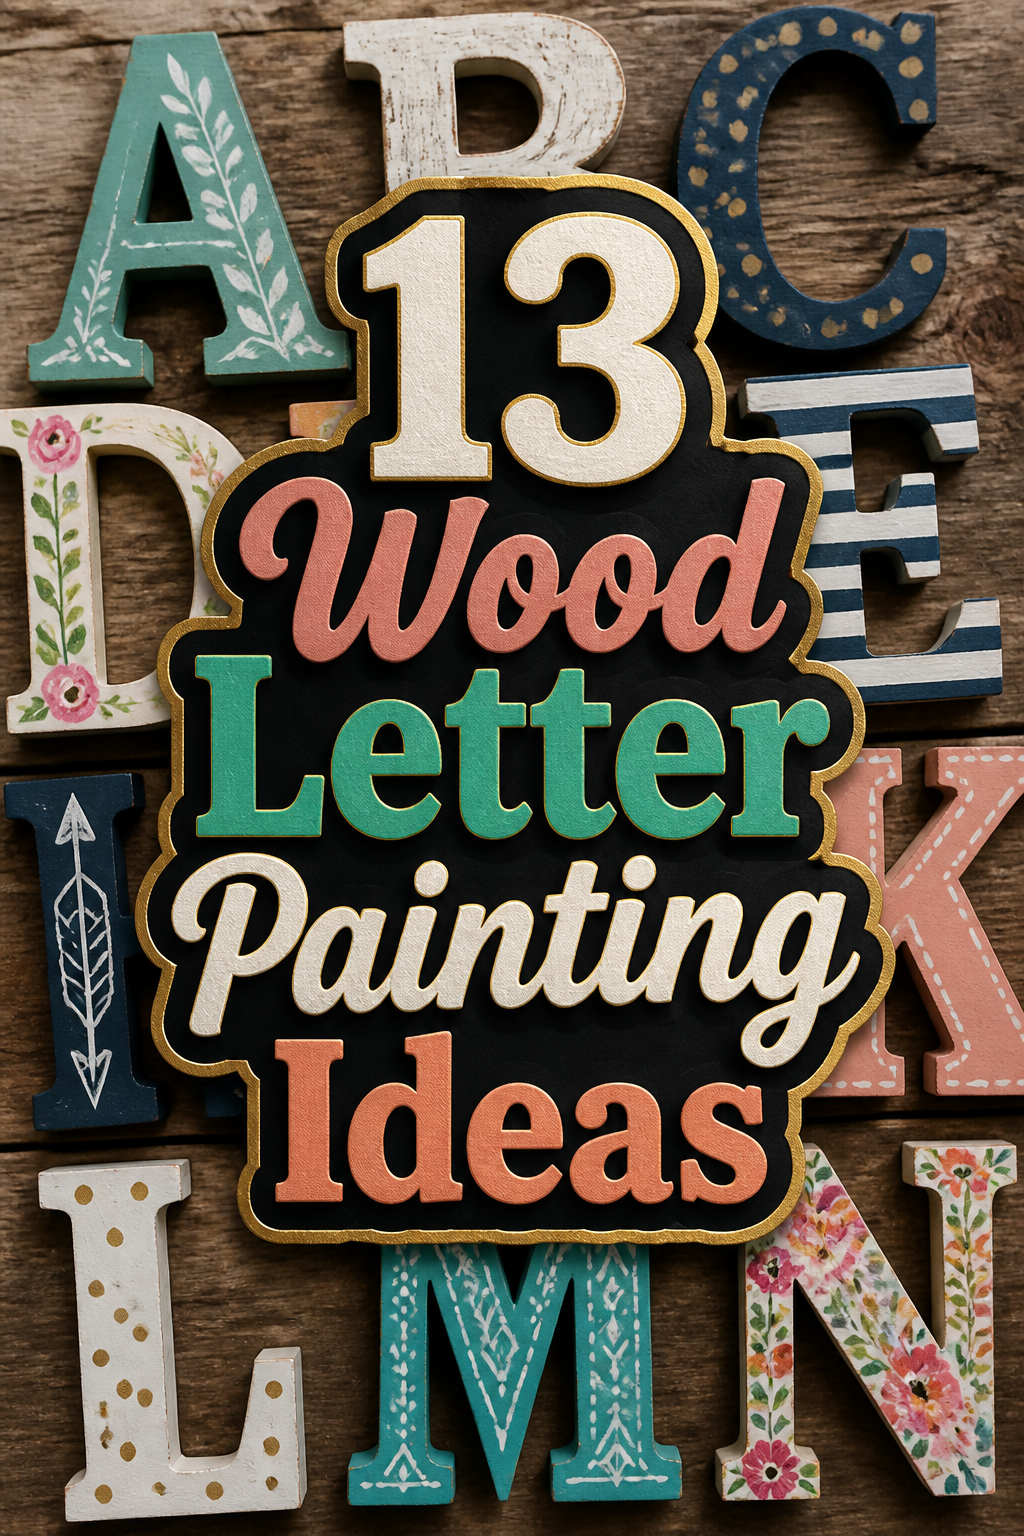
🎨 13 Wood Letter Painting Ideas
🛠️ The Ultimate Maker's Toolkit
I've tested thousands of craft tools over the years. Whether you are quilting, crafting, or building mixed-media art, these are the top 5 absolute non-negotiable tools I personally recommend to guarantee professional results.
🪡 SINGER Heavy Duty 4452 Sewing Machine
The sewing community highly recommends this as the ultimate "bulletproof" entry-level machine. Its heavy metal frame powerfully pushes through thick denim and heavy quilt layers that would instantly jam a standard plastic machine.
✂️ Fiskars 8" Orange-Handled Scissors
Never settle for dull dollar-store blades. Wirecutter repeatedly names Fiskars the absolute best all-purpose craft scissor due to its legendary precision-ground blades and an ergonomic grip that prevents hand-cramping.
🔥 Gorilla Dual Temp Hot Glue Gun
Named Wirecutter's top choice because it literally does the work of two tools. It features dual-temperature settings offering low heat for delicate florals and blistering high heat for heavy wood adhesion repairs.
🖌️ Mod Podge Waterbase Gloss Sealer
The absolute undisputed champion of decoupage and paper crafts. Experts rely exclusively on this exact water-based formula because it glues, seals, and finishes beautifully without yellowing or flaking over time.
🎨 Apple Barrel Acrylic Paint (2 oz)
The quintessential, incredibly inexpensive craft paint. Woodworkers and hobby painters swear by its smooth flow and matte finish, providing massive value and remarkably thick color coverage on rough surfaces.
Your walls look like a blank void of sadness.
Staring at plain plywood letters makes you feel like you forgot to finish a middle school project.
Let’s fix that boring wood with some actual style.
Check out these ways to upgrade your space.

1. The Ombre Fade
- Best For: Nurseries
- Vibe: Dreamy and soft
- Why it works: It blends colors smoothly.
Grab three shades of acrylic paint in the same color family. Start dark at the bottom and blend upwards using a sponge brush. It hides your shaky hands surprisingly well.
Pro Tip: Use a dry brush to blur the lines between shades while the paint is still wet.
2. Gold Leaf Glam
- Best For: Wedding Decor
- Vibe: High-end luxury
- Why it works: It looks way more expensive than it is.
Apply gilding adhesive to the front of the wood. Gently press gold leaf sheets onto the surface and brush away the excess. You will look like a professional decorator without the student loans.
Pro Tip: Seal the finished letter with a clear gloss to prevent the gold from flaking.
3. Polka Dot Party
- Best For: Kids’ Playrooms
- Vibe: Fun and energetic
- Why it works: Circles hide imperfections in the wood grain.
Paint the base a solid Matte White first. Use a round foam pounce brush to stamp neon pink or teal dots everywhere. Even if they are not perfectly straight, just call it a boho aesthetic.
Pro Tip: Dip the brush once for every two dots to vary the opacity of the color.
4. Distressed Farmhouse
- Best For: Living Rooms
- Vibe: Rustic chic
- Why it works: Sanding off mistakes is literally part of the look.
Slap on a coat of dark brown paint followed by a layer of chalk paint. Use medium-grit sandpaper to scuff the edges until it looks like it sat in a barn for twenty years. Your guests will think you found it at an antique fair.
Pro Tip: Focus your sanding on the corners where natural wear usually happens.
5. Geometric Tape Art
- Best For: Modern Offices
- Vibe: Sharp and clean
- Why it works: Tape does all the heavy lifting for straight lines.
Lay down strips of thin painter’s tape in random zig-zags across the letter. Fill the gaps with metallic copper and navy blue. Peel the tape slowly to reveal those crisp lines that make you look organized.
Pro Tip: Pull the tape off while the paint is still slightly damp to avoid chipping.
6. Floral Hand Painted Accents
- Best For: Teen Bedrooms
- Vibe: Whimsical and feminine
- Why it works: It adds a custom touch to generic store-bought letters.
Paint the letter a soft sage green for a natural base. Use a fine liner brush to doodle tiny daisies or roses in the corners. Do not worry about botanical accuracy since nobody is grading this project.
Pro Tip: Use a toothpick to dot the yellow centers of your flowers for precision.
7. Galaxy Splatter
- Best For: Science Buffs
- Vibe: Moody and cosmic
- Why it works: Splattering paint is a great way to vent frustration.
Coat the wood in Midnight Black. Dip an old toothbrush into white and purple paint, then flick the bristles to create stars. It is messy, chaotic, and looks incredibly cool under LED lights.
Pro Tip: Wear an apron unless you want your favorite shirt to become part of the art.
8. Dipped Neon
- Best For: Dorm Rooms
- Vibe: Trendy and bold
- Why it works: Half the effort for double the impact.
Paint only the bottom third of the letter in a Fluorescent Orange. Leave the top part as natural raw wood for a high-contrast look. It screams that you have a Pinterest board without the five-hour commitment.
Pro Tip: Use a level to make sure your dip line is perfectly horizontal.
9. Marble Swirl
- Best For: Bathroom Shelves
- Vibe: Sophisticated
- Why it works: No two letters ever look the same.
Fill a tray with water and drop in grey and white enamel paints. Swirl them with a stick and dip the wood letter face-down. You get a stone effect that costs about five dollars instead of fifty.
Pro Tip: Use room temperature water to keep the paint from clumping too quickly.
10. Animal Print Fun
- Best For: Maximalist Spaces
- Vibe: Wild and loud
- Why it works: Leopard spots are just messy circles.
Start with a Tan base coat. Use black paint to draw irregular C shapes and fill them with a slightly darker brown. It is the easiest way to make a boring letter look like it belongs in a safari.
Pro Tip: Keep the patterns small so the actual letter shape remains readable.
11. Color Blocked Pastels
- Best For: Baby Showers
- Vibe: Sweet and organized
- Why it works: It uses up those tiny leftover paint samples.
Divide your letter into three sections using washi tape. Paint each section a different pastel shade like mint, lemon, and lavender. It looks clean, intentional, and very professional for a nursery gift.
Pro Tip: Paint the sides of the letter a neutral grey to make the colors pop more.
12. Glitter Explosion
- Best For: Birthday Parties
- Vibe: Extra and sparkly
- Why it works: Sparkles hide every single wood grain flaw.
Mix chunky glitter directly into Mod Podge and slather it on the wood. Apply a second coat of clear sealer so you do not find glitter in your carpet for three years. It is loud and very shiny.
Pro Tip: Use a base paint color that matches your glitter for extra depth.
13. Stencil Overlays
- Best For: Kitchen Signs
- Vibe: Detailed and intricate
- Why it works: Stencils do the drawing for you.
Paint the letter a solid dark navy. Lay a mandala stencil over it and sponge on some silver metallic paint. It gives the wood a textured look that resembles custom laser-cutting.
Pro Tip: Use a very dry sponge to prevent the paint from bleeding under the stencil.
Our Top Recommended Finds
- A set of multi-surface acrylic paints because they stick to wood without a fight.
- A variety pack of foam brushes to handle everything from broad strokes to tiny corners.
- High-quality painter’s tape so you actually get those sharp lines you are dreaming of.
Which of these will you try first?
You have no excuse for those naked wood letters now.
Go grab a brush and turn that plywood into a masterpiece for your wall.
Which style is calling your name for your next project?