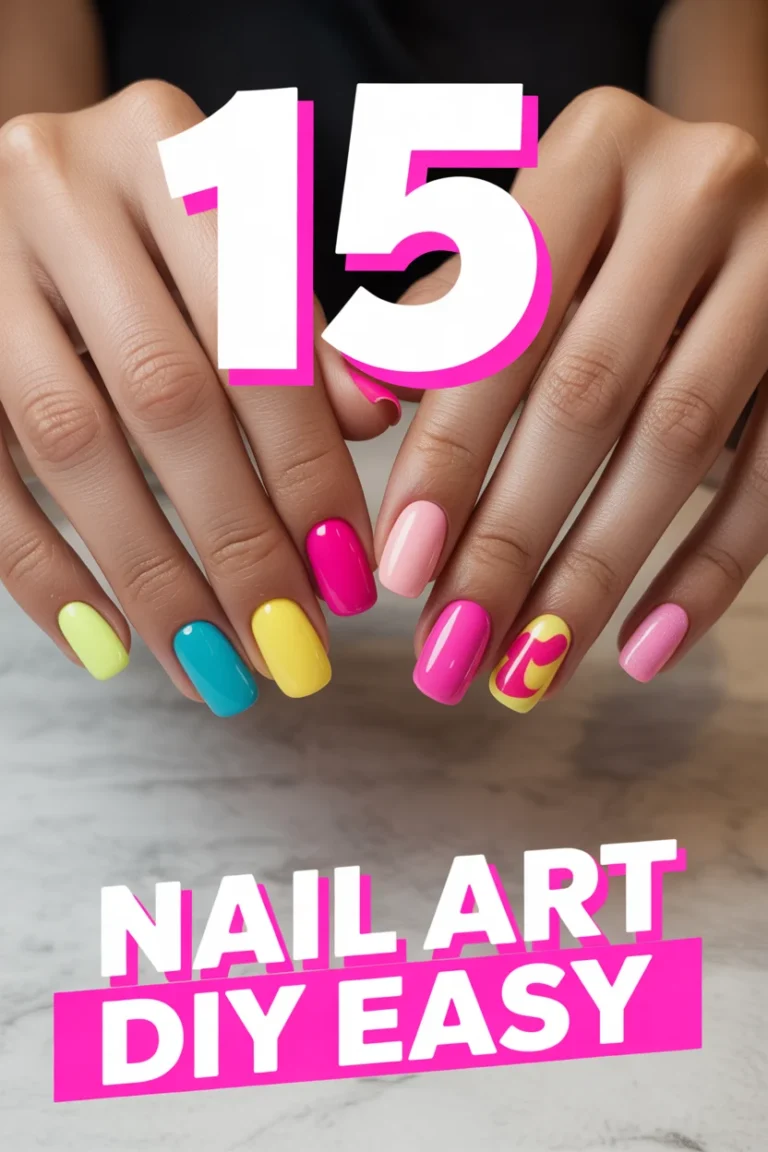
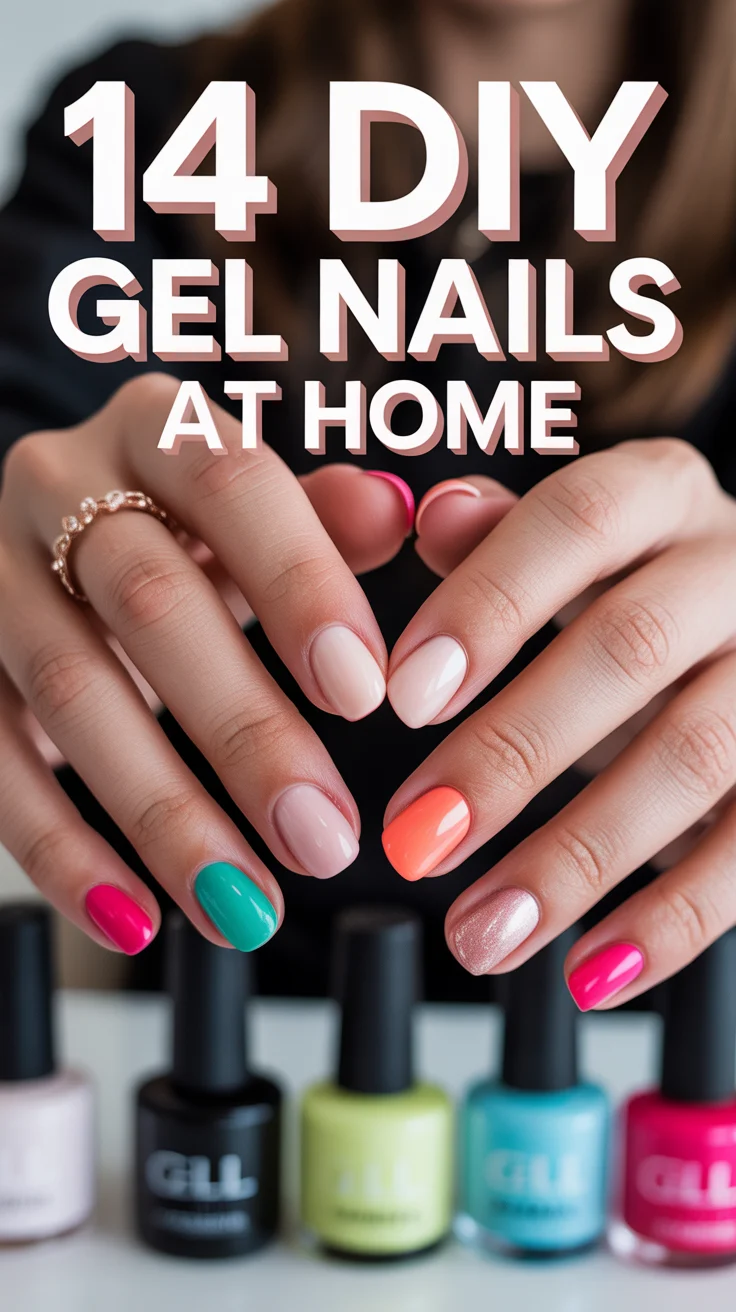
💅 13 DIY Nails At Home
🛠️ The Ultimate Maker's Toolkit
I've tested thousands of craft tools over the years. Whether you are quilting, crafting, or building mixed-media art, these are the top 5 absolute non-negotiable tools I personally recommend to guarantee professional results.
🪡 SINGER Heavy Duty 4452 Sewing Machine
The sewing community highly recommends this as the ultimate "bulletproof" entry-level machine. Its heavy metal frame powerfully pushes through thick denim and heavy quilt layers that would instantly jam a standard plastic machine.
✂️ Fiskars 8" Orange-Handled Scissors
Never settle for dull dollar-store blades. Wirecutter repeatedly names Fiskars the absolute best all-purpose craft scissor due to its legendary precision-ground blades and an ergonomic grip that prevents hand-cramping.
🔥 Gorilla Dual Temp Hot Glue Gun
Named Wirecutter's top choice because it literally does the work of two tools. It features dual-temperature settings offering low heat for delicate florals and blistering high heat for heavy wood adhesion repairs.
🖌️ Mod Podge Waterbase Gloss Sealer
The absolute undisputed champion of decoupage and paper crafts. Experts rely exclusively on this exact water-based formula because it glues, seals, and finishes beautifully without yellowing or flaking over time.
🎨 Apple Barrel Acrylic Paint (2 oz)
The quintessential, incredibly inexpensive craft paint. Woodworkers and hobby painters swear by its smooth flow and matte finish, providing massive value and remarkably thick color coverage on rough surfaces.
Alright bestie, let’s get real. Salon visits are great, but sometimes your wallet (or your schedule) just isn’t feeling it. Who says you can’t get those Instagram-worthy digits right from your couch, binging your fave show, and probably still in your PJs? Not us! We’re diving headfirst into the glorious world of DIY nails, because your hands deserve to look fabulous without the fuss. Grab your polishes, a good playlist, and maybe a snack – we’re about to transform your nail game.
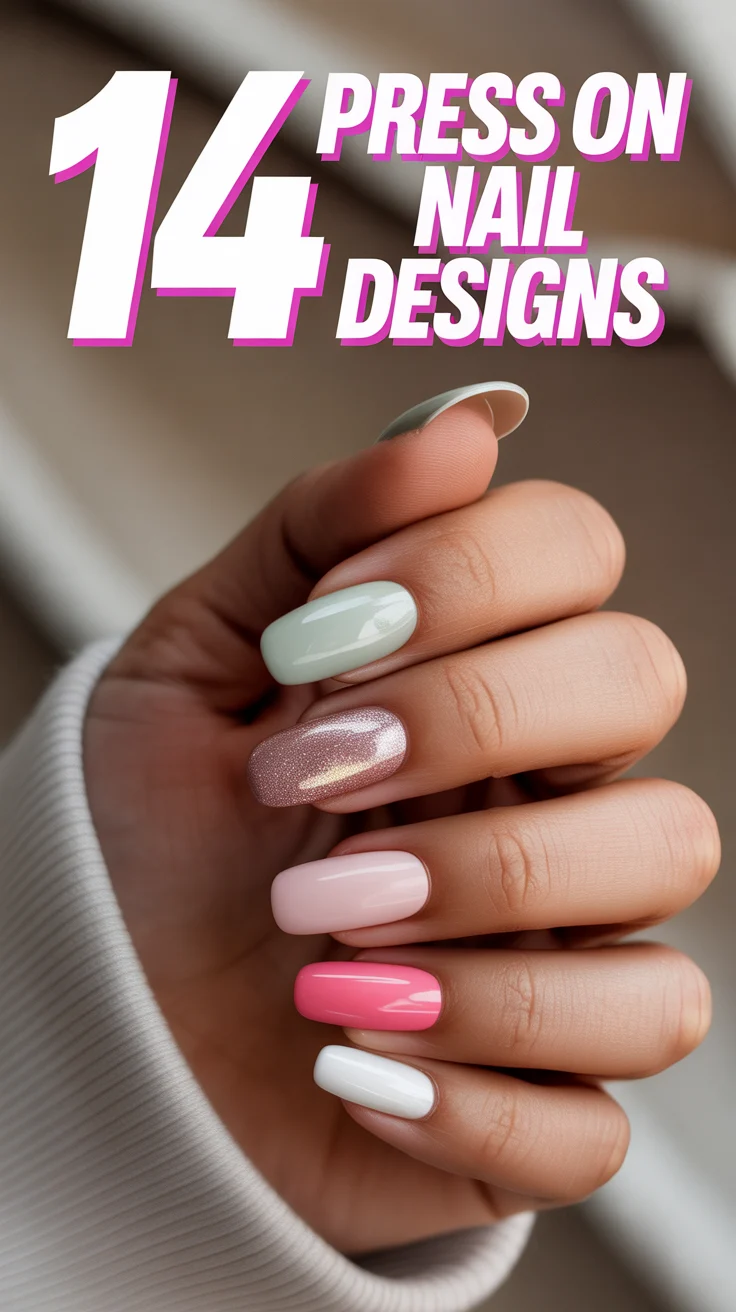
1. The Solid Color Power Play
This is where it all begins, darling. Sometimes, less is genuinely more, especially when you’re rocking a killer shade. A perfectly applied single color is always in style and screams “I have my life together” (even if you just winged it).
Grab a high-quality base coat, two thin coats of your chosen color, and a glossy top coat. Pro tip: cap the free edge of your nail with each coat to prevent chips. It’s the secret handshake of savvy nail artists. This look works because it’s timeless, effortless, and lets your chosen hue do all the talking.
2. Glitter Accent Nail Glam
Afraid of commitment but still want a little sparkle? The accent nail is your new best friend. It’s like the party trick of the nail world – just enough pizzazz without being overwhelming.
Pick one nail (the ring finger is classic, but be bold!) and give it the full glitter treatment. The rest of your nails can be a complementary solid color. Pro tip: dab, don’t brush, chunky glitter for better coverage. This style is perfect for adding a pop of fun without going full disco ball.
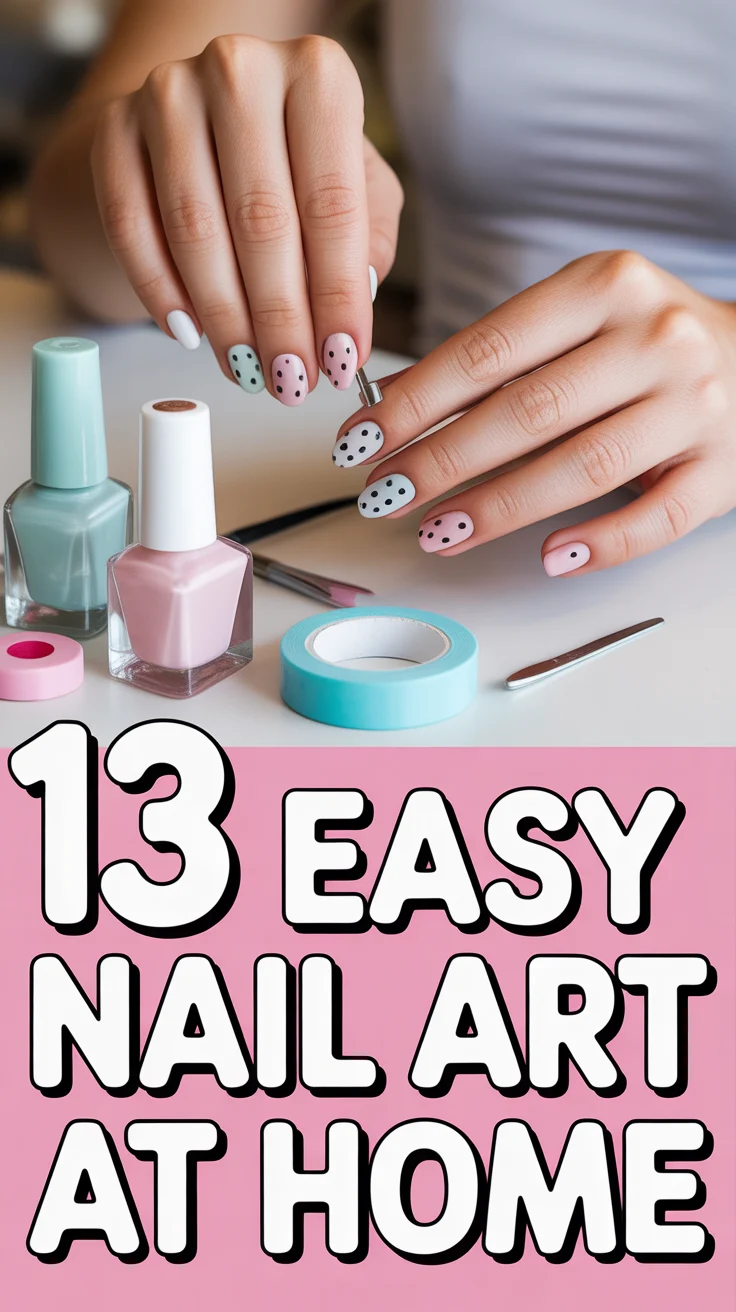
3. Easy Peasy Polka Dots
Who knew geometry could be so cute? Polka dots are the ultimate playful design that looks way more complicated than it actually is. Seriously, you got this.
After your base color dries, use a dotting tool (or the blunt end of a bobby pin) and a contrasting polish to create your dots. Vary the size for an extra whimsical touch. Pro tip: make sure your dotting tool is clean for crisp circles. It’s a quick, cheerful way to add personality to your fingertips.
4. Striped Sensation
Stripes are sophisticated, sleek, and surprisingly simple to achieve with the right tools. Think modern art, but on your nails.
For crisp lines, use nail art striping tape after your base color is completely dry. Lay down your tape, paint over it with your accent color, and then peel off the tape while the polish is still wet. Pro tip: always wait for each layer to dry before applying tape or another color. This trick delivers a chic, graphic look that’s effortlessly cool.
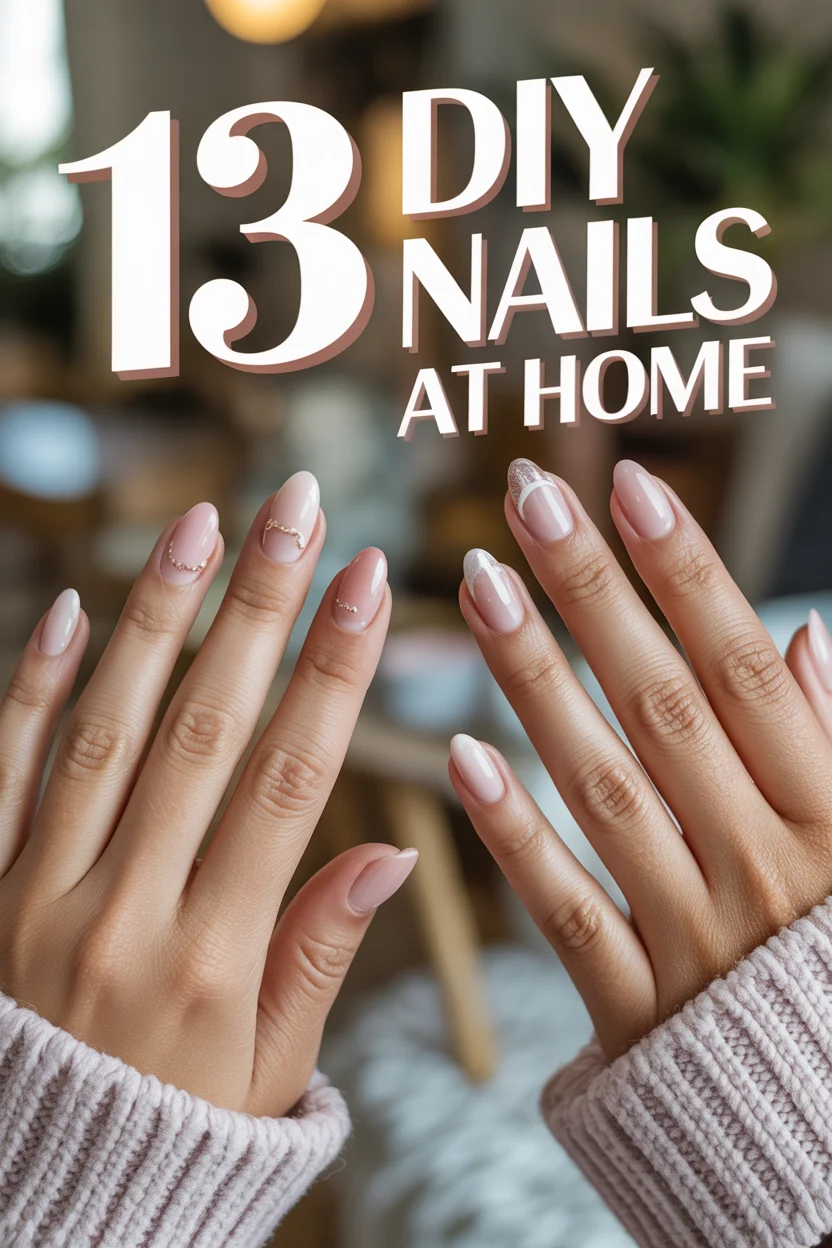
5. Modern French Manicure Twist
Forget the stuffy, traditional French tip. We’re talking about a fresh, updated version that’s less “bridal shower” and more “brunch with the girls.”
Instead of white, try a bold color for your tips, or even a glitter polish. You can freehand it with a thin brush, or use French tip guides for precision. Pro tip: a quick swipe of a clean brush dipped in acetone can clean up any wobbly lines. This updated classic keeps things elegant but adds a dash of contemporary flair.
6. Negative Space Chic
Minimalism is in, and negative space nails are the poster child. It’s about letting your natural nail shine through, creating an intriguing, understated design.
Paint part of your nail, leaving a section bare. Think half-moons, geometric shapes, or even just a stripe down the middle. Pro tip: a clear base coat is essential here to protect your bare nail. This look is effortlessly cool and screams “I’m fashion-forward without even trying.”
7. Ombre Gradient Goals
Why pick one color when you can have two (or three)? Ombre nails create a beautiful, seamless blend of colors that’s utterly mesmerizing.
Apply your lightest color as a base. Then, dab your chosen colors onto a makeup sponge, pressing and rolling it onto your nail. Pro tip: clean up around your cuticles with an acetone-soaked brush immediately after sponging. It’s a stunning effect that makes your nails look professionally done.
8. Matte Top Coat Magic
This isn’t a design, it’s a transformation. A matte top coat instantly elevates any color, taking it from glossy to gloriously velvety.
Simply apply your favorite polish, let it dry completely, then finish with a matte top coat. Pro tip: ensure your base color is fully dry to prevent streaks in the matte finish. It’s the easiest way to give your existing polish collection a whole new vibe.
9. Abstract Swirls & Blobs
Embrace your inner artist – no rules, no precision needed. Abstract nails are all about organic shapes and playful squiggles.
Using a thin brush or a dotting tool, simply paint random swirls, blobs, and lines over a dry base color. Don’t overthink it. Pro tip: use contrasting colors to make your abstract shapes pop. This design is perfect for when you want something unique but don’t want the pressure of perfection.
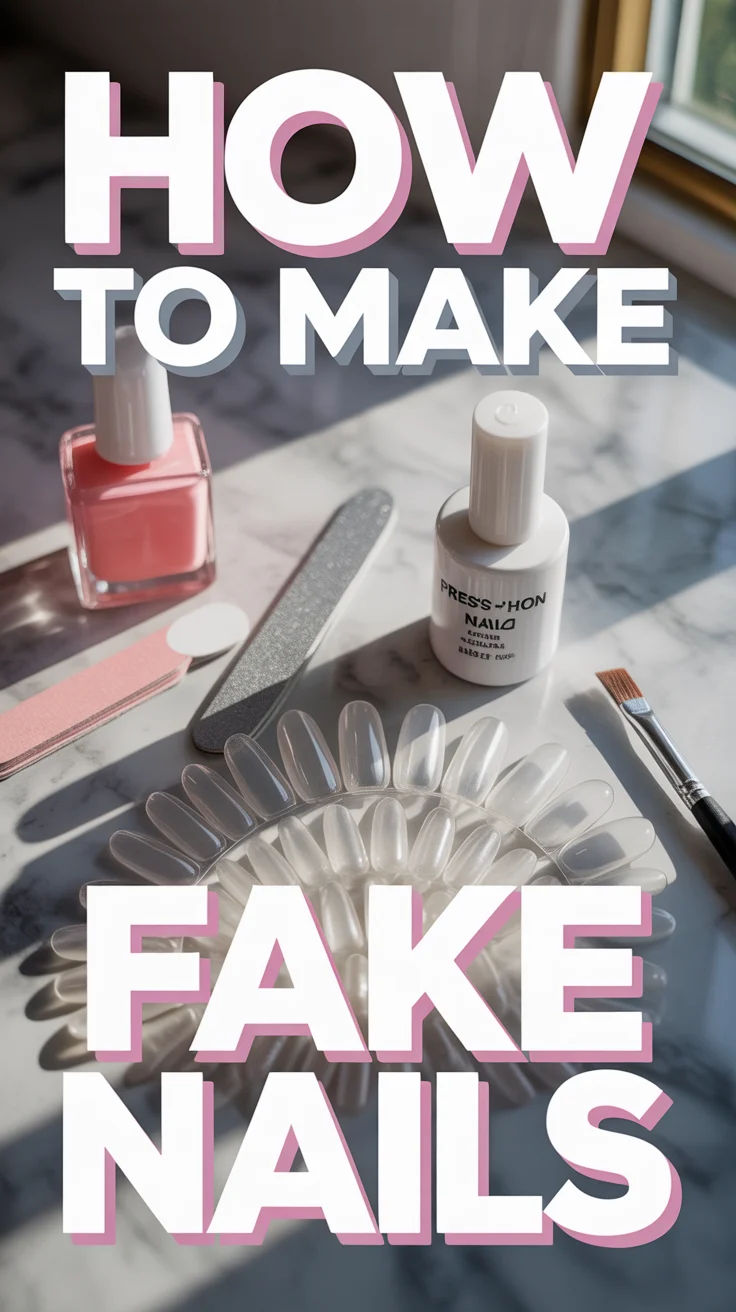
10. Sticker & Decal Savvy
Let’s be real, sometimes you want intricate art without doing the actual intricate art. Nail stickers and decals are your genius shortcut.
Apply your base color, let it dry, then carefully place your nail stickers or decals. Seal with a top coat. Pro tip: use tweezers to handle tiny stickers for precise placement. It’s a fantastic cheat code for instant, detailed nail art.
11. Dry Brush Marble Effect
Get that sophisticated marble look without the mess of water marbling. This technique uses a dry brush to create beautiful, streaky patterns.
Apply a base color. Once dry, dip a very dry brush into a contrasting polish, wipe off almost all the excess, and lightly drag it across your nail. Pro tip: less is more with the polish on your brush; you want barely-there streaks. This creates an elegant, textured effect that looks totally high-end.
12. Half Moon Mani Retro Cool
A nod to vintage glamour, the half-moon manicure (or “reverse French”) is chic, unexpected, and adds a touch of old-school Hollywood to your fingertips.
After your base coat, apply a contrasting color just to the crescent moon area at the base of your nail. You can use half-moon guides or freehand it carefully. Pro tip: make sure the base color is completely dry before applying the half-moon color to prevent smudging. It’s a sophisticated twist that’s surprisingly easy to master.
13. Jewel Embellishment Bling
Ready to truly sparkle? Adding tiny rhinestones or jewels takes your DIY mani from cute to couture in seconds.
After applying your top coat but while it’s still wet, use a wax pencil or tweezers to carefully place your tiny jewels. Press gently to secure. Pro tip: apply an extra layer of top coat over the jewels to really seal them in and prevent snagging. This is the ultimate way to add luxurious, eye-catching detail to your nails.
✨ New Member Etsy Shops (100% Unsponsored!)
We are incredibly proud of the talent in this community! 💖 We've rounded up some gorgeous new Etsy shops launched by our very own members.
There are ZERO affiliate links in this post—just 100% pure support for our makers. Click below to shop small, show them some love, and find your new favorite items! 👇🛍️


Conclusion
See? Who needs a salon when you’ve got a little creativity and a whole lot of polish? Your nails are now officially a canvas for self-expression, and you’re the artist. Go forth, flaunt those fabulous DIY digits, and maybe even inspire a friend or two to join the at-home nail party. You’ve just unlocked a world of endless possibilities, all from the comfort of your own fabulous abode. Get ready for compliments, because they’re coming!