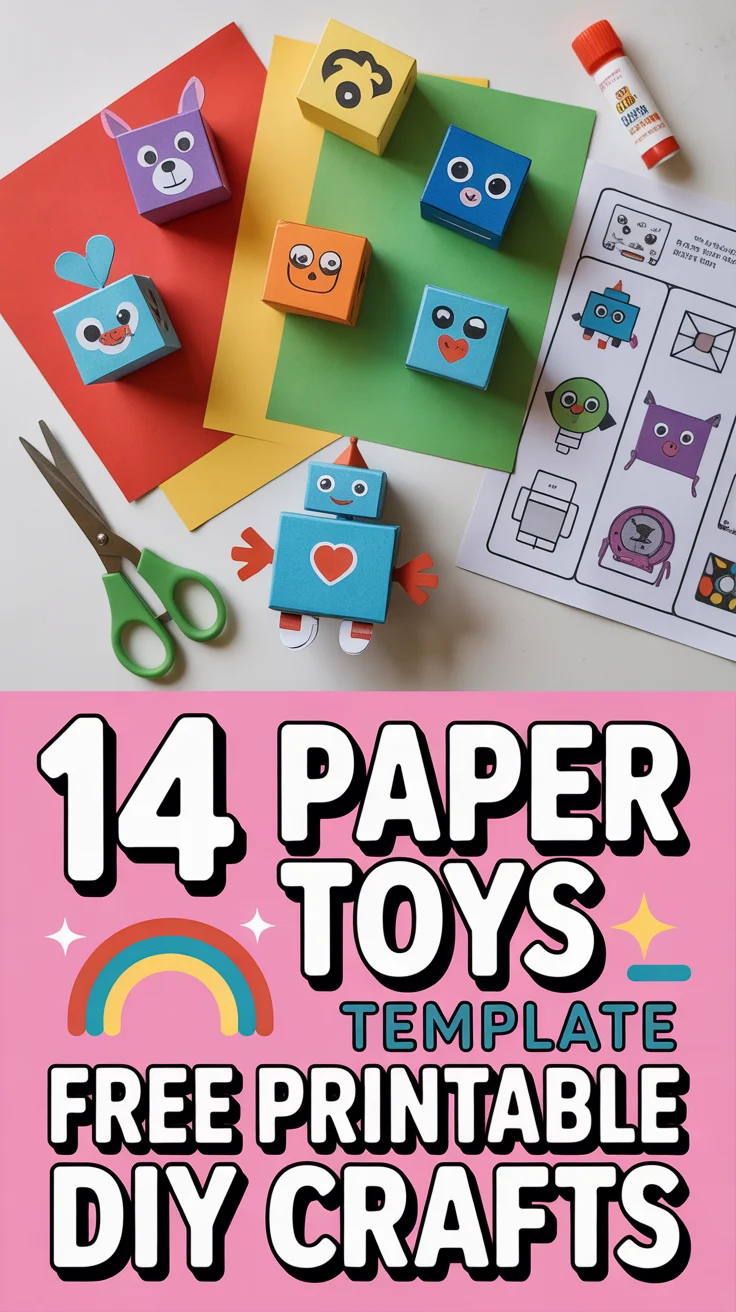
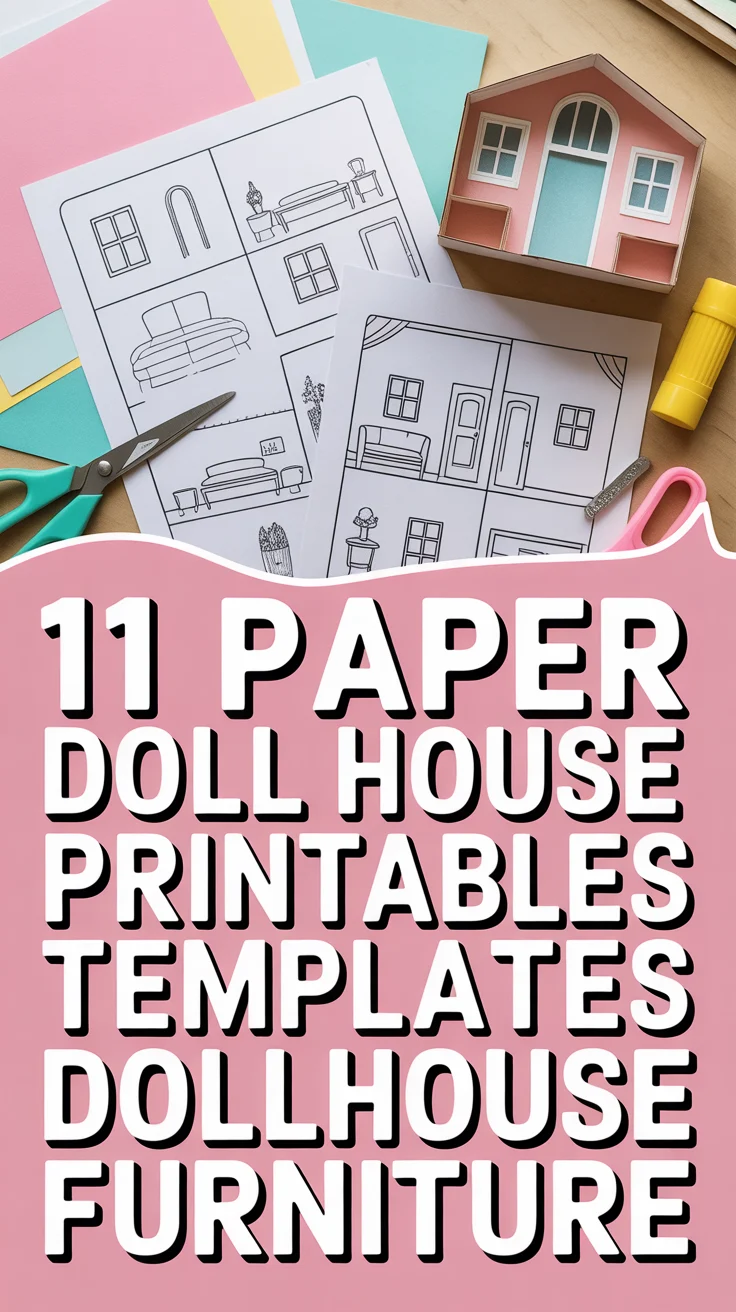
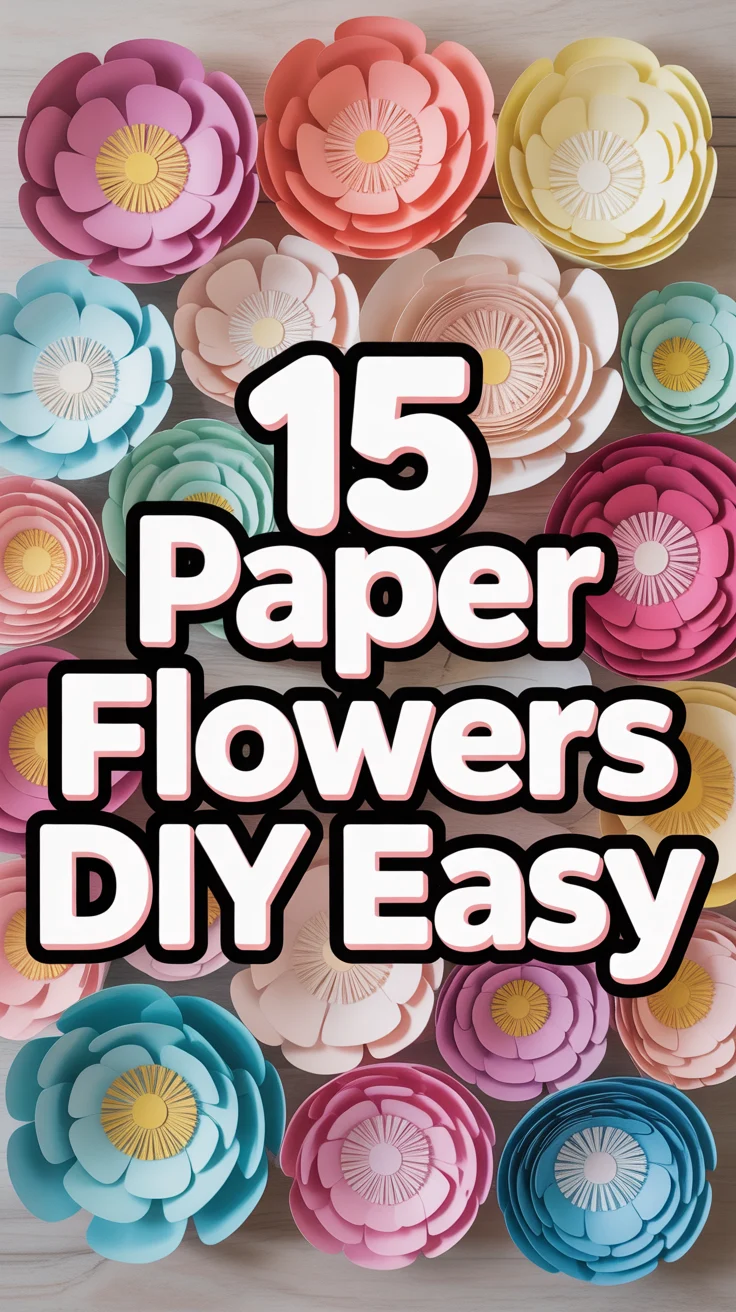
🌸 15 Paper Flowers DIY Easy
🛠️ The Ultimate Maker's Toolkit
I've tested thousands of craft tools over the years. Whether you are quilting, crafting, or building mixed-media art, these are the top 5 absolute non-negotiable tools I personally recommend to guarantee professional results.
🪡 SINGER Heavy Duty 4452 Sewing Machine
The sewing community highly recommends this as the ultimate "bulletproof" entry-level machine. Its heavy metal frame powerfully pushes through thick denim and heavy quilt layers that would instantly jam a standard plastic machine.
✂️ Fiskars 8" Orange-Handled Scissors
Never settle for dull dollar-store blades. Wirecutter repeatedly names Fiskars the absolute best all-purpose craft scissor due to its legendary precision-ground blades and an ergonomic grip that prevents hand-cramping.
🔥 Gorilla Dual Temp Hot Glue Gun
Named Wirecutter's top choice because it literally does the work of two tools. It features dual-temperature settings offering low heat for delicate florals and blistering high heat for heavy wood adhesion repairs.
🖌️ Mod Podge Waterbase Gloss Sealer
The absolute undisputed champion of decoupage and paper crafts. Experts rely exclusively on this exact water-based formula because it glues, seals, and finishes beautifully without yellowing or flaking over time.
🎨 Apple Barrel Acrylic Paint (2 oz)
The quintessential, incredibly inexpensive craft paint. Woodworkers and hobby painters swear by its smooth flow and matte finish, providing massive value and remarkably thick color coverage on rough surfaces.
Alright, let’s be real. Real flowers are gorgeous, for about five minutes, right? Then they start doing that dramatic wilt thing, dropping petals everywhere like they’re auditioning for a sad movie. Who needs that kind of commitment? Not us, friend. We’re here for the everlasting bloom, the no-fuss fabulousness, the “I made this with my own two hands” bragging rights. Get ready to ditch the florist and embrace your inner paper artisan. We’re diving into paper flowers, and guess what? They’re ridiculously easy.
1. Rolled Roses
These little beauties are the OG of easy paper flowers. You just cut a spiral, start rolling from the outside in, and boom, you’ve got a rose that won’t judge your watering habits. They look super sophisticated but are truly a beginner’s dream.
Pro tip: Secure the base with a dab of hot glue to keep your rose from unraveling its elegant self. Seriously, it’s that simple.
Perfect for adding a touch of classic charm to any craft project, from gift toppers to garlands.
2. Tissue Paper Pom-Poms
Remember making these for school dances? They’re back, baby, and just as fluffy and fun. Layer a few sheets of tissue paper, accordion fold, tie the middle, and then fluff out the layers.
Grab some colorful tissue paper for maximum impact. You can even trim the ends into points or curves for different looks.
These bring instant party vibes and volume to any space without breaking the bank.
3. Accordion Fold Flowers
This one is deceptively simple and yields some seriously cool results. Fold a strip of paper back and forth, connect the ends to form a circle, and watch the magic unfold.
Use cardstock for a sturdier bloom that holds its shape like a champ. It’s less prone to flopping.
Great for creating bold, graphic flowers that pop off the page or wall.
4. Fringe Flowers
If you can cut a straight line (mostly straight, we’re not judging), you can make these. Cut strips of paper, snip little fringes along one edge, then roll tightly.
Try using different widths for your fringe cuts to create varied textures. A craft knife can make those fringes super precise.
These are wonderfully versatile, adding a playful, textured element to bouquets or decor.
5. Cupcake Liner Blossoms
Who knew your baking drawer held such crafting potential? Cupcake liners are already perfectly shaped. Just layer a few, snip the edges for petals, and secure the center.
Use both mini and standard-sized liners for layered depth. A button or bead in the center adds a cute finish.
They’re adorable, quick, and a fantastic way to repurpose those liners you’ll probably never use for actual cupcakes.
6. Book Page Blooms
Give old books a new lease on life. Cut petal shapes from aged book pages, curl the edges, and layer them up. The text adds an unexpected, rustic charm.
A little bit of distress ink on the edges can enhance that vintage feel, making them look even more authentic.
Perfect for literary lovers or anyone wanting a unique, conversation-starting decoration.
7. Coffee Filter Flowers
These are pure magic. Coffee filters are absorbent, so you can dye them with watercolors or food coloring for custom shades. Layer, twist, and fluff for a soft, ethereal look.
Dye your filters first, let them dry, then assemble. This lets the colors blend beautifully before you even start shaping.
They create a wonderfully delicate and airy flower, ideal for a dreamy aesthetic.
8. Paper Plate Poppies
Grab those flimsy paper plates! Cut out petal shapes, paint ’em red (or whatever poppy color your heart desires), and glue a black center. Super kid-friendly, super fun.
Use a stapler for quick assembly, especially if little hands are helping out. It’s faster than waiting for glue to dry.
These bring a bold, cheerful splash of color and are surprisingly robust for a paper plate craft.
9. Simple Layered Petal Flowers
This is your go-to for classic flower shapes. Cut various sizes of the same petal shape, layer them from largest to smallest, and secure the center. Easy peasy, lemon squeezy.
Use a circle punch for the base to ensure a neat, sturdy foundation for your petals. It makes assembly a breeze.
A versatile design that you can adapt to look like almost any flower by changing the petal shape.
10. Crepe Paper Ruffles
Crepe paper is a dream for ruffles because it stretches. Cut strips, gently stretch one edge, and gather it as you roll or glue it down. Instant texture and volume.
Experiment with cutting wavy or zig-zag edges before stretching for even more dynamic ruffles. Floral wire can help hold the shape.
These give your flowers a lifelike, organic feel that’s hard to achieve with other papers.
11. Scrapbook Paper Dahlias
For those who love patterns, scrapbook paper is your secret weapon. Cut squares, fold them into cones, and glue them around a central circle. The result is a stunning, geometric dahlia.
Choose double-sided scrapbook paper to add extra visual interest to your folded cones. It really makes them pop.
They offer a modern, intricate look without requiring any advanced folding skills.
12. Petal Punch Flowers
If you own a craft punch (or several), this is your moment. Punch out a bunch of petals, curl them slightly, and layer them up. Consistency is key, and the punch does all the hard work.
Invest in a few different petal-shaped punches to vary your flower designs effortlessly. They’re worth it.
Speedy and precise, these are perfect for when you need a bunch of uniform flowers fast.
13. Newspaper Anemones
Who said newspaper was just for fish and chips? Cut simple petal shapes, layer them, and add a dark, fringed center for a chic, monochrome anemone.
A little bit of black paint or marker for the center creates that striking contrast characteristic of an anemone. Don’t skip it.
Unexpectedly elegant, these make a statement with their industrial-chic vibe and sustainability points.
14. Party Streamer Flowers
Yep, those cheap rolls of party streamers can become pretty flowers. Gather, twist, and secure for fluffy, vibrant blooms. They’re super lightweight and come in every color imaginable.
Layer different colors of streamers for a multi-toned flower. A bit of tape can hold your gathers while you secure them.
Excellent for large-scale decorations or when you need a burst of color on a budget.
15. Simple Cardstock Blossoms
Sometimes, less is more. Cut a few simple, broad petal shapes from cardstock, score and fold them slightly for dimension, and glue them together. Clean, crisp, and oh-so-chic.
Use a bone folder for crisp, clean folds and scores. It makes all the difference in achieving that polished look.
These are the epitome of minimalist elegance, proving that simple shapes can create stunning results.
✨ New Member Etsy Shops (100% Unsponsored!)
We are incredibly proud of the talent in this community! 💖 We've rounded up some gorgeous new Etsy shops launched by our very own members.
There are ZERO affiliate links in this post—just 100% pure support for our makers. Click below to shop small, show them some love, and find your new favorite items! 👇🛍️


Conclusion
See? We told you it was easy. Who needs a green thumb when you’ve got a pair of scissors and some paper? These paper flowers are your new best friends: they never wilt, they don’t need water, and they’re always ready for their close-up. Go forth, get crafty, and deck out your space with blooms that last longer than your average houseplant. Your home (and your wallet) will thank you.