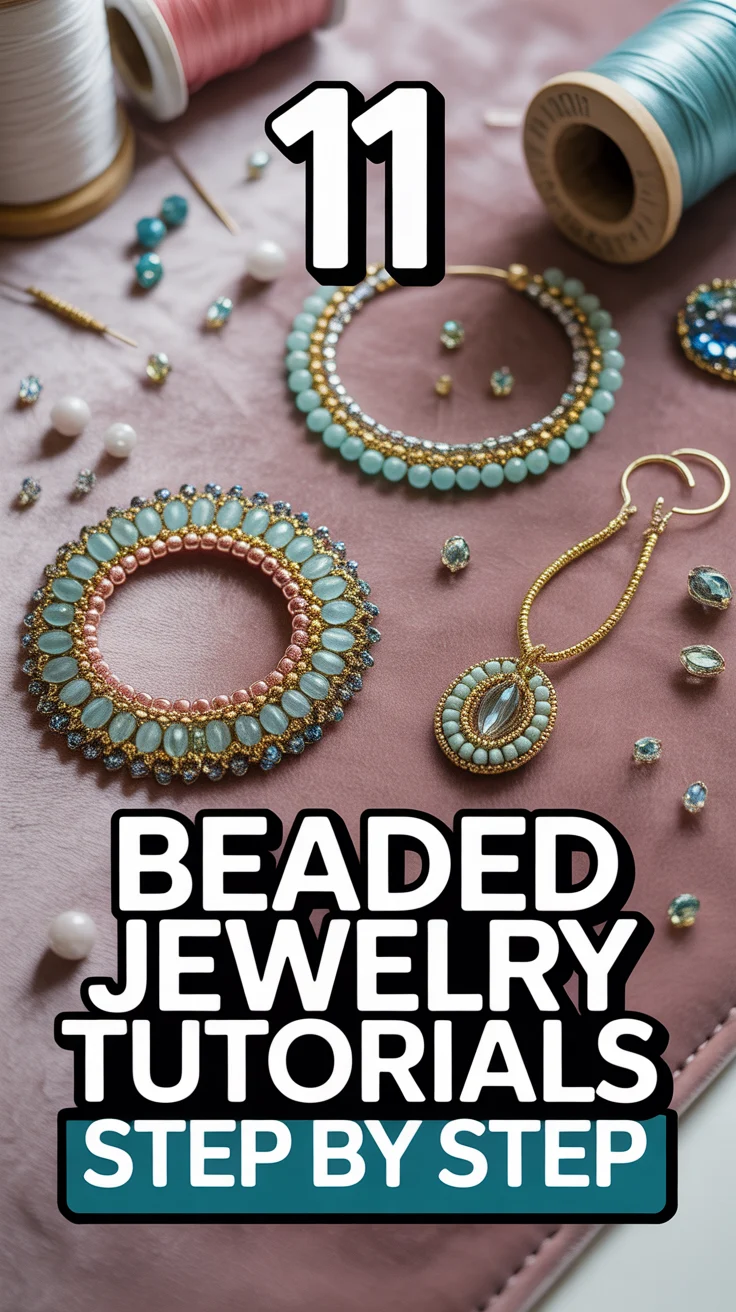
💎 11 Beaded Jewelry Tutorials Step By Step
🛠️ The Ultimate Maker's Toolkit
I've tested thousands of craft tools over the years. Whether you are quilting, crafting, or building mixed-media art, these are the top 5 absolute non-negotiable tools I personally recommend to guarantee professional results.
🪡 SINGER Heavy Duty 4452 Sewing Machine
The sewing community highly recommends this as the ultimate "bulletproof" entry-level machine. Its heavy metal frame powerfully pushes through thick denim and heavy quilt layers that would instantly jam a standard plastic machine.
✂️ Fiskars 8" Orange-Handled Scissors
Never settle for dull dollar-store blades. Wirecutter repeatedly names Fiskars the absolute best all-purpose craft scissor due to its legendary precision-ground blades and an ergonomic grip that prevents hand-cramping.
🔥 Gorilla Dual Temp Hot Glue Gun
Named Wirecutter's top choice because it literally does the work of two tools. It features dual-temperature settings offering low heat for delicate florals and blistering high heat for heavy wood adhesion repairs.
🖌️ Mod Podge Waterbase Gloss Sealer
The absolute undisputed champion of decoupage and paper crafts. Experts rely exclusively on this exact water-based formula because it glues, seals, and finishes beautifully without yellowing or flaking over time.
🎨 Apple Barrel Acrylic Paint (2 oz)
The quintessential, incredibly inexpensive craft paint. Woodworkers and hobby painters swear by its smooth flow and matte finish, providing massive value and remarkably thick color coverage on rough surfaces.
Ready to bead like a boss? I’ll walk you through fun, doable projects that look boutique-level without the boutique price tag. Grab your beads, sip something cozy, and let’s make tiny sparkly art for your body.
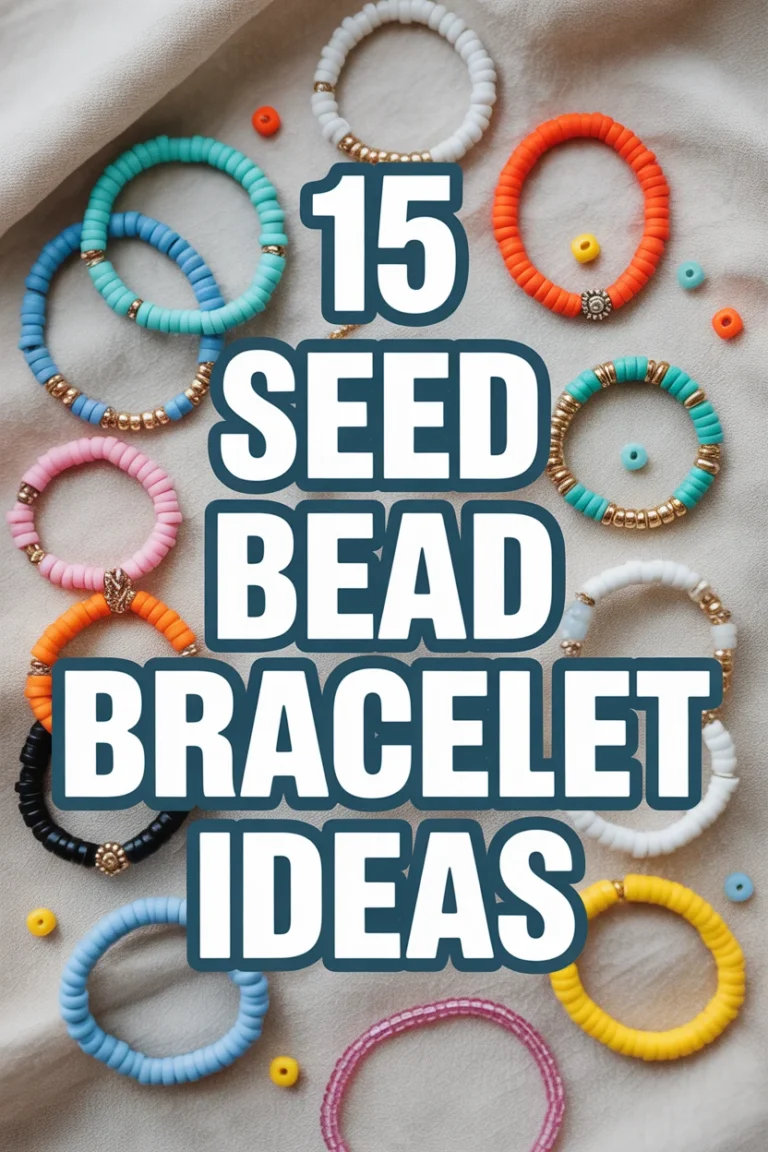
1. Stretchy Bead Bracelet
Fast, cute, stackable. This is the gateway project to your new bracelet addiction. Use elastic cord, spacer beads, and a surgeon’s knot for a neat finish.
- Measure your wrist plus wiggle room.
- Pre-stretch the elastic to avoid sagging.
- String beads, tie securely, dot with clear glue.
Pro tip: Hide the knot inside a larger bead or crimp cover for a pro look.
It works because elastic equals comfort and the clean knot keeps it chic.
2. Wire-Wrapped Teardrop Earrings
Delicate hoops with a little gemstone drama. You’ll shape 20–22 gauge wire into a teardrop, then wrap tiny seed beads along the frame.
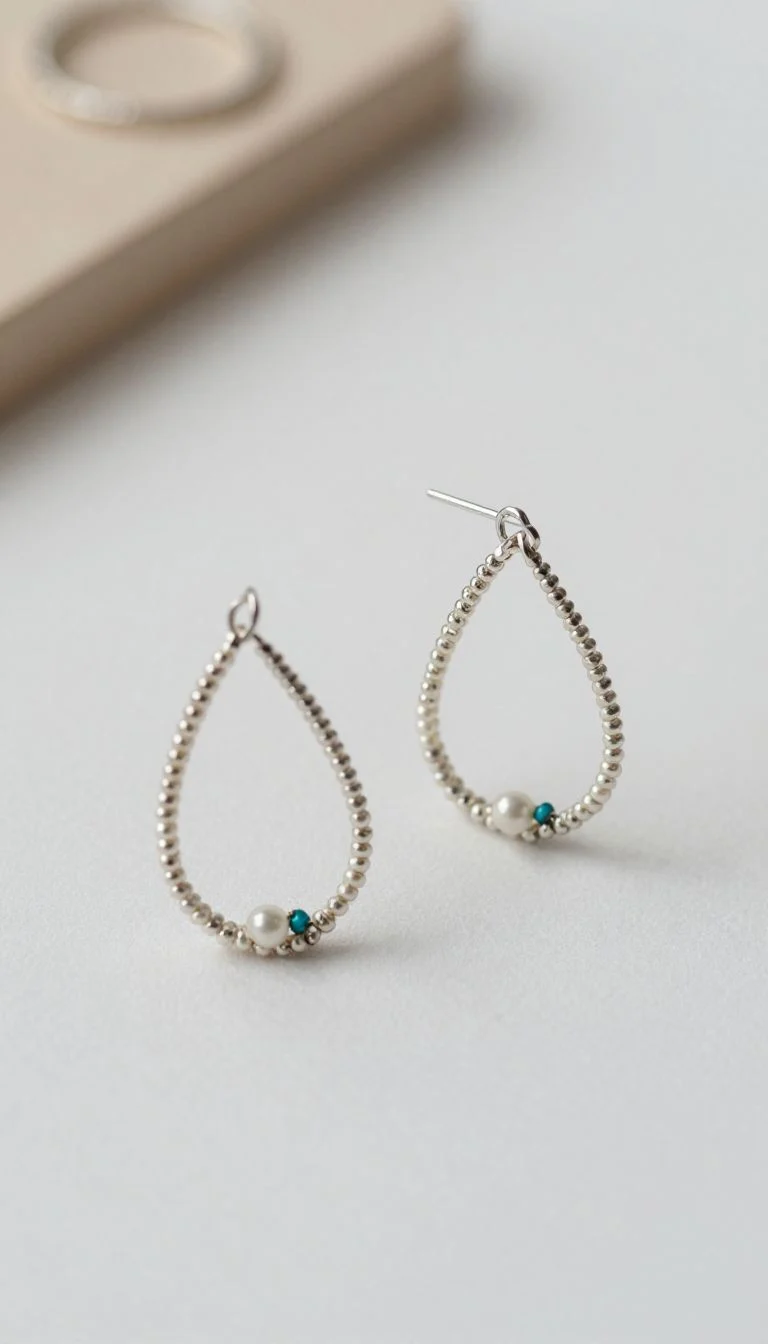
- Form the teardrop around a marker for consistent curves.
- Use 26 gauge wire to lace on beads.
- Add ear wires and gently hammer the frame for strength.
Pro tip: Tape the ends of your main wire to the form while wrapping so nothing slips.
It works because the hammered frame keeps shape while the bead wrap steals the spotlight.
3. Beginner Peyote Stitch Ring
Flat, snug, and addictive to make. Even-count peyote stitch with size 11 seed beads gives a clean pattern.
- Start with an even number of beads.
- Weave the classic up-down pattern until length fits.
- Zip the ends together for a seamless band.
Pro tip: Use FireLine or KO thread so your ring doesn’t stretch out.
It works because the structure is tight, comfy, and perfect for color play.
4. Beaded Charm Anklet
Flirty and beachy without the sand in your shoes. Mix seed beads, tiny pearls, and a lobster clasp.
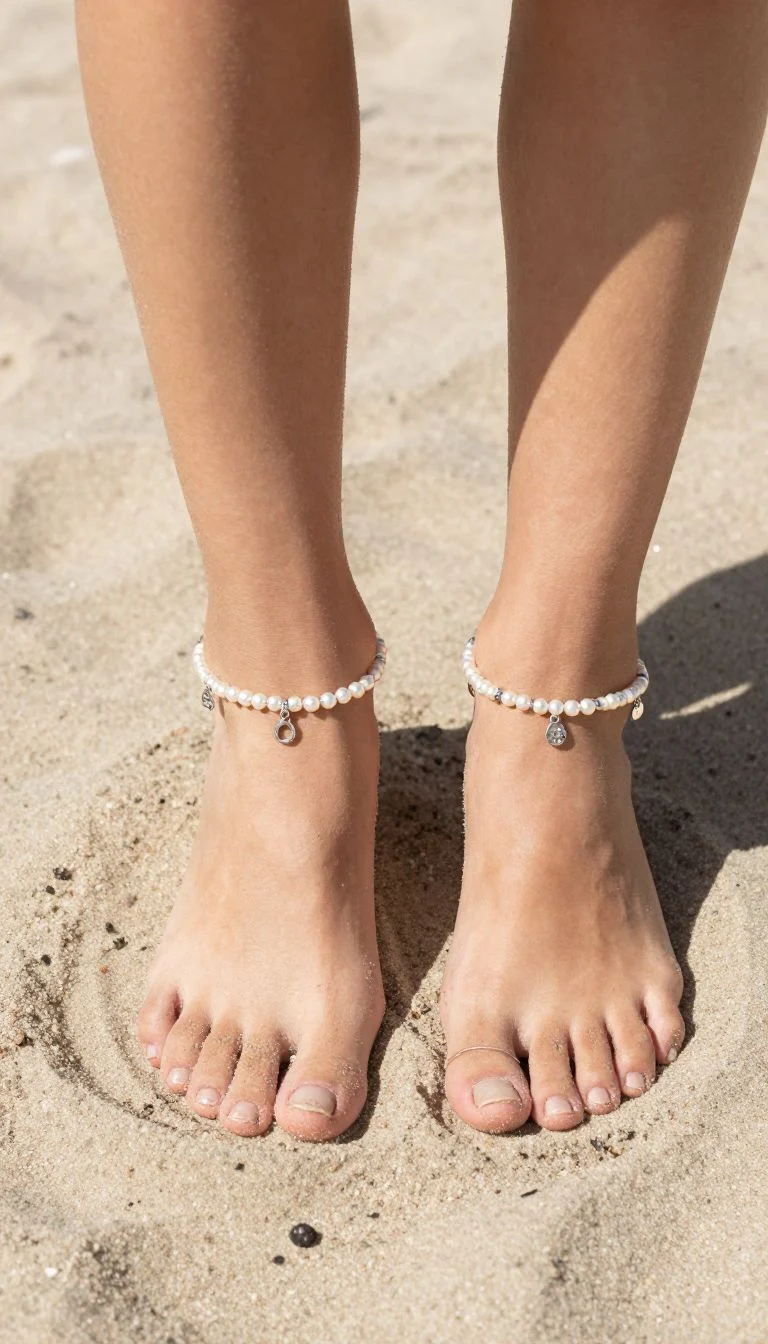
- Measure just above ankle bone for fit.
- Alternate minis with spaced charms.
- Finish with crimp beads and crimp covers on beading wire.
Pro tip: Add a 2 inch extender chain for sneaker days versus sandal days.
It works because it’s light, adjustable, and looks luxe with tiny pops of metal.
5. Boho Beaded Fringe Earrings
Statement-makers with swing. Use a bead loom or brick stitch to create a top bar, then add cascading fringe.
- Build a small triangle or bar as your base.
- String fringe with graduated lengths for movement.
- Attach to ear wires and secure thread ends.
Pro tip: Anchor fringe with a tiny stop bead at each strand’s end for zero slip.
It works because the silhouette flatters every face and hair style.
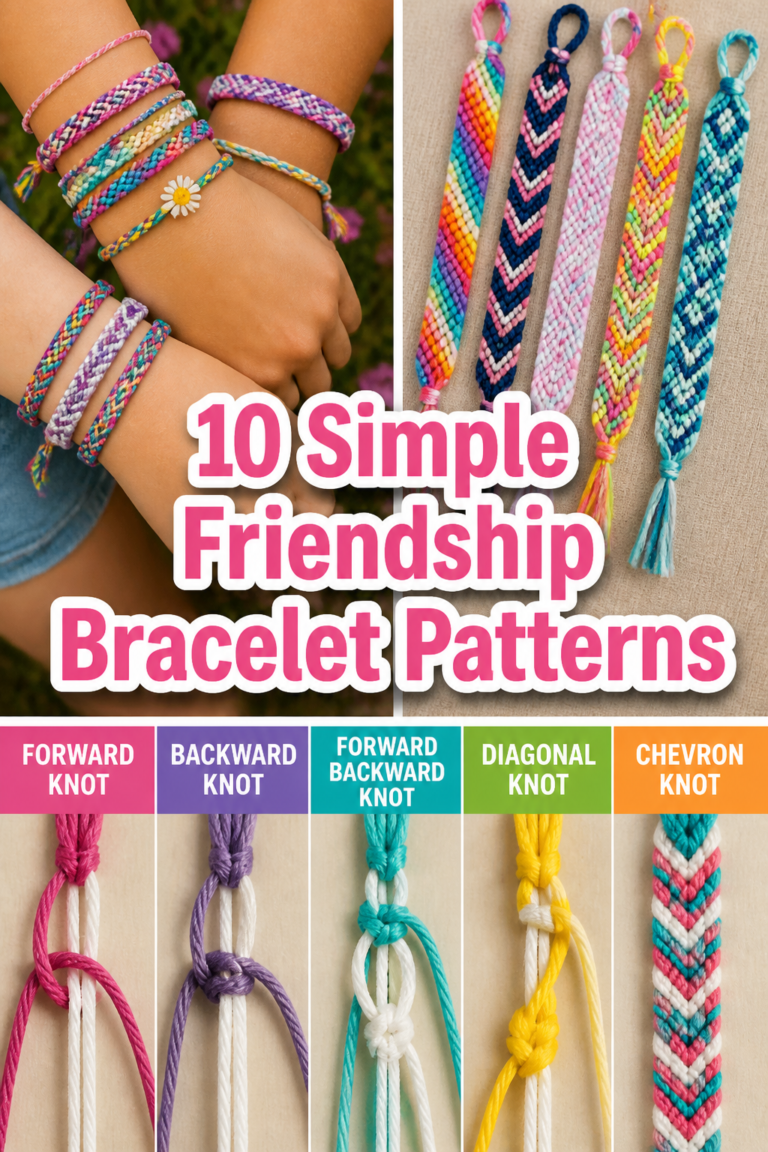
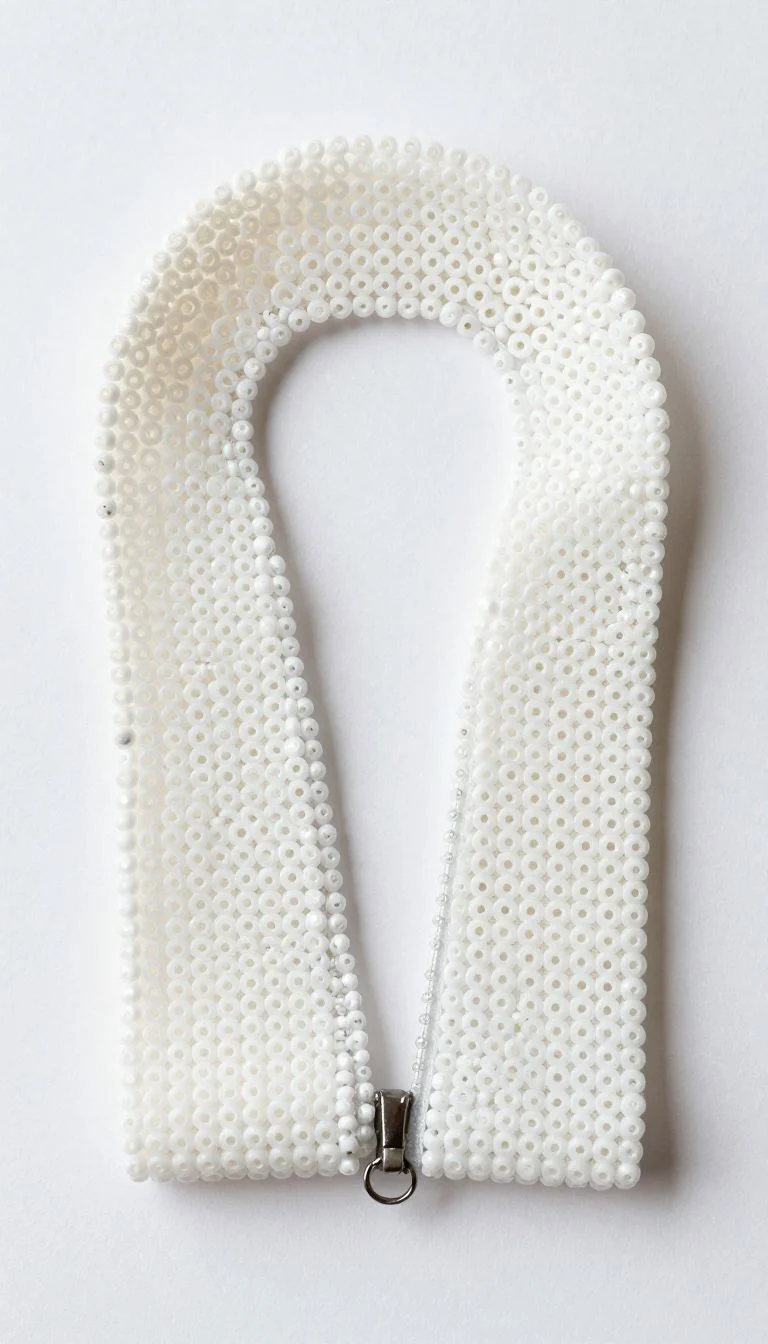
6. Daisy Chain Choker
Retro cool meets cottagecore. Make tiny daisy motifs with seed beads and connect them into a choker.
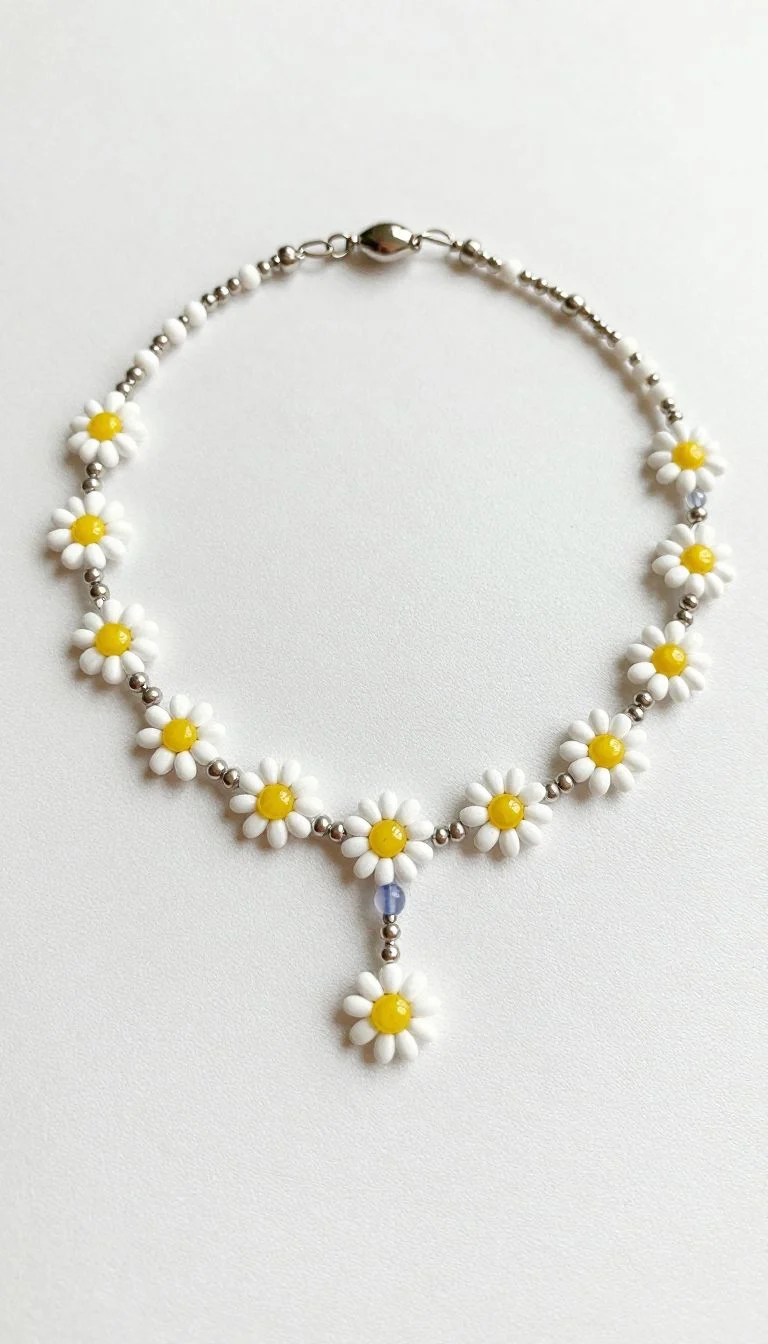
- Use a contrasting center bead for pop.
- Repeat petals to form flowers, separated by spacer beads.
- Finish with crimps and a small clasp.
Pro tip: Use matte beads for a modern twist and less glare.
It works because repetition is striking and the motif reads sweet but not sugary.
7. Gemstone Chip Stack Necklace
Textured and earthy in five minutes flat. Stack gemstone chips on a headpin to make a pendant, then slide onto a chain.

- Sort chips by size for a tidy gradient.
- Create a simple wire loop at the top.
- Pair with a delicate cable chain.
Pro tip: Add a silicone bail for a pendant that stays front and center.
It works because organic shapes keep it unique while the chain keeps it sleek.
8. Ladder Stitch Cuff
Graphic and satisfying. Use ladder stitch to build rows, then reinforce with square stitch for a sturdy cuff.
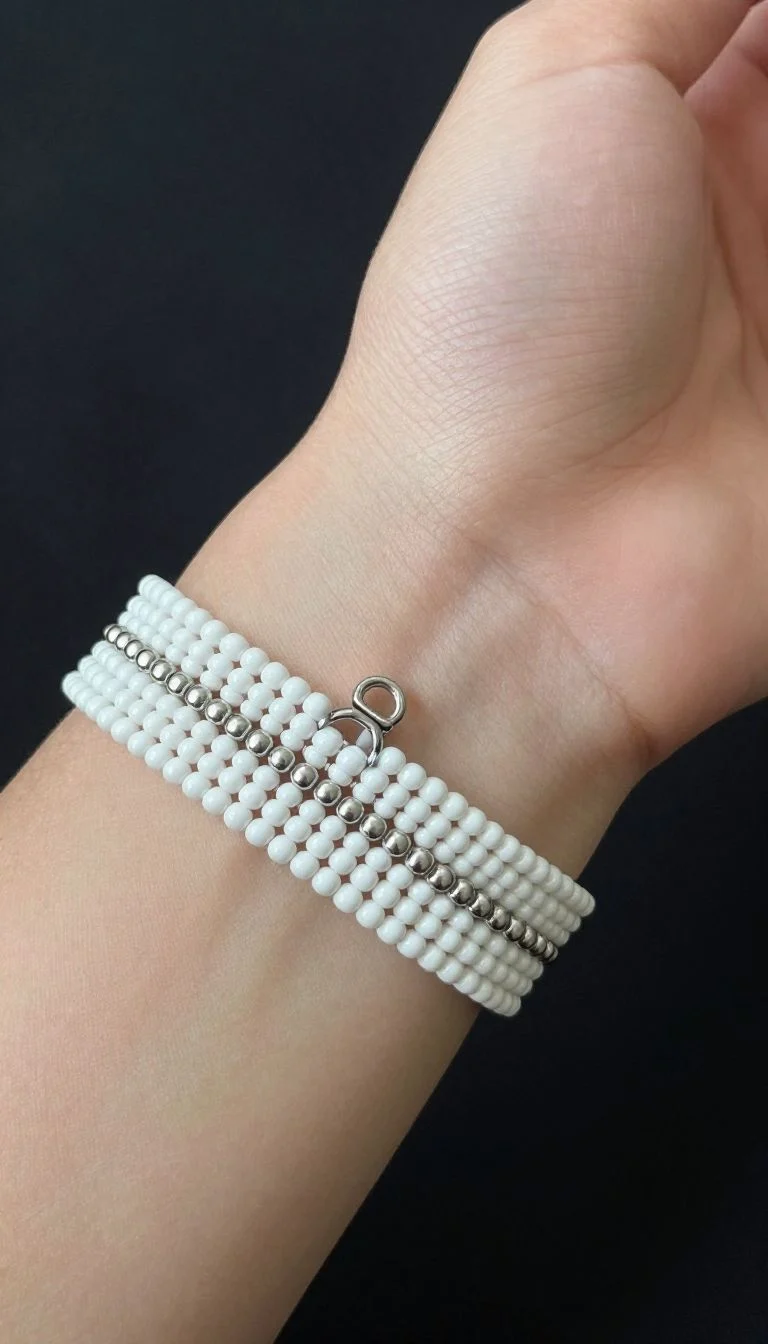
- Pick uniform beads like Delicas for crisp lines.
- Build one laddered strip, then join rows side by side.
- Add a slide clasp for a clean finish.
Pro tip: Plan your color blocking on paper first to avoid frog-stitching later.
It works because structure + symmetry equals instant polish.
9. Beaded Hoop Earrings
Big hoops, bigger compliments. Use pre-made hoop findings and thread on beads for quick glam.
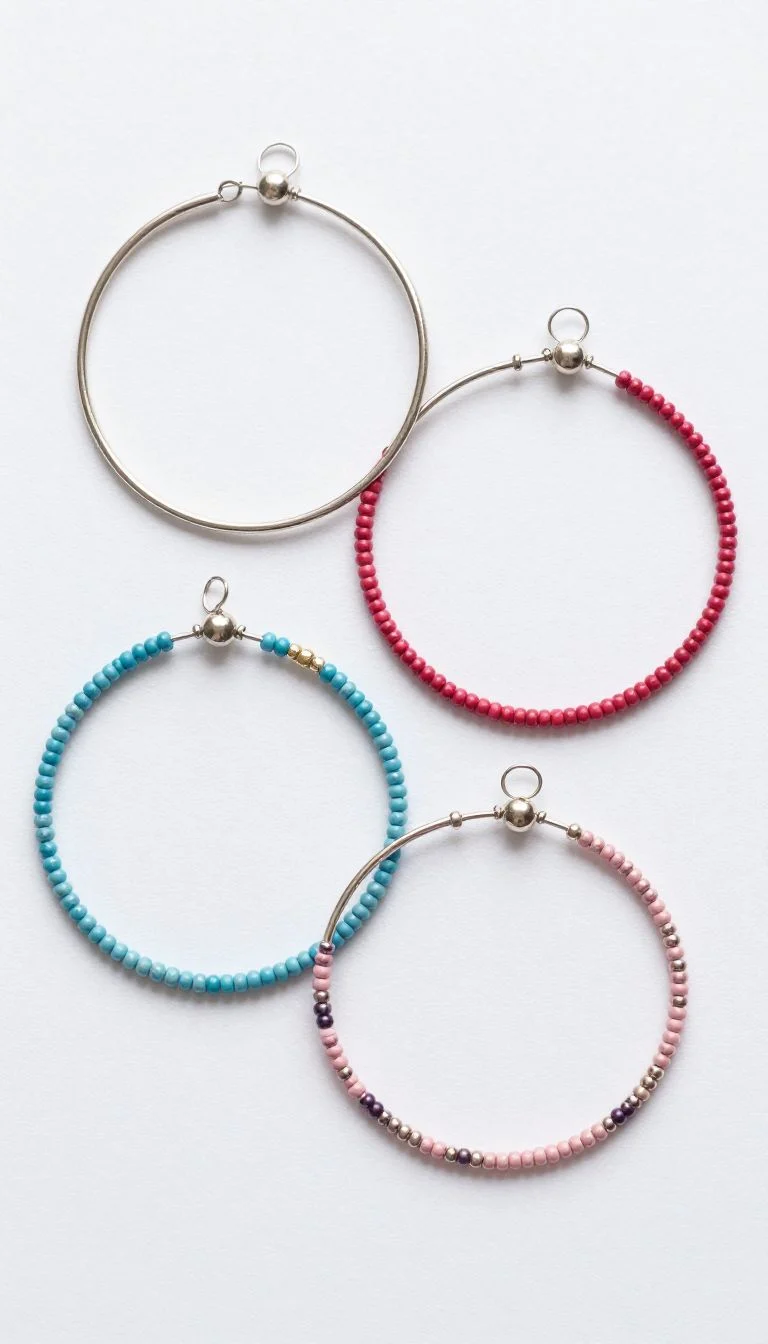
- Choose lightweight beads for comfort.
- Balance colors evenly to keep hoops aligned.
- Secure ends with tiny silicone stoppers if needed.
Pro tip: Mix metal spacers between beads to prevent rubbing and elevate the look.
It works because the silhouette is classic, the beads make it personal.
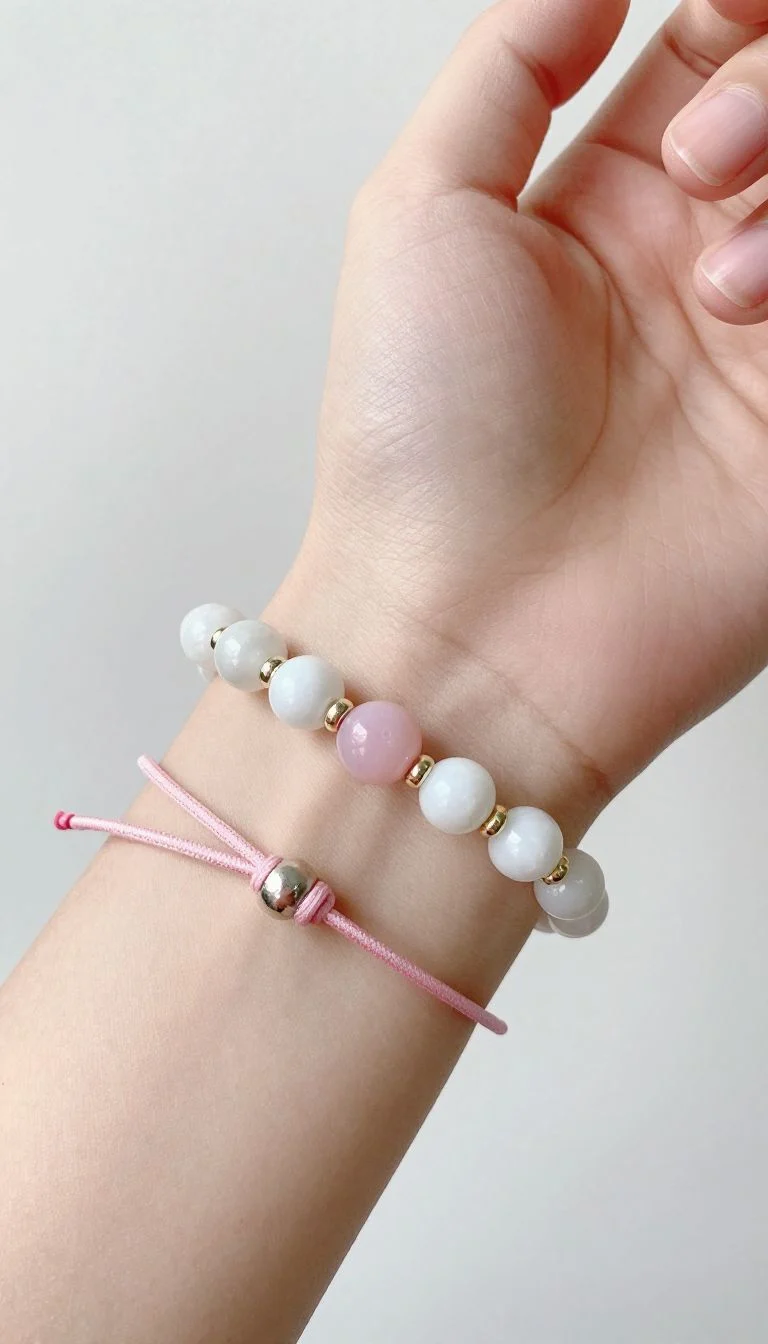
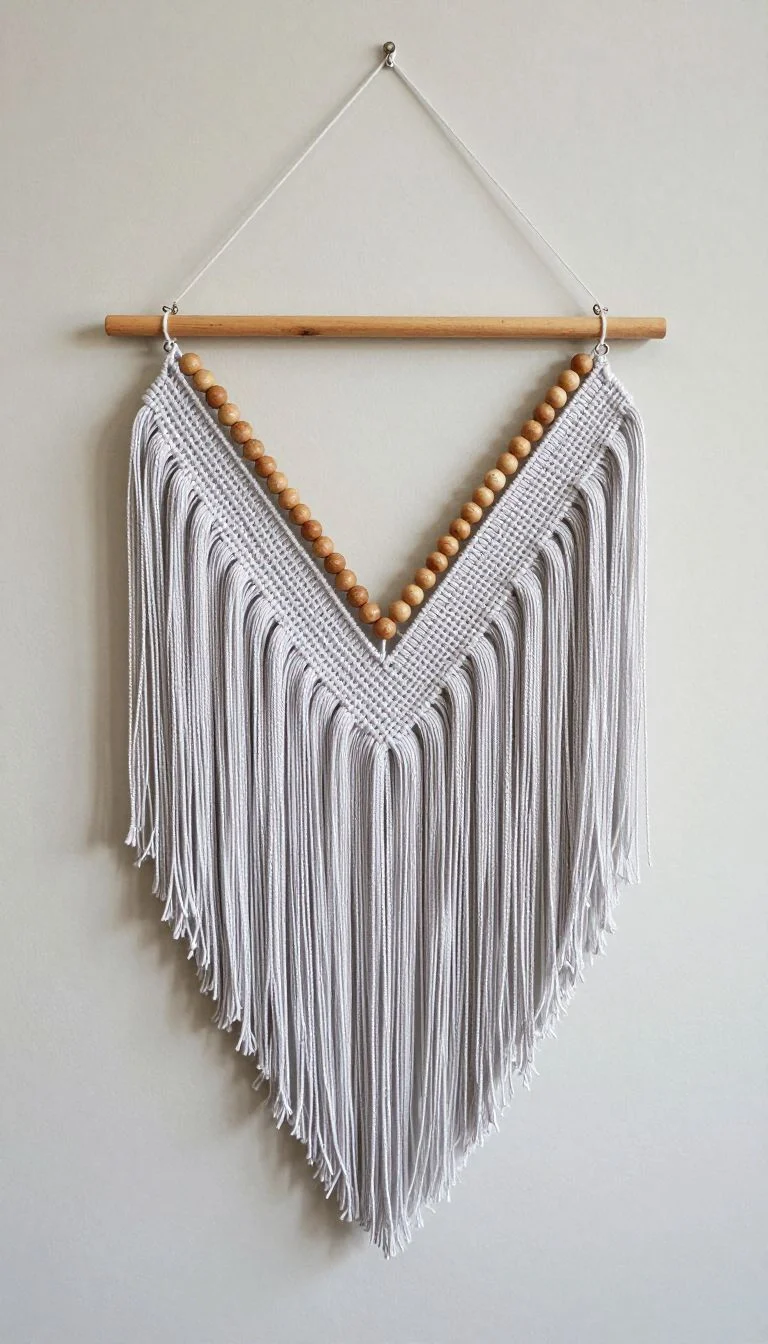
10. Macrame Cord with Bead Accents Bracelet
Soft meets sparkly. Tie square knots with waxed cord and slide accent beads between sections.
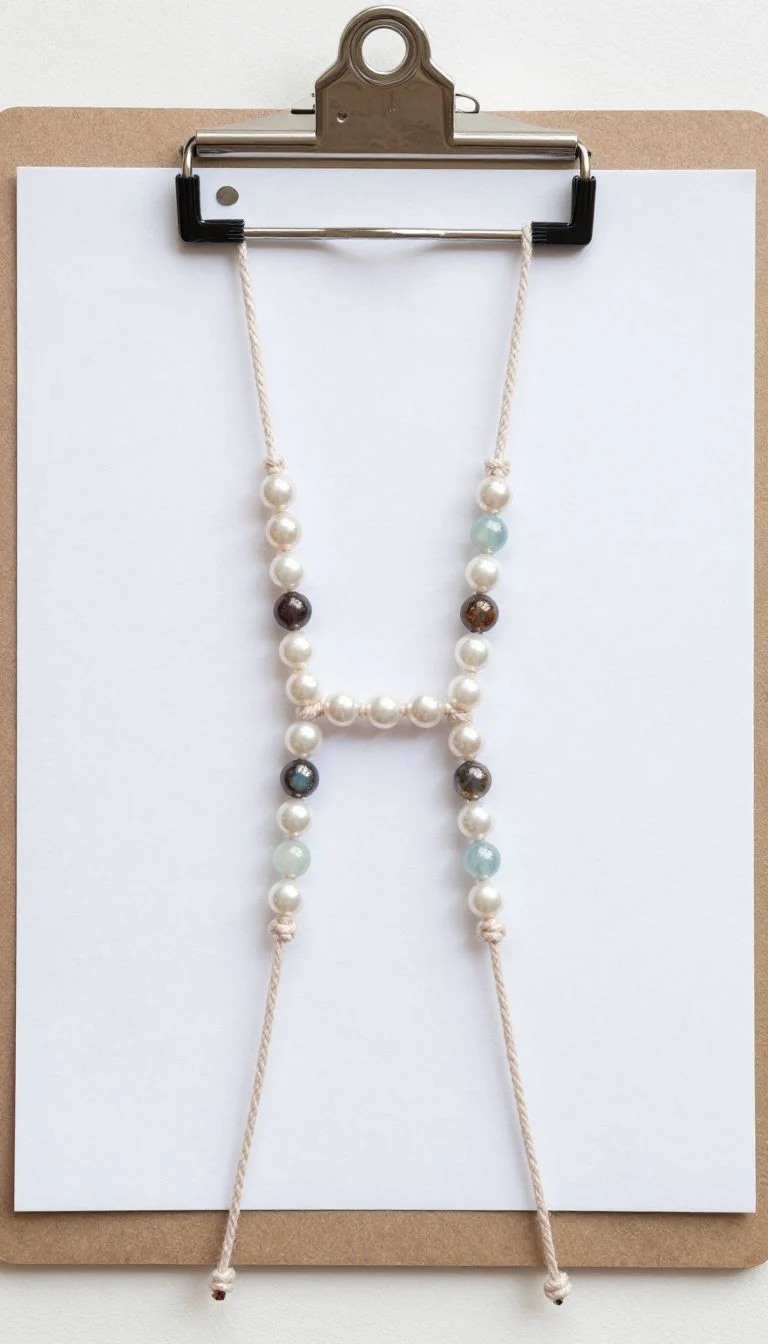
- Use a clipboard or tape to anchor your work.
- Symmetry counts: mirror bead placements.
- Finish with a sliding knot for easy sizing.
Pro tip: Dot knots with clear glue, then trim for a neat, long-lasting finish.
It works because texture plus shine plays well with any stack.
11. Beaded Bar Pendant
Minimalist with a wink. Thread a tight row of tiny beads onto a straight headpin and form a neat bar.

- Align bead colors for a gradient or stripe.
- Create clean wrapped loops at both ends.
- Attach to chain with jump rings.
Pro tip: Use a ruler to match bar length to your neckline sweet spot.
It works because it’s sleek, stackable, and finishes any outfit without trying too hard.
✨ New Member Etsy Shops (100% Unsponsored!)
We are incredibly proud of the talent in this community! 💖 We've rounded up some gorgeous new Etsy shops launched by our very own members.
There are ZERO affiliate links in this post—just 100% pure support for our makers. Click below to shop small, show them some love, and find your new favorite items! 👇🛍️


Conclusion
You’ve got eleven solid ways to turn tiny beads into big style. Start simple, stack skills, and let your color combos do the flirting. With a few tools and smart finishes, your pieces will look boutique-level and wear like favorites.