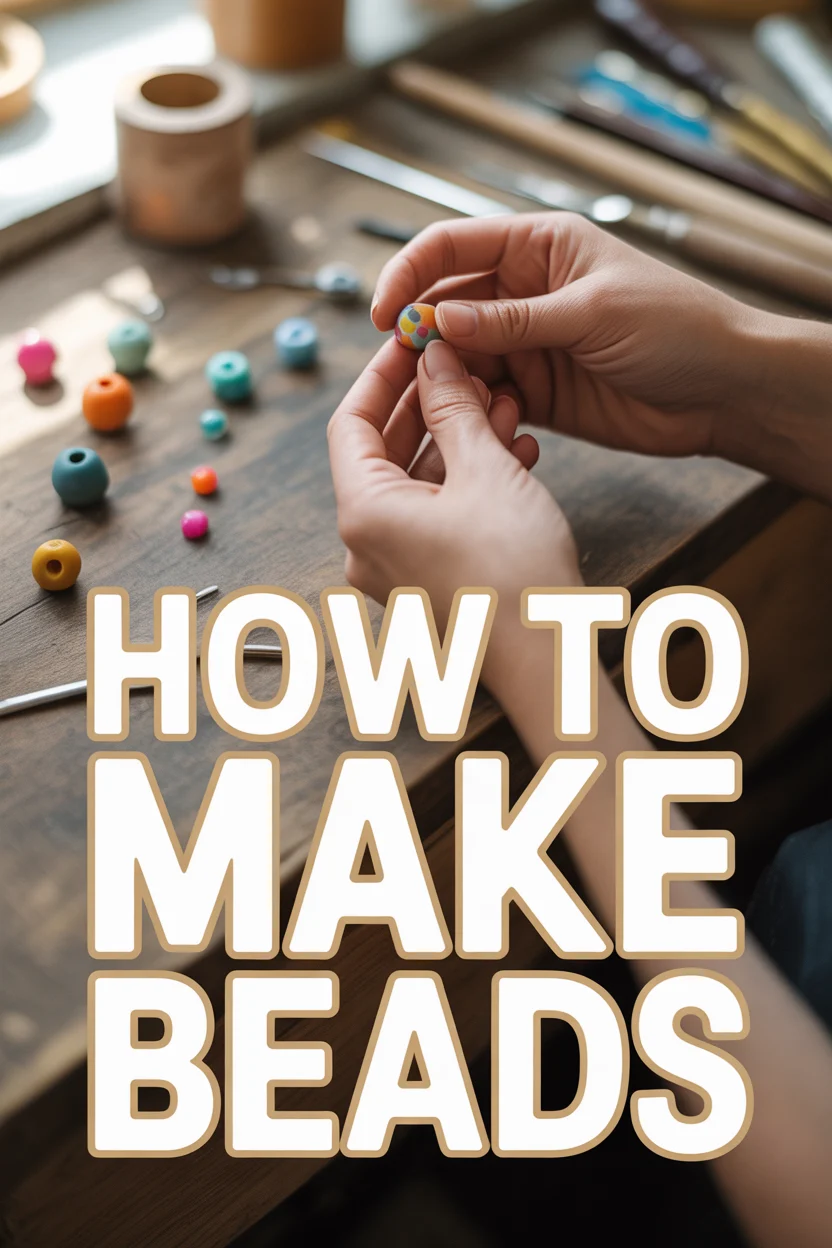
✨ How To Make Beads
🛠️ The Ultimate Maker's Toolkit
I've tested thousands of craft tools over the years. Whether you are quilting, crafting, or building mixed-media art, these are the top 5 absolute non-negotiable tools I personally recommend to guarantee professional results.
🪡 SINGER Heavy Duty 4452 Sewing Machine
The sewing community highly recommends this as the ultimate "bulletproof" entry-level machine. Its heavy metal frame powerfully pushes through thick denim and heavy quilt layers that would instantly jam a standard plastic machine.
✂️ Fiskars 8" Orange-Handled Scissors
Never settle for dull dollar-store blades. Wirecutter repeatedly names Fiskars the absolute best all-purpose craft scissor due to its legendary precision-ground blades and an ergonomic grip that prevents hand-cramping.
🔥 Gorilla Dual Temp Hot Glue Gun
Named Wirecutter's top choice because it literally does the work of two tools. It features dual-temperature settings offering low heat for delicate florals and blistering high heat for heavy wood adhesion repairs.
🖌️ Mod Podge Waterbase Gloss Sealer
The absolute undisputed champion of decoupage and paper crafts. Experts rely exclusively on this exact water-based formula because it glues, seals, and finishes beautifully without yellowing or flaking over time.
🎨 Apple Barrel Acrylic Paint (2 oz)
The quintessential, incredibly inexpensive craft paint. Woodworkers and hobby painters swear by its smooth flow and matte finish, providing massive value and remarkably thick color coverage on rough surfaces.
There’s something truly special about holding a piece of jewelry you made yourself.
For me, the journey often starts with a single bead, crafted by my own hands from a block of colorful clay.
I’ve spent countless hours in my studio experimenting with different techniques, and I’m thrilled to share how you can create your very own unique beads, even if you’re a complete beginner.

Quick Overview
This guide will walk you through creating beautiful, durable beads using polymer clay, a fantastic medium for beginners and experienced crafters alike. You’ll learn the essential steps from conditioning clay to baking and finishing, empowering you to design custom pieces.
- Time needed: 2-4 hours (including baking and cooling)
- Difficulty: Beginner
- What you’ll need: Polymer clay, a clean work surface, a rolling pin or pasta machine, a craft knife, a bead-piercing tool or skewer, sandpaper, and an oven.
Step-by-Step Instructions
Step 1: Gather Your Materials
Before you begin, make sure your workspace is clean and ready. Polymer clay can pick up dust and lint easily, so a tidy area is essential.
Lay out all your chosen colors of polymer clay, your rolling pin or pasta machine, a craft knife, and your bead-piercing tool. Having everything organized saves time and keeps your creative flow going.
Step 2: Condition the Clay
Polymer clay straight from the package can be firm and crumbly. Conditioning makes it soft, pliable, and ready to shape.
- Knead a small piece of clay in your hands, warming it with your body heat.
- Roll it into a snake, then fold it in half and roll again.
- Repeat this process until the clay is smooth, flexible, and free of cracks. This can take several minutes per color.
Pro Tip: If your clay is very stiff, try using a pasta machine on the thickest setting. Pass the clay through repeatedly, folding it each time, until it becomes wonderfully soft. This saves your hands a lot of work!
Step 3: Shape Your Beads
Now comes the fun part – forming your beads! There are endless possibilities, even with simple shapes.
- Roll small portions of conditioned clay into balls for classic round beads. Aim for uniformity if you want them to match.
- Flatten balls into discs for coin beads. Use a smooth surface to press them evenly.
- Form cylinders or squares for more geometric designs. You can even combine different colored clays for marbled or striped effects.
- Experiment with textures by pressing the clay against textured surfaces like stamps or lace before shaping.
Step 4: Pierce Your Beads
Once your beads are shaped, you need to create a hole for stringing them. This step requires a steady hand.
- Use a bead-piercing tool, a sturdy needle, or a bamboo skewer.
- Gently push the tool through the center of your bead, twisting it as you go to create a clean hole.
- Ensure the hole goes all the way through and is wide enough for your chosen stringing material.
- Smooth any rough edges around the hole with your fingertip.
Pro Tip: For perfectly centered holes, especially in round beads, place the bead on a soft surface like a foam mat. Pierce halfway through from one side, then flip the bead and pierce from the other side to meet the first hole. This prevents distortion.
Step 5: Bake Your Beads
Baking cures the polymer clay, making your beads hard and durable. Always follow the manufacturer’s instructions for baking temperature and time, as these can vary between brands.
- Preheat your oven to the recommended temperature (usually 275°F / 130°C for Fimo or Sculpey).
- Place your beads on a baking sheet lined with parchment paper or ceramic tiles. To prevent flat spots, you can string them on a metal skewer suspended over the edges of a foil pan.
- Bake for the specified time, typically 15-30 minutes per 1/4 inch of thickness.
- Allow the beads to cool completely in the oven or on a heat-safe surface before handling. They will be fragile when hot.
Step 6: Sand and Smooth
After baking and cooling, your beads might have small imperfections or a slightly rough texture. Sanding creates a wonderfully smooth finish.
- Start with a coarser grit sandpaper (around 220-320 grit) to remove major bumps.
- Progress to finer grits (400, 600, 800, and even 1000-2000 grit) for an increasingly silky feel.
- Use wet sanding (submerging beads in water while sanding) for the best results and to minimize dust.
- Rinse your beads thoroughly between grit changes to remove clay dust.
Step 7: Finish Your Beads
The final step brings out the true beauty of your beads. Finishing adds shine and protection.
- Apply a thin coat of polymer clay glaze using a soft brush. This adds a glossy, professional finish.
- Allow the glaze to dry completely between coats if you apply more than one.
- Alternatively, buff your beads with a soft cloth or a buffing wheel on a rotary tool for a natural, satin sheen without glaze.
- Admire your finished beads, ready to be incorporated into jewelry or other crafts!
Common Mistakes to Avoid
Under-baking Your Clay
Many beginners remove their beads from the oven too soon. Under-baked clay remains brittle and can break easily, especially when drilled or strung.
Always follow the manufacturer’s baking instructions precisely. It’s better to bake slightly longer than too short, as long as you don’t exceed the temperature, which can cause burning.
Over-handling Conditioned Clay
Once your clay is perfectly conditioned and ready for shaping, try to handle it as little as possible. Excess warmth from your hands can make the clay overly soft and sticky, making intricate shaping difficult.
If your clay becomes too warm, set it aside for a few minutes to cool down before continuing. Use tools when possible to minimize direct hand contact.
Not Cleaning Your Workspace
Polymer clay is a magnet for dust, lint, and pet hair. Even tiny particles can embed themselves into your clay, becoming permanent fixtures after baking.
Always work on a clean, non-porous surface like glass or a ceramic tile. Keep a lint roller handy to clean your hands and tools periodically, and avoid wearing fuzzy clothing while crafting.
Ignoring Manufacturer Instructions
Each brand of polymer clay can have slightly different properties, especially regarding baking temperature and time. What works for one brand might not work for another.
Always read the packaging for your specific clay. Following these guidelines ensures your beads cure correctly, achieving maximum strength and durability.
Troubleshooting
My Beads Cracked After Baking
Cracking often happens if the clay was not properly conditioned, if it was baked at too high a temperature, or if there were air bubbles trapped inside.
Ensure your clay is thoroughly conditioned before shaping. Check your oven temperature with a separate oven thermometer to verify accuracy. When shaping, gently roll and press the clay to remove any trapped air pockets.
My Beads are Dull or Sticky After Baking
Dullness is normal if you haven’t polished or glazed your beads. Stickiness can indicate under-baking or baking at too low a temperature, especially if they feel gummy.
If dull, proceed with sanding, buffing, or glazing. If sticky, ensure your oven is at the correct temperature and try baking for a bit longer, checking frequently. Always let beads cool completely before assessing their final texture.
My Beads Lost Their Shape During Baking
This usually occurs if the clay was too soft or if the beads weren’t adequately supported during baking. Very thin or delicate shapes are particularly prone to warping.
For delicate pieces, bake them on a bed of cornstarch or fiberfill to provide support. Ensure your clay isn’t overly warm and soft before placing it in the oven. For beads with holes, stringing them on a metal skewer can help maintain their form.
Key Takeaways
- Properly conditioning your polymer clay is the foundation for successful bead making.
- Experiment with different shapes and textures to create truly unique beads.
- Always pierce holes before baking to ensure your beads can be strung.
- Follow the clay manufacturer’s baking instructions for optimal strength and durability.
- Sanding and finishing steps transform raw baked clay into professional-looking beads.
- Cleanliness in your workspace is crucial to prevent imperfections.
Frequently Asked Questions
Can I mix different brands of polymer clay?
Generally, it’s best to stick to one brand of polymer clay within a single project, especially when baking. Different brands can have varying baking temperatures and curing times, which can lead to issues like under-baking some parts or over-baking others, affecting the final strength and finish.
How do I store unbaked polymer clay?
Unbaked polymer clay should be stored in an airtight container or plastic wrap, away from direct sunlight and heat. This prevents it from drying out or partially curing. Keep it at room temperature, and it will remain workable for a long time.
What if I don’t have a bead-piercing tool?
A simple bamboo skewer, a sturdy sewing needle, or even a straightened paperclip can work effectively as a bead-piercing tool. Just ensure the tip is smooth enough not to tear the clay and that the diameter creates a hole suitable for your stringing material.
Can I paint my polymer clay beads?
Absolutely! Once your polymer clay beads are baked and cooled, you can paint them with acrylic paints. Allow the paint to dry completely, then seal them with a polymer clay glaze or a clear varnish to protect the paint and add shine.
Our Top Recommended Finds
- Polymer Clay Starter Set: A multi-color pack is perfect for beginners, offering a variety of hues to inspire your first creations.
- Acrylic Clay Roller & Mat: This combination provides a smooth, non-stick surface for rolling and conditioning clay, making your work much easier.
- Bead Reamer Set: Essential for refining bead holes after baking, ensuring a smooth passage for stringing materials and preventing friction.
Your Creative Journey Begins Today
Making your own beads is a deeply rewarding experience, opening up a world of personalized jewelry and craft projects.
Each bead you create holds a piece of your unique vision and skill, waiting to tell its story.
Don’t wait! Gather your materials, choose your colors, and start shaping your very first batch of handmade treasures today. The possibilities are truly endless.