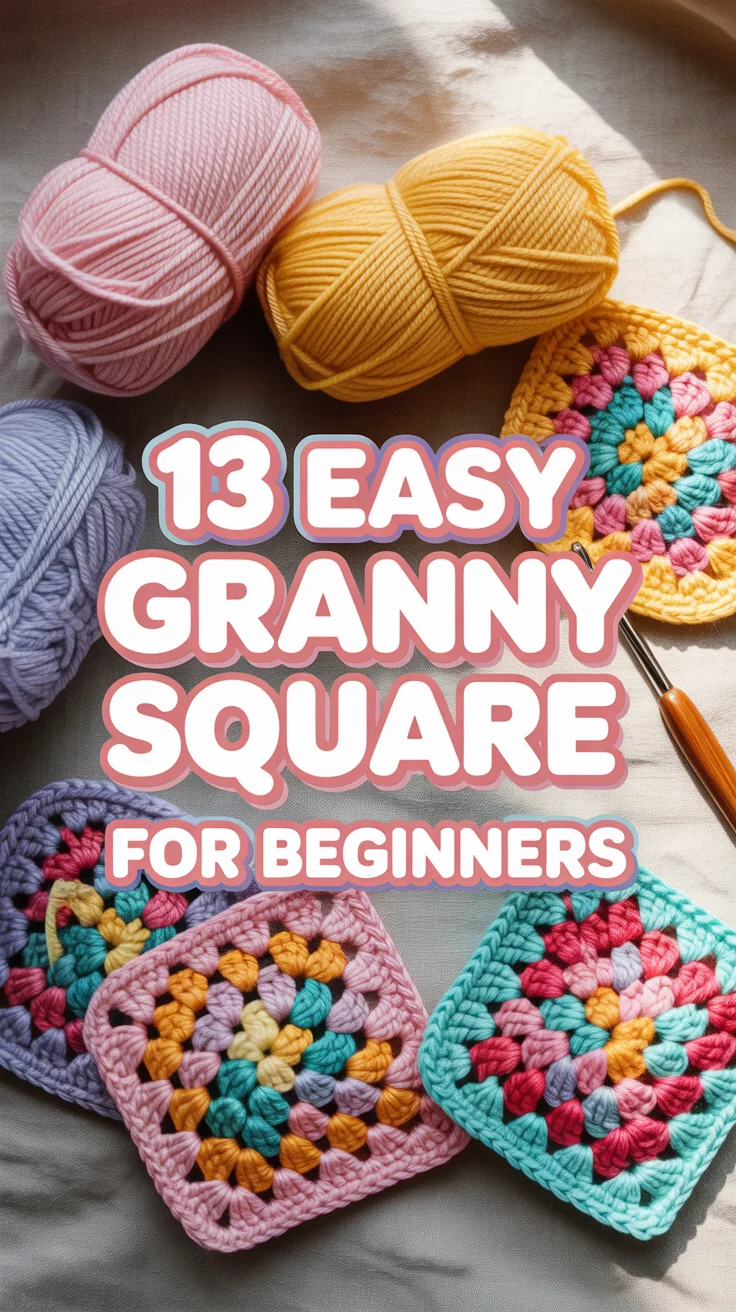
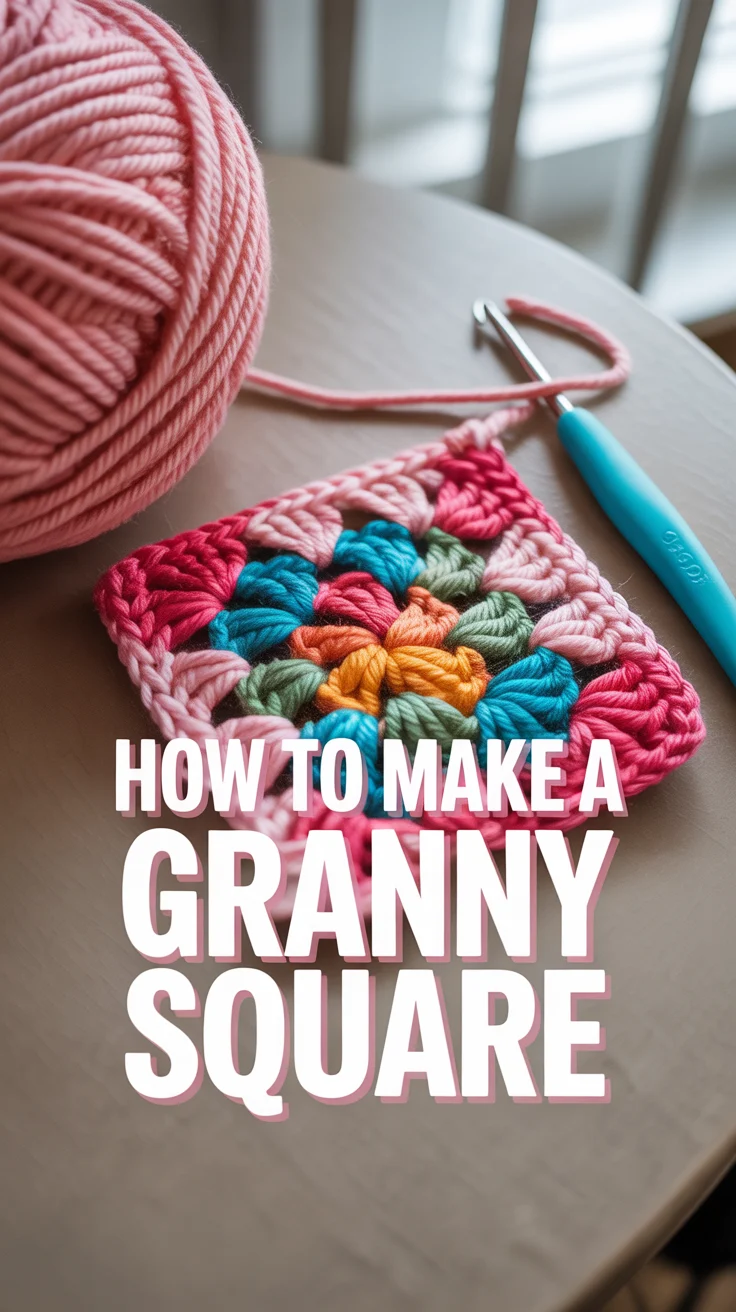
🧶 How To Make A Granny Square
🛠️ The Ultimate Maker's Toolkit
I've tested thousands of craft tools over the years. Whether you are quilting, crafting, or building mixed-media art, these are the top 5 absolute non-negotiable tools I personally recommend to guarantee professional results.
🪡 SINGER Heavy Duty 4452 Sewing Machine
The sewing community highly recommends this as the ultimate "bulletproof" entry-level machine. Its heavy metal frame powerfully pushes through thick denim and heavy quilt layers that would instantly jam a standard plastic machine.
✂️ Fiskars 8" Orange-Handled Scissors
Never settle for dull dollar-store blades. Wirecutter repeatedly names Fiskars the absolute best all-purpose craft scissor due to its legendary precision-ground blades and an ergonomic grip that prevents hand-cramping.
🔥 Gorilla Dual Temp Hot Glue Gun
Named Wirecutter's top choice because it literally does the work of two tools. It features dual-temperature settings offering low heat for delicate florals and blistering high heat for heavy wood adhesion repairs.
🖌️ Mod Podge Waterbase Gloss Sealer
The absolute undisputed champion of decoupage and paper crafts. Experts rely exclusively on this exact water-based formula because it glues, seals, and finishes beautifully without yellowing or flaking over time.
🎨 Apple Barrel Acrylic Paint (2 oz)
The quintessential, incredibly inexpensive craft paint. Woodworkers and hobby painters swear by its smooth flow and matte finish, providing massive value and remarkably thick color coverage on rough surfaces.
Ready to crochet your way into cozy legend status? Granny squares are the avocado toast of yarn crafts: classic, versatile, and weirdly addictive. You’ll learn the basics, nail the corners, and churn out squares faster than your coffee brews. Let’s hook it up.
1. Choose the Right Yarn and Hook
Start with yarn that won’t fight you. Medium weight (worsted #4) plus a 5 mm–5.5 mm hook keeps things smooth and beginner-friendly. Light colors help you see stitches; dark yarn is moody but sneaky.
Pro tip: Pick a smooth acrylic or cotton—no fuzzy drama until you’re confident.
This works because consistent materials give consistent squares. Less guesswork, more wins.
2. Make a Magic Ring or Chain 4
Two roads: the tidy magic ring or the classic chain 4, slip stitch to form a loop. Magic ring closes tight; chain loop is easier to memorize.
Pro tip: If the ring feels loose, tug the tail before Round 2 to snug it up.
Either method creates your center, and a neat center makes the whole square look pro.
3. Learn the Basic Cluster
Your granny square is powered by double crochet clusters (US terms): groups of 3 double crochets. They stack into tidy little walls of cozy.
Pro tip: Keep stitch height even. Count out loud for rhythm: 1-2-3, chain, repeat.
Clustering organizes the chaos and makes your square grow symmetrically.
4. Understand Corners vs Sides
Corners are the VIPs. They get 3 dc, chain 2, 3 dc. Sides get 3 dc in each chain space with a chain 1 between.
Pro tip: Mark your corner chain space with a stitch marker so you never miss it.
This structure builds clean geometry so your square stays square, not potato-shaped.
5. Round 1 Setup
In your ring: ch 3 (counts as dc), 2 dc, ch 2. Repeat (3 dc, ch 2) three more times. Join with a slip stitch in top of ch 3.
Pro tip: Count four corners. If you have three or five, yep—frog it and redo.
Round 1 sets your foundation. Nail it and the rest purrs along.
6. Round 2 Magic
Slip to the first corner space. Work 3 dc, ch 2, 3 dc into each corner. Add ch 1 between corner groups for the side spacing.
Pro tip: Keep tension consistent on chain spaces so sides don’t flare or pinch.
This round defines corners and starts those crisp edges we all crave.
7. Add More Rounds Cleanly
Each round: start in a corner, work corners as 3 dc, ch 2, 3 dc, sides as 3 dc in chain spaces with ch 1 between clusters. Join neatly.
Pro tip: Rotate your square every round to balance tension and prevent tilt.
Repetition builds muscle memory and buttery-smooth growth.
8. Color Changes Without Chaos
Switch colors at joins for a tidy look. Fasten off current color and join new yarn in any corner with a standing dc or a simple slip knot + chain.
Pro tip: Weave tails as you go by crocheting over them—future you will send thanks.
Clean changes make your square look intentionally designed, not “oops.”
9. Keep Edges Straight
Watch your stitch count on each side. Each round adds two clusters per side—one each side of the corner.
Pro tip: Count clusters at the end of every round. It’s faster than fixing a wonky edge later.
Even sides equal perfect seams when you join squares.
10. Tension and Gauge Sanity
Too tight looks curled; too loose looks floppy. Aim for a square that lies flat without blocking.
Pro tip: If it curls, go up a hook size. If it waves, go down a size.
Balanced tension keeps your blanket from morphing into a trapezoid.
11. Finishing the Round Like a Pro
Join with a slip stitch to the top of the initial chain 3 or standing dc. Optional: slip stitch to the corner to start next round cleanly.
Pro tip: Invisible join with a needle for color-change rounds—chef’s kiss edges.
Neat joins make the seam disappear and the square look seamless.
12. Weaving in Ends Without Tears
Use a blunt yarn needle, weave tails through the back of clusters in multiple directions. Trim with confidence.
Pro tip: Leave 6–8 inches per tail. Short tails escape like tiny rebels.
Secure ends survive washing and actual human use. Radical.
13. Light Blocking for Perfect Shape
Pin your square to size and steam or spritz, then let it dry flat. No ironing—this isn’t a shirt.
Pro tip: Use a blocking board with grid lines to match sizes across squares.
Blocking evens stitches and gives that crisp, Instagram-ready finish.
14. Join-As-You-Go Option
On your final round, swap chain spaces for slip stitches into neighboring squares to connect as you work. Faster, fewer tails.
Pro tip: Join on the second cluster of a side to keep corners tidy and aligned.
It saves time and keeps seams flexible and neat.
15. Remix the Pattern
Try a solid granny (no chain spaces in sides), add puff stitches, or go granny stripe for blankets. Same logic, new vibe.
Pro tip: Stick to a color palette of 3–5 shades to avoid chaos energy.
Variations keep it fresh while you build skills and style.
✨ New Member Etsy Shops (100% Unsponsored!)
We are incredibly proud of the talent in this community! 💖 We've rounded up some gorgeous new Etsy shops launched by our very own members.
There are ZERO affiliate links in this post—just 100% pure support for our makers. Click below to shop small, show them some love, and find your new favorite items! 👇🛍️


Conclusion
Granny squares are tiny powerhouses—portable, forgiving, and stylish. With a hook, some yarn, and a smidge of patience, you can stack squares into blankets, bags, and bragging rights. Keep your corners sharp, your tension chill, and your colors cute. You’ve got this, one cozy square at a time.