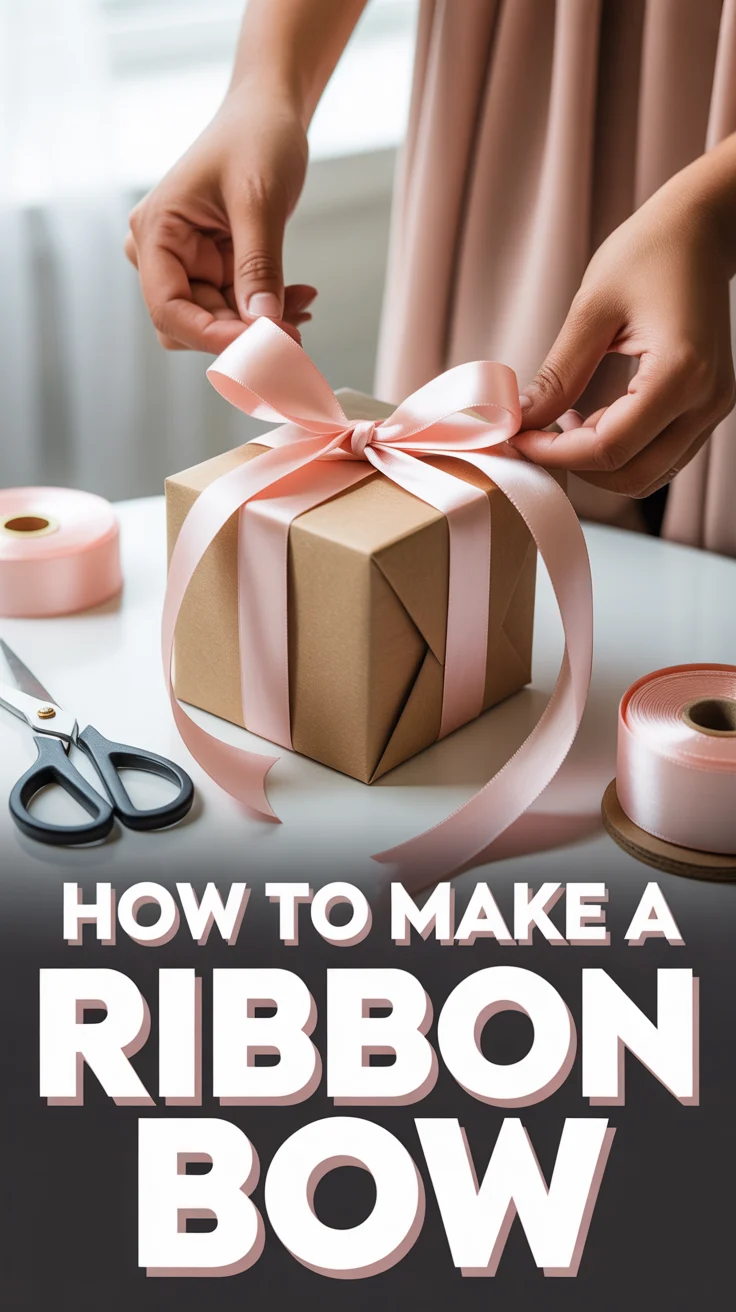
💅 How To Do Nails
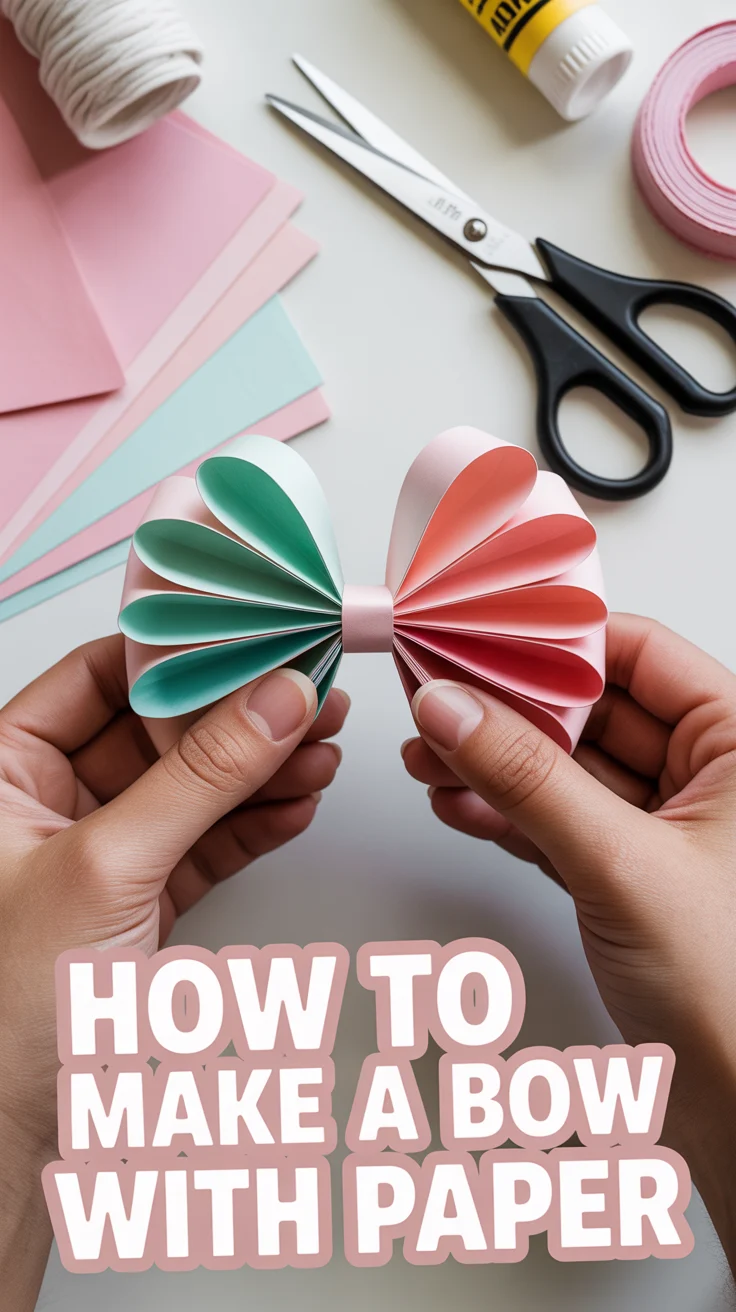
🛠️ The Ultimate Maker's Toolkit
I've tested thousands of craft tools over the years. Whether you are quilting, crafting, or building mixed-media art, these are the top 5 absolute non-negotiable tools I personally recommend to guarantee professional results.
🪡 SINGER Heavy Duty 4452 Sewing Machine
The sewing community highly recommends this as the ultimate "bulletproof" entry-level machine. Its heavy metal frame powerfully pushes through thick denim and heavy quilt layers that would instantly jam a standard plastic machine.
✂️ Fiskars 8" Orange-Handled Scissors
Never settle for dull dollar-store blades. Wirecutter repeatedly names Fiskars the absolute best all-purpose craft scissor due to its legendary precision-ground blades and an ergonomic grip that prevents hand-cramping.
🔥 Gorilla Dual Temp Hot Glue Gun
Named Wirecutter's top choice because it literally does the work of two tools. It features dual-temperature settings offering low heat for delicate florals and blistering high heat for heavy wood adhesion repairs.
🖌️ Mod Podge Waterbase Gloss Sealer
The absolute undisputed champion of decoupage and paper crafts. Experts rely exclusively on this exact water-based formula because it glues, seals, and finishes beautifully without yellowing or flaking over time.
🎨 Apple Barrel Acrylic Paint (2 oz)
The quintessential, incredibly inexpensive craft paint. Woodworkers and hobby painters swear by its smooth flow and matte finish, providing massive value and remarkably thick color coverage on rough surfaces.
Dreaming of beautifully manicured nails that look like they just stepped out of a high-end salon, but crafted by your own hands? Imagine the satisfaction of transforming your nails into a canvas of color and creativity, all from the comfort of your home. This guide isn’t just about painting nails; it’s about unlocking a new form of self-expression, boosting your confidence, and enjoying a truly relaxing, rewarding self-care ritual.
Quick Overview
Get ready to embark on a delightful journey to achieve stunning, salon-quality nails right at home. You’ll learn the secrets to perfect prep, flawless application, and lasting results, making you feel like a seasoned nail artist in no time.
Time needed: 60-90 minutes (including drying time)
Difficulty: Beginner
* What you’ll need: Nail file, buffer, cuticle pusher, base coat, nail polish color, top coat, nail polish remover, cotton pads, hand cream.
Step-by-Step Instructions
Step 1: Gather Your Arsenal
Before you dive into the artistic process, setting up your space and gathering your tools is paramount. Think of this as preparing your creative sanctuary. Choose a well-lit area, ideally near a window for natural light, and lay down an old towel or newspaper to protect your surface from accidental spills. Having everything within arm’s reach will make the entire process smooth and enjoyable.
Here’s a detailed list of what you’ll need:
- Nail Polish Remover: Acetone-free is gentler for regular use, but acetone works faster for glitter or stubborn polishes.
- Cotton Pads or Lint-Free Wipes: Essential for removing polish and cleaning.
- Nail Clipper: For shortening length if needed.
- Nail File: A fine-grit file (180-240 grit) is ideal for shaping natural nails.
- Nail Buffer: A multi-sided buffer will smooth, shine, and prep your nail surface.
- Cuticle Pusher: An orange wood stick or a metal cuticle pusher.
- Cuticle Oil: For nourishing cuticles.
- Base Coat: A crucial layer that protects your nails and helps polish adhere.
- Nail Polish Color: Your chosen shade – have a few options ready!
- Top Coat: For shine, protection, and extended wear.
- Small Brush (optional): An old makeup brush or a dedicated clean-up brush dipped in remover for perfecting edges.
- Hand Cream/Lotion: For post-manicure hydration.
Pro tip: Store your polishes upright in a cool, dark place. If a polish feels thick, add a few drops of nail polish thinner (not remover!) to restore its consistency.
Step 2: The Clean Slate
Start with a blank canvas! Any old polish, oils, or residues can sabotage your new manicure, leading to chips and poor adhesion. This step is about ensuring your nails are perfectly clean and ready to absorb all the goodness you’re about to apply.
- Remove Old Polish: Soak a cotton pad with nail polish remover and press it onto your nail for a few seconds before wiping. This allows the remover to break down the polish, making it easier to wipe away without excessive scrubbing. Repeat until all traces of old polish are gone.
- Wash Your Hands: Give your hands a good wash with soap and water to remove any lingering remover residue, oils, or dirt. Pat them completely dry with a clean towel. Ensure your nails are bone dry before moving on.
Pro tip: For stubborn glitter polish, soak a cotton pad in remover, place it on your nail, and wrap your fingertip in aluminum foil for 5-10 minutes. The foil helps the remover penetrate, and the glitter will slide right off!
Step 3: Sculpt Your Shape
Shaping your nails is where you define your desired aesthetic. Whether you prefer a classic oval, a trendy coffin, or a practical squoval, proper filing technique is key to strong, healthy nails.
- Trim if Necessary: If your nails are significantly long, use a nail clipper to reduce the length first. Always aim to leave a little length to file, as clippers can sometimes leave rough edges.
- Choose Your Shape: Consider your finger length and personal style.
- Square: Strong, straight edge.
- Oval: Soft, elongated, feminine.
- Almond: Tapered, elegant, makes fingers appear longer.
- Squoval: A softer square, with rounded edges – very popular and durable.
- File with Precision: Hold the file at a slight angle and file in one direction only, from the side to the center of the nail. Avoid sawing back and forth, as this can cause microscopic tears that lead to splitting and breakage. Be gentle but firm, slowly shaping each nail until you achieve symmetry across all fingers.
Pro tip: Always file your nails when they are completely dry. Wet nails are more pliable and prone to tearing and splitting during filing.
Step 4: Nurture Your Cuticles
Cuticles are the natural protective barrier for your nail matrix. Treating them gently is vital for nail health and a clean-looking manicure.
- Soften: You can either push back your cuticles immediately after washing your hands (when they’re still soft), or you can apply a specialized cuticle remover gel or a drop of cuticle oil and let it sit for a minute or two.
- Gently Push Back: Using an orange wood stick or the flat end of a metal cuticle pusher, gently push back the cuticles towards the nail bed. Be very delicate – you’re aiming to tidy, not to force or injure.
- Trim (Optional & Cautious): If you have any hangnails or excess, dead skin that lifts away cleanly, you may carefully trim it with cuticle nippers. However, this is an advanced step and often best left to professionals. Cutting live cuticle skin can lead to infection and damage the nail matrix. When in doubt, don’t cut!
Pro tip: Regular application of cuticle oil (even daily) keeps cuticles soft and healthy, making them easier to manage and improving the overall appearance of your nails.
Step 5: Buff to Brilliance
Buffing helps to create a smooth, even surface for your polish, ensuring a streak-free and long-lasting finish. It also helps remove any natural oils or ridges that could hinder polish adhesion.
- Smooth the Surface: Use the finer grit side of your nail buffer (usually marked “smooth” or “even”) and gently buff the entire surface of each nail. Use light, even strokes, moving in one direction. The goal is to create a uniform texture, not to thin your nails.
- Remove Dust: After buffing, brush away any nail dust with a clean, dry brush or a lint-free wipe. You can also give your hands a quick rinse under water and dry them thoroughly again to ensure no dust remains.
Pro tip: Don’t over-buff! Excessive buffing can thin your nails and make them weak. A few gentle strokes are usually sufficient to create the ideal surface.
Step 6: Lay the Flawless Foundation
The base coat is the unsung hero of any long-lasting manicure. It’s a non-negotiable step that protects your natural nails and sets the stage for vibrant, chip-resistant color.
- Apply a Thin Layer: Dip your brush into the base coat and wipe off any excess on the neck of the bottle. You want a thin, even layer – less is more.
- Three-Stroke Method: Start with a stroke down the center of your nail, then one stroke on each side, covering the entire nail plate.
- Cap the Free Edge: Lightly drag the brush along the very edge (the tip) of your nail. This “caps” the free edge, sealing the polish and significantly reducing chipping.
- Allow to Dry: Let the base coat dry completely (usually 1-2 minutes) before moving to the color. It might feel tacky, which is good – it helps the color adhere!
Pro tip: A good base coat acts as a barrier, preventing darker polishes from staining your natural nails. It also provides a slightly tacky surface for your color polish to grip onto, extending wear.
Step 7: Paint Your Masterpiece
Now for the fun part – adding color! Patience and thin coats are your best friends here. Rushing or applying thick layers will lead to bubbles, smudges, and a shorter-lived manicure.
- First Color Coat: Again, wipe off excess polish from the brush. Use the same three-stroke method: one down the center, then one on each side. Keep the brush almost parallel to your nail, letting the polish flow rather than pressing hard. Try to leave a tiny margin around the cuticles and sidewalls to prevent flooding them.
- Cap the Free Edge: Don’t forget to lightly cap the free edge with your color coat as well.
- Allow to Dry: Wait 2-3 minutes for the first coat to dry to the touch. It doesn’t need to be fully cured, but it should be set enough so that the second coat doesn’t drag it.
- Second Color Coat: Apply a second thin coat of color, following the same technique. This will deepen the color, make it more opaque, and ensure an even finish. For some highly pigmented polishes, one coat might be enough; for others, a third thin coat might be desired.
- Dry Thoroughly: Let the second color coat dry for 5-10 minutes before applying your top coat. The longer, the better!
Pro tip: If you accidentally get polish on your skin, don’t panic! Dip a clean-up brush or the tip of an orange wood stick wrapped in a tiny piece of cotton into nail polish remover and carefully clean up the edges before the polish dries completely.
Step 8: Seal with a Shine
The top coat is the protective shield for your beautiful color. It adds shine, prevents chipping, and extends the life of your manicure.
- Apply a Generous Layer: Just like with the base coat, apply a thin, even layer of top coat over your dried color.
- Three-Stroke Method & Cap the Free Edge: Use the same three-stroke technique and remember to cap the free edge to seal in your color and prevent premature chipping.
- Final Drying: This is the most crucial drying stage. While many quick-dry top coats promise fast results, allow at least 15-20 minutes for your top coat to set before engaging in any activities that could smudge or dent your nails. For full hardness, it can take up to an hour or more.
Pro tip: Reapply a thin layer of top coat every 2-3 days to refresh your manicure’s shine and add an extra layer of chip protection, significantly extending its wear time.
Step 9: Creative Flourishes
Once you’ve mastered the basics, the world of nail art opens up! Don’t be afraid to experiment and personalize your manicure.
- Accent Nail: Paint one nail (often the ring finger) a different color, add glitter, or a simple design.
- Simple Dots: Dip the end of an orange wood stick or a bobby pin into a contrasting polish and gently dot it onto your still-wet (or fully dry, then top-coated) nails for easy polka dots.
- Glitter Gradient: Apply a clear top coat, then lightly dab glitter polish onto the tips of your nails, fading towards the cuticle.
- Striping Tape: Once your color is fully dry, apply thin strips of nail art tape in geometric patterns, then apply a contrasting color over it, peel off the tape, and seal with a top coat.
Pro tip: Always ensure your base color is COMPLETELY dry before attempting any nail art, especially if you’re using tape or stencils, to prevent lifting or smudging.
Step 10: The Grand Finale
You’re almost done! This final step ensures your hands and cuticles are nourished, and your manicure looks crisp and professional.
- Clean Up Any Smudges: If you notice any polish on your skin, dip a small brush (like an old eyeliner brush or a dedicated clean-up brush) into nail polish remover and carefully trace around your nail edges to remove any stray polish. This creates a super clean, professional line.
- Hydrate Your Cuticles: Once your polish is completely dry, apply a drop of cuticle oil to each cuticle and gently massage it in. This nourishes the skin, promotes healthy nail growth, and adds a beautiful sheen.
- Moisturize Your Hands: Finish by massaging a rich hand cream into your hands, paying attention to your knuckles and any dry spots.
Pro tip: To avoid smudging your fresh manicure, wait until your nails are completely dry before applying cuticle oil and hand cream. If you’re in a hurry, use a quick-dry spray or drops, or dip your fingers into ice water for a few minutes to help set the polish faster.
Common Mistakes to Avoid
Even experienced nail artists make mistakes, but knowing these common pitfalls can help you achieve a flawless finish every time.
- Skipping Prep Steps: Not properly cleaning, filing, or buffing your nails before polish application is a recipe for disaster. Oily surfaces and rough edges cause polish to lift and chip prematurely. Always ensure your nails are clean, dry, and smooth.
- Applying Thick Coats of Polish: This is perhaps the most common mistake. Thick coats take forever to dry, leading to smudges, dents, and bubbles. They also make your manicure more prone to peeling. Always opt for two to three thin coats instead.
- Cutting Your Cuticles: Unless you are a trained professional, avoid cutting your cuticles. They are there to protect your nails from bacteria and infection. Cutting them can lead to painful hangnails, infections, and even damage your nail growth. Gently push them back instead.
- Filing Nails Back and Forth: Sawing your nail file back and forth creates friction and can cause the nail layers to separate, leading to splitting, peeling, and breakage. Always file in one direction, from the side to the center, to maintain nail integrity.
- Skipping Base and Top Coat: These aren’t optional; they’re essential! Base coat protects your nails from staining and helps the color adhere, while top coat adds shine, protects the color, and extends wear. Omitting them significantly shortens the life of your manicure.
Troubleshooting
Even with the best intentions, sometimes things go awry. Here are quick fixes for common manicure woes.
- Smudged Polish: If it’s a fresh smudge and the polish is still wet, gently smooth it out with a clean fingertip or an orange wood stick. If it’s more significant or partially dry, it’s often best to remove the polish from that nail and reapply. Prevention is key: thin coats and ample drying time!
- Bubbles in Polish: Bubbles usually occur due to thick polish coats, shaking the polish bottle vigorously (which creates air bubbles), or applying polish in a humid environment. To prevent: roll the bottle between your palms instead of shaking, apply thin coats, and ensure your nails are completely dry before painting. If you get them, you can try to pop them with a pin if the polish is still wet, or gently buff them down once dry and reapply a thin coat.
- Chipping Too Soon: This is often a sign of improper prep. Ensure your nails are clean, dry, and free of oils. Always use a base coat, apply thin layers of color, and don’t forget to “cap” the free edge of your nail with both color and top coat. Reapplying top coat every few days can also help.
Key Takeaways
- Preparation is Paramount: Clean, shaped, and buffed nails are the foundation of a long-lasting manicure.
- Thin Coats are Your Secret Weapon: Always apply multiple thin coats of polish rather than one thick one for faster drying and a smoother finish.
- Base and Top Coats are Non-Negotiable: They protect your nails, enhance color, and extend the life of your manicure.
- Patience is a Virtue: Allow adequate drying time between each layer to prevent smudges and bubbles.
- Nourish Your Cuticles: Regular cuticle oil application keeps them healthy and your manicure looking fresh.
Frequently Asked Questions
Q: How often should I do my nails?
A: For optimal nail health and appearance, aim for a fresh manicure once a week. This allows you to maintain shape, rehydrate, and keep your nails looking their best.
Q: Can I use regular nail polish over gel nails?
A: While technically possible, it’s not recommended. Gel polish is a different system that requires UV/LED light to cure. Applying regular polish over gel defeats the purpose of the gel’s longevity and can be tricky to remove without damaging the gel layer underneath. Stick to one system at a time.
Q: What’s the best way to make my manicure last longer?
A: Proper prep, thin coats, capping the free edge, and using a high-quality base and top coat are crucial. Additionally, wear gloves for household chores, apply cuticle oil daily, and reapply a thin layer of top coat every 2-3 days.
Q: How do I choose the right nail polish color for me?
A: Consider your skin tone (cool tones often suit blues, purples, and true reds; warm tones suit oranges, yellows, and coral reds), the occasion, and your personal style. Don’t be afraid to experiment! Also, darker colors can make short nails appear longer, while lighter shades give a clean, classic look.
What’s Next?
You’ve just unlocked the incredible world of at-home manicures! Don’t stop here. The more you practice, the more confident and creative you’ll become. Experiment with different colors, try simple nail art designs like ombre or glitter accents, or invest in a few specialized tools like dotting tools or striping brushes. Perhaps explore the world of gel polish for even longer-lasting results when you’re ready. The journey of nail crafting is endless and wonderfully rewarding. Your hands are now a canvas – go forth and create!