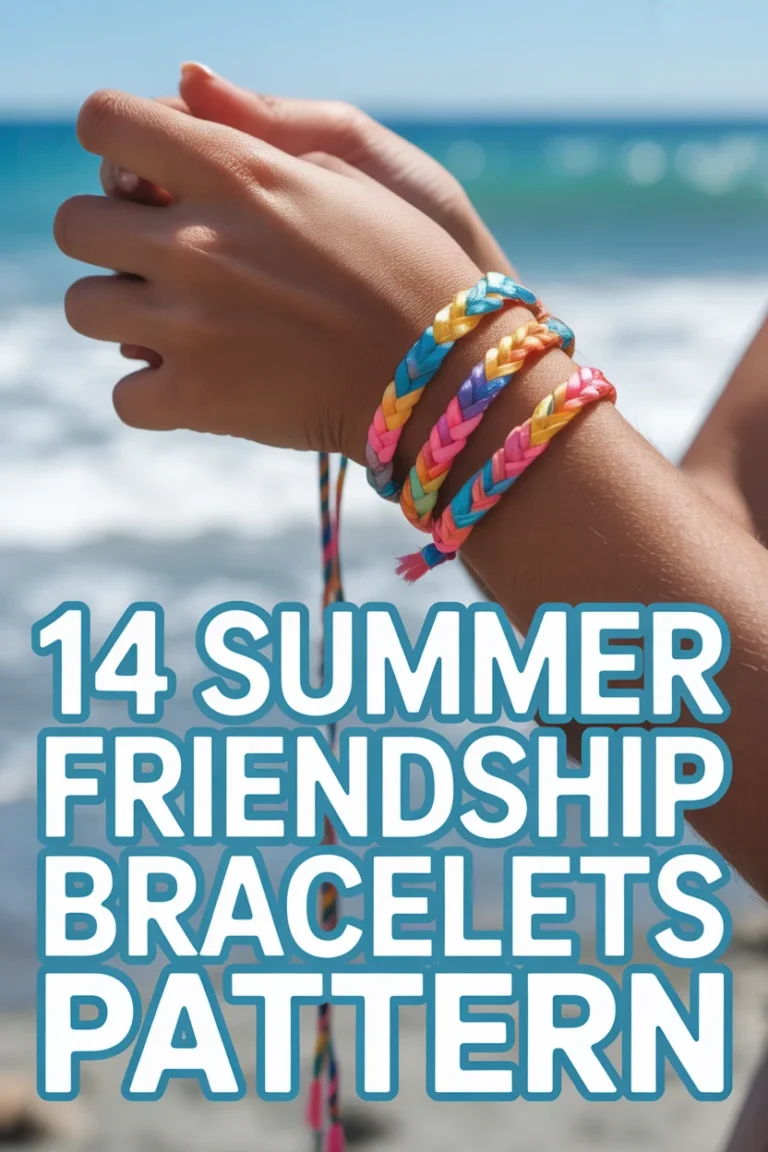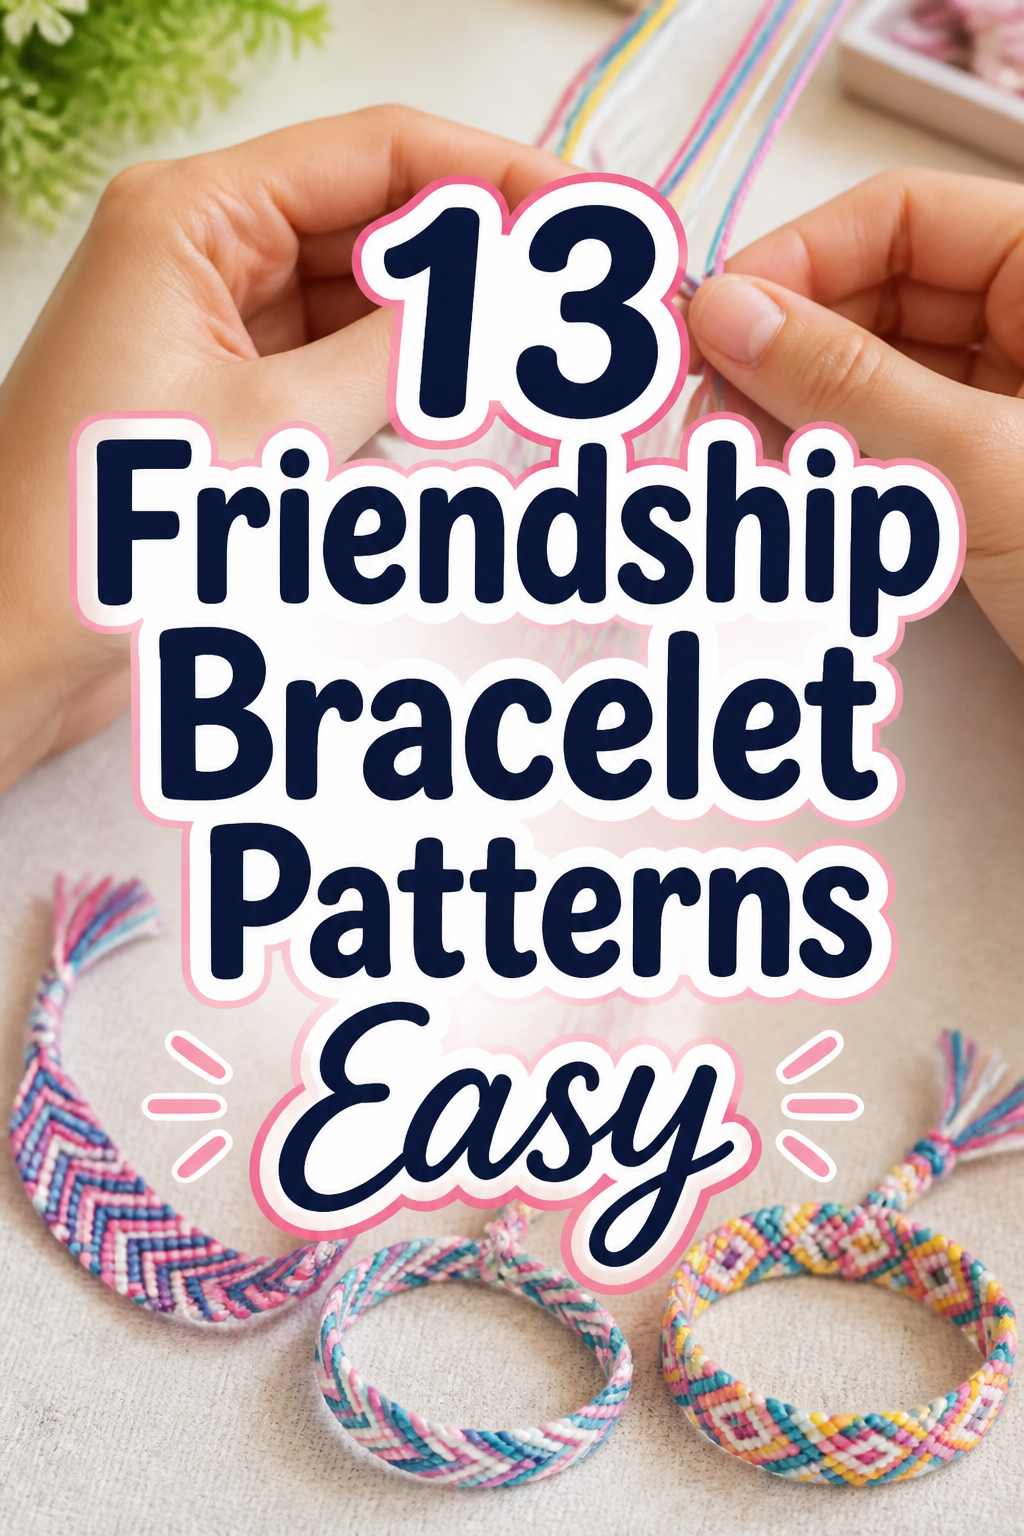
✂️ 13 Friendship Bracelet Patterns Easy
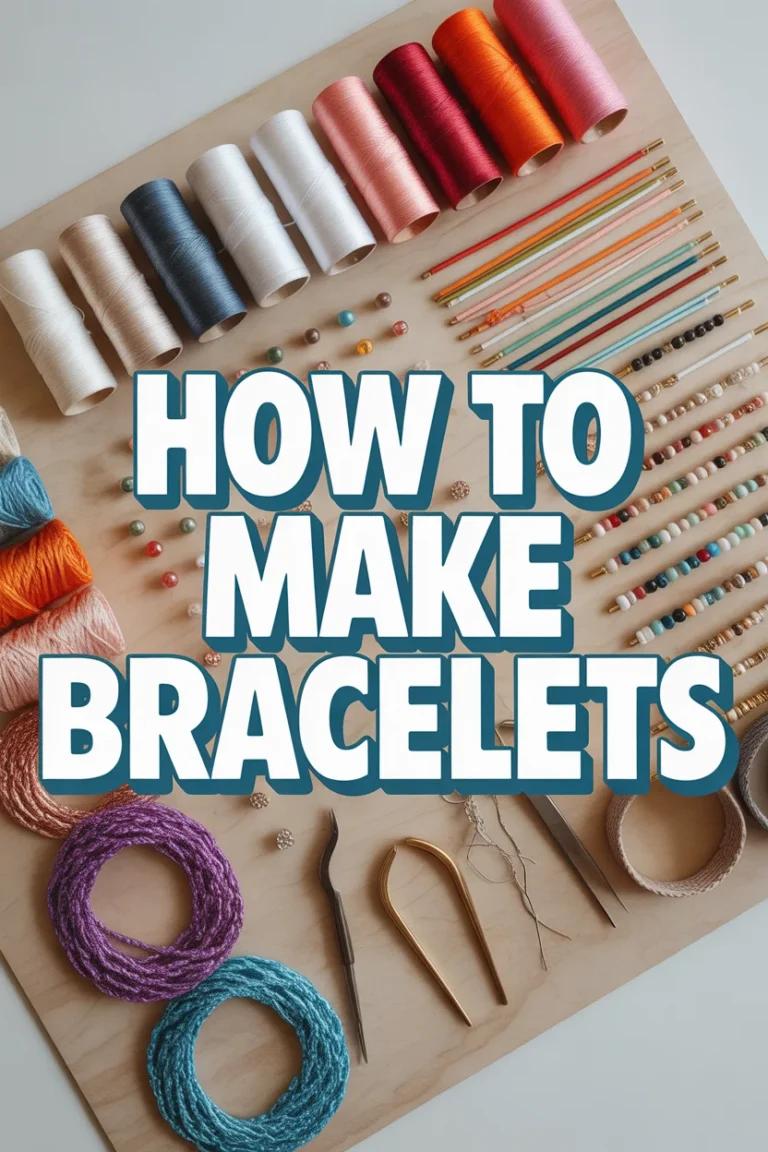
🛠️ The Ultimate Maker's Toolkit
I've tested thousands of craft tools over the years. Whether you are quilting, crafting, or building mixed-media art, these are the top 5 absolute non-negotiable tools I personally recommend to guarantee professional results.
🪡 SINGER Heavy Duty 4452 Sewing Machine
The sewing community highly recommends this as the ultimate "bulletproof" entry-level machine. Its heavy metal frame powerfully pushes through thick denim and heavy quilt layers that would instantly jam a standard plastic machine.
✂️ Fiskars 8" Orange-Handled Scissors
Never settle for dull dollar-store blades. Wirecutter repeatedly names Fiskars the absolute best all-purpose craft scissor due to its legendary precision-ground blades and an ergonomic grip that prevents hand-cramping.
🔥 Gorilla Dual Temp Hot Glue Gun
Named Wirecutter's top choice because it literally does the work of two tools. It features dual-temperature settings offering low heat for delicate florals and blistering high heat for heavy wood adhesion repairs.
🖌️ Mod Podge Waterbase Gloss Sealer
The absolute undisputed champion of decoupage and paper crafts. Experts rely exclusively on this exact water-based formula because it glues, seals, and finishes beautifully without yellowing or flaking over time.
🎨 Apple Barrel Acrylic Paint (2 oz)
The quintessential, incredibly inexpensive craft paint. Woodworkers and hobby painters swear by its smooth flow and matte finish, providing massive value and remarkably thick color coverage on rough surfaces.
Ever stared at a pile of embroidery floss, utterly stumped on how to turn it into a tiny token of eternal friendship?
Yeah, been there, done that, got the tangled mess to prove it.
Good news, buttercup: we’re diving into some super chill, totally doable bracelet patterns that even your craft-challenged aunt could master.

1. The Classic Candy Stripe
- Best For: Beginners, quick gifts, group activities
- Vibe: Nostalgic, sweet, simple
- Why it works: It’s the OG for a reason – super easy to learn and looks great.
You just need a few strands of your fave colors – think bright pink, sunny yellow, and sky blue for that quintessential summer feel. Grab about two feet of each, knot ’em together, and get ready to make some forward knots. Seriously, it’s just one knot, repeated.
Pro Tip: Keep your tension consistent. It makes all the difference between “homemade charm” and “hot mess express.”
2. Diagonal Stripe Delight
- Best For: First-time braiders, school projects, party favors
- Vibe: Clean, crisp, versatile
- Why it works: Another foundational pattern, slightly more advanced than candy stripe but still totally beginner-friendly.
Pick two or three contrasting colors, like a deep navy and a bright coral, or a monochrome grey scale. You’ll be making a series of forward knots across your strands. It creates a neat, uniform diagonal line that looks way more complicated than it actually is.
Pro Tip: Use a clipboard or tape your starting knot to a table. It keeps everything still while you work your magic.
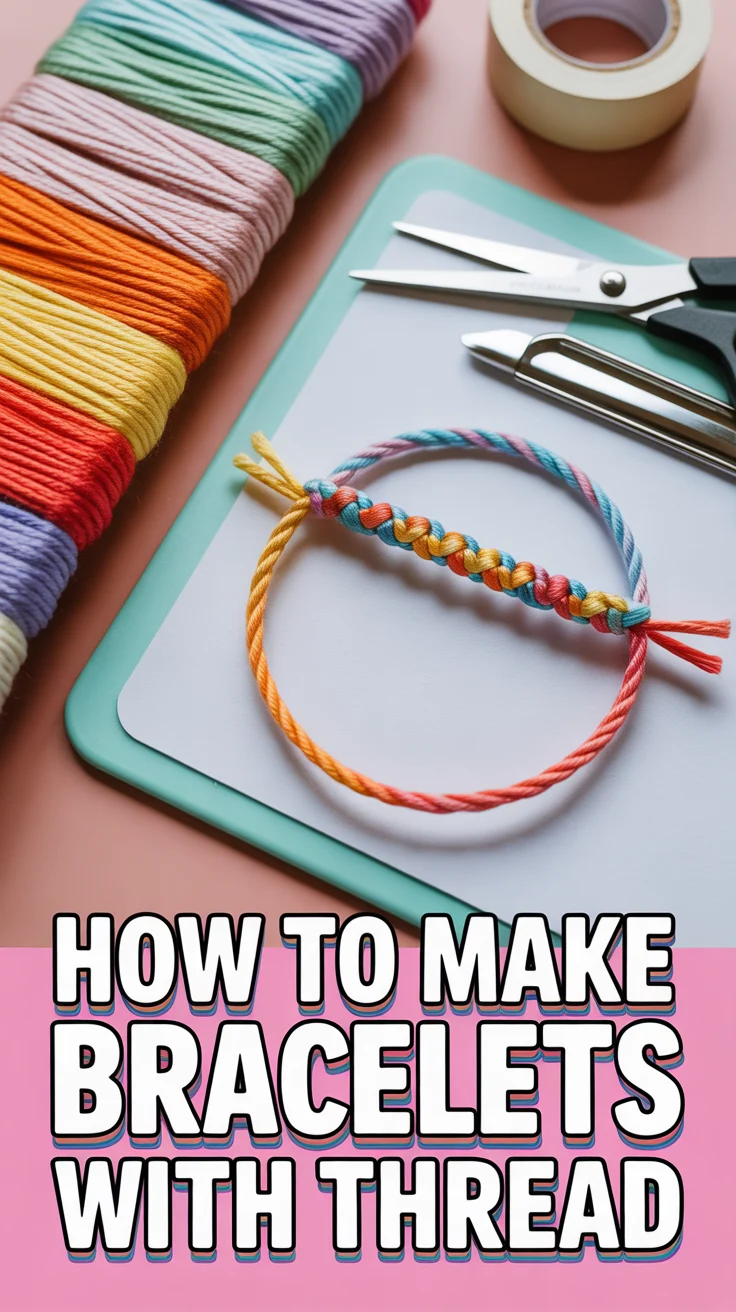
3. The Simple Braid (aka The OG)
- Best For: Absolute beginners, super speedy gifts, kids’ crafts
- Vibe: Effortless, classic, bohemian
- Why it works: If you can braid hair, you can make this. No special knots needed.
This one is literally just a three-strand braid. Pick three colors of embroidery floss – maybe some earthy tones like forest green, mustard, and rust. Braid them tightly until you reach your desired length, then knot the ends. You can even add a little charm if you’re feeling fancy.
Pro Tip: Braid extra long and trim to size. It’s always better to have too much than too little, especially if you’re gifting.
4. Twisted Rope (The Spiral)
- Best For: Minimalists, quick last-minute gifts, using up scrap floss
- Vibe: Chic, understated, modern
- Why it works: It looks fancy but only requires two strands and a whole lot of twisting.
Grab two different colored strands, like a shiny metallic gold and a matte black. Tie them together at one end. Now, twist each strand individually very tightly in the same direction, then twist them together in the opposite direction. It’ll coil up into a beautiful spiral.
Pro Tip: Don’t be afraid to twist really tightly. The tighter the twist, the more defined your spiral will be.
5. Beaded Beauty (Easy Add-on)
- Best For: Adding flair, personalized gifts, using up bead stashes
- Vibe: Sparkly, customized, playful
- Why it works: You just slide beads onto a basic braid or twisted rope pattern.
Start with a simple braided bracelet, but before you knot the ends, thread on a few small seed beads or larger accent beads. Think iridescent glass beads or tiny letter beads for a personalized touch. You can even string them on one of your floss strands before braiding.
Pro Tip: Use a needle with an eye large enough for your floss but small enough for your beads. Or, just stiffen the end of your floss with a tiny dab of glue.
6. Half Hitch Heaven (The Macrame Look)
- Best For: Learning basic macrame, textured designs, layering
- Vibe: Boho, natural, earthy
- Why it works: It introduces a foundational knot that opens up a world of macrame possibilities.
This one uses a series of half hitch knots around a central core string. Choose a bold color for your knotting string, like a vibrant turquoise, and a neutral for your core, like beige. You’ll create a lovely, textured chain that’s surprisingly sturdy.
Pro Tip: Keep your core string taut while you knot. It helps create a uniform and neat pattern.
7. The Square Knot Bracelet
- Best For: Developing knotting skills, more substantial bracelets, unisex designs
- Vibe: Robust, classic macrame, strong
- Why it works: It’s a fundamental macrame knot that creates a strong, flat, and reversible pattern.
You’ll need two working strings and two core strings. Imagine a bright red for the working strings and black for the core. You’ll alternate making square knots, which involve a “4” shape and then a “P” shape, around the core strings. It builds a beautiful, flat braid.
Pro Tip: Practice the square knot a few times on scrap string first. Once you get the rhythm, you’ll be flying.
8. Chevron Charm (Simplified)
- Best For: Stepping up your game, creating V-shapes, impressive results
- Vibe: Modern, geometric, striking
- Why it works: It looks intricate but is just a combination of forward and backward knots.
This pattern creates those cool V-shapes. You’ll need an even number of strings, usually starting with two of each color, mirrored. Think gradient blues and greens. You work from the outside in, meeting in the middle with a final knot.
Pro Tip: Lay out your strings in the correct mirrored order before you start. It saves you from having to untangle a mess later.
9. The Fishtail Braid
- Best For: Hair braiders, delicate designs, a twist on the traditional
- Vibe: Elegant, intricate-looking, feminine
- Why it works: It’s a classic braid technique that translates beautifully to floss, creating a delicate, tight weave.
Divide your floss into two sections. Take a small strand from the outside of one section and cross it over to the inside of the other. Repeat, alternating sides. It’s the same method you’d use for hair, just with floss. Try using two complementary colors like lilac and silver.
Pro Tip: Keep your sections small and your tension tight for a really defined fishtail look.
10. Chain Stitch Bracelet (Crochet-Lite)
- Best For: Learning basic crochet, textured feel, quick makes
- Vibe: Handmade, cozy, unique
- Why it works: It’s a simple crochet stitch that forms a lovely chain, even if you’re not a “crocheter.”
You just need one strand of floss and a small crochet hook. Make a slip knot, then yarn over and pull through to create a chain stitch. Repeat until you have a long chain. Use a variegated floss for an instant color change effect, or a chunky cotton for a more rustic feel.
Pro Tip: Don’t pull your stitches too tight. Loose stitches are easier to work with and give the bracelet a nice drape.
11. Loop-de-Loop (The “No Knot” Knot)
- Best For: Kids, super quick projects, using up short scraps
- Vibe: Playful, chunky, easy-peasy
- Why it works: It’s essentially a series of lark’s head knots around a core string, making it super fast.
Take a long core string, then cut several shorter strands of different colors. Fold each short strand in half and loop it around the core string using a lark’s head knot. Push them together tightly to create a dense, colorful bracelet. Think rainbow colors for maximum fun.
Pro Tip: Use a thicker core string if you want a more substantial bracelet. It gives the loops something solid to grip onto.
12. The Friendship Ladder
- Best For: Layering, adding charms, a unique texture
- Vibe: Structured, geometric, modern
- Why it works: It creates a cool ladder-like effect using simple knots.
You’ll need two main working strings and several shorter “rung” strings. Choose a bold primary color for your working strings and a mix of brights for the rungs. You essentially knot the rung strings between the two working strings, creating little bridges.
Pro Tip: Pre-cut your rung strings to the same length for consistency. This makes the “ladder” look really neat.
13. Braided with a Twist (Yarn Braid)
- Best For: Chunky bracelets, using up yarn scraps, a softer feel
- Vibe: Boho-chic, cozy, textural
- Why it works: Using yarn instead of floss gives a completely different, softer, and thicker bracelet.
Instead of embroidery floss, grab some soft, thin yarn – maybe a cotton or merino blend in muted pastels. Braid three strands together just like a regular braid. The texture of the yarn makes it feel instantly more substantial and cozy on the wrist.
Pro Tip: Don’t be afraid to mix yarn weights for a more organic, rustic look.
Our Top Recommended Finds
- Embroidery Floss Variety Pack: Because who wants to run out of that perfect shade of teal mid-project? Plus, options are always good.
- Macrame Board with Pins: Keeps your strings tidy and tension perfect, saving you from wrestling with tape or a clipboard. Your future self will thank you.
- Small Sharp Scissors: A dedicated pair for crafts means no dull blades from paper and clean cuts every time. Precision is key, darling.
Which of these will you try first?
See? No need to pull your hair out trying to master a triple-helix reverse knot. These patterns are genuinely easy, look fantastic, and will have you churning out arm candy like a pro.
So, grab your floss, pick a pattern, and get knotting. Which easy peasy bracelet will be your debut masterpiece?