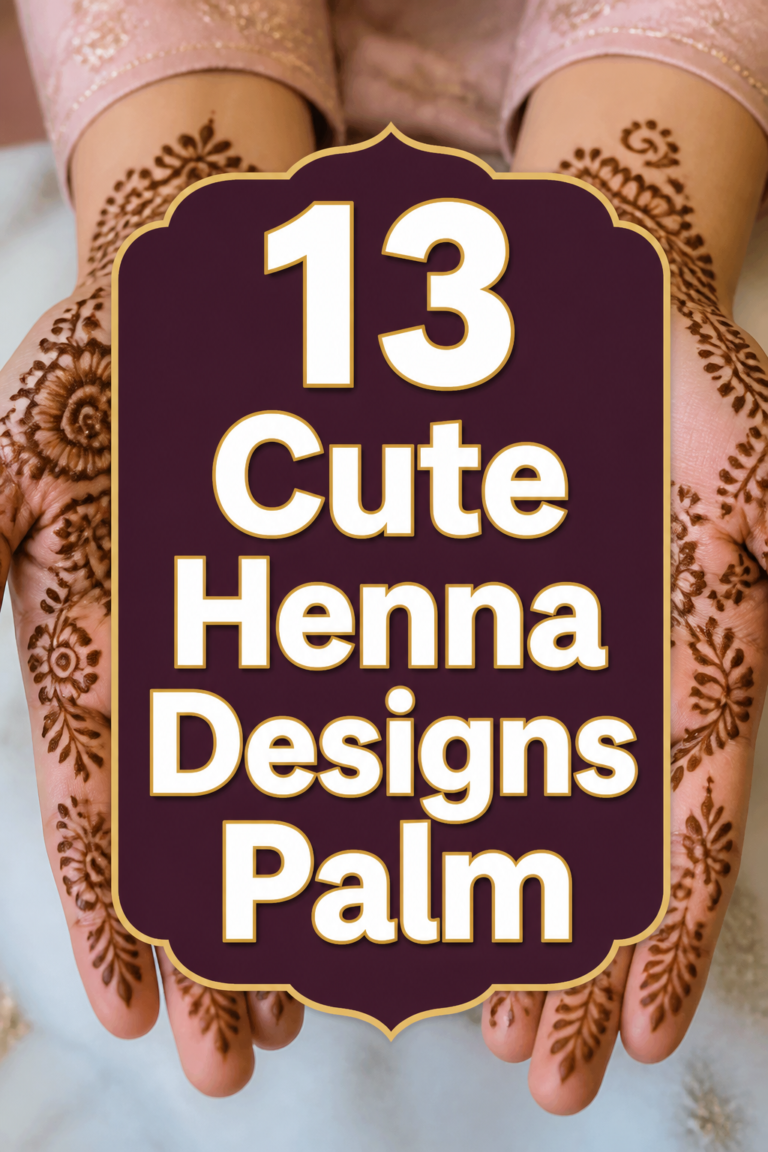
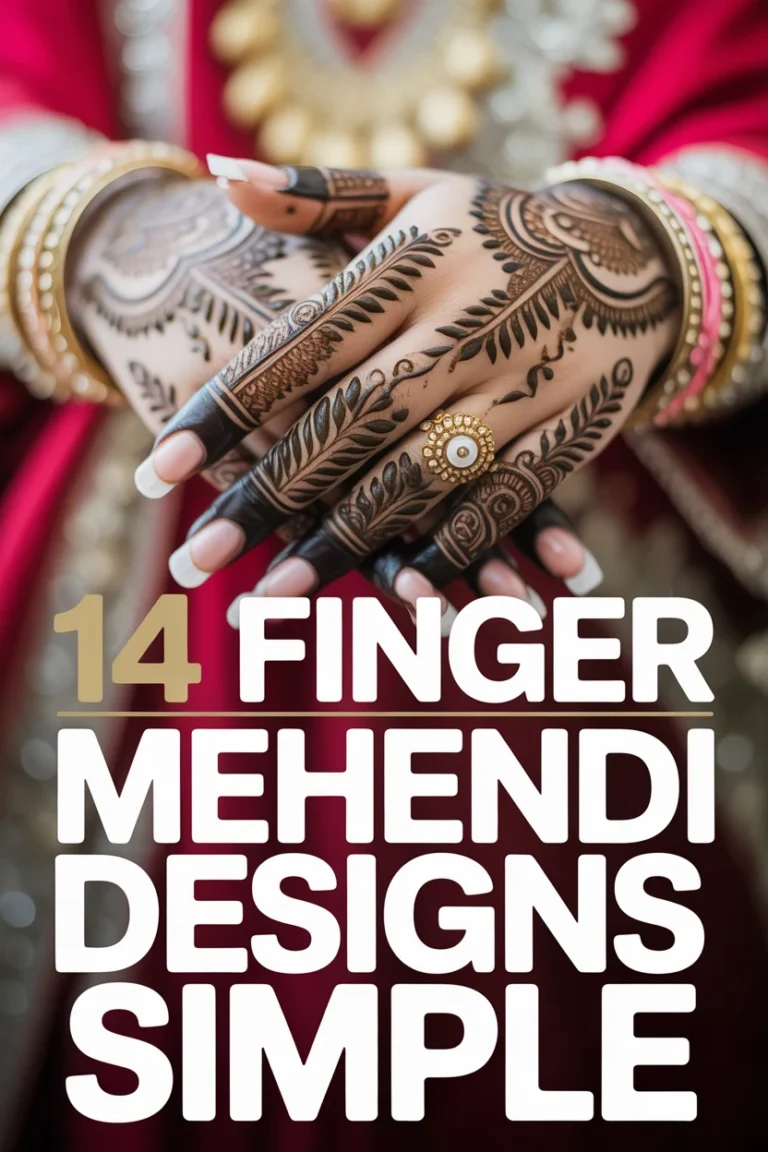
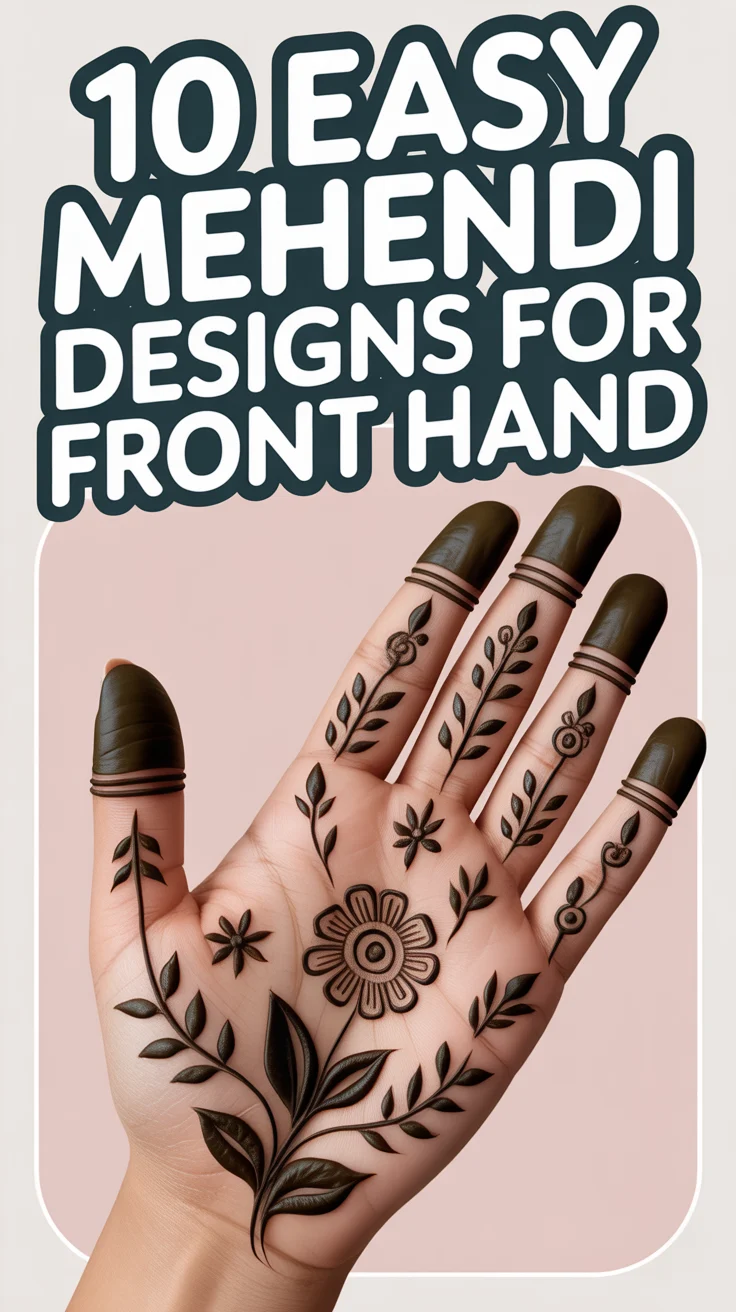
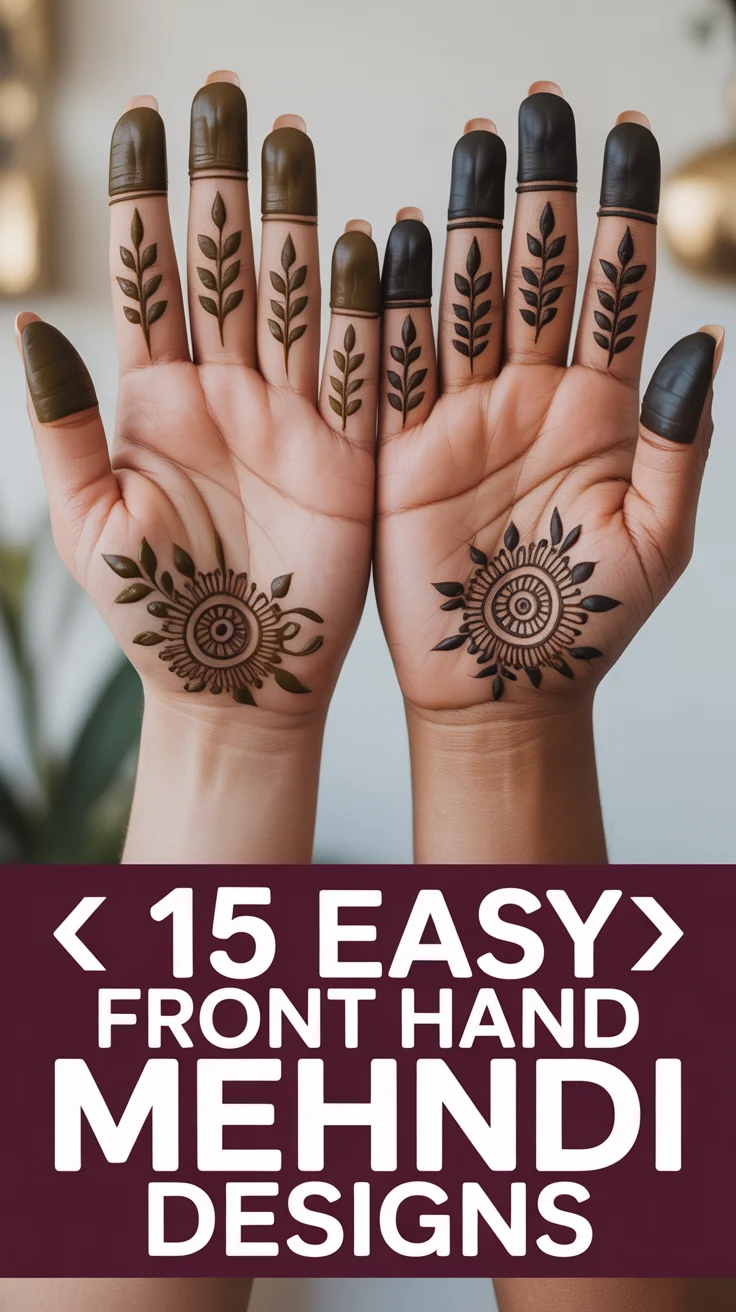
🪷 12 Easy Mehendi Designs For Beginners
🛠️ The Ultimate Maker's Toolkit
I've tested thousands of craft tools over the years. Whether you are quilting, crafting, or building mixed-media art, these are the top 5 absolute non-negotiable tools I personally recommend to guarantee professional results.
🪡 SINGER Heavy Duty 4452 Sewing Machine
The sewing community highly recommends this as the ultimate "bulletproof" entry-level machine. Its heavy metal frame powerfully pushes through thick denim and heavy quilt layers that would instantly jam a standard plastic machine.
✂️ Fiskars 8" Orange-Handled Scissors
Never settle for dull dollar-store blades. Wirecutter repeatedly names Fiskars the absolute best all-purpose craft scissor due to its legendary precision-ground blades and an ergonomic grip that prevents hand-cramping.
🔥 Gorilla Dual Temp Hot Glue Gun
Named Wirecutter's top choice because it literally does the work of two tools. It features dual-temperature settings offering low heat for delicate florals and blistering high heat for heavy wood adhesion repairs.
🖌️ Mod Podge Waterbase Gloss Sealer
The absolute undisputed champion of decoupage and paper crafts. Experts rely exclusively on this exact water-based formula because it glues, seals, and finishes beautifully without yellowing or flaking over time.
🎨 Apple Barrel Acrylic Paint (2 oz)
The quintessential, incredibly inexpensive craft paint. Woodworkers and hobby painters swear by its smooth flow and matte finish, providing massive value and remarkably thick color coverage on rough surfaces.
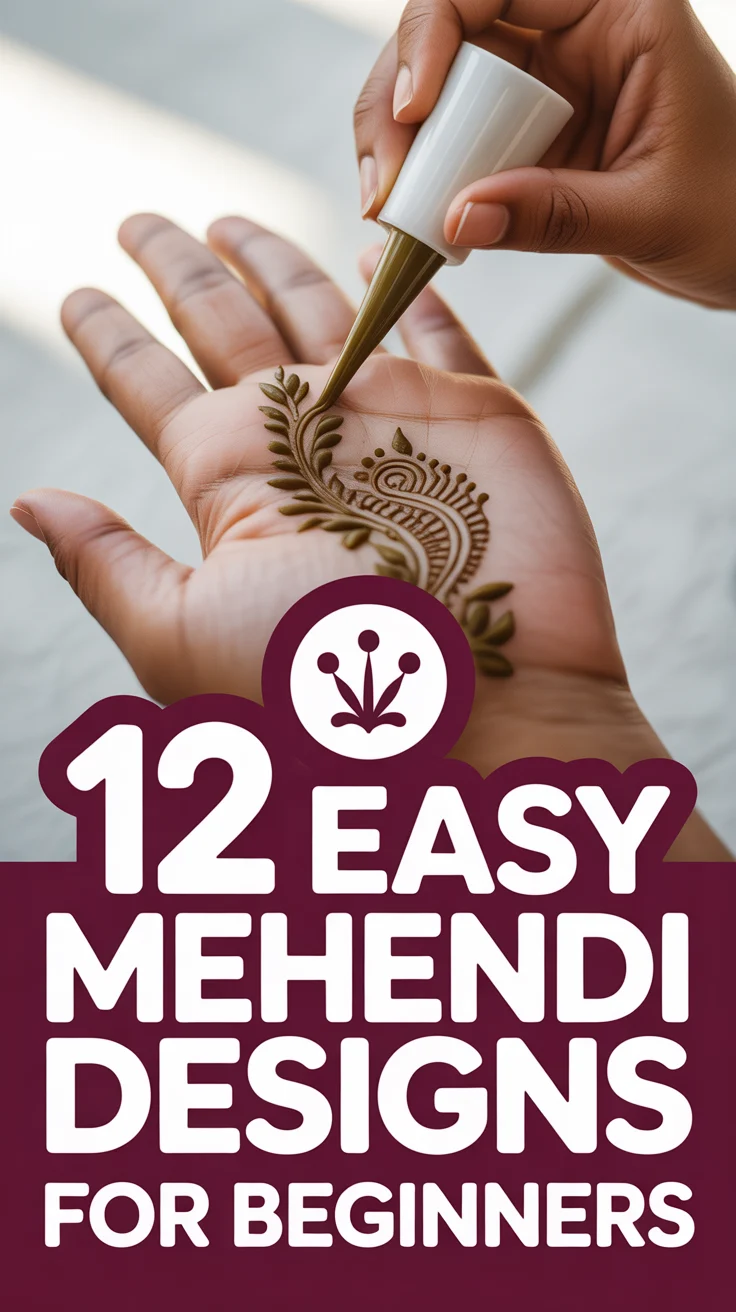
New to mehendi and low-key terrified of squiggles turning into chaos? Breathe. These beginner-friendly designs are easy, cute, and won’t take all day. Grab a steady table, a decent cone, and let’s make your hands look festive without the stress.
1. Basic Dot Grid
When in doubt, dot it out. A simple grid of evenly spaced dots looks minimalist and chic.
- Place dots in straight lines across the back of your hand.
- Fill small gaps with tiny accents like mini teardrops.
- Keep spacing consistent for a clean finish.
Pro tip Lightly mark guide points with a white eyeliner first. It keeps everything symmetrical. This works because dots are forgiving and instantly stylish.
2. Single Mandala Center
One center mandala, big impact. It’s the gateway design for every beginner.
- Start with a small circle, add petals around it.
- Alternate petal sizes for visual depth.
- Add tiny leafy strokes between petals.
Pro tip Keep your wrist steady and rotate your hand, not the cone. The symmetry sells the look with zero overwhelm.
3. Half-Hand Vine
A slim vine that runs diagonally? Elegant and fast.
- Draw a gentle S-curve across the hand.
- Add paired leaves along the vine.
- Pop in a few dots to fill negative space.
Pro tip Vary leaf sizes slightly for natural flow. It works because it elongates the hand and looks airy.
4. Tiny Paisley Trail
Paisleys are the mehendi MVP. Start small, stack easy.
- Create 3–5 mini paisleys along a diagonal line.
- Outline each once for emphasis.
- Fill with simple lines or dots.
Pro tip Draw paisleys like a teardrop with a curl—don’t overthink it. The repetition makes it look pro.
5. Finger Tip Bands
Zero fuss, high fashion. Just decorate the fingertips.
- Apply a solid cap on each fingertip.
- Add a thin band just below with tiny dots.
- Keep nails clean for contrast.
Pro tip Use a tissue edge to guide straight bands. It’s bold and beginner-proof.
6. Wrist Cuff Charm
Think bracelet, but henna. Cute and classy.
- Draw two parallel lines around the wrist.
- Fill the space with chevrons or dots.
- Add a tiny dangling charm shape.
Pro tip Keep lines light first, then thicken. It frames the hand like jewelry, no ring needed.
7. Minimal Floral Cluster
Three tiny flowers, instant pretty.
- Place three simple 5-petal flowers near the thumb base.
- Join with short stems and dots.
- Leave negative space for a modern vibe.
Pro tip Use petals shaped like teardrops pointing outward. It looks delicate and polished.
8. Chevron Strip
Geometric and foolproof. Lines do the heavy lifting.
- Draw a vertical strip down the center.
- Fill with chevron patterns stacked neatly.
- Edge with dots for detail.
Pro tip Start in the middle and work outward for alignment. The symmetry looks crisp and intentional.
9. Crescent Moon with Stars
A little celestial magic, minus the drama.
- Draw a slim crescent near the wrist or palm.
- Add tiny stars and dots around it.
- Outline the moon lightly for depth.
Pro tip Use a coin edge to guide your crescent curve. It’s whimsical and super beginner-friendly.
10. Side Palm Mesh
Net pattern, but make it cute.
- Create diagonal lines crossing to form a mesh.
- Place a dot where lines meet.
- Keep it to one side of the palm for balance.
Pro tip Light pressure gives cleaner intersections. The grid looks neat without complex shapes.
11. Thumb Bouquet
Decorate just the thumb area for a chic partial look.
- Draw a small bunch of leaves and a flower near the thumb base.
- Add a mini vine curling toward the index finger.
- Dot sparsely to finish.
Pro tip Cluster elements tightly to avoid clutter. It feels intentional and stylish.
12. Anklet Style for Feet
Not just hands—your feet can join the party.
- Draw a curved band across the ankle.
- Add petal drops hanging like charms.
- Finish with tiny dots above the band.
Pro tip Keep the band thin and consistent. It gives a dainty jewelry effect with minimal effort.
✨ New Member Etsy Shops (100% Unsponsored!)
We are incredibly proud of the talent in this community! 💖 We've rounded up some gorgeous new Etsy shops launched by our very own members.
There are ZERO affiliate links in this post—just 100% pure support for our makers. Click below to shop small, show them some love, and find your new favorite items! 👇🛍️


Conclusion
See, zero chaos—just cute patterns and steady vibes. With a few dots, lines, and petals, you’ve got a full lineup of beginner wins. Keep practicing light pressure, embrace negative space, and let the stain do the flexing. Your hands are about to be the main character, no stress required.