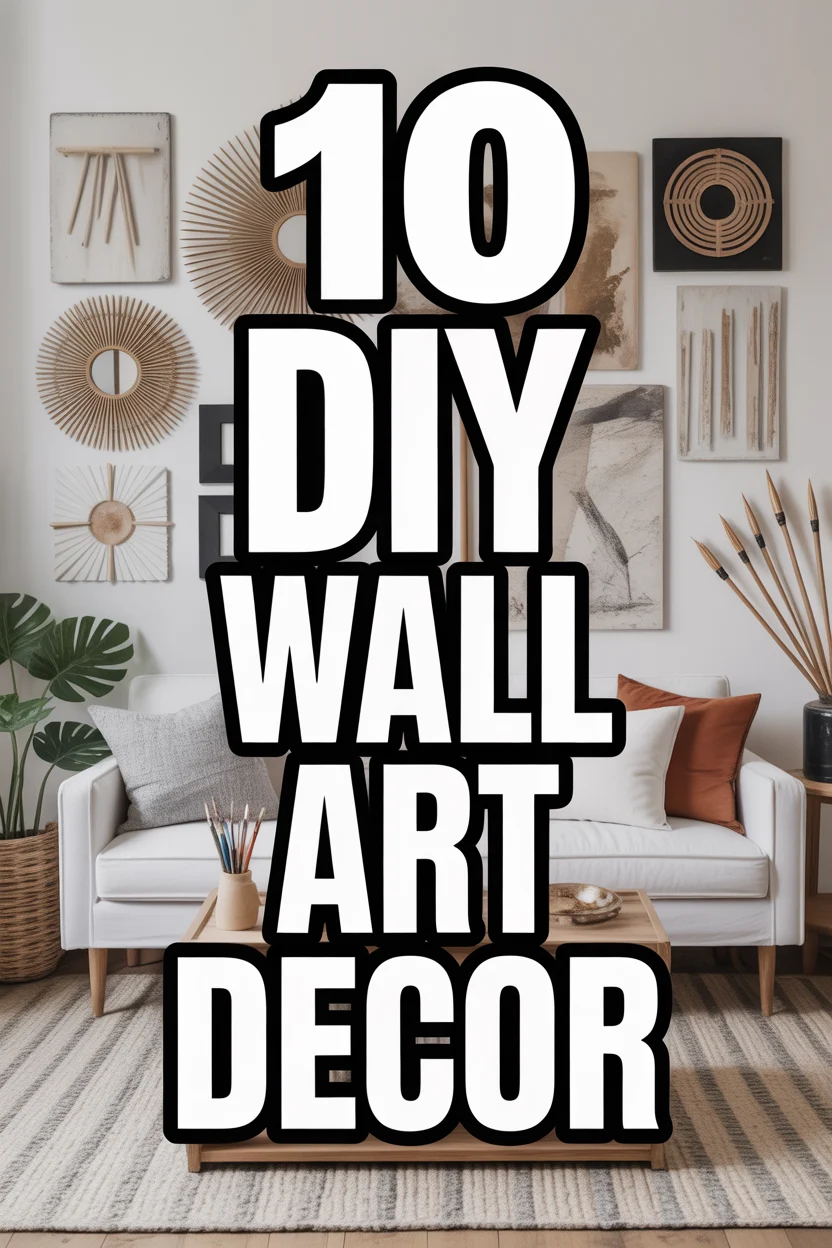
🎨 10 DIY Wall Art Decor
🛠️ The Ultimate Maker's Toolkit
I've tested thousands of craft tools over the years. Whether you are quilting, crafting, or building mixed-media art, these are the top 5 absolute non-negotiable tools I personally recommend to guarantee professional results.
🪡 SINGER Heavy Duty 4452 Sewing Machine
The sewing community highly recommends this as the ultimate "bulletproof" entry-level machine. Its heavy metal frame powerfully pushes through thick denim and heavy quilt layers that would instantly jam a standard plastic machine.
✂️ Fiskars 8" Orange-Handled Scissors
Never settle for dull dollar-store blades. Wirecutter repeatedly names Fiskars the absolute best all-purpose craft scissor due to its legendary precision-ground blades and an ergonomic grip that prevents hand-cramping.
🔥 Gorilla Dual Temp Hot Glue Gun
Named Wirecutter's top choice because it literally does the work of two tools. It features dual-temperature settings offering low heat for delicate florals and blistering high heat for heavy wood adhesion repairs.
🖌️ Mod Podge Waterbase Gloss Sealer
The absolute undisputed champion of decoupage and paper crafts. Experts rely exclusively on this exact water-based formula because it glues, seals, and finishes beautifully without yellowing or flaking over time.
🎨 Apple Barrel Acrylic Paint (2 oz)
The quintessential, incredibly inexpensive craft paint. Woodworkers and hobby painters swear by its smooth flow and matte finish, providing massive value and remarkably thick color coverage on rough surfaces.
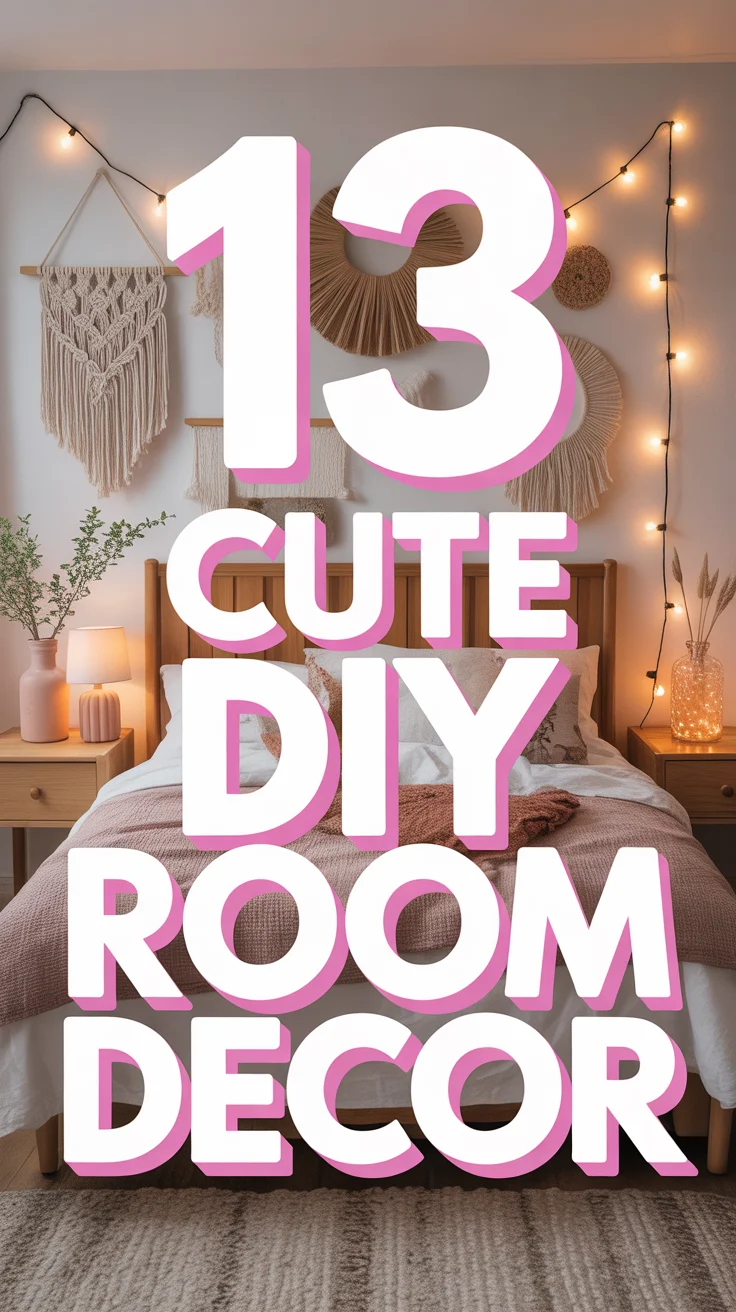
Alright, listen up, because your walls are looking a little… naked. And honestly, who needs another mass-produced print when you can totally flex your creative muscles and make something genuinely cool? We’re talking about turning your pad into a personalized art gallery without breaking the bank or, you know, your spirit trying to figure out if that abstract piece is upside down. Let’s get crafting and give those boring walls a much-needed glow-up.
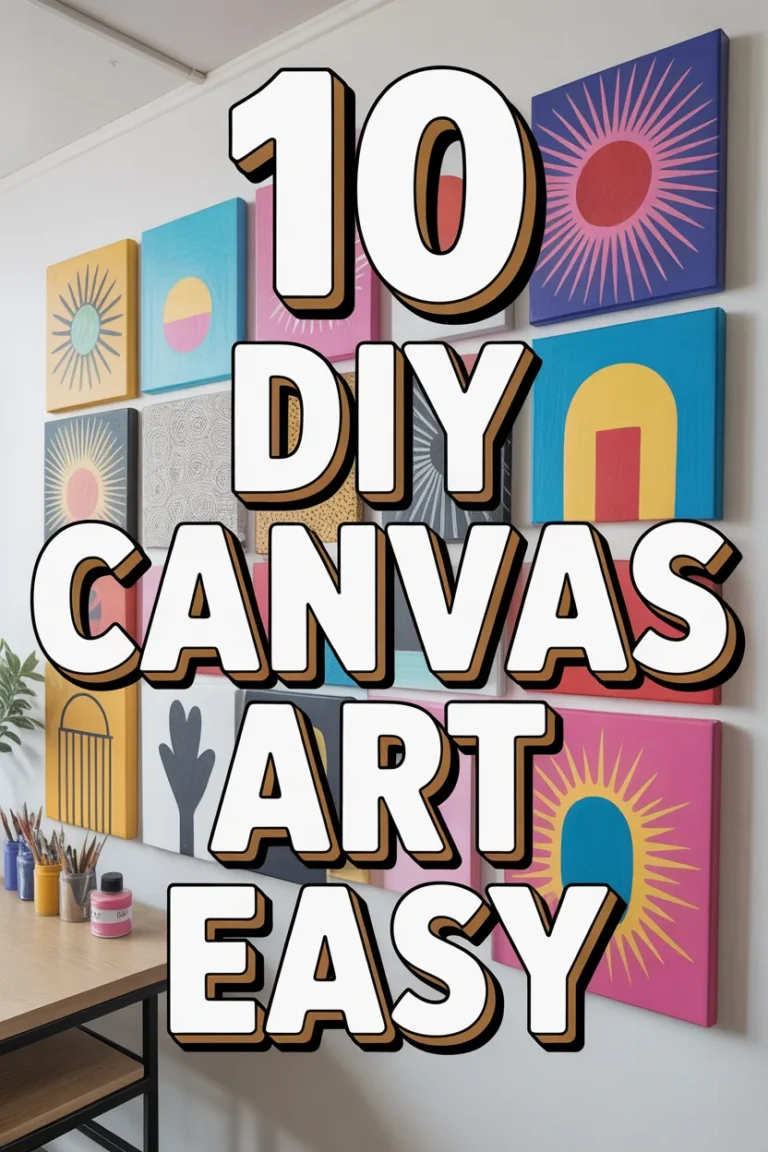
1. Abstract Canvas Art
Think you need an art degree to splash paint around? Nah, you just need a canvas, some paint, and zero inhibitions. Grab a few colors that make your heart sing (or at least don’t clash with your sofa) and just go for it.
Layer your chosen paints, use a palette knife for texture, or even just your fingers. A pro tip: limit your color palette to three main shades plus a neutral to keep it looking cohesive, not chaotic. This works because even a toddler could make something “abstract,” and it’ll still look super chic if the colors are right.
2. Pressed Flower Frames
Remember collecting flowers as a kid? Time to level up that nostalgia. Pressing flowers and arranging them into beautiful botanical art is surprisingly simple and incredibly elegant.
Gather some pretty blooms, press them flat between heavy books or a dedicated flower press, then carefully arrange them on cardstock. Seal them in a sleek, simple frame. A pro tip: use acid-free paper and spray a light fixative to preserve their color longer. It’s perfect for bringing a touch of nature indoors without the commitment of actual plant care (because, let’s be real, who needs that stress?).
3. Macrame Wall Hangings
Feeling knotty? Macrame is back, baby, and it’s not just for plant hangers anymore. A simple macrame wall hanging adds instant bohemian vibes and texture to any space.
All you need is some cord (cotton is usually best), a dowel or a sturdy branch, and a few basic knotting techniques. There are tons of beginner-friendly tutorials online, so no excuses. A pro tip: start with a simple pattern like the square knot and half hitch knot; they build up quickly and look impressive. It’s a fantastic way to add warmth and a handcrafted feel that store-bought decor just can’t replicate.
4. Geometric Tape Murals
This one is pure genius for commitment-phobes. Want a mural but don’t want to hire a professional or be stuck with it forever? Painter’s tape is your new best friend.
Map out a geometric design directly on your wall with painter’s tape, then fill in the shapes with different paint colors. Once dry, peel off the tape to reveal sharp, clean lines. A pro tip: press the tape edges down really firmly to prevent paint bleed. This project is a low-cost, high-impact way to add a custom feature wall that you can totally change up when you get bored (which, let’s be honest, is inevitable).
5. Vinyl Record Art
Got a stack of old vinyl records that are too scratched to play but too cool to toss? Give them a second life as art. This is where your inner rebel gets to shine.
You can paint directly onto them, melt and reshape them (carefully, please, and with ventilation!), or even cut out intricate designs. A pro tip: clean the records thoroughly before painting to ensure good adhesion. They look awesome clustered together, creating a unique, retro-cool statement that screams “I’m effortlessly cool and I listen to obscure indie bands.”
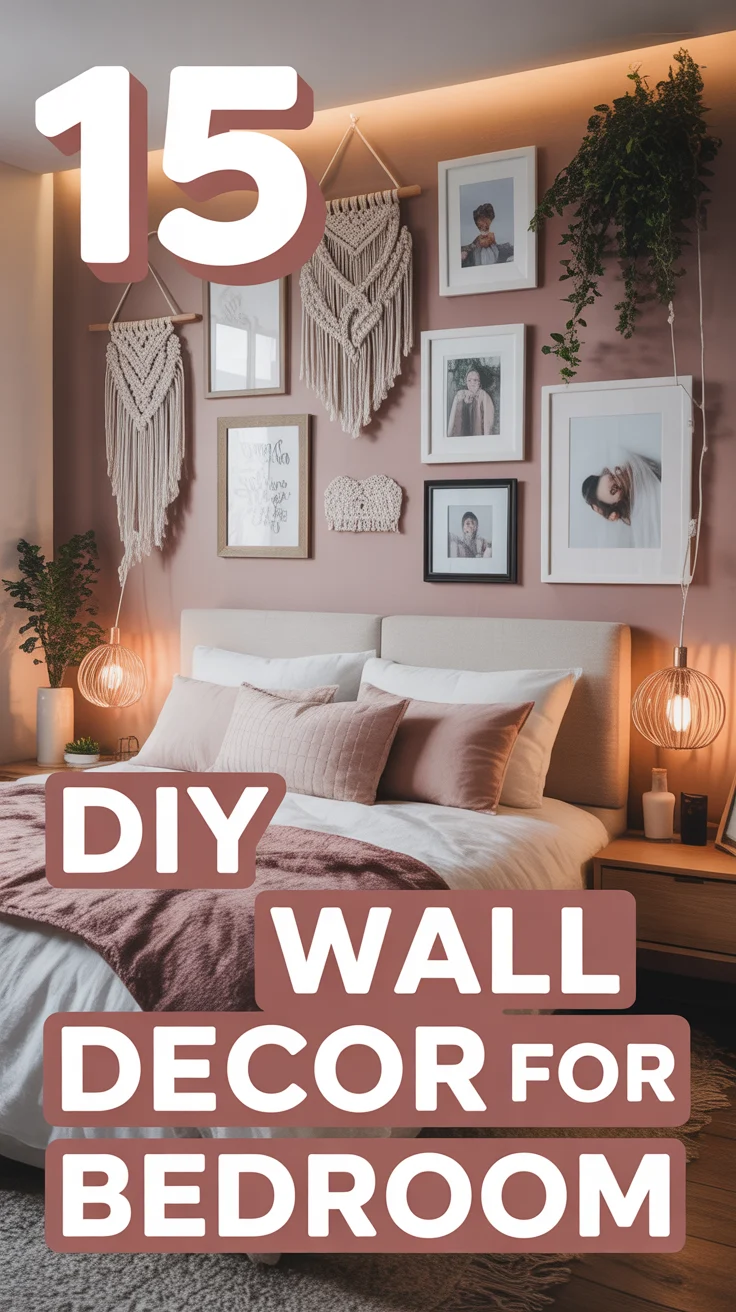
6. Gallery Wall Remix
Okay, a gallery wall isn’t exactly “new,” but your gallery wall can be. Instead of just hanging photos, mix in unexpected elements like small mirrors, quirky signs, or even empty, ornate frames.
Vary the frame sizes, textures, and even the type of art within them. A pro tip: lay everything out on the floor first to get your arrangement just right before you start hammering holes. It’s a brilliant way to tell your personal story and show off your personality without saying a single word.
7. Painted Wood Slices
Embrace your rustic chic side with some painted wood slices. These little beauties bring an organic, earthy feel to any room and are super versatile.
You can buy pre-cut wood slices or get them from a local craft store. Paint them with mandalas, abstract patterns, or even simple geometric shapes. A pro tip: seal them with a clear varnish to protect your artwork and give them a nice finish. They’re perfect for creating a natural, textural focal point that feels both grounded and artistic.
8. Fabric Scrap Tapestry
If you’re a textile hoarder (no judgment, we all have our vices), this one’s for you. Turn those beloved fabric scraps into a vibrant, textural tapestry.
Cut various fabrics into strips or shapes and sew or glue them onto a larger piece of backing fabric. Hang it from a dowel or a decorative branch. A pro tip: incorporate different textures like velvet, linen, and even denim for an extra tactile experience. It’s a wonderful way to add color, pattern, and softness, proving that your fabric stash is actually a treasure trove.
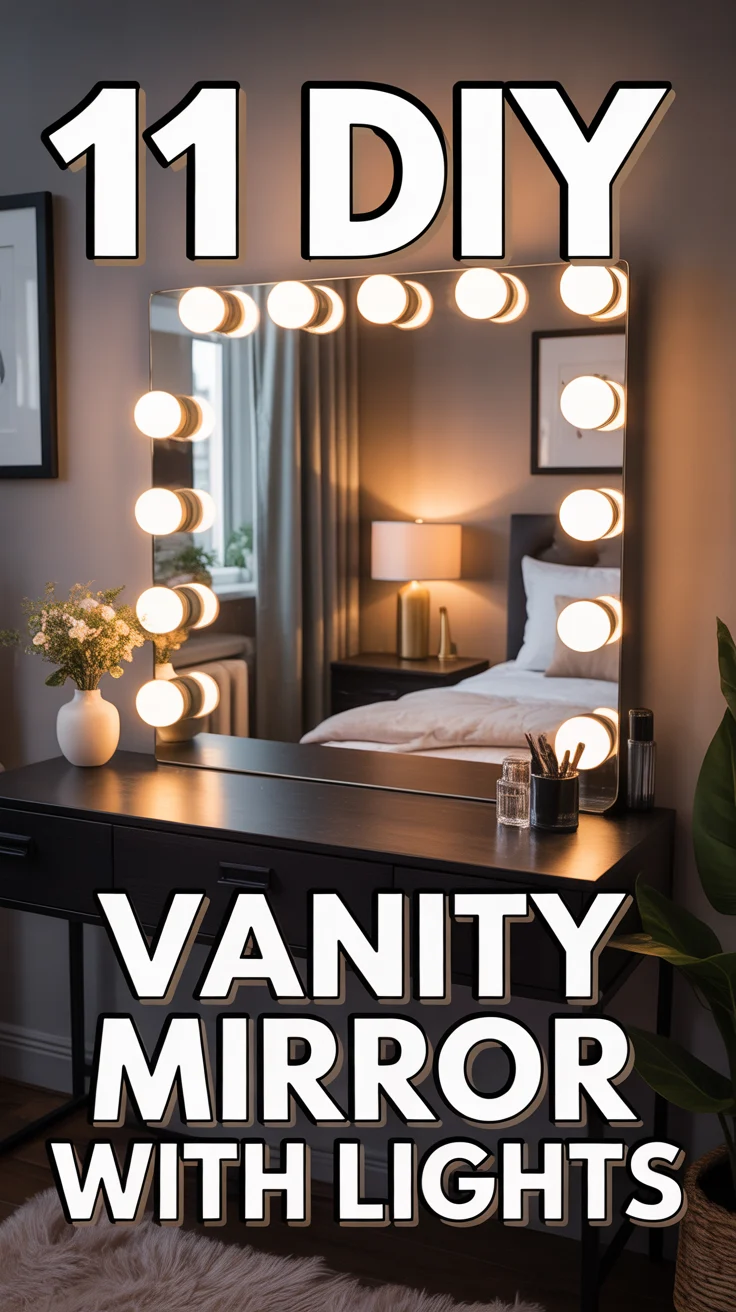
9. Mirror Transformations
Sure, a mirror tells you if you’re having a bad hair day, but it can also be a killer piece of art. Transform a basic, inexpensive mirror into a showstopper.
Frame it with painted wooden beads, mosaic tiles, or even just a super cool paint job directly onto the existing frame. A pro tip: use painter’s tape to create clean lines if you’re painting a pattern on the frame. It adds both functionality and a serious style punch, making your space feel bigger and brighter.
10. String Art Masterpiece
Remember those string art kits from childhood? Well, it’s time to unleash your inner geometry whiz with a grown-up version. It’s surprisingly meditative and the results are stunning.
Choose a simple graphic design or a word, hammer nails into a wooden board along your outline, then weave colorful string between them. A pro tip: use different string colors and thicknesses to add depth and dimension. It’s a unique way to add texture and a graphic element that looks way more complicated than it actually is.
So there you have it. No more excuses for blank walls that scream “I just moved in and haven’t decorated yet.” Grab some supplies, crank up your favorite playlist, and get ready to transform your space with some seriously cool, totally unique DIY art. Your walls (and your Instagram feed) will thank you.