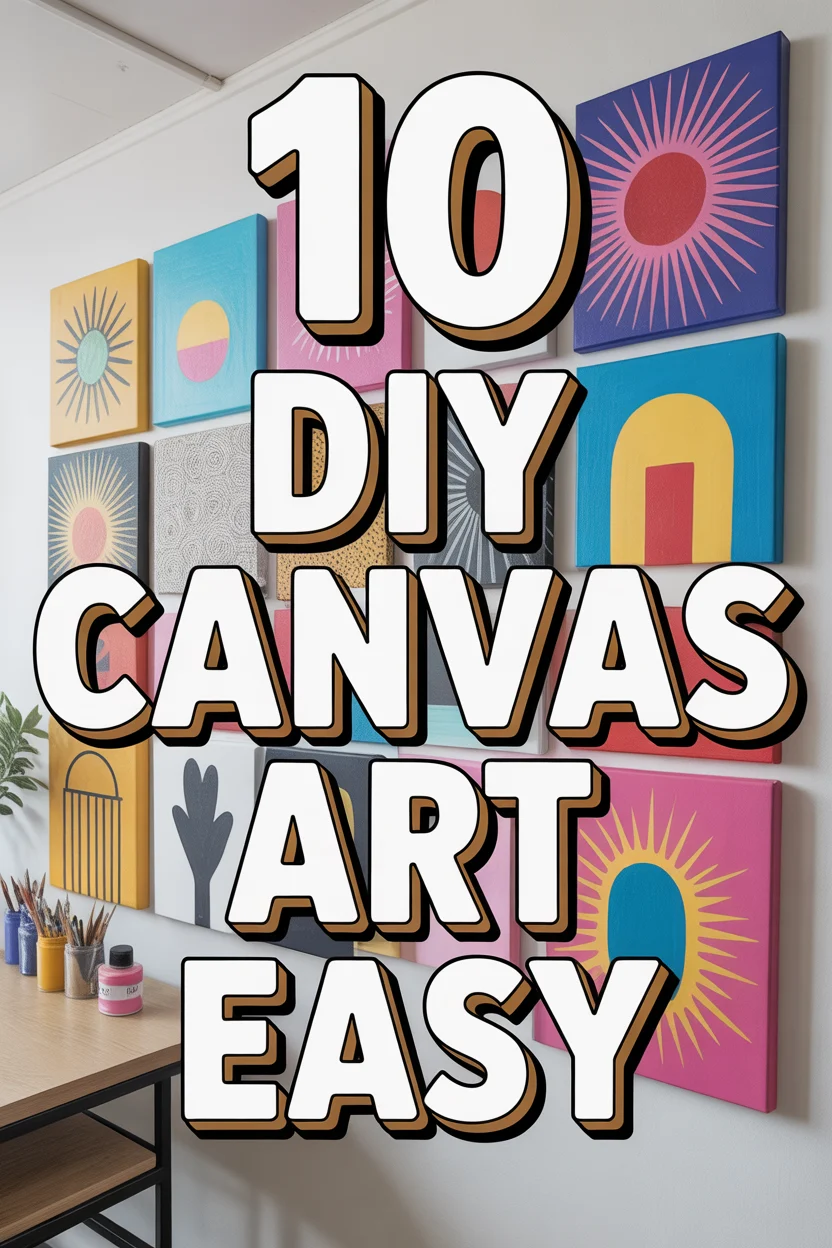
🎨 10 DIY Canvas Art Easy
🛠️ The Ultimate Maker's Toolkit
I've tested thousands of craft tools over the years. Whether you are quilting, crafting, or building mixed-media art, these are the top 5 absolute non-negotiable tools I personally recommend to guarantee professional results.
🪡 SINGER Heavy Duty 4452 Sewing Machine
The sewing community highly recommends this as the ultimate "bulletproof" entry-level machine. Its heavy metal frame powerfully pushes through thick denim and heavy quilt layers that would instantly jam a standard plastic machine.
✂️ Fiskars 8" Orange-Handled Scissors
Never settle for dull dollar-store blades. Wirecutter repeatedly names Fiskars the absolute best all-purpose craft scissor due to its legendary precision-ground blades and an ergonomic grip that prevents hand-cramping.
🔥 Gorilla Dual Temp Hot Glue Gun
Named Wirecutter's top choice because it literally does the work of two tools. It features dual-temperature settings offering low heat for delicate florals and blistering high heat for heavy wood adhesion repairs.
🖌️ Mod Podge Waterbase Gloss Sealer
The absolute undisputed champion of decoupage and paper crafts. Experts rely exclusively on this exact water-based formula because it glues, seals, and finishes beautifully without yellowing or flaking over time.
🎨 Apple Barrel Acrylic Paint (2 oz)
The quintessential, incredibly inexpensive craft paint. Woodworkers and hobby painters swear by its smooth flow and matte finish, providing massive value and remarkably thick color coverage on rough surfaces.
Ever scroll through Instagram and wonder how everyone’s walls look like a curated art gallery, while yours are still rocking that one poster from college? Yeah, we get it. Good news, buttercup: you do not need to drop major cash or possess a secret art degree to create stunning wall decor. Seriously, your inner Picasso is just itching to come out, and we are here to unleash them with some ridiculously simple, yet totally chic, DIY canvas art ideas. Grab a canvas, some paint, and maybe a snack. Let’s get artsy without the “fartsy” pretension.
1. Abstract Swirls and Splashes
Feeling a bit chaotic but in a good way? This one is your jam. Simply grab a few coordinating (or wildly clashing, your call) paint colors and let loose. Swirl them, dab them, even throw them a little (gently, please, we are not cleaning up paint from the ceiling).
The beauty here is there are no mistakes. Seriously. Just layer colors, blend with a brush or even your fingers, and build up texture. A pro tip: try adding a touch of water to your acrylics for a more fluid, watercolor-like effect that blends like a dream. It gives off major “I meant to do that” vibes.
This method works because it is all about expression, not perfection, giving your space an instant modern edge.
2. Geometric Tape Masterpiece
Who knew masking tape could be an artist’s best friend? Lay down strips of painter’s tape in various patterns across your canvas to create geometric shapes. Think triangles, squares, or even funky zigzags.
Once your tape is down, paint over the entire canvas, or fill in specific sections with different colors. When the paint is completely dry (patience, young padawan), carefully peel off the tape to reveal crisp, clean lines and a super sharp design. For extra pop, try using metallic paints in a few sections. This one always looks way more complicated than it actually is.
It is simple, clean, and adds a sophisticated, architectural feel to any room.
3. Palette Knife Texture Play
Want art that practically begs you to touch it? A palette knife is your secret weapon. Instead of brushes, use the knife to apply thick blobs and swipes of paint directly onto the canvas.
Experiment with different amounts of pressure and angles to create ridges, peaks, and valleys. Think of it as sculpting with paint. A cool pro tip: mix in some texture paste or even a bit of sand with your acrylics for an even more dramatic, tactile finish. This method is incredibly forgiving because texture hides a multitude of sins.
The result is a visually rich piece that adds depth and interest, making your wall feel instantly elevated.
4. Stenciled Silhouette Scene
Not confident in your freehand skills? Stencils are here to save the day. Find a stencil of a shape you love—a leaf, a bird, a mountain range, a quirky abstract pattern—and place it on your canvas.
You can paint the background first, let it dry, then stencil your design on top. Or, paint through the stencil for a crisp silhouette. A little pro tip: use a sponge brush for stenciling; it helps prevent paint bleeding under the edges. Peel back the stencil, and boom, instant art that looks professional.
This technique is fantastic for creating cohesive themes or adding a recognizable motif without the pressure of drawing.
5. Pour Painting Magic
Prepare to feel like a mad scientist. Pour painting involves mixing acrylic paints with a “pouring medium” (like Floetrol) and then literally pouring them onto the canvas. The colors flow, merge, and create organic, mesmerizing patterns all on their own.
You can tilt the canvas to guide the paint, or just let gravity do its thing. A valuable pro tip: use a variety of paint consistencies; thicker paints will sit on top, while thinner ones will spread more, creating cool cell-like effects. It is truly addictive to watch the colors dance.
This method yields unique, vibrant, and utterly captivating pieces that are impossible to replicate, making each one a true original.
6. Dot Art Mandalas
Get your zen on with dot art. Using various sizes of dotting tools (or even the ends of paintbrushes, Q-tips, or toothpicks), create intricate patterns of dots. Start from the center and work your way out in concentric circles, building up a beautiful mandala design.
Choose a calming color palette or go wild with bright, contrasting hues. Pro tip for steady hands: practice your dot spacing on a piece of paper first. Consistency is key to that polished look. This is surprisingly meditative and a great way to unwind.
Dot art brings a sense of calm and intricate beauty, perfect for creating a focal point that encourages contemplation.
7. Botanical Leaf Prints
Bring the outdoors in, literally. Go for a walk and collect some interesting leaves. Paint one side of a leaf with acrylic paint, then carefully press it onto your canvas. Peel it off to reveal a unique botanical print.
You can layer different leaves, use various colors, or create a repeating pattern. A clever pro tip: for really delicate leaves, use a thin coat of spray adhesive on the back of the leaf before painting to help it stick better to the canvas for a cleaner print. It is nature’s own stencil.
This method delivers organic, earthy art that connects your space with the natural world, effortlessly adding a touch of biophilic design.
8. Bold Word Art Typography
Got something to say? Say it on a canvas. Choose a favorite quote, a single powerful word, or even just your lucky number. Use stencils, freehand script, or block letters to paint your chosen text onto the canvas.
Play with different fonts and sizes. You can paint the background first, then add the text, or vice-versa. A great pro tip: sketch your text lightly with a pencil first to get the spacing right before you commit with paint. This saves you from a “facepalm” moment.
Word art is personal, impactful, and a fantastic way to inject personality and inspiration into your living space.
9. Fabric Collage Canvas
Who says art needs to be just paint? Dig through your fabric scraps, old t-shirts, or even decorative paper. Cut out interesting shapes, strips, or patterns and glue them onto your canvas using Mod Podge or fabric glue.
You can create an abstract mosaic, a layered landscape, or even a mixed-media piece by adding paint on top of the fabric. Pro tip: use a clear sealant over your finished collage to protect the fabric and give it a uniform finish. It adds a lovely tactile element.
This textural approach brings warmth and dimension, turning everyday materials into a unique, touchable art piece.
10. Adult Finger Painting
Yes, really. Forget what kindergarten taught you about finger painting; this is the grown-up version. Use your fingers to swirl, blend, and create expressive designs. It is incredibly tactile and freeing.
Experiment with thick impasto paints directly from the tube for maximum texture. A fun pro tip: wear gloves if you are squeamish about getting messy, but honestly, the raw feel of the paint on your skin is part of the fun. Just wash your hands thoroughly afterwards, obviously.
This method is all about letting go and embracing pure, uninhibited creativity, resulting in a piece that is truly from the heart and hands.
✨ New Member Etsy Shops (100% Unsponsored!)
We are incredibly proud of the talent in this community! 💖 We've rounded up some gorgeous new Etsy shops launched by our very own members.
There are ZERO affiliate links in this post—just 100% pure support for our makers. Click below to shop small, show them some love, and find your new favorite items! 👇🛍️


Conclusion
See? We told you. You are practically a professional artist now, churning out masterpieces like it is nobody’s business. These DIY canvas art easy ideas are not just about saving a few bucks; they are about tapping into your creative side, de-stressing, and making your space truly yours. So go forth, grab those supplies, and transform those blank canvases into something totally awesome. Your walls (and your ego) will thank you.