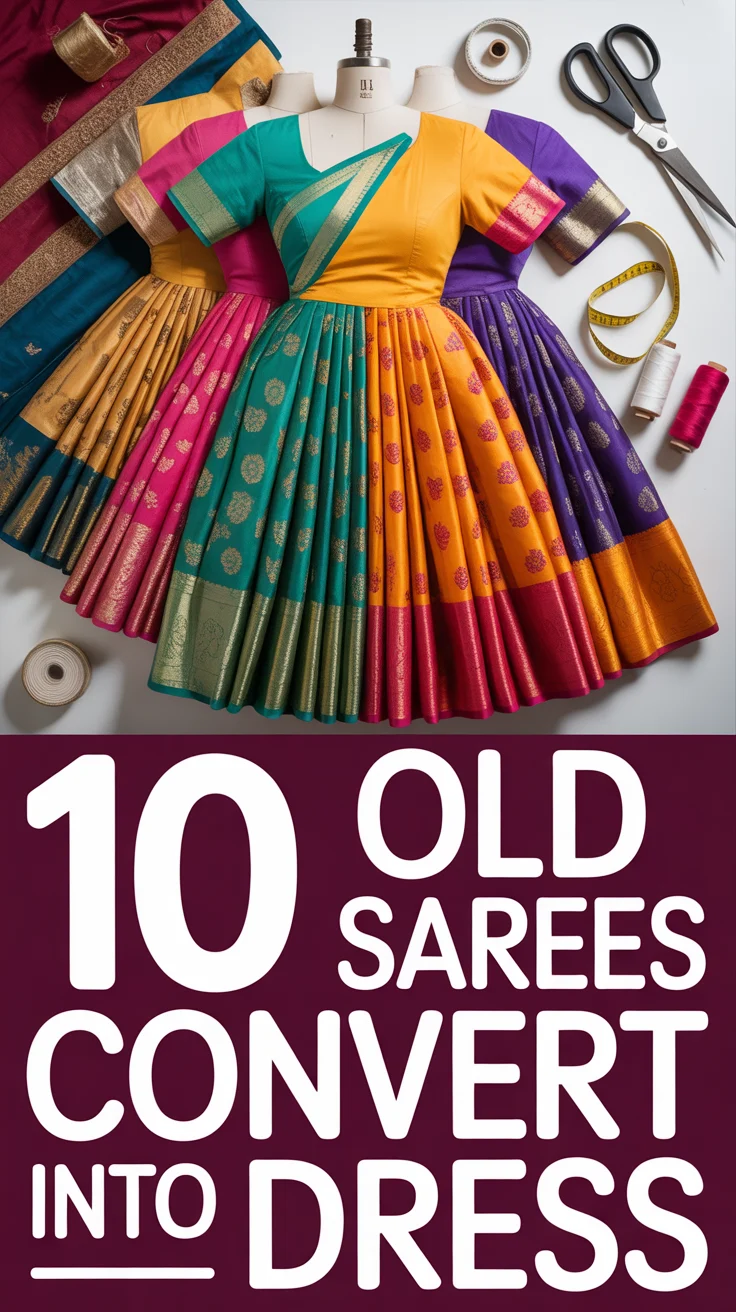
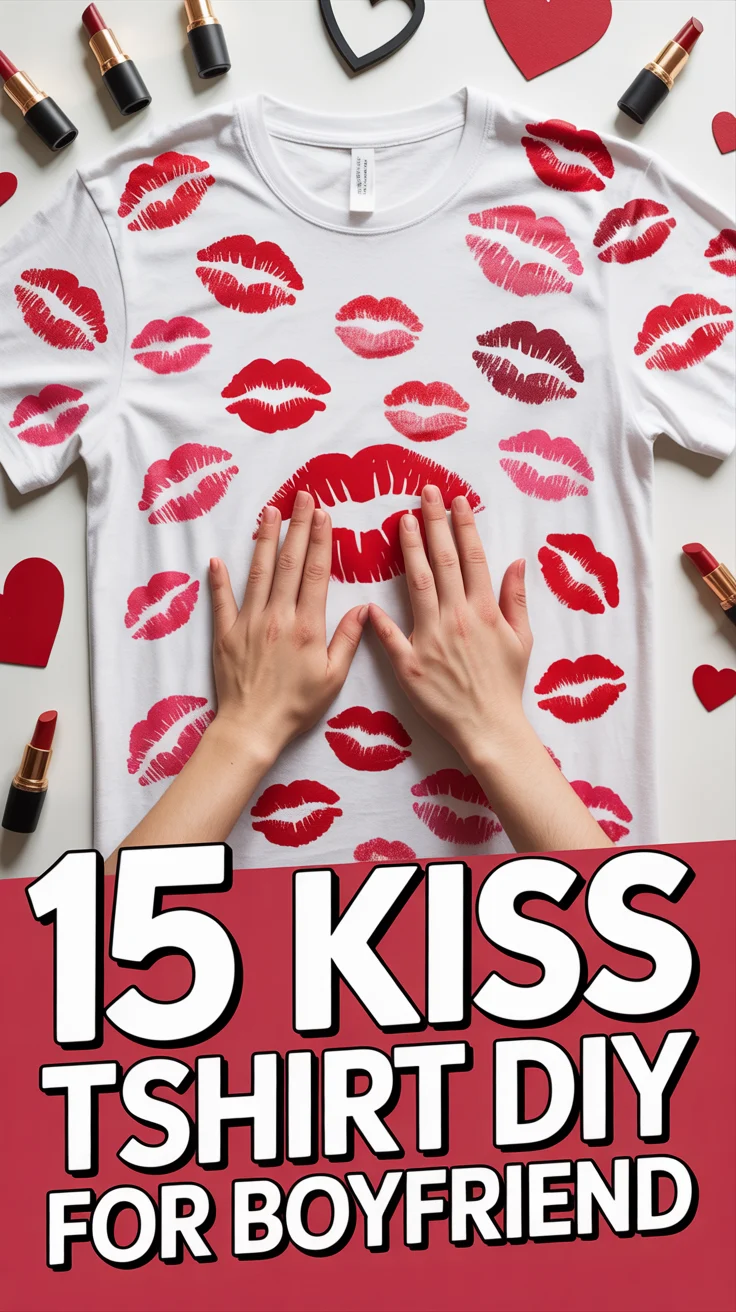
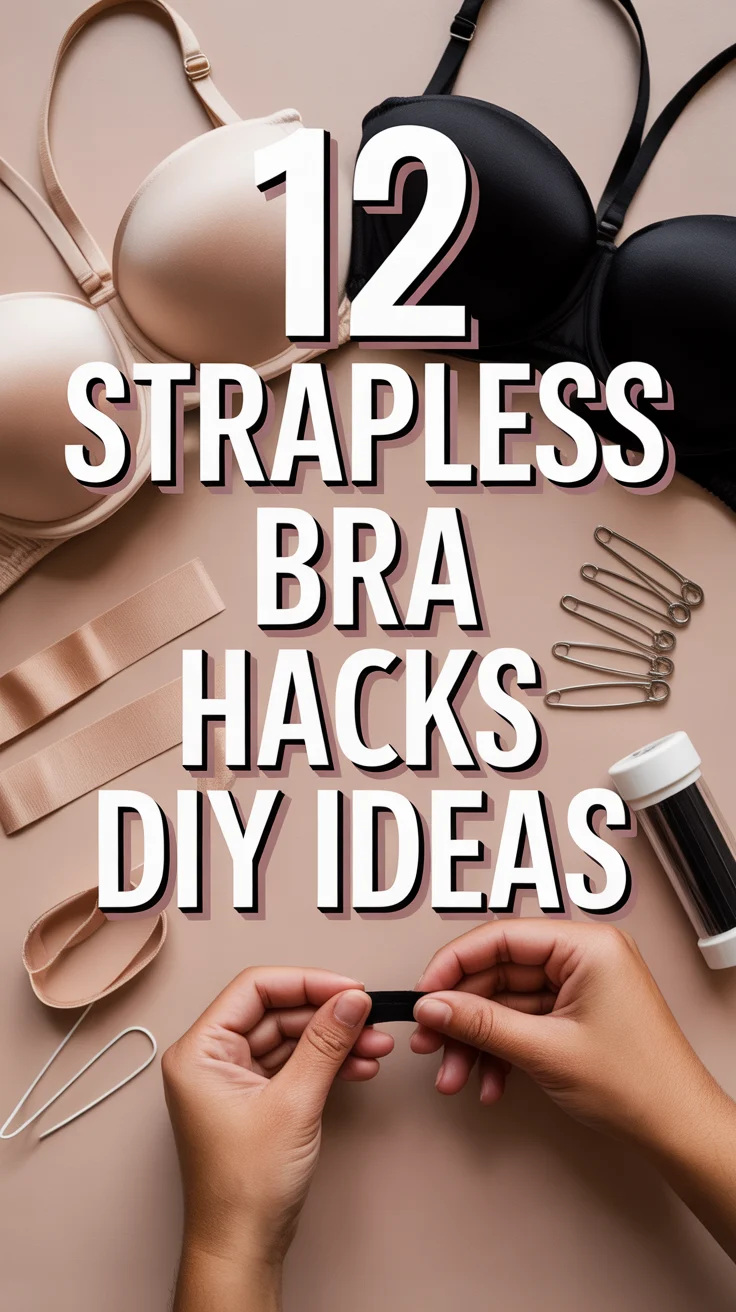
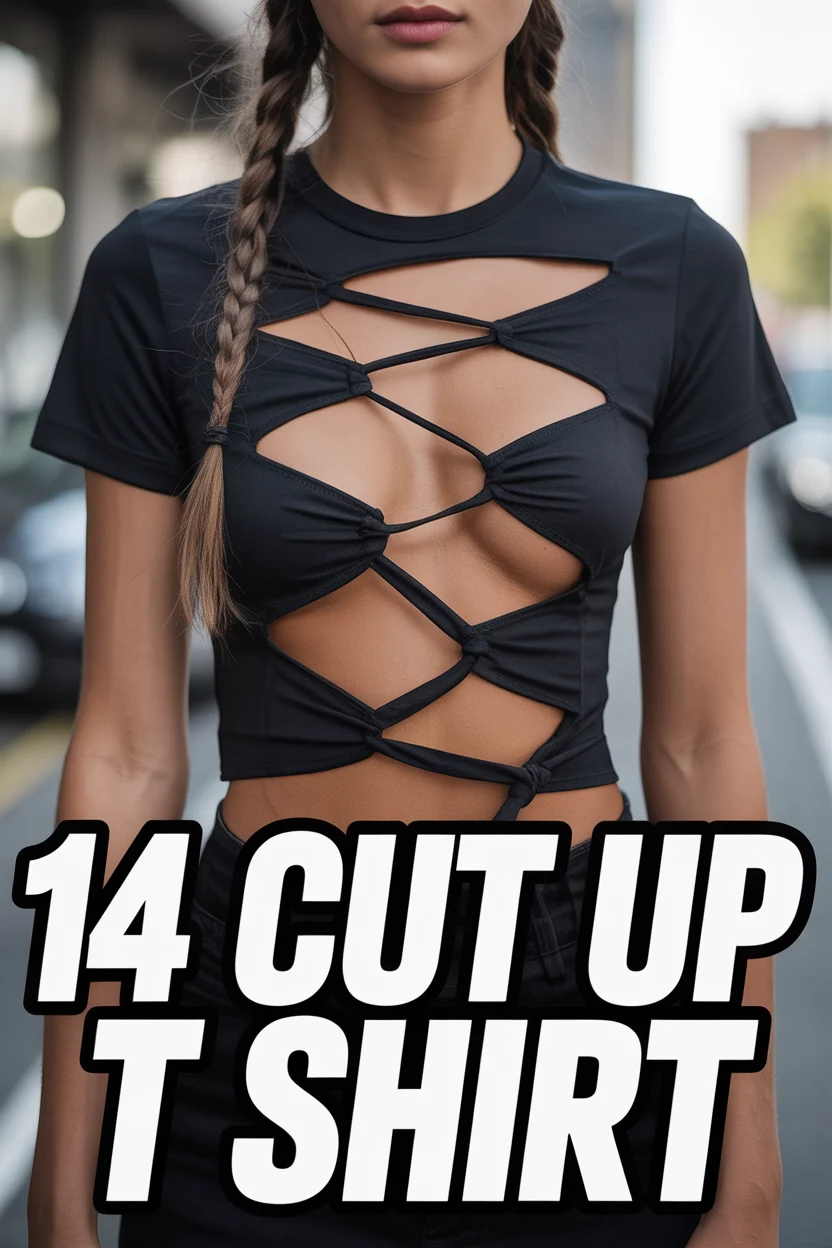
✂️ 14 Cut Up T Shirt
🛠️ The Ultimate Maker's Toolkit
I've tested thousands of craft tools over the years. Whether you are quilting, crafting, or building mixed-media art, these are the top 5 absolute non-negotiable tools I personally recommend to guarantee professional results.
🪡 SINGER Heavy Duty 4452 Sewing Machine
The sewing community highly recommends this as the ultimate "bulletproof" entry-level machine. Its heavy metal frame powerfully pushes through thick denim and heavy quilt layers that would instantly jam a standard plastic machine.
✂️ Fiskars 8" Orange-Handled Scissors
Never settle for dull dollar-store blades. Wirecutter repeatedly names Fiskars the absolute best all-purpose craft scissor due to its legendary precision-ground blades and an ergonomic grip that prevents hand-cramping.
🔥 Gorilla Dual Temp Hot Glue Gun
Named Wirecutter's top choice because it literally does the work of two tools. It features dual-temperature settings offering low heat for delicate florals and blistering high heat for heavy wood adhesion repairs.
🖌️ Mod Podge Waterbase Gloss Sealer
The absolute undisputed champion of decoupage and paper crafts. Experts rely exclusively on this exact water-based formula because it glues, seals, and finishes beautifully without yellowing or flaking over time.
🎨 Apple Barrel Acrylic Paint (2 oz)
The quintessential, incredibly inexpensive craft paint. Woodworkers and hobby painters swear by its smooth flow and matte finish, providing massive value and remarkably thick color coverage on rough surfaces.
Stop letting those oversized promotional tees rot in the back of your closet. We all have that one shirt with a weird logo from a charity event we did not actually attend. Grab your sharpest fabric scissors because we are turning trash into custom fashion. It is time to stop being boring and start being a DIY icon.
Before you start hacking away, gather these essentials
- Fabric scissors that actually cut
- A chalk or pencil for marking lines
- A ruler for those who fear commitment
- Safety pins for extra edge
1. The Muscle Tank
Cut off the sleeves and go deep with the armholes. This look screams that you spend time at the gym even if you are just going to get a taco. Pro tip stretch the edges after cutting to make them roll naturally for that vintage vibe. You get maximum airflow and show off those arms you definitely worked on.
2. The Choker Cutout
Slice a V-shape right below the collar but keep the neck ring intact. It looks like you spent forty dollars at a boutique when you actually just spent five minutes on your floor. Pro tip use a ruler to keep your V centered unless you want to look like a lopsided mess. It adds instant edge to a basic graphic tee.
3. The Back Lattice
Cut horizontal slits down the spine of the shirt. It is basically a built-in air conditioner for your back. Pro tip keep the slits at least an inch apart so the fabric does not rip into one giant hole. This turns a boring back into a focal point.
4. The Boxy Crop
Chop the bottom off right at your waistline. This pairs perfectly with high-waisted jeans and covers up the fact that the shirt was originally three sizes too big. Pro tip cut it a little longer than you think because the fabric will roll up slightly. It creates a silhouette that actually looks intentional.
5. The Cold Shoulder
Cut semi-circles out of the shoulder seams. You get to show some skin without committing to a full strapless situation. Pro tip use a bowl to trace the curve if you do not trust your freehand skills. This works wonders for stiff cotton shirts that need some movement.
6. The Fringe Hem
Slice the bottom six inches into thin vertical strips. You will feel like a festival queen even if you are just walking to the mailbox. Pro tip pull each strip downward to make them curl and look like actual fringe. It adds a ton of movement to a static outfit.
7. The Front Tie
Cut a vertical slit up the front center and tie the two tails together. This cinches your waist and fixes the potato sack look of oversized tees. Pro tip cut the slit higher than you think to allow for the knot volume. It gives you an instant hourglass shape.
8. The Wide Boat Neck
Trim the entire collar off in a wide arc. You get that effortless look that says you just woke up like this. Pro tip cut just outside the seam first to see how much it stretches before going wider. This style looks amazing with a lace bralette peeking out.
9. The Side Slit Cinch
Cut slits up the side seams and tie them off. This lets you adjust how tight the shirt fits on the fly. Pro tip use colorful ribbon instead of the shirt fabric if you want to be extra fancy. It transforms a boxy shape into something tailored.
10. The Bow Back
Cut a large rectangle out of the back and use the scraps to pinch the middle. You end up with a cute bow detail that looks incredibly high-effort. Pro tip sew a few tiny stitches in the center of the bow to keep it from sagging. This is the ultimate way to feminize a heavy cotton tee.
11. The Distressed V
Snip tiny little holes around the neckline and hem. You are going for rockstar on tour rather than moth infestation so stay focused. Pro tip use a pumice stone on the edges of the cuts to make them look authentically worn. It gives the shirt a lived-in feel immediately.
12. The Safety Pin Slash
Make horizontal cuts and bridge the gaps with silver pins. This is for when you want people to know you have a bit of a dark side. Pro tip space the pins evenly to keep the shirt from puckering in weird places. It adds a metallic element that doubles as jewelry.
13. The Racerback DIY
Cut the back into a T-shape between the shoulder blades. It shows off your back muscles and keeps you cool during the summer heat. Pro tip wrap a small piece of scrap fabric around the center of the T to create a gathered look. This is the best way to save a shirt with a cool front but a boring back.
14. The Peek-a-Boo Waist
Cut small triangles out of the sides right at the narrowest part of your waist. It is a subtle way to show off some skin without going full crop top. Pro tip keep the triangles small because they will stretch out once you put the shirt on. It adds a modern geometric touch to any old shirt.
✨ New Member Etsy Shops (100% Unsponsored!)
We are incredibly proud of the talent in this community! 💖 We've rounded up some gorgeous new Etsy shops launched by our very own members.
There are ZERO affiliate links in this post—just 100% pure support for our makers. Click below to shop small, show them some love, and find your new favorite items! 👇🛍️


Conclusion
You now have zero excuses for wearing a boring t-shirt ever again. These hacks turn your closet into a designer studio without requiring a single sewing machine. Go forth and chop your way to a better wardrobe.