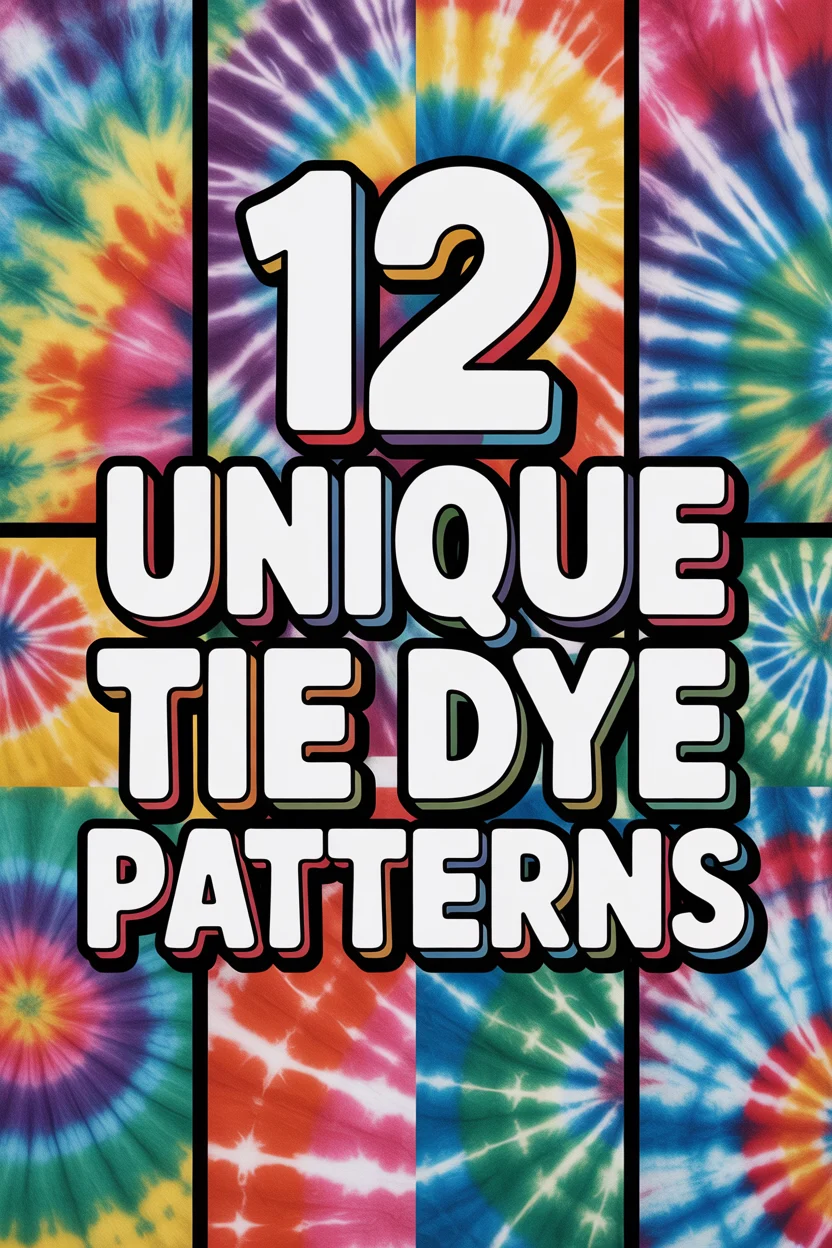
🌈 12 Unique Tie Dye Patterns
🛠️ The Ultimate Maker's Toolkit
I've tested thousands of craft tools over the years. Whether you are quilting, crafting, or building mixed-media art, these are the top 5 absolute non-negotiable tools I personally recommend to guarantee professional results.
🪡 SINGER Heavy Duty 4452 Sewing Machine
The sewing community highly recommends this as the ultimate "bulletproof" entry-level machine. Its heavy metal frame powerfully pushes through thick denim and heavy quilt layers that would instantly jam a standard plastic machine.
✂️ Fiskars 8" Orange-Handled Scissors
Never settle for dull dollar-store blades. Wirecutter repeatedly names Fiskars the absolute best all-purpose craft scissor due to its legendary precision-ground blades and an ergonomic grip that prevents hand-cramping.
🔥 Gorilla Dual Temp Hot Glue Gun
Named Wirecutter's top choice because it literally does the work of two tools. It features dual-temperature settings offering low heat for delicate florals and blistering high heat for heavy wood adhesion repairs.
🖌️ Mod Podge Waterbase Gloss Sealer
The absolute undisputed champion of decoupage and paper crafts. Experts rely exclusively on this exact water-based formula because it glues, seals, and finishes beautifully without yellowing or flaking over time.
🎨 Apple Barrel Acrylic Paint (2 oz)
The quintessential, incredibly inexpensive craft paint. Woodworkers and hobby painters swear by its smooth flow and matte finish, providing massive value and remarkably thick color coverage on rough surfaces.
Alright, fellow fabric artists, ready to ditch the basic swirls and level up your tie-dye game? We all love a classic spiral, sure, but sometimes your wardrobe (or your latest DIY obsession) just screams for something a little more… “I totally meant for it to look this cool.” Forget everything you think you know about tie-dye from summer camp. We’re diving into some seriously unique patterns that will make your creations the envy of every backyard BBQ.
1. Crumple Chaos
This one’s for the “I woke up like this” vibe, but for your fabric. You literally just crumple your damp fabric into a tight ball, securing it with rubber bands. The beauty of the crumple is its glorious unpredictability; every piece is a unique masterpiece of controlled chaos.
Pro Tip: Use multiple colors and apply them randomly over the crumpled fabric for a truly abstract, watercolor effect. It’s like finger painting, but for adults and way less messy (mostly).
Why it works: It’s surprisingly chic and incredibly forgiving, perfect for beginners who want big impact with minimal effort.
2. Spiderweb Spin
Forget the spooky season, this pattern is cool year-round. You pinch the fabric in the center and pull it up, then wrap rubber bands horizontally around the raised fabric, creating rings. The more rings, the more intricate your web of color will be, trapping those dyes in mesmerizing lines.
Pro Tip: Alternate colors on adjacent rings to enhance the webbed look, making the lines pop even more. Think of it as painting a target, but way cooler.
Why it works: It delivers a striking, radial design that’s way more complex than it looks, perfect for making a statement.
3. Geode Glam
Prepare for some serious sparkle vibes without the actual glitter (unless you want it, of course). You pinch a small section of fabric and pull it up, then wrap it tightly with string or rubber bands in increasingly larger circles around the central pinch. This technique mimics the concentric layers of a beautiful crystal geode.
Pro Tip: Use a darker color for the outer rings and lighter, brighter colors towards the center to really make that geode pop. It’s all about depth, darling.
Why it works: It creates an intricate, organic pattern that feels incredibly sophisticated and totally bespoke.
4. Heartfelt Hues
Who says tie-dye can’t be sweet? Fold your fabric in half lengthwise, then draw half a heart shape along the fold line. Pleat the fabric along this line and secure it tightly with rubber bands or string. When you unfold it, you’ll have a perfectly symmetrical heart.
Pro Tip: Leave the heart area white or use a contrasting color to make it truly stand out against a vibrant background. It’s like a little love note from your clothes to the world.
Why it works: It adds a charming, personalized touch that’s surprisingly easy to achieve and always gets compliments.
5. Mandala Magic
For those who love intricate symmetry, the mandala is your calling. You start by folding your fabric like an accordion, then fold it again into a triangle or square. Secure sections with rubber bands to create geometric patterns that unfold into a beautiful, circular design.
Pro Tip: Experiment with different folding angles and band placements to discover unique variations of the classic mandala. Every fold is a decision, and every decision leads to art.
Why it works: It’s a stunning, complex pattern that feels incredibly intentional and utterly captivating, a true work of art.
6. Stripey Serenity
Sometimes you just want to go straight. For crisp stripes, simply fold your fabric like an accordion, either horizontally or vertically. Secure the folded sections tightly with rubber bands at regular intervals. The tighter the bands, the sharper your lines will be.
Pro Tip: Use a ruler to ensure even folds and band placement for perfectly uniform stripes. Precision pays off here, trust us.
Why it works: It offers a clean, modern aesthetic that’s a refreshing break from the usual swirls, giving your piece a polished look.
7. Bullseye Blast
This classic is always a hit, but we’re giving it a fresh spin. Pinch the center of your fabric and pull it upwards, then secure it with rubber bands in concentric circles. The magic happens when the dye spreads from the center outwards, creating a target effect.
Pro Tip: Try off-centering your pinch for an asymmetrical, more dynamic bullseye that feels artsy and less predictable. Who needs perfection when you have personality?
Why it works: It’s a bold, iconic design that’s instantly recognizable and totally customizable with your favorite color combos.
8. Ice Dye Dream
This technique is pure magic and surprisingly low effort for such stunning results. You crumple or fold your fabric, then cover it with ice cubes and sprinkle powdered dye over the ice. As the ice melts, it slowly carries the dye into the fabric, creating beautiful, watercolor-like patterns.
Pro Tip: Use multiple dye colors, but make sure they’re compatible to avoid muddying. The slower the melt, the more intricate the color blending will be, so patience is a virtue.
Why it works: It creates soft, organic, and truly unique color blends that are impossible to replicate with traditional methods.
9. Shibori Swirls
Channel ancient Japanese techniques for a sophisticated look. You can use various methods, like binding sections around a pole (Arashi Shibori) or stitching and gathering (Nui Shibori). The key is the resistance of the tied or stitched areas, which prevents dye from reaching certain parts.
Pro Tip: For an easy entry, try pole wrapping a damp shirt around a PVC pipe, then scrunching the fabric down and binding it. It’s elegant, trust us.
Why it works: It produces elegant, often monochromatic patterns with a refined, artisanal feel that screams high fashion.
10. Reverse Riot
Why add color when you can take it away? This technique uses a discharge agent (like bleach or a color remover) on pre-dyed fabric. Fold, crumple, or tie your fabric as usual, then apply the remover to create striking, bleached-out patterns.
Pro Tip: Always test on a small, inconspicuous area first, and make sure to neutralize the remover thoroughly after rinsing. Safety first, fashion second (but still very important).
Why it works: It offers a dramatic, edgy look that’s perfect for giving old, single-color garments a new lease on life.
11. Sunburst Sparkle
Bring the sunshine, literally. Gather small sections of fabric, one at a time, and secure each with a rubber band close to the base. It’s like creating little fabric nipples all over your garment. Apply dye to the tips of these gathered sections, and when unfurled, they’ll create bright, distinct bursts.
Pro Tip: Vary the size and placement of your gathered sections for an organic, scattered sunburst effect. Think abstract art, not perfect rows.
Why it works: It’s a playful, energetic pattern that adds pops of color and visual interest without being overwhelming.
12. Ombre Odyssey
This isn’t just for hair, folks. For a smooth color gradient, you’ll need a bucket or tub. Dip your fabric into the dye bath, holding it at different depths for varying amounts of time. The longer a section soaks, the deeper its color will be.
Pro Tip: Start with the lightest shade at the top and gradually dip deeper into a darker shade of the same color, or transition between two complementary hues. Slow and steady wins the gradient race.
Why it works: It creates a sophisticated, flowing transition of color that’s incredibly versatile and always looks polished.
✨ New Member Etsy Shops (100% Unsponsored!)
We are incredibly proud of the talent in this community! 💖 We've rounded up some gorgeous new Etsy shops launched by our very own members.
There are ZERO affiliate links in this post—just 100% pure support for our makers. Click below to shop small, show them some love, and find your new favorite items! 👇🛍️


Conclusion
So there you have it, twelve ways to ditch the tie-dye training wheels and unleash your inner fabric artiste. Remember, the best part about tie-dye is that there are no mistakes, only happy accidents and unique masterpieces waiting to happen. Grab your dyes, gather your fabric, and get ready to create something truly spectacular. Your wardrobe (and your Instagram feed) will thank you.