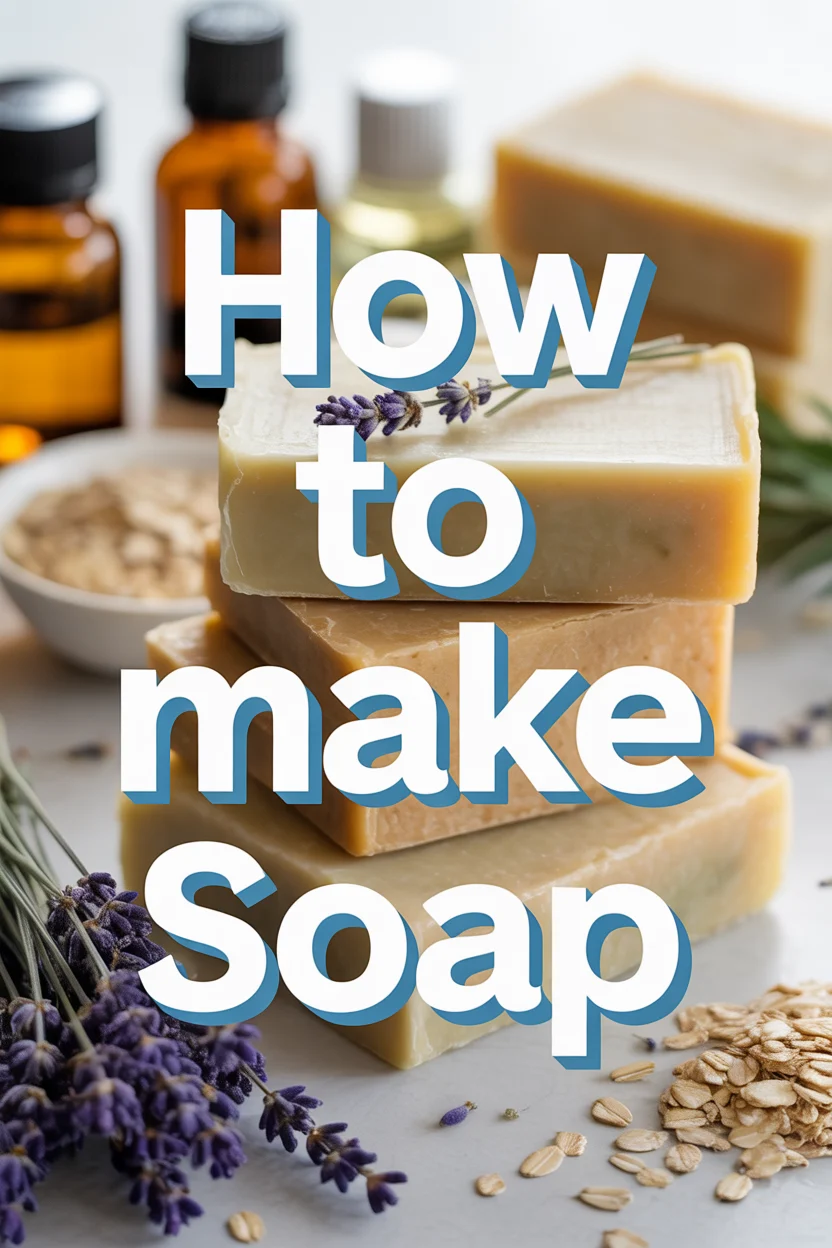
🧼 How To Make Soap
🛠️ The Ultimate Maker's Toolkit
I've tested thousands of craft tools over the years. Whether you are quilting, crafting, or building mixed-media art, these are the top 5 absolute non-negotiable tools I personally recommend to guarantee professional results.
🪡 SINGER Heavy Duty 4452 Sewing Machine
The sewing community highly recommends this as the ultimate "bulletproof" entry-level machine. Its heavy metal frame powerfully pushes through thick denim and heavy quilt layers that would instantly jam a standard plastic machine.
✂️ Fiskars 8" Orange-Handled Scissors
Never settle for dull dollar-store blades. Wirecutter repeatedly names Fiskars the absolute best all-purpose craft scissor due to its legendary precision-ground blades and an ergonomic grip that prevents hand-cramping.
🔥 Gorilla Dual Temp Hot Glue Gun
Named Wirecutter's top choice because it literally does the work of two tools. It features dual-temperature settings offering low heat for delicate florals and blistering high heat for heavy wood adhesion repairs.
🖌️ Mod Podge Waterbase Gloss Sealer
The absolute undisputed champion of decoupage and paper crafts. Experts rely exclusively on this exact water-based formula because it glues, seals, and finishes beautifully without yellowing or flaking over time.
🎨 Apple Barrel Acrylic Paint (2 oz)
The quintessential, incredibly inexpensive craft paint. Woodworkers and hobby painters swear by its smooth flow and matte finish, providing massive value and remarkably thick color coverage on rough surfaces.
I remember my first batch of homemade soap – a chunky, slightly uneven bar, but bursting with the scent of lavender.
It wasn’t perfect, yet it felt like pure magic, transforming simple ingredients into something beautiful and useful.
That initial spark led to years of crafting, and now I’m here to guide you through your own rewarding journey.

Quick Overview
You’re about to embark on the rewarding adventure of cold process soap making. By the end, you’ll have beautiful, handcrafted soap bars, ready to cure and eventually pamper your skin.
- Time needed: Approximately 2-3 hours hands-on time, plus 4-6 weeks for curing.
- Difficulty: Beginner
- What you’ll need: Safety gear, basic kitchen tools, a stick blender, oils, lye, distilled water, and scent/colorants (optional).
Step-by-Step Instructions
Step 1: Gather Your Tools and Ingredients
Before you begin, ensure you have every item ready and within reach. This prevents frantic searching later, especially when working with lye.
- Collect all your safety gear first. Safety glasses, rubber gloves, and long sleeves are non-negotiable.
- Lay out your dedicated soap-making equipment. This includes heat-resistant pitchers, stainless steel pots, precise digital scales, a stick blender, and silicone molds.
- Measure your ingredients precisely. Label everything clearly to avoid confusion.
Pro Tip: Dedicate separate equipment solely for soap making. Lye can be corrosive, and you don’t want to accidentally use these tools for food later. Thrift stores are great places to find inexpensive, dedicated gear.
Step 2: Prepare Your Lye Solution Safely
This is the most critical step for safety. Lye (sodium hydroxide) is caustic and requires utmost care. Always add lye to water, never the other way around.
- Put on your safety glasses and gloves, and wear long sleeves. Ensure your workspace is well-ventilated, ideally near an open window or with a fan.
- Measure your distilled water into a heat-resistant pitcher.
- Carefully measure your lye granules into a separate, dry container.
- Slowly pour the lye granules into the distilled water, stirring gently with a heat-resistant spatula. The mixture will heat up rapidly and release fumes.
- Stir continuously until all the lye dissolves completely. Do not inhale the fumes.
- Set aside the lye solution in a safe place, out of reach of children and pets, to cool. It needs to cool to a temperature between 100-120°F (38-49°C).
Pro Tip: Prepare your lye solution outdoors or under a strong exhaust fan if possible. Always have a bottle of vinegar nearby to neutralize any accidental lye splashes on surfaces, though not on skin (rinse skin with copious amounts of water immediately).
Step 3: Prepare Your Oils
While your lye solution cools, you can prepare your oils. This recipe uses a blend for a balanced bar, offering hardness, lather, and conditioning.
- Weigh out your solid oils (like coconut oil and shea butter) into a large stainless steel pot.
- Gently melt these solid oils over low heat on your stovetop.
- Remove the pot from the heat once melted.
- Weigh out your liquid oils (like olive oil and castor oil) and add them to the melted solid oils.
- Stir the oil mixture thoroughly to combine.
- Monitor the temperature of your oil blend. It also needs to be between 100-120°F (38-49°C) to match the lye solution.
Pro Tip: For consistent results, aim to have your lye solution and oil temperatures within 10 degrees of each other. This helps ensure a smooth emulsification. If one cools too much, you can gently reheat the oils or place the lye solution container in an ice bath to cool it faster.
Step 4: Combine Lye and Oils (The Magic Moment!)
This is where the saponification process truly begins. Ensure both your lye solution and oil blend are within the target temperature range (100-120°F / 38-49°C).
- Pour the cooled lye solution slowly into your pot of warm oils.
- Begin stirring immediately with your stick blender (turned off initially) to mix everything by hand for a moment.
- Turn on your stick blender in short bursts, pulsing and stirring. Keep the head of the blender submerged to avoid air bubbles and splashing.
- Continue blending until the mixture reaches “trace.” This is when the soap batter thickens enough to leave a visible trail on the surface when you drizzle some of the mixture over itself. It can resemble thin pudding or mayonnaise.
Pro Tip: Trace can happen quickly or take a while depending on your oils and temperatures. Be patient, but also be ready for it to thicken suddenly. Don’t over-blend past a light trace if you plan to add colorants or fragrances, as it can thicken too much.
Step 5: Add Fragrance, Color, and Additives (Optional)
Now comes the fun part – customizing your soap! This is where your creativity shines.
- Add your chosen fragrance oil or essential oil blend. Consult recommended usage rates for your specific oils, typically 0.5-1 oz per pound of oils.
- Stir thoroughly with your stick blender or spatula to ensure even distribution.
- Incorporate your colorants (mica powders, natural clays, or liquid dyes). Start with a small amount and add more until you achieve your desired shade.
- Stir again to blend the color evenly.
- Consider adding exfoliants like poppy seeds, oatmeal, or activated charcoal at this stage if desired.
Pro Tip: Some fragrance oils can accelerate trace, meaning your soap will thicken very quickly. If you’re using a new fragrance, do a small test batch or be prepared to work fast. Have your mold ready before adding fragrance.
Step 6: Pour into Molds
Once your soap batter is at trace and all your additives are mixed in, it’s time to pour.
- Carefully pour the soap batter into your prepared silicone molds.
- Tap the mold gently on your counter a few times to release any trapped air bubbles.
- Smooth the top surface with a spatula if you desire a flat finish.
- Get creative with the tops! You can swirl the surface with a spoon, create peaks, or sprinkle on botanicals like dried lavender buds.
Pro Tip: For a rustic look, use a textured tool or even a fork to create interesting patterns on the top of your soap before it hardens. You can also layer different colored batters for a multi-toned effect.
Step 7: Insulate and Wait
After pouring, your soap needs to stay warm to continue the saponification process.
- Cover your mold with a piece of cardboard or plastic wrap.
- Wrap the entire mold in a towel or blanket. This insulation helps the soap maintain its heat, encouraging a process called “gel phase.”
- Leave the soap undisturbed for 24-48 hours. During this time, the soap will solidify and complete the initial saponification.
Pro Tip: Gel phase, indicated by a translucent, darker appearance in the center of the soap, often results in a harder, longer-lasting bar with more vibrant colors. It’s not strictly necessary, but can be beneficial. If your soap doesn’t gel, it’s still perfectly fine!
Step 8: Unmold and Cut
After the insulation period, your soap should be firm enough to handle.
- Unwrap your mold and gently remove the soap block or individual bars.
- Inspect the soap. It should be firm, opaque, and easily removable from the mold.
- If using a loaf mold, slice the soap into individual bars using a sharp, non-serrated knife or a soap cutter. Aim for consistent thickness.
Pro Tip: If your soap is too soft to cut cleanly, let it sit for another 12-24 hours. If it’s too hard and crumbly, it might be due to a recipe imbalance or over-curing, but usually, it just needs to be cut earlier. Wipe your knife between cuts for a cleaner finish.
Step 9: Cure Your Soap
Curing is a vital, non-negotiable step that significantly improves your soap’s quality.
- Arrange your freshly cut soap bars on a drying rack or parchment-lined tray.
- Ensure there’s plenty of air circulation around each bar.
- Store the soap in a cool, dry, well-ventilated area, away from direct sunlight.
- Allow your soap to cure for a minimum of 4-6 weeks. During this time, excess water evaporates, resulting in a harder, milder, and longer-lasting bar with a richer lather.
Pro Tip: Turn your soap bars every few days during the curing process to ensure even air exposure. The longer you cure cold process soap, the better it becomes! Some soap makers cure for 6 months or even a year for exceptional bars.
Common Mistakes to Avoid
Inaccurate Measurements
Soap making is a precise chemical process. Eyeballing ingredients, especially lye and water, can lead to dangerous imbalances. Too much lye results in a harsh, skin-irritating bar, while too little leads to soft, oily soap that can spoil quickly. Always use a reliable digital scale and double-check your readings.
Ignoring Safety Precautions
Working with lye is not to be taken lightly. Failing to wear safety glasses, gloves, and long sleeves can result in chemical burns. Always ensure good ventilation and keep children and pets away from your workspace. Accidents happen, but proper precautions minimize the risk.
Improper Temperatures
The temperatures of your lye solution and oils are crucial for successful emulsification. If they are too far apart, your mixture might not trace properly, leading to separation or a grainy texture. Aim for temperatures within 10 degrees Fahrenheit of each other for the best results.
Impatience During Curing
Skipping or shortening the curing time is a common beginner mistake. While your soap is technically “soap” after 24-48 hours, it’s not at its best. Curing allows water to evaporate, creating a harder bar that lasts longer and has a milder, more luxurious lather. Patience truly pays off here.
Troubleshooting
My Soap Didn’t Trace / Separated
This is often called “false trace” or “seizing.” If your soap batter separates into layers of oil and liquid, it usually means the oils and lye solution weren’t fully emulsified. This can happen if temperatures were too far apart, or not enough blending occurred. Don’t panic! Reheat the separated mixture gently over low heat, stirring constantly. Once warm, re-blend vigorously with your stick blender until it traces. Sometimes, it just needs more time and blending.
My Soap is Too Soft / Crumbly
If your soap is too soft to unmold or cut, it likely needs more time in the mold, or it might have too much “superfat” (extra oils) in the recipe, or insufficient lye. Leave it in the mold for another 12-24 hours. If it’s crumbly, it might have dried out too much before cutting, or the lye concentration was too high. For crumbly soap, try cutting it with a thinner wire cutter or even crumbling it to use as laundry soap.
White Ash on My Soap (Soda Ash)
This powdery white layer on the surface of your soap is called soda ash. It’s harmless and simply forms when unsaponified lye reacts with carbon dioxide in the air. It doesn’t affect the soap’s quality. You can prevent it by covering your soap during the first 24 hours, spraying the surface with rubbing alcohol immediately after pouring, or ensuring your soap goes through a good gel phase. You can easily remove it by planing it off, gently wiping it with a damp cloth after curing, or it will wash off with the first use.
Key Takeaways
- Safety first: Always wear protective gear and work in a well-ventilated area when handling lye.
- Precision matters: Accurate weighing of ingredients is crucial for a balanced, safe soap bar.
- Temperature control: Keep lye solution and oils within 10 degrees of each other for proper emulsification.
- Achieve trace: Blend thoroughly until the mixture thickens and leaves a visible trail.
- Patience with curing: Allow your soap to cure for 4-6 weeks for the best quality, hardest, and longest-lasting bars.
- Embrace creativity: Experiment with different scents, colors, and additives to personalize your batches.
Frequently Asked Questions
Is homemade soap safe for sensitive skin?
Yes, absolutely! Many people with sensitive skin find homemade soap far superior to commercial varieties because you control all the ingredients. You can avoid harsh detergents, synthetic fragrances, and dyes that often cause irritation, opting instead for gentle oils and natural additives.
Can I use essential oils instead of fragrance oils?
Definitely! Essential oils are a popular choice for their natural aromas and therapeutic properties. However, be mindful of their skin safety guidelines and usage rates, as some essential oils can be sensitizing or have restrictions for certain populations. Always research the specific essential oil before adding it to your soap.
What if my soap doesn’t smell strong after curing?
It’s common for the scent of essential oils and some fragrance oils to fade during the saponification and curing process. To help retain scent, ensure you’re using the recommended usage rate for your specific oil and consider “anchoring” lighter scents with heavier base notes. Storing cured soap wrapped in plastic wrap or an airtight container can also help preserve fragrance.
How long does homemade soap last?
Properly made and cured cold process soap can last for a very long time, often a year or more. The high pH of soap naturally inhibits microbial growth. However, over time, the natural oils can go rancid (develop “dreaded orange spots” or DOS), especially if stored in humid conditions. Cure it well, store it in a cool, dry place, and use it within 12-18 months for best quality.
Our Top Recommended Finds
- Digital Scale: A precise digital scale (measuring in grams) is non-negotiable for accurate ingredient weighing. Look for one with a tare function and a capacity of at least 5kg.
- Immersion Blender: A stick blender is your best friend for achieving trace quickly and efficiently, ensuring thorough emulsification of oils and lye.
- Silicone Loaf Mold: Easy to use and clean, a silicone loaf mold allows for easy unmolding and cutting of uniform bars, making your soap look professional.
Your Soap-Making Journey Begins Now
You now hold the blueprint for creating something truly special with your own hands. The process of making soap is a delightful blend of science and art, yielding a product that nurtures your skin and your creative spirit.
Don’t just read these steps; envision yourself in your kitchen, crafting your very first batch. Imagine the rich lather and the satisfying feeling of using a soap made by you.
Why wait? Gather your ingredients, clear your space, and take that exciting first step today. The world of handmade soap is waiting for your unique touch!