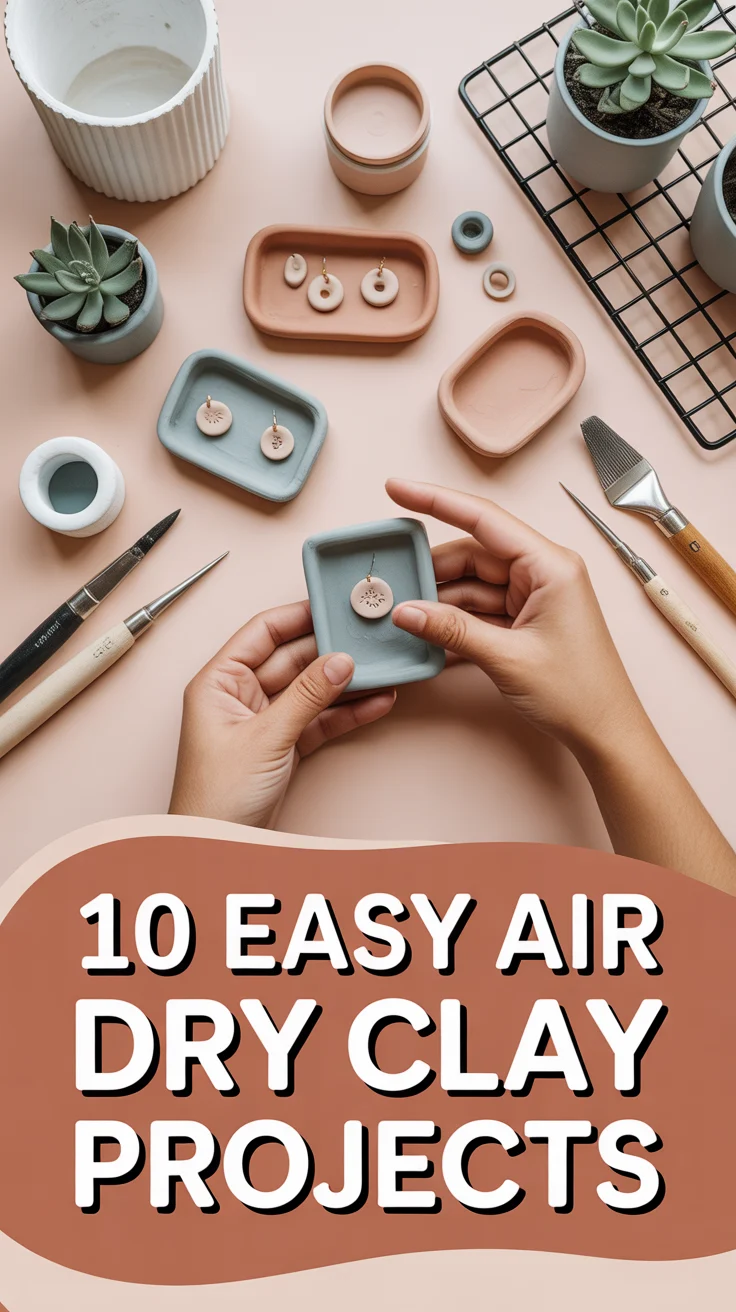
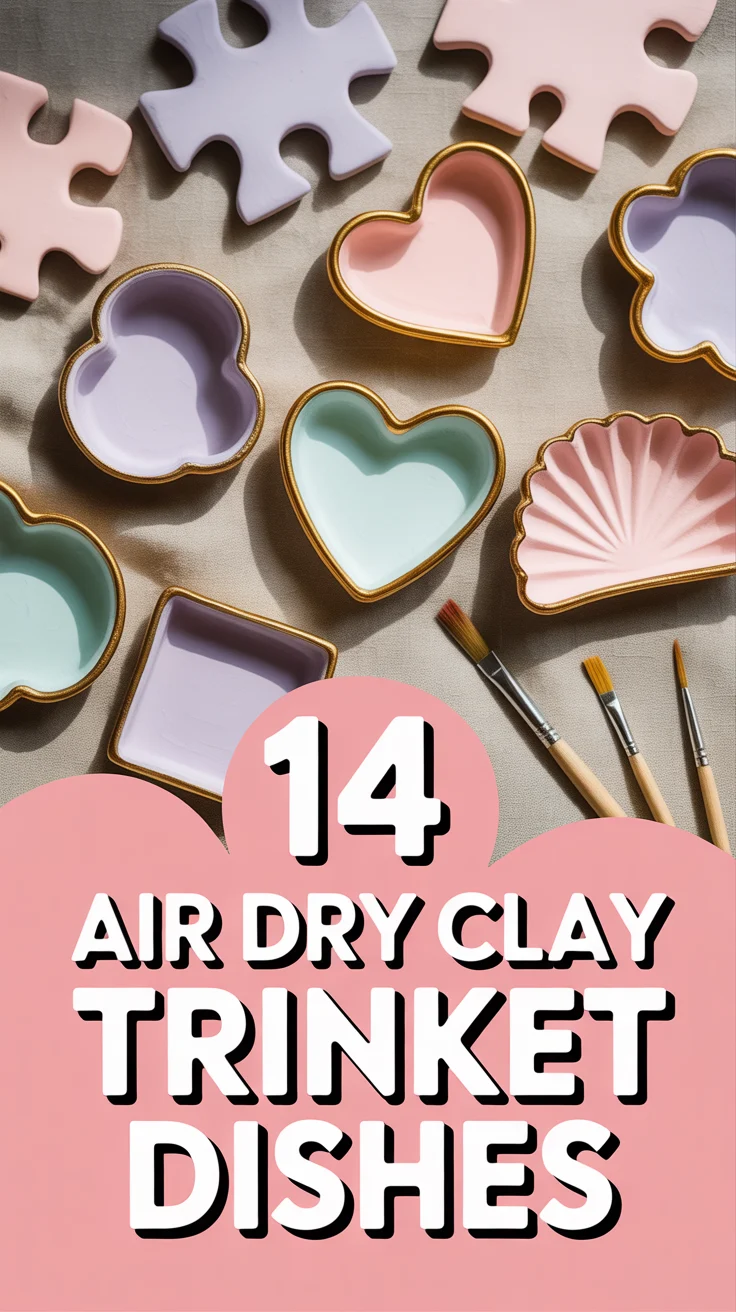
🧩 14 Air Dry Clay Trinket Dishes
🛠️ The Ultimate Maker's Toolkit
I've tested thousands of craft tools over the years. Whether you are quilting, crafting, or building mixed-media art, these are the top 5 absolute non-negotiable tools I personally recommend to guarantee professional results.
🪡 SINGER Heavy Duty 4452 Sewing Machine
The sewing community highly recommends this as the ultimate "bulletproof" entry-level machine. Its heavy metal frame powerfully pushes through thick denim and heavy quilt layers that would instantly jam a standard plastic machine.
✂️ Fiskars 8" Orange-Handled Scissors
Never settle for dull dollar-store blades. Wirecutter repeatedly names Fiskars the absolute best all-purpose craft scissor due to its legendary precision-ground blades and an ergonomic grip that prevents hand-cramping.
🔥 Gorilla Dual Temp Hot Glue Gun
Named Wirecutter's top choice because it literally does the work of two tools. It features dual-temperature settings offering low heat for delicate florals and blistering high heat for heavy wood adhesion repairs.
🖌️ Mod Podge Waterbase Gloss Sealer
The absolute undisputed champion of decoupage and paper crafts. Experts rely exclusively on this exact water-based formula because it glues, seals, and finishes beautifully without yellowing or flaking over time.
🎨 Apple Barrel Acrylic Paint (2 oz)
The quintessential, incredibly inexpensive craft paint. Woodworkers and hobby painters swear by its smooth flow and matte finish, providing massive value and remarkably thick color coverage on rough surfaces.
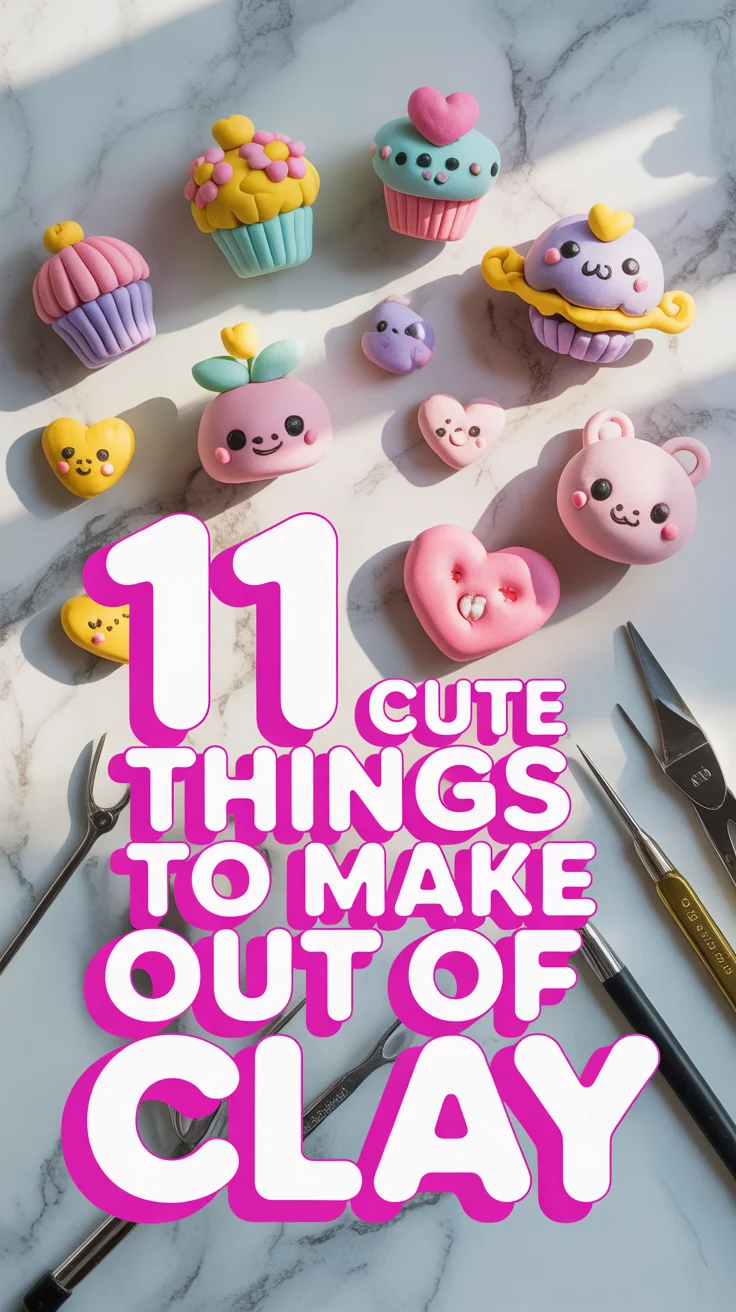
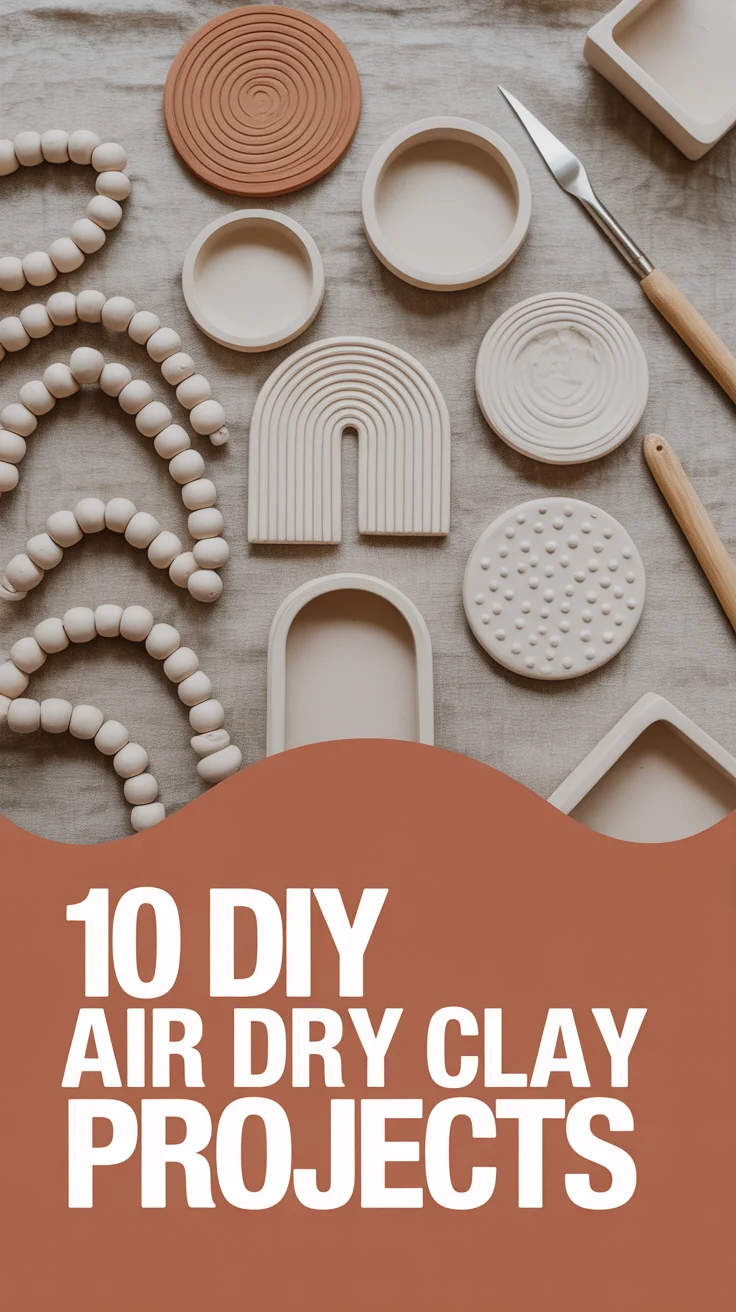
Got tiny treasures rolling around like they pay no rent? Let’s fix that with air dry clay trinket dishes that look cute, hold stuff, and take almost zero skill. Minimal tools, maximum payoff. You in?
1. Wavy Edge Petal Dish
Soft waves, big statement. Pinch the edges into gentle petals for a dreamy, organic vibe.
- Key points: Roll a thin slab, cut a circle, pinch edges outward.
- Details: Use a small bowl as a mold to hold the curve while drying.
- Pro tip: Smooth with a damp sponge for that buttery finish.
It works because the wavy rim adds volume without effort.
2. Speckled Minimalist Circle
Clean, modern, and quietly fancy. Perfect catch-all for rings or paperclips.
- Key points: Cut a neat circle, shallow curve, sand edges after drying.
- Details: Flick watered-down acrylic onto the surface for speckles.
- Pro tip: Seal with a matte varnish to lock in specks.
It works because minimal design goes with everything on your dresser.
3. Gilded Rim Crescent
Half-moon shape with a hint of glam. The gold rim does all the heavy lifting.
- Key points: Cut a circle, slice in half, curve each into a shallow dish.
- Details: Paint the edge with metallic gold acrylic.
- Pro tip: Use painter’s tape to keep the rim line crisp.
It works because the crescent silhouette feels sculptural and chic.
4. Terra Textured Thumb Bowl
Small, rustic, and very holdable. Your thumb literally shapes it.
- Key points: Roll a ball, press your thumb to form a dip.
- Details: Add linen or lace texture by pressing fabric lightly.
- Pro tip: Rub a tiny bit of brown watercolor into texture and wipe off.
It works because the tactile finish looks handcrafted in the best way.
5. Checkerboard Slab Dish
Bold pattern, zero drama. It’s a tiny runway for jewelry.
- Key points: Create a slab, paint a checkerboard in two contrasting colors.
- Details: Slightly curl edges for a tray feel.
- Pro tip: Use a pencil and ruler to lightly score the grid first.
It works because graphic prints make even loose coins look intentional.
6. Botanical Imprint Plate
Press leaves, get instant art. No drawing skills required.
- Key points: Roll clay thin, press a fern or herb, peel gently.
- Details: Highlight with a wash of diluted green.
- Pro tip: Use fresh leaves for sharper veins.
It works because nature prints always read high-end and calming.
7. Tiny Footed Pedestal
Give your trinkets a stage. Mini feet, major upgrade.
- Key points: Make a shallow dish, add three small clay balls as feet.
- Details: Score and slip before attaching for strength.
- Pro tip: Check level by gently pressing on a flat surface before drying.
It works because height adds presence without taking space.
8. Marbled Swirl Catch-All
Swirls that look complicated but aren’t. Like latte art for your dresser.
- Key points: Mix two clay colors, twist lightly, roll into a slab.
- Details: Don’t overmix or you’ll lose the marbling.
- Pro tip: Finish with a gloss varnish to pop the swirls.
It works because marbling hides fingerprints and looks luxe.
9. Shell-Inspired Scallop Dish
Coastal vibes without the sand in your shoes. Gentle scallops = instant charm.
- Key points: Cut a semicircle, pinch scallops along the edge.
- Details: Carve light lines from center for shell ridges.
- Pro tip: Dust with pearly paint for a subtle sheen.
It works because biomorphic forms feel soothing and elegant.
10. Painted Arch Motifs
Arches are the cool kid of patterns. Simple curves, big style.
- Key points: Make a flat dish, paint repeating arches in sunset tones.
- Details: Keep spacing even for a tiled effect.
- Pro tip: Use a round brush and rotate the dish, not your hand.
It works because repeating shapes create a calm, graphic rhythm.
11. Celestial Moon and Stars Set
Night-sky trinket crew. A moon dish with tiny star minis.
- Key points: Cut a crescent and several star shapes, curve the moon slightly.
- Details: Speckle with white for stars; add a gold moon rim.
- Pro tip: Group on a tray for an instant vignette.
It works because clusters feel curated and magical.
12. Color-Blocked Rim Plate
Neutrals in the center, party on the edges. Very dinner-plate-chic, minus the dinner.
- Key points: Smooth center, paint a wide rim in contrasting color.
- Details: Softly blend the inner edge for a gradient touch.
- Pro tip: Use washi tape to mask a perfect circle.
It works because the rim frames whatever you drop inside.
13. Coil-Built Ruffle Dish
Drama queen energy. Ruffles add movement and texture.
- Key points: Create a flat base, add thin coiled ruffles around the edge.
- Details: Blend coils where they meet the base for strength.
- Pro tip: Support ruffles with tissue while drying to prevent sag.
It works because layered edges look couture on a budget.
14. Monogram Stamped Tray
Personal, giftable, and very “I thought of you.” Stamp it and call it done.
- Key points: Roll a rectangle, round corners, press a letter stamp.
- Details: Paint the monogram, leave the rest matte.
- Pro tip: Lightly sand edges for a pro-grade finish.
It works because customization makes even tiny trays feel special.
✨ New Member Etsy Shops (100% Unsponsored!)
We are incredibly proud of the talent in this community! 💖 We've rounded up some gorgeous new Etsy shops launched by our very own members.
There are ZERO affiliate links in this post—just 100% pure support for our makers. Click below to shop small, show them some love, and find your new favorite items! 👇🛍️


Conclusion
Air dry clay trinket dishes are tiny projects with big personality. You get storage, style, and a quick creative win in an afternoon. Grab some clay, cue your playlist, and let your dresser glow up one little dish at a time.