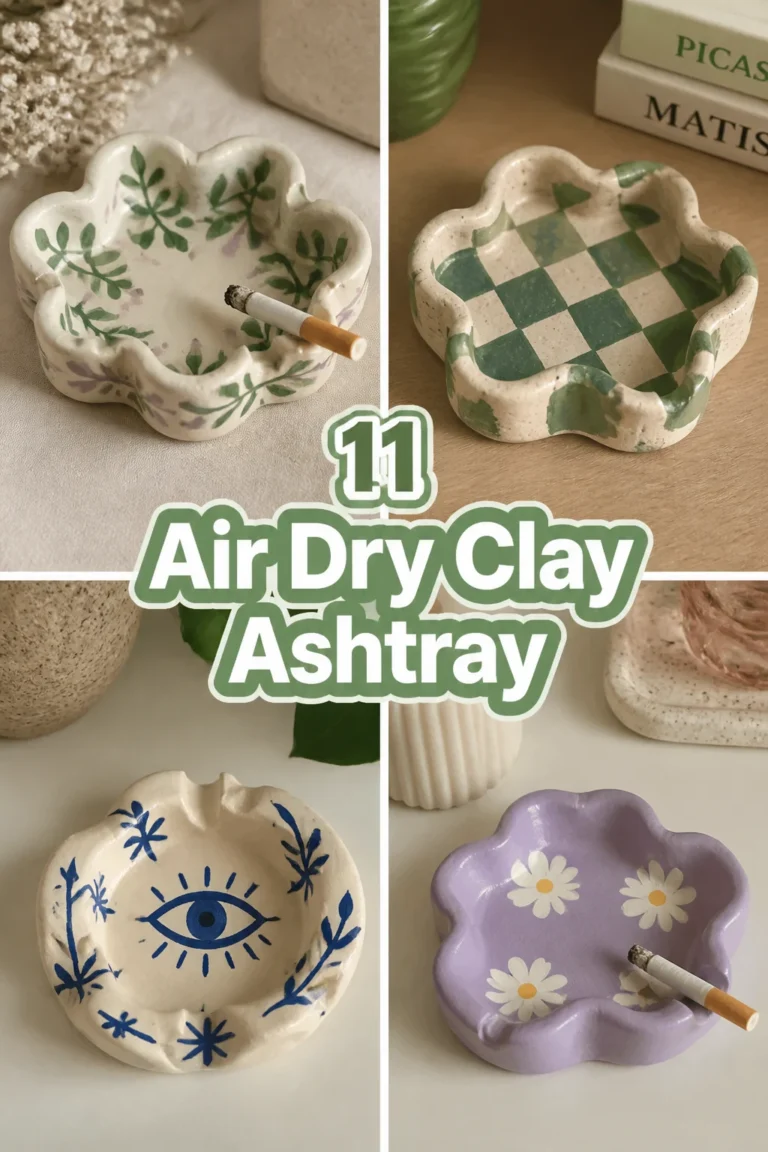
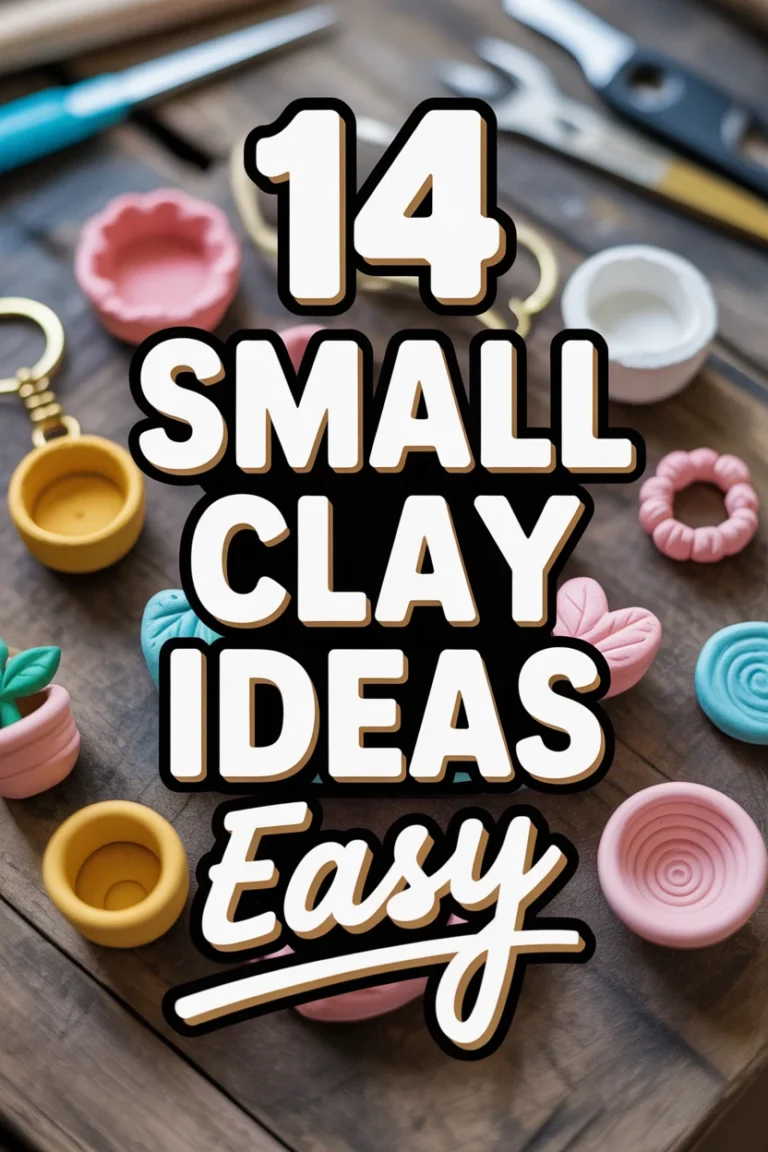
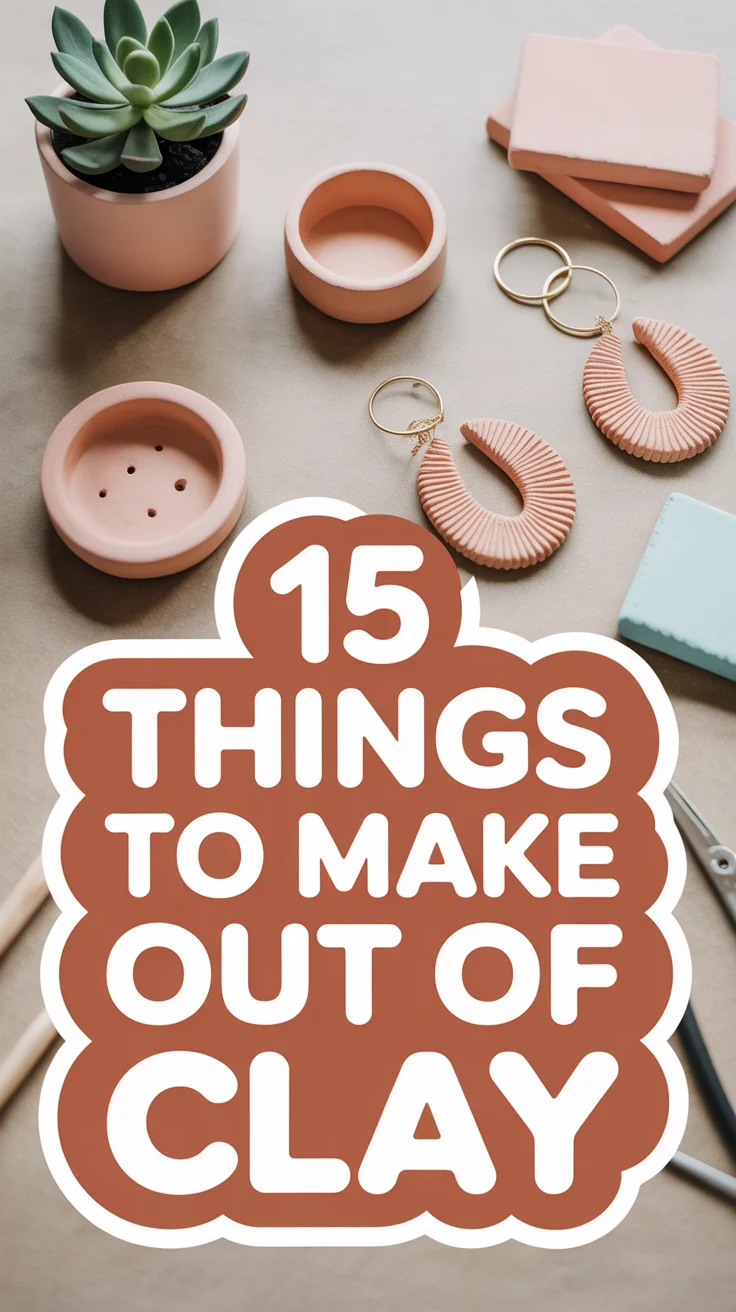
🧱 15 Things To Make Out Of Clay
🛠️ The Ultimate Maker's Toolkit
I've tested thousands of craft tools over the years. Whether you are quilting, crafting, or building mixed-media art, these are the top 5 absolute non-negotiable tools I personally recommend to guarantee professional results.
🪡 SINGER Heavy Duty 4452 Sewing Machine
The sewing community highly recommends this as the ultimate "bulletproof" entry-level machine. Its heavy metal frame powerfully pushes through thick denim and heavy quilt layers that would instantly jam a standard plastic machine.
✂️ Fiskars 8" Orange-Handled Scissors
Never settle for dull dollar-store blades. Wirecutter repeatedly names Fiskars the absolute best all-purpose craft scissor due to its legendary precision-ground blades and an ergonomic grip that prevents hand-cramping.
🔥 Gorilla Dual Temp Hot Glue Gun
Named Wirecutter's top choice because it literally does the work of two tools. It features dual-temperature settings offering low heat for delicate florals and blistering high heat for heavy wood adhesion repairs.
🖌️ Mod Podge Waterbase Gloss Sealer
The absolute undisputed champion of decoupage and paper crafts. Experts rely exclusively on this exact water-based formula because it glues, seals, and finishes beautifully without yellowing or flaking over time.
🎨 Apple Barrel Acrylic Paint (2 oz)
The quintessential, incredibly inexpensive craft paint. Woodworkers and hobby painters swear by its smooth flow and matte finish, providing massive value and remarkably thick color coverage on rough surfaces.
Clay is the DIY friend who never flakes. It’s forgiving, fun, and somehow makes your hands feel artsy even when you’re winging it. Grab a block, roll up your sleeves, and let’s make stuff you’ll actually use—and brag about.
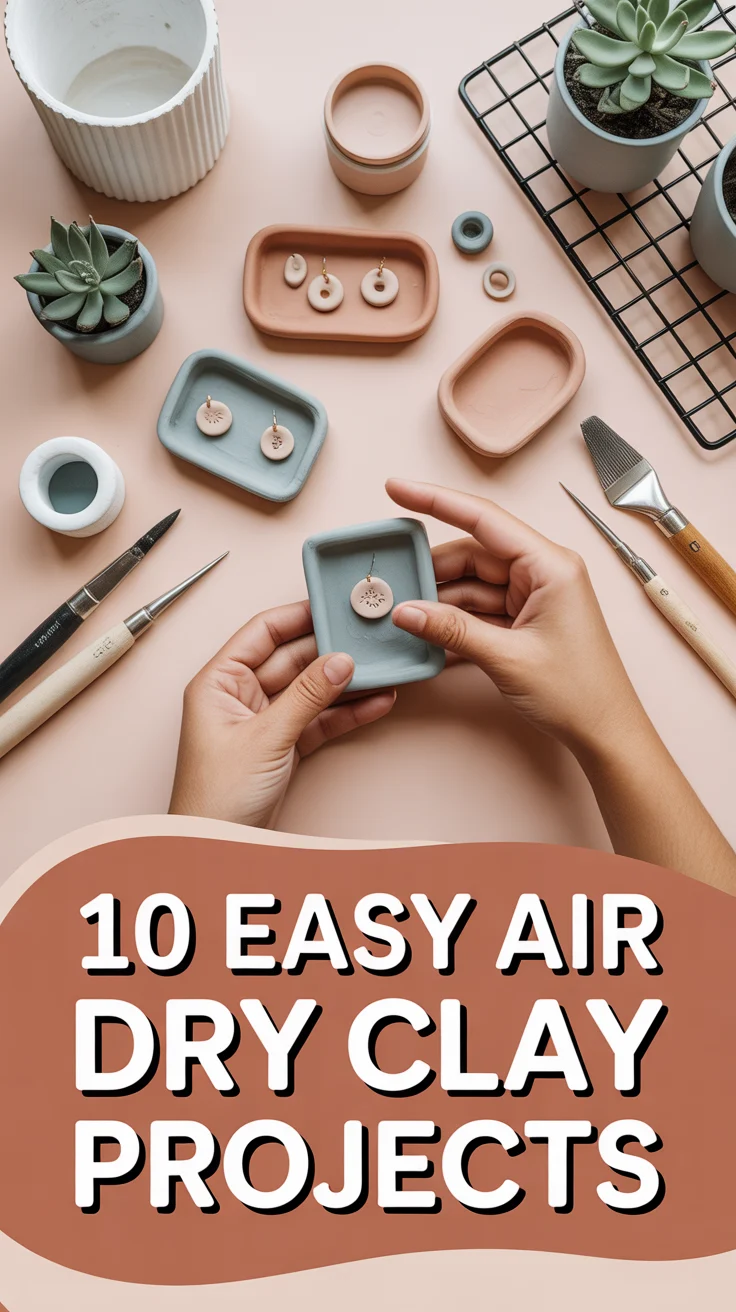
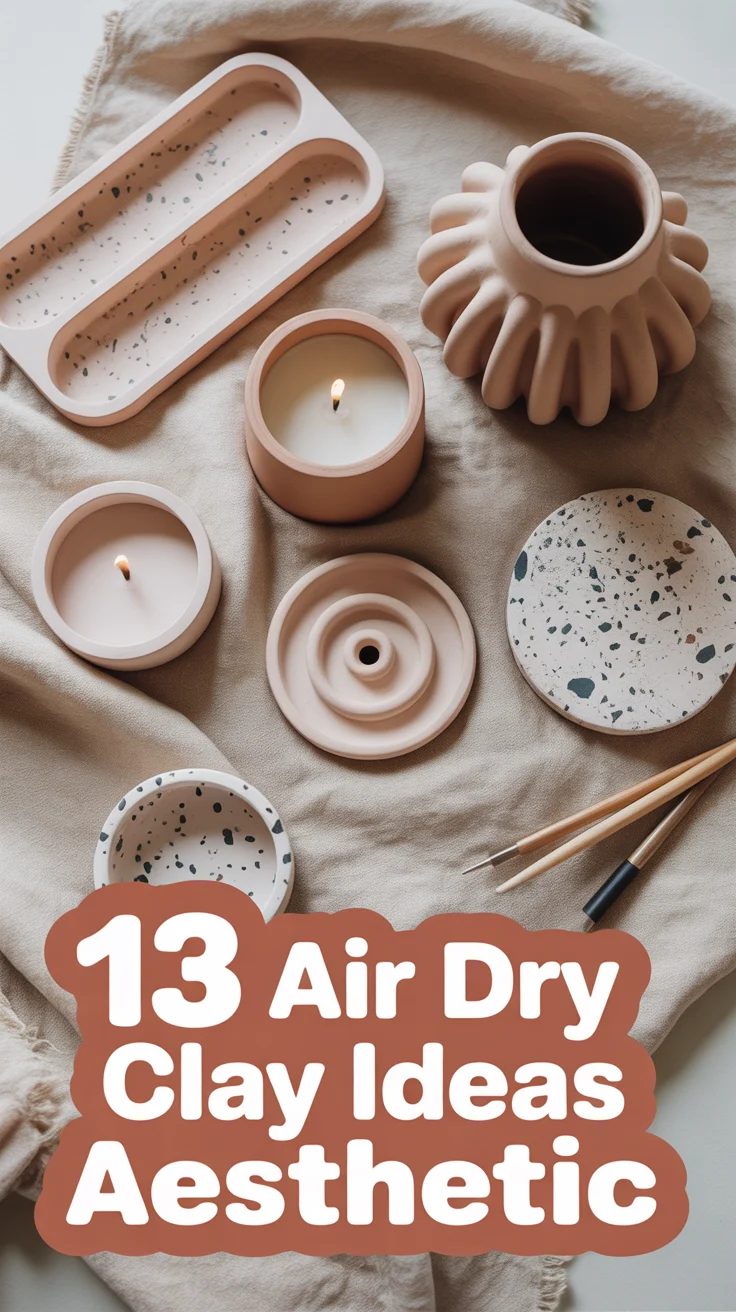
1. Trinket Dishes
Small, chic, and endlessly handy. Make organic, wavy edges for that “I woke up like this” vibe.
- Use air-dry clay for easy, no-kiln magic.
- Press texture with lace or leaves for a subtle pattern.
- Paint with acrylics, seal with a clear varnish.
Pro tip: Drape over a small bowl to dry for a perfect curve. It works because it’s simple, giftable, and looks boutique.
2. Incense Holders
Zen vibes without the price tag. Go minimal with a pebble shape and a clean hole.
- Keep it low to catch ash.
- Use a skewer to punch the angle for stick incense.
- Add a shallow dish base for cone incense.
Pro tip: Sand after drying for a smooth, luxe finish. It works because it’s tiny, useful, and instantly elevates your shelf.
3. Mini Planters
Baby plants need cute homes too. Make cylinder or footed styles for extra charm.
- Roll even walls with a snake coil method.
- Poke a drainage hole before drying.
- Seal interior if you’ll water directly.
Pro tip: Add three tiny feet for stability. It works because plants + clay = aesthetic synergy.
4. Earrings
Statement pieces without the drama. Lightweight and custom to your vibe.
- Use polymer clay for bright color and strength.
- Cut with small cookie cutters or blade shapes.
- Bake, then attach stud posts with strong glue.
Pro tip: Sand edges and buff for a pro finish. It works because they look boutique but cost coffee money.
5. Candle Holders
Create moody moments. Make taper holders or chunky votives.
- Wrap clay around a taper (protected with foil) for a perfect fit.
- Keep a wide base for safety.
- Texture with a ribbed tool or fork.
Pro tip: Test fit after drying—candles shrink too. It works because it’s functional art for your tablescape.
6. Spoon Rests
Save your counters and your sanity. Make a half-moon with a gentle lip.
- Create a slight curve using a bowl as a mold.
- Add a tiny notch to cradle the handle.
- Seal for easy wipe-downs.
Pro tip: Marble two clay colors for a fancy look. It works because it’s practical but still cute.
7. Keychains
Keys, but make them fashionable. Think initials, mini fruits, or abstract blobs.
- Use polymer clay for durability.
- Insert eye pins before baking.
- Finish with a glossy sealer.
Pro tip: Add mica powder for a subtle shimmer. It works because it’s personal and giftable.
8. Stamped Name Tags
Label everything like an organized icon. Perfect for baskets, plants, or gifts.
- Roll thin slabs and stamp letters.
- Punch a hole for twine.
- Keep edges rounded for a soft look.
Pro tip: Contrast wash with diluted paint to make letters pop. It works because it’s tidy and tasteful.
9. Ring Cones
Rings deserve thrones. Make slender cones that look like tiny sculptures.
- Form smooth tapered cones.
- Flatten the base for stability.
- Paint simple stripes or speckles.
Pro tip: Add a gold leaf tip for glam. It works because it’s minimal and space-saving.
10. Coasters
Protect your table, impress your guests. Go terrazzo or marble effect.
- Use polymer clay scraps for terrazzo chips.
- Roll to even thickness with guide sticks.
- Add felt backing after sealing.
Pro tip: Sand edges flat for a crisp profile. It works because they’re stylish and sturdy.
11. Picture Frames
DIY frame, gallery vibes. Wrap a simple frame base with clay for texture.
- Create rope borders or scallops.
- Keep the inner window clean.
- Seal with matte varnish for a stone look.
Pro tip: Press botanical textures before drying. It works because it turns memories into decor.
12. Desk Cable Clips
Goodbye cable chaos. Tiny but mighty desk helpers.
- Roll small lozenges and press grooves.
- Adhere with removable strips.
- Size grooves for charging cables.
Pro tip: Dust with cornstarch while shaping to avoid stickiness. It works because organization can be cute.
13. Hair Clips
Accessorize like you mean it. Barrettes with personality.
- Cut rectangles or arches.
- Bake and glue onto alligator clips.
- Decorate with simple dots or inlays.
Pro tip: Slightly curve pieces over a rolling pin before baking for comfort. It works because it’s wearable art.
14. Wall Hangings
Statement art without the canvas. Make shapes and string them up.
- Cut moons, arches, and circles.
- Punch holes for twine or jump rings.
- Balance weight so it hangs straight.
Pro tip: Mix matte and gloss sealers for depth. It works because it fills blank walls with texture.
15. Soap Dishes
Functional and spa-level pretty. Add ridges to keep soap dry.
- Form a sloped tray with drainage channels.
- Ensure feet or risers underneath.
- Seal thoroughly for water resistance.
Pro tip: Use a comb to pull even grooves fast. It works because dry soap lasts longer and looks better.
✨ New Member Etsy Shops (100% Unsponsored!)
We are incredibly proud of the talent in this community! 💖 We've rounded up some gorgeous new Etsy shops launched by our very own members.
There are ZERO affiliate links in this post—just 100% pure support for our makers. Click below to shop small, show them some love, and find your new favorite items! 👇🛍️


Conclusion
Clay is basically creativity putty—squish it, shape it, and suddenly your space looks curated. Start small, try textures, and seal your wins. The best part is everything’s custom, useful, and delightfully you.