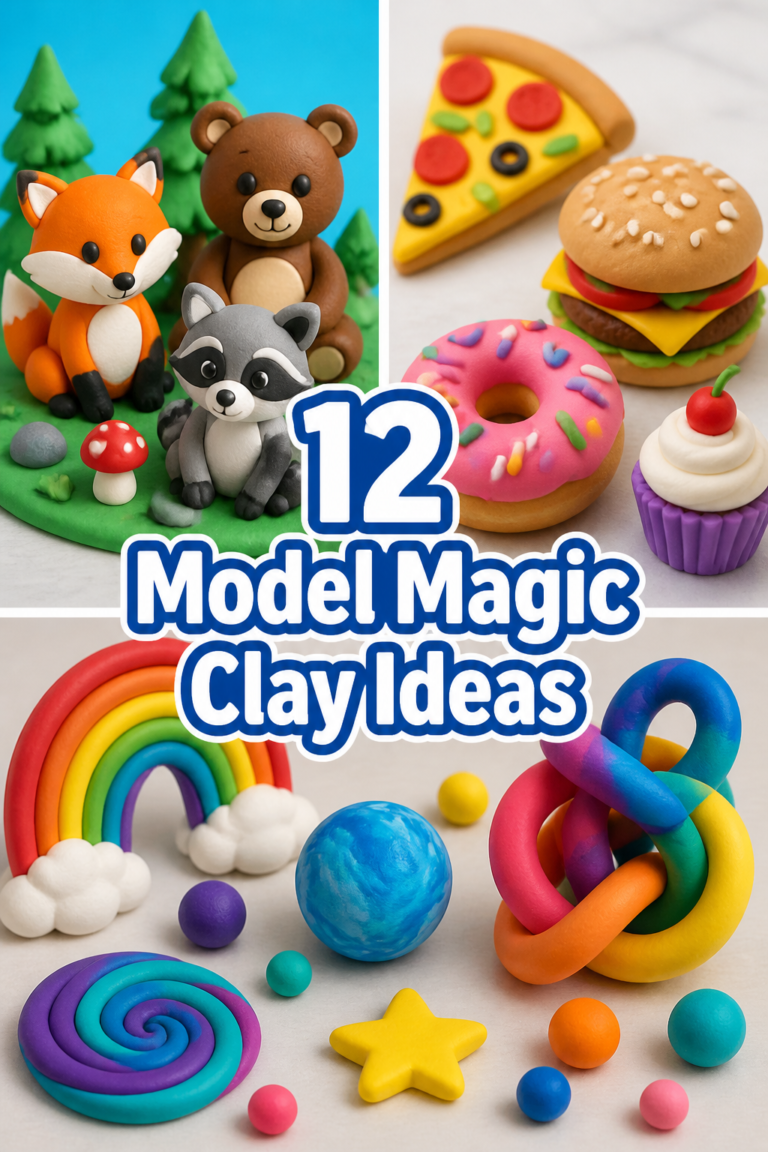
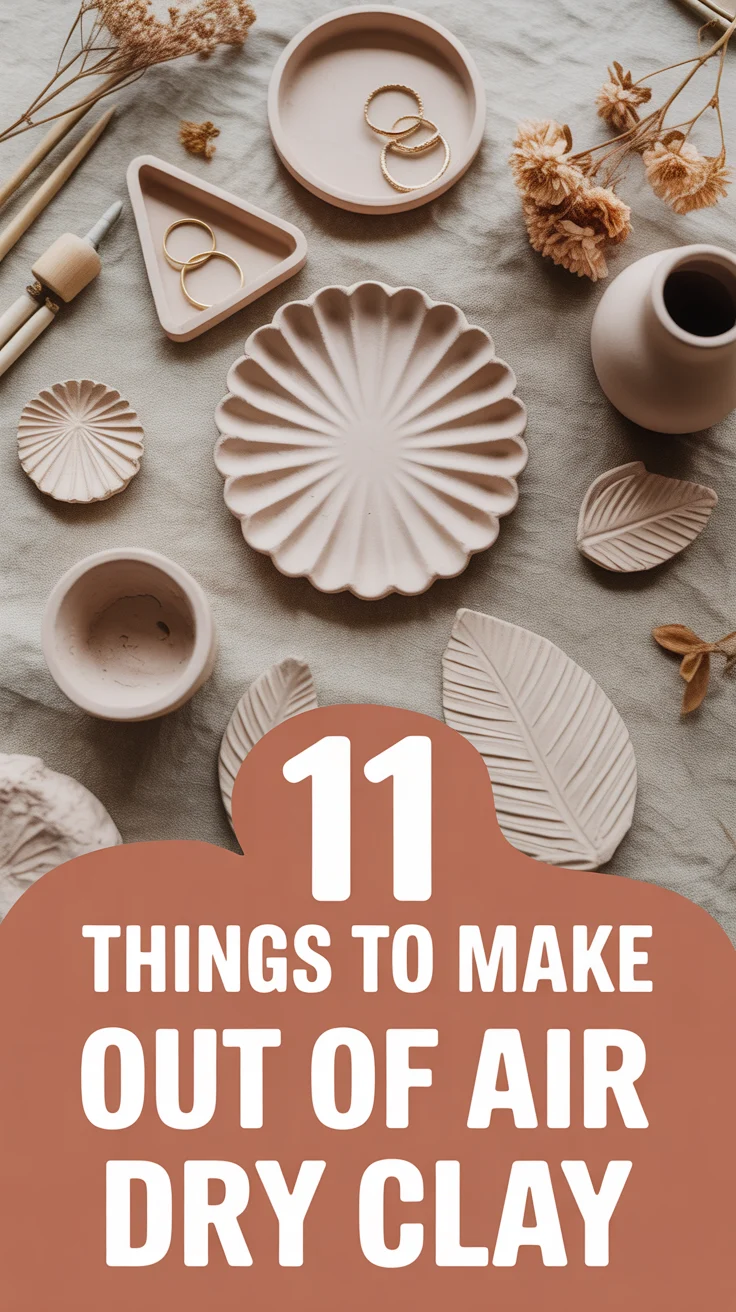
🎨 11 Things To Make Out Of Air Dry Clay
🛠️ The Ultimate Maker's Toolkit
I've tested thousands of craft tools over the years. Whether you are quilting, crafting, or building mixed-media art, these are the top 5 absolute non-negotiable tools I personally recommend to guarantee professional results.
🪡 SINGER Heavy Duty 4452 Sewing Machine
The sewing community highly recommends this as the ultimate "bulletproof" entry-level machine. Its heavy metal frame powerfully pushes through thick denim and heavy quilt layers that would instantly jam a standard plastic machine.
✂️ Fiskars 8" Orange-Handled Scissors
Never settle for dull dollar-store blades. Wirecutter repeatedly names Fiskars the absolute best all-purpose craft scissor due to its legendary precision-ground blades and an ergonomic grip that prevents hand-cramping.
🔥 Gorilla Dual Temp Hot Glue Gun
Named Wirecutter's top choice because it literally does the work of two tools. It features dual-temperature settings offering low heat for delicate florals and blistering high heat for heavy wood adhesion repairs.
🖌️ Mod Podge Waterbase Gloss Sealer
The absolute undisputed champion of decoupage and paper crafts. Experts rely exclusively on this exact water-based formula because it glues, seals, and finishes beautifully without yellowing or flaking over time.
🎨 Apple Barrel Acrylic Paint (2 oz)
The quintessential, incredibly inexpensive craft paint. Woodworkers and hobby painters swear by its smooth flow and matte finish, providing massive value and remarkably thick color coverage on rough surfaces.
Air dry clay is like adult Play-Doh with better life choices. No kiln, no drama, just sculpt, style, and let it chill. If your hands are itching to make something cute, useful, and brag-worthy, you’re in the right studio-kitchen-counter-space.
1. Trinket Dishes
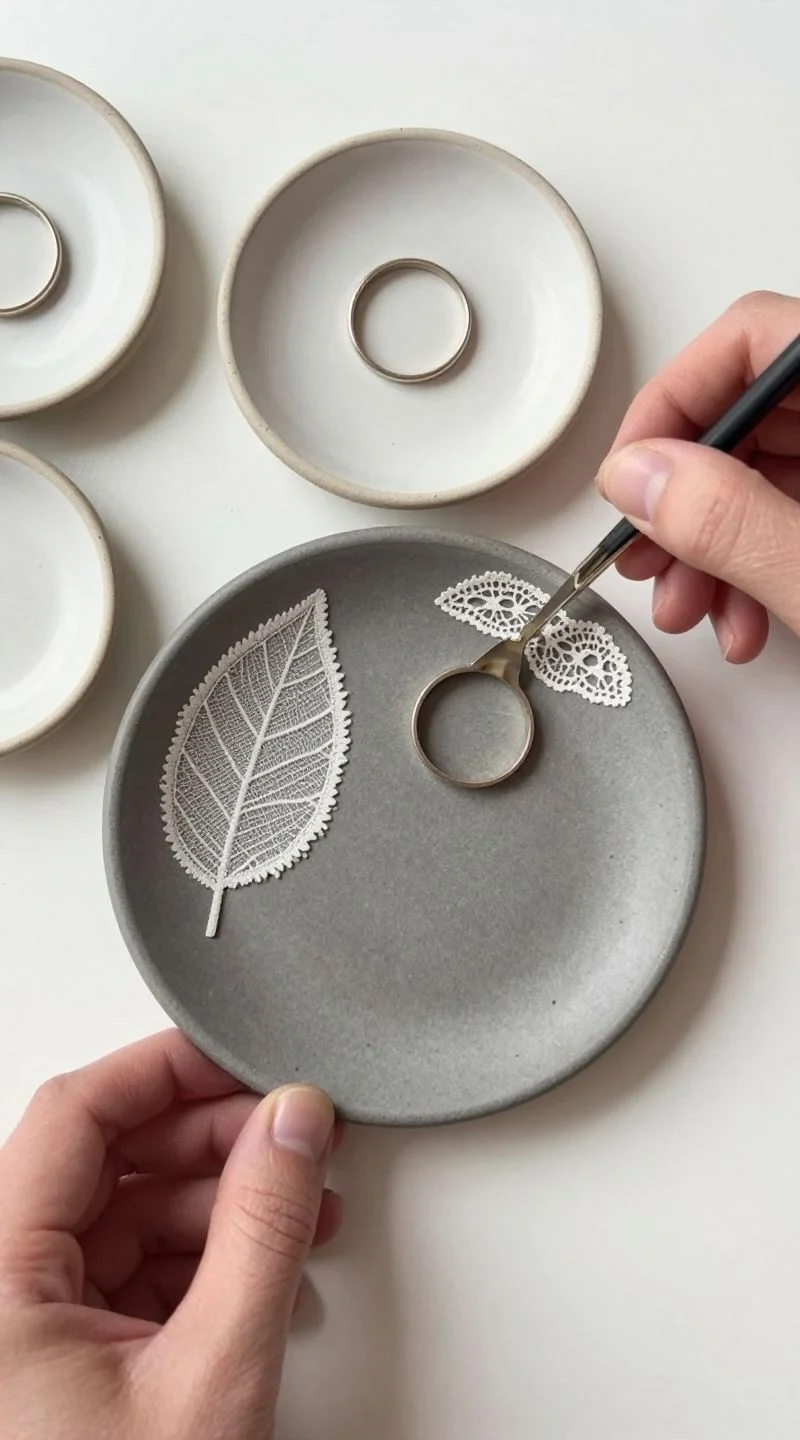
Small dish, big energy. Perfect for rings, keys, or rogue hair ties. Shape a circle, pinch the edges, and boom—instant catch-all.
- Add texture with a leaf press or lace for a lux finish.
- Sand lightly and seal for durability and a satin sheen.
Pro tip: Use a ramekin as a mold so the curve dries even. It works because it’s simple, pretty, and genuinely useful.
2. Bud Vases
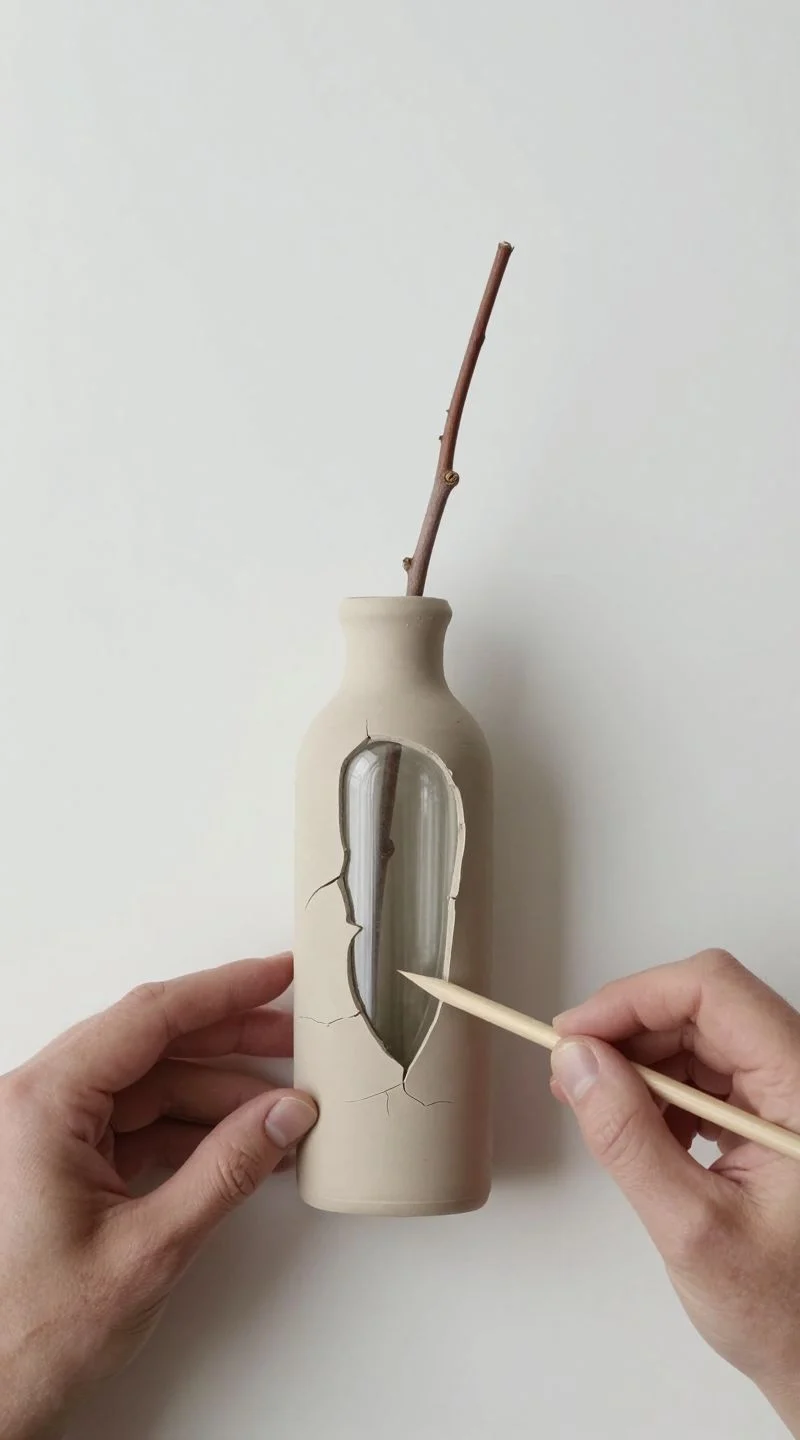
Single-stem hero. Wrap clay around a glass tube or tiny bottle to keep it water-safe and stylish.
- Keep the walls under 1/4 inch to avoid cracking.
- Score and slip seams so it doesn’t split while drying.
Pro tip: Use a straw to poke an air hole at the base—less pressure, fewer cracks. Minimal effort, maximal chic.
3. Incense Holders
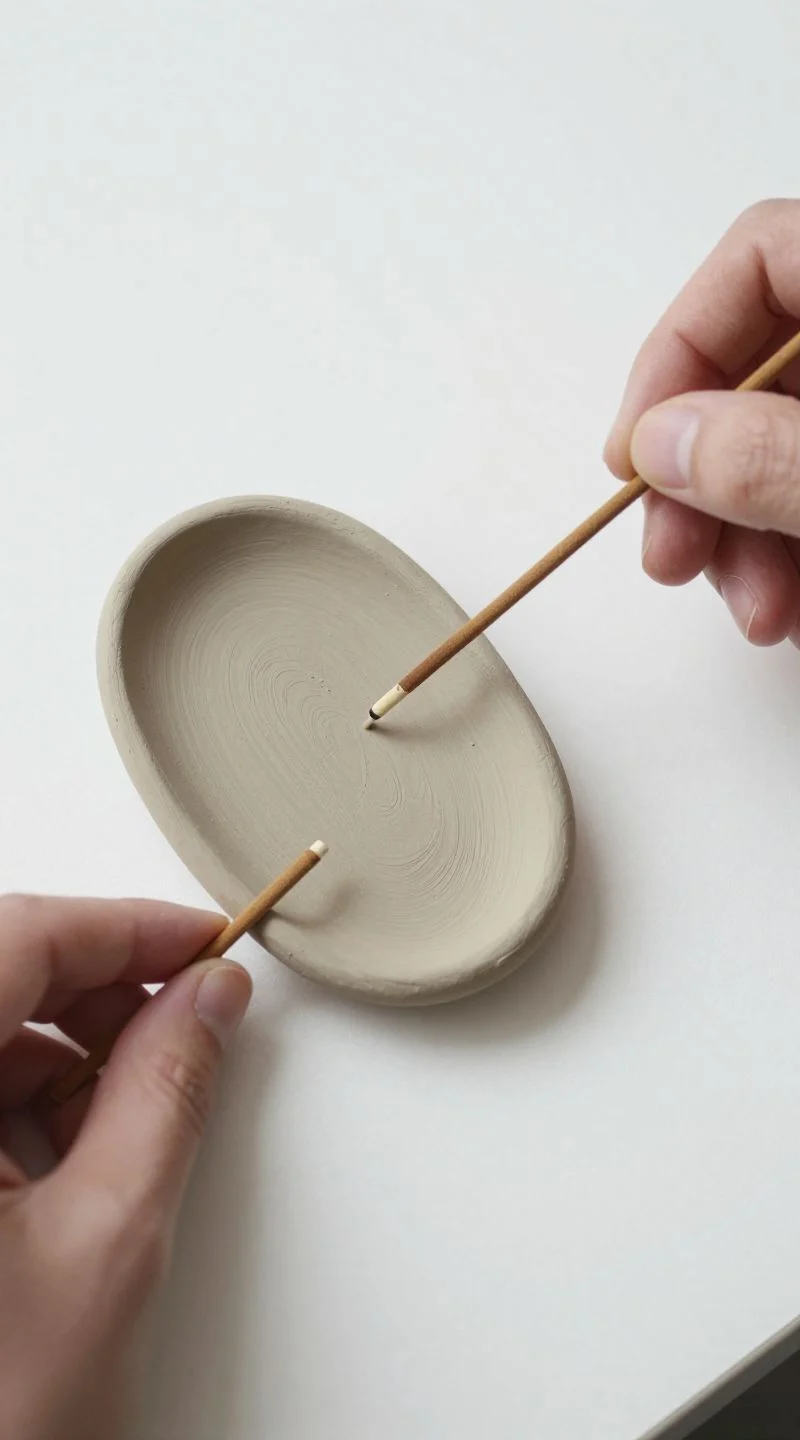
Zen, but make it aesthetic. Roll a smooth oval and angle a neat hole for your incense stick.
- Catch ash with a slight lip around the edge.
- Paint with heat-safe acrylics once fully dry.
Pro tip: Insert the stick while the clay is soft to get the perfect snug fit. Clean, calm, and looks great on a shelf.
4. Pendant Necklaces
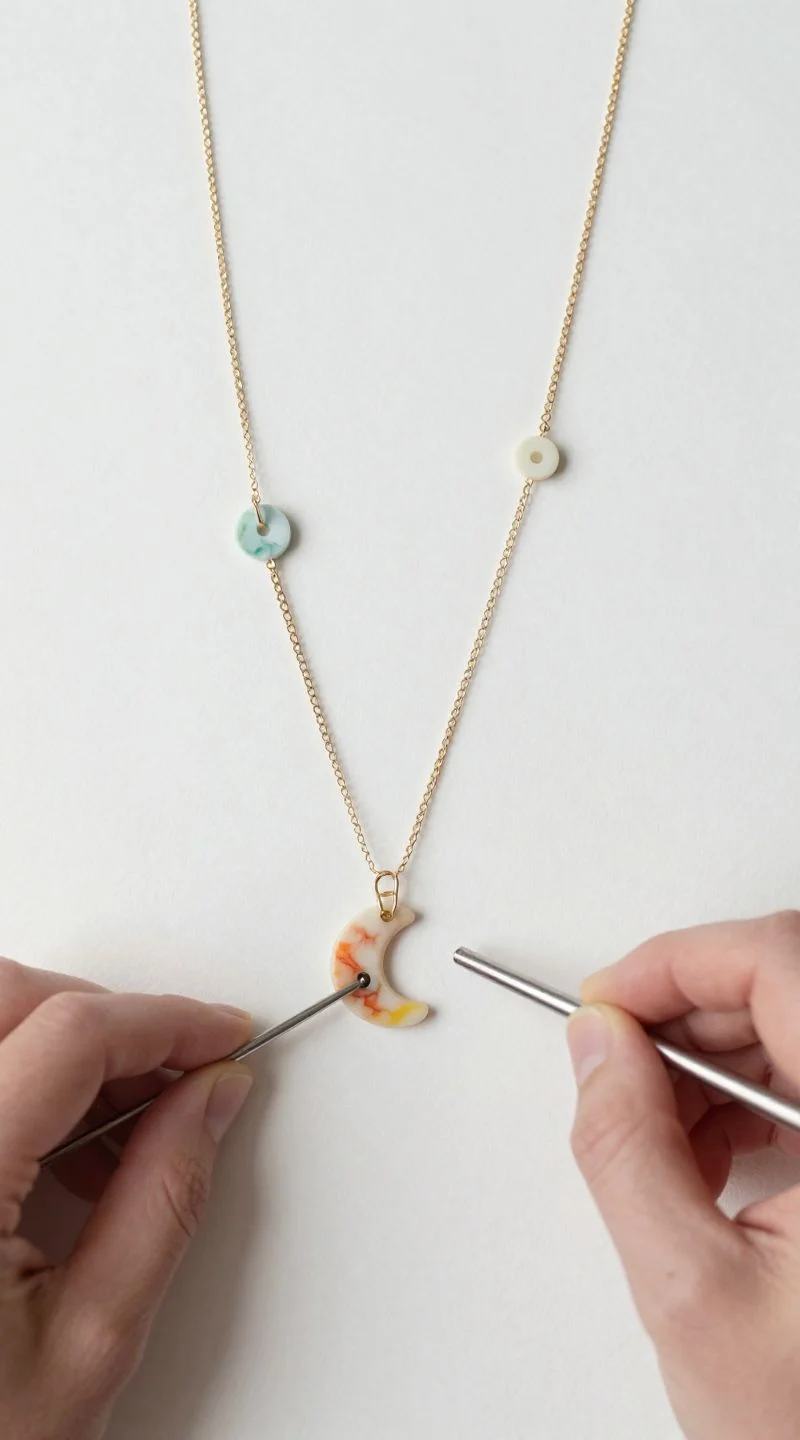
Tiny art you can wear. Cut small shapes—arches, moons, or squiggles—and bake… just kidding, let it air out.
- Punch clean holes with a metal straw for jump rings.
- Layer colors with marbling for a custom vibe.
Pro tip: Sand edges with a nail buffer for jewelry-store smooth. Lightweight and endlessly customizable.
5. Minimalist Coasters
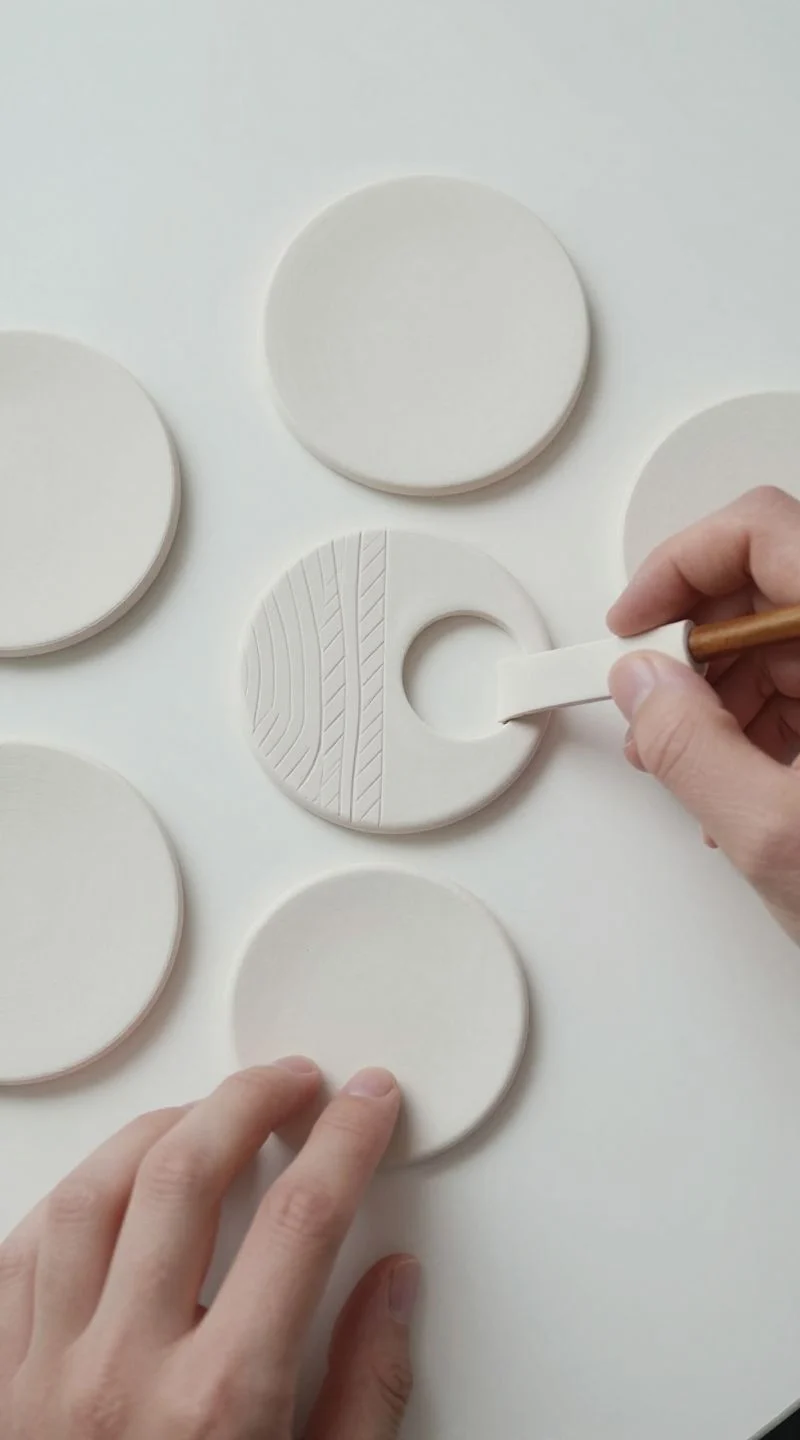
Save the table, look cool doing it. Roll clay evenly and cut circles or hexagons.
- Keep thickness around 6–8 mm for sturdiness.
- Press in linear textures for that designer touch.
Pro tip: Seal with waterproof varnish to prevent cup-ring drama. Clean lines, clean surfaces.
6. Plant Name Markers
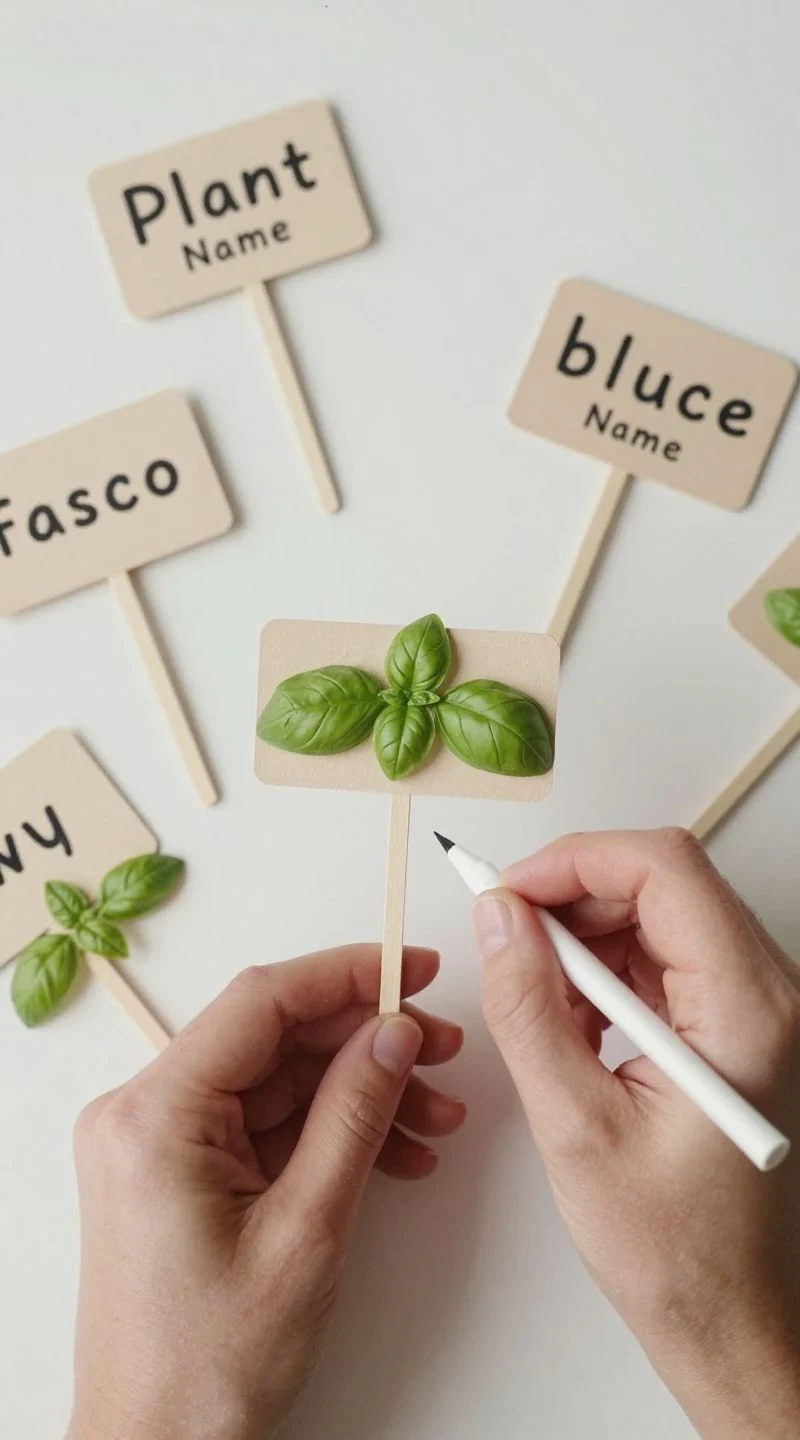
Your basil deserves a name tag. Make slim stakes and stamp letters before they dry.
- Angle the tip for easy soil insertion.
- Use water-resistant sealant if they’re going outdoors.
Pro tip: Bake-on marker ink is a no-go; use paint pens after sealing. Cute and functional—garden glow-up unlocked.
7. Phone Stands
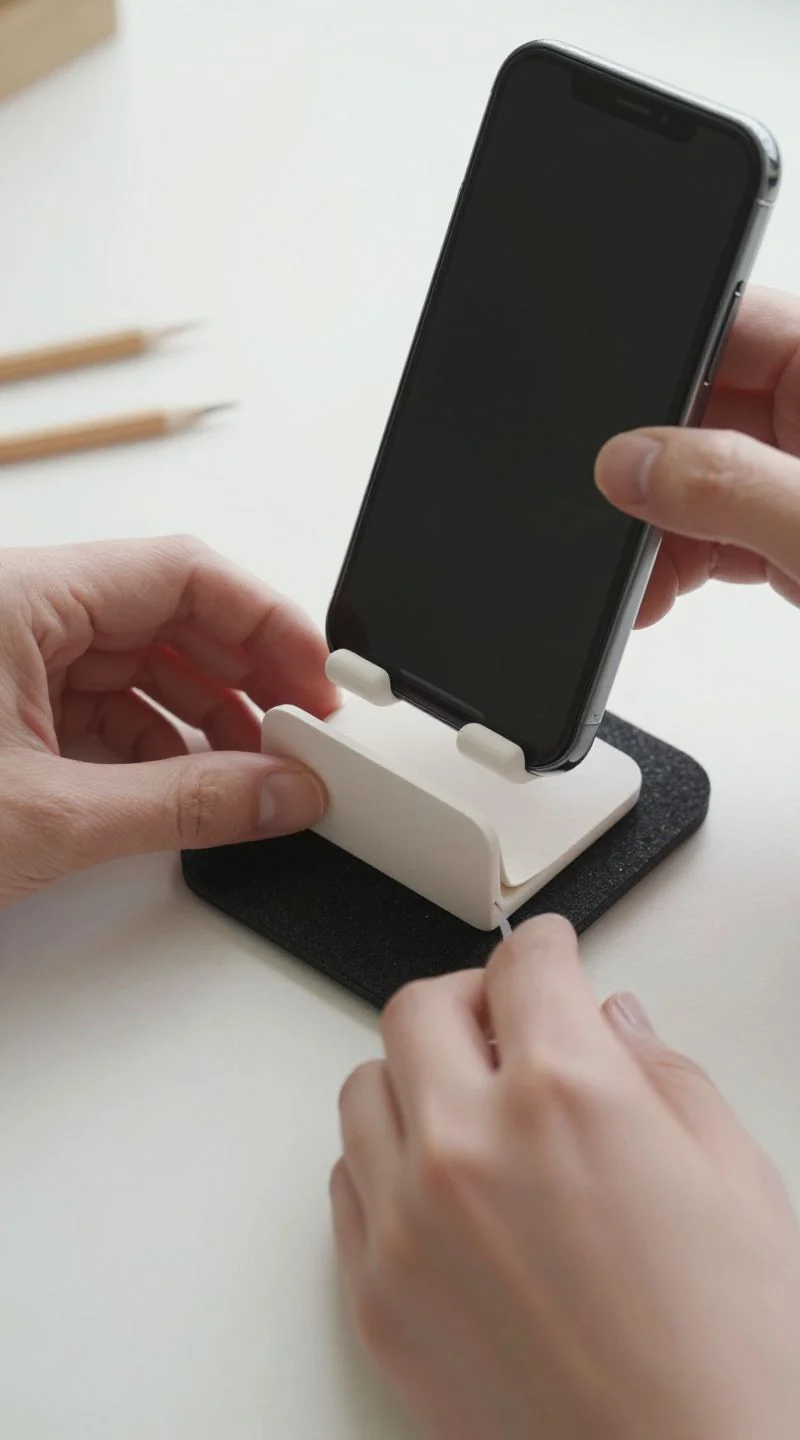
Hands-free scrolling, achieved. Form a chunky wedge with a precise groove.
- Test the groove angle with your phone before it dries.
- Add non-slip felt underneath.
Pro tip: Reinforce the groove edges with a tiny coil of clay. It’s sturdy, sleek, and desk-approved.
8. Decorative Wall Tiles
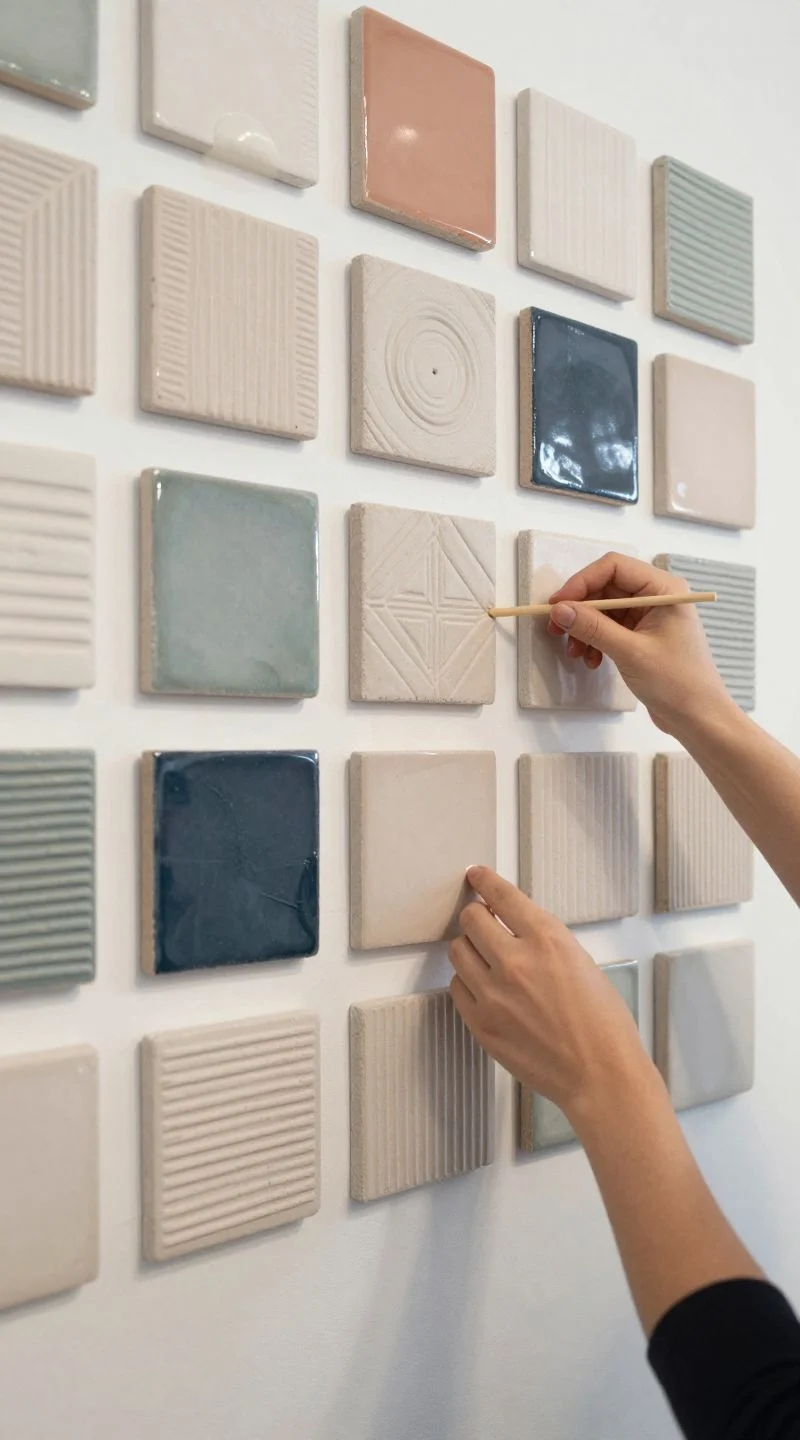
Gallery wall, but tactile. Create small tiles and imprint patterns or carve lines.
- Use a straw to make hanging holes before drying.
- Mix matte and glossy sealers for contrast.
Pro tip: Mount with removable adhesive strips—renter-friendly art. It’s texture, color, and personality on a budget.
9. Candle Holders
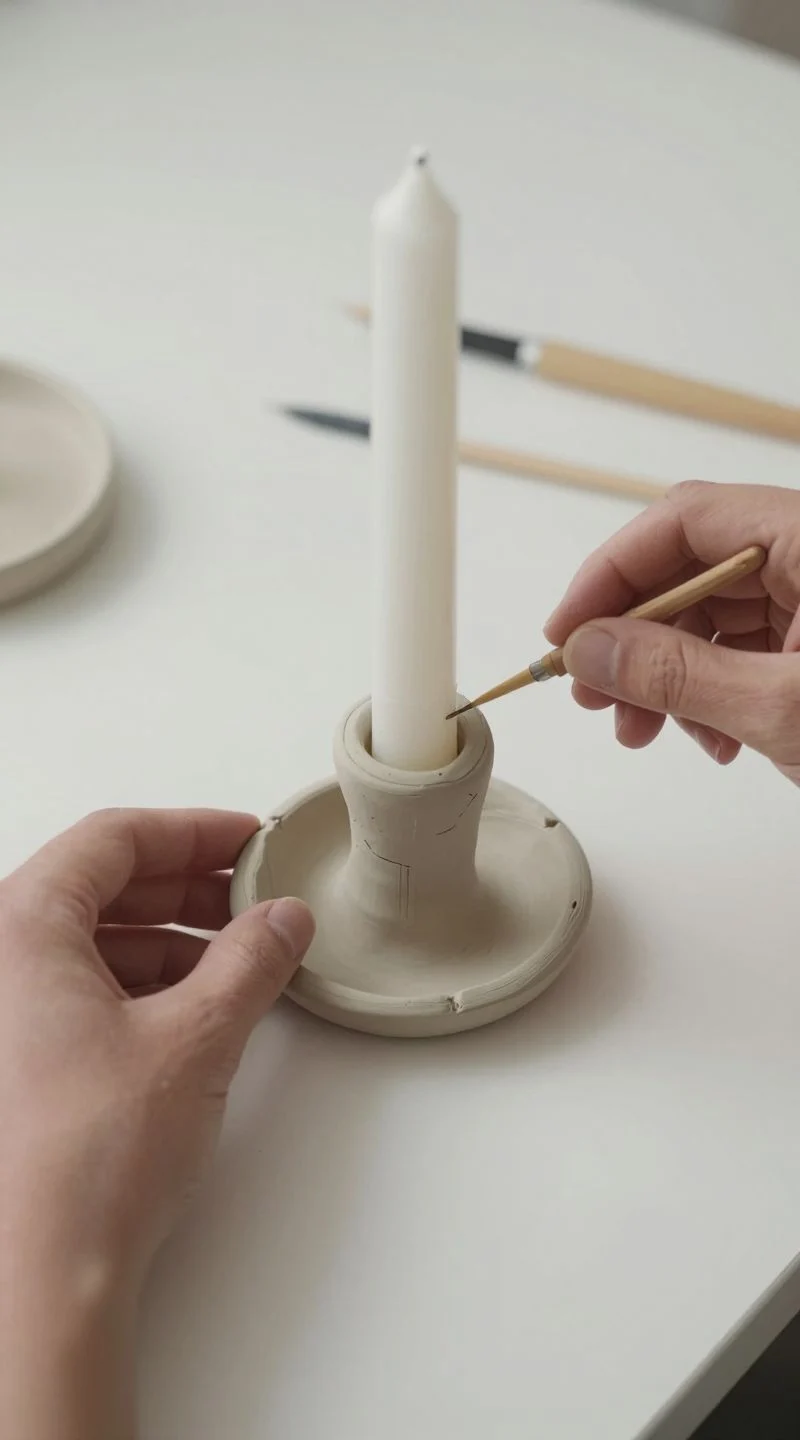
Set the mood without setting anything on fire. Craft a sturdy base and a snug taper slot.
- Test-fit the candle while clay is soft for accuracy.
- Add a drip tray lip for practicality.
Pro tip: Wrap the candle in plastic before test-fitting to avoid waxy chaos. Elegant, safe, and dinner-party ready.
10. Keychains

Keys deserve a glow-up too. Cut cute shapes and add texture stamps.
- Insert an eye screw after partial drying for better grip.
- Finish with a glossy sealer for durability.
Pro tip: Add a pop of gold leaf under varnish—instant luxe. Small craft, big personality.
11. Ring Stands
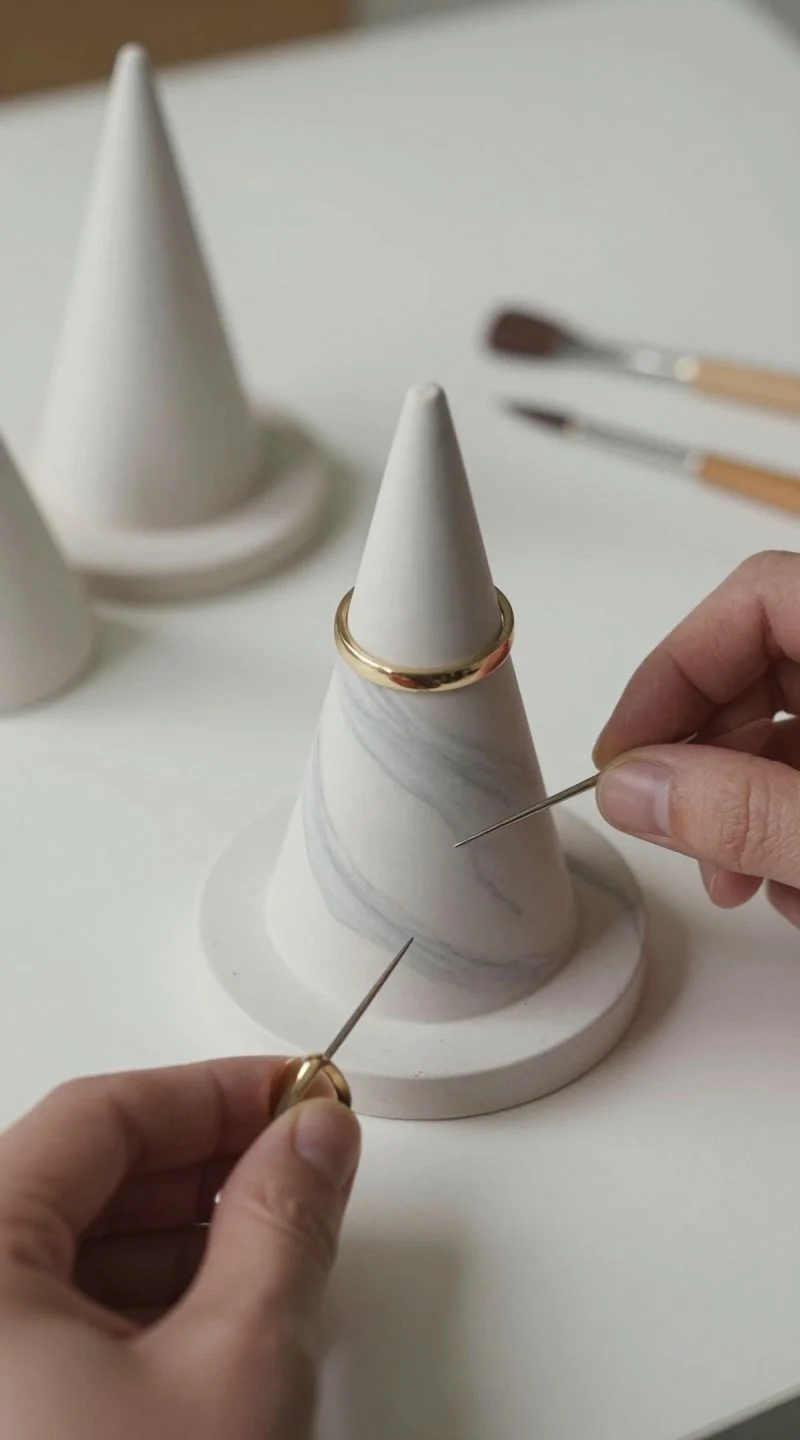
Give your rings a throne. Shape a cone, flatten the base, and smooth it like a pro.
- Size the cone to your largest ring for a universal fit.
- Marble two clay colors for subtle stone-like vibes.
Pro tip: Sand after drying, then seal with satin varnish for a ceramic look. It’s tidy, chic, and oh-so-giftable.
✨ New Member Etsy Shops (100% Unsponsored!)
We are incredibly proud of the talent in this community! 💖 We've rounded up some gorgeous new Etsy shops launched by our very own members.
There are ZERO affiliate links in this post—just 100% pure support for our makers. Click below to shop small, show them some love, and find your new favorite items! 👇🛍️


Conclusion
Air dry clay is the crafty friend who never flakes—easygoing, versatile, and always cute in photos. Start small, keep it thin, and seal the stars out of it. You’ll end up with pieces that are useful, giftable, and low-key addictive to make. Now go roll, pinch, and flex those creative muscles.