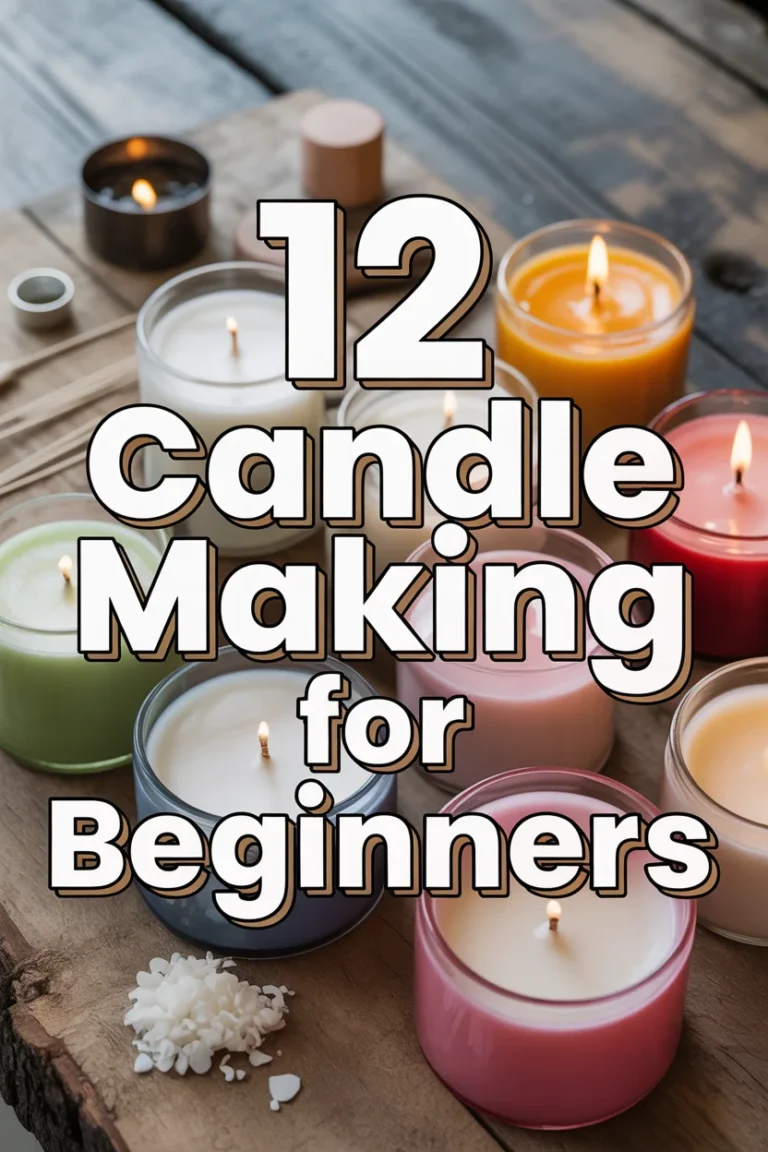
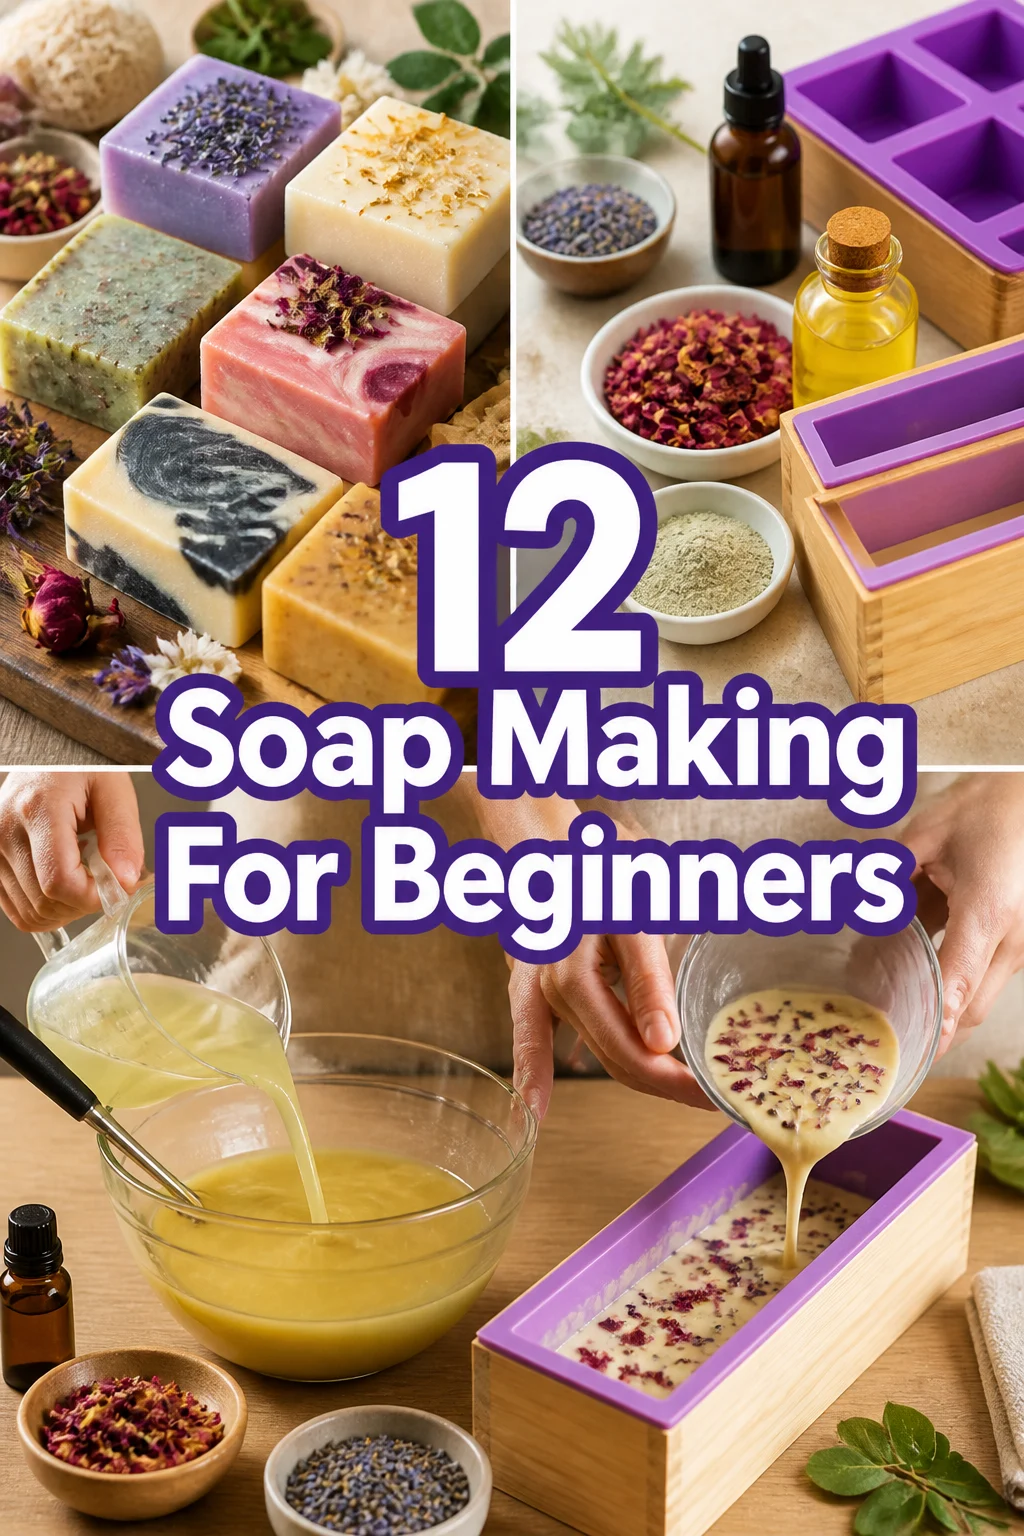
🧼 12 Soap Making For Beginners
🛠️ The Ultimate Maker's Toolkit
I've tested thousands of craft tools over the years. Whether you are quilting, crafting, or building mixed-media art, these are the top 5 absolute non-negotiable tools I personally recommend to guarantee professional results.
🪡 SINGER Heavy Duty 4452 Sewing Machine
The sewing community highly recommends this as the ultimate "bulletproof" entry-level machine. Its heavy metal frame powerfully pushes through thick denim and heavy quilt layers that would instantly jam a standard plastic machine.
✂️ Fiskars 8" Orange-Handled Scissors
Never settle for dull dollar-store blades. Wirecutter repeatedly names Fiskars the absolute best all-purpose craft scissor due to its legendary precision-ground blades and an ergonomic grip that prevents hand-cramping.
🔥 Gorilla Dual Temp Hot Glue Gun
Named Wirecutter's top choice because it literally does the work of two tools. It features dual-temperature settings offering low heat for delicate florals and blistering high heat for heavy wood adhesion repairs.
🖌️ Mod Podge Waterbase Gloss Sealer
The absolute undisputed champion of decoupage and paper crafts. Experts rely exclusively on this exact water-based formula because it glues, seals, and finishes beautifully without yellowing or flaking over time.
🎨 Apple Barrel Acrylic Paint (2 oz)
The quintessential, incredibly inexpensive craft paint. Woodworkers and hobby painters swear by its smooth flow and matte finish, providing massive value and remarkably thick color coverage on rough surfaces.
Soap making sounds like a high school chemistry project you barely passed, but it is actually the ultimate creative flex. You get to control exactly what goes on your skin while making your bathroom smell like a high-end spa instead of a damp basement. Forget those harsh store-bought bars that leave your skin feeling like parchment paper. We are diving into the world of suds and scents without the drama of lye burns or lab coats.
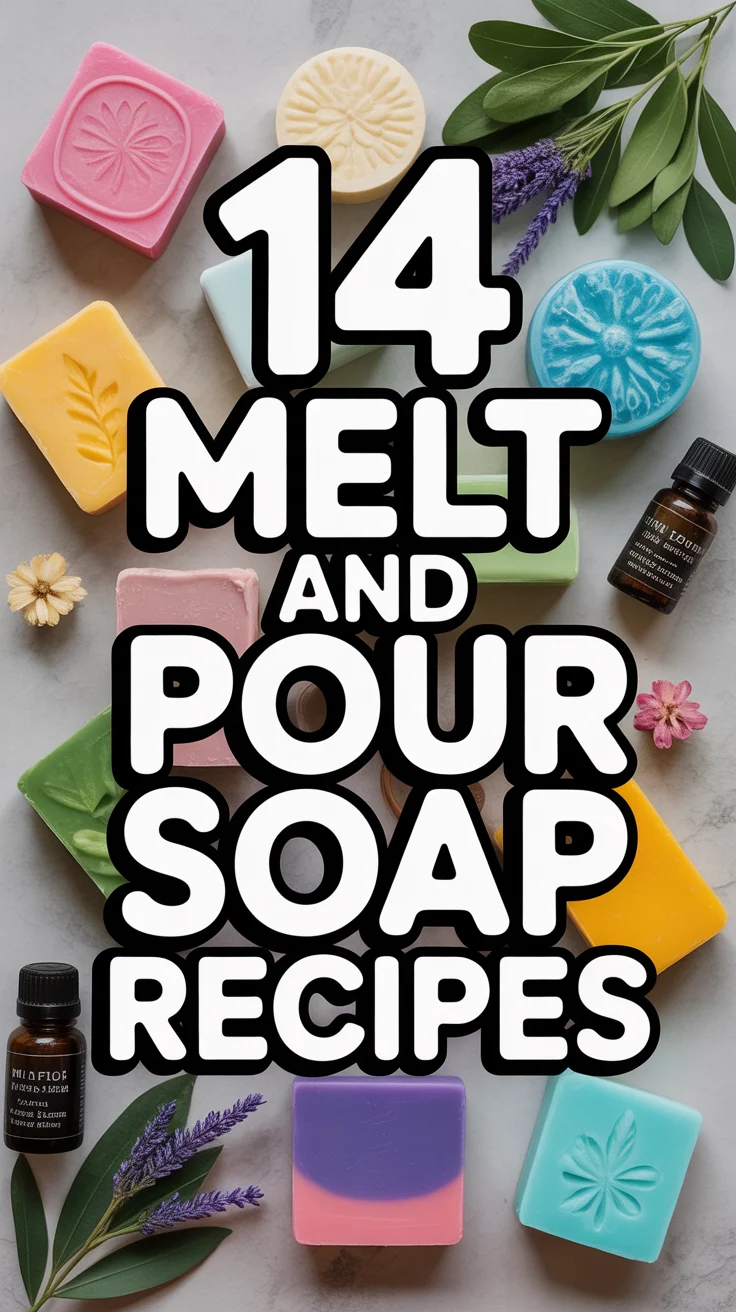
1. Melt and Pour Bases
This is the gateway drug of the soap world because it requires zero actual chemistry. You simply buy a pre-made glycerin base, melt it in the microwave, and pretend you did all the hard work. It is foolproof for anyone who struggles to boil an egg without a manual. Pro tip: use a microwave-safe glass bowl with a spout to avoid a massive cleanup later. This method works because it gives you instant gratification without the six-week wait time for curing.
2. Essential Oil Blends
Ditch the synthetic fragrances that smell like a taxi cab air freshener. Real essential oils like peppermint, cedarwood, or lavender give your soap a sophisticated scent profile that actually lingers. You can mix and match to create a signature scent that makes people ask why you smell so expensive. Pro tip: add your oils after the soap base cools slightly so the heat doesn’t evaporate your precious scents. Your shower experience just leveled up significantly.
3. Dried Botanical Toppings
Adding flowers makes your soap look like it belongs in a boutique in the Hamptons. Sprinkle some dried rose petals or calendula flowers onto the surface while the soap is still tacky. It adds a pop of color and a touch of nature to your sink-side aesthetic. Pro tip: keep the botanicals on the top surface only to prevent them from turning into brown mush inside the bar. It is the easiest way to trick people into thinking you are a professional artisan.
4. Goat Milk Base
If you want skin as soft as a cloud, the goat milk base is your best friend. It contains fats that moisturize your skin while you wash, making it perfect for the winter months. It creates a rich, creamy lather that feels much more luxurious than clear glycerin. Pro tip: spray the surface with a mist of rubbing alcohol to pop those annoying tiny bubbles. It leaves you with a smooth, professional finish every single time.
5. Natural Clay Colorants
Neon dyes are tacky, so use French pink clay or green zeolite instead. These powders provide gorgeous earthy tones while acting as a gentle detox for your pores. They don’t stain your washcloths or your bathtub, which is a major win for your cleaning schedule. Pro tip: mix the clay with a teaspoon of rubbing alcohol before adding it to the melted soap to prevent clumps. Nature provides the best colors anyway.
6. Silicone Molds
Stop trying to repurpose old Tupperware or milk cartons for your soap shapes. Silicone molds allow you to pop the finished bars out with a satisfying click and zero struggle. They come in every shape from basic rectangles to intricate geometric patterns. Pro tip: place your mold on a sturdy cookie sheet before pouring so you can move it to the fridge without a disaster. This keeps your kitchen counters clean and your soap shapes perfect.
7. Layering Techniques
Creating stripes in your soap makes you look like a master crafter with way too much free time. Pour one color, let it form a skin, and then pour a second contrasting color on top. It creates a visual depth that makes each bar look like a piece of modern art. Pro tip: scratch the surface of the first layer with a fork before pouring the second to ensure they bond together. It adds a serious “wow” factor to your guest bathroom.
8. Coffee Ground Exfoliants
Your morning caffeine habit can actually help your skin. Mix used coffee grounds into your soap base to create a heavy-duty scrub that removes dead skin cells. It is especially great for getting stubborn kitchen smells like garlic off your hands. Pro tip: don’t use more than a tablespoon per bar or you will end up feeling like you are washing with sandpaper. It is the ultimate recycling hack for a sustainable lifestyle.
9. Clear Glycerin Windows
Using a clear glycerin base allows you to embed objects inside the soap for a 3D effect. You can put small toys for kids or dried citrus slices for a fresh, summer vibe. It looks incredibly cool when the light hits the bar in the shower. Pro tip: pour in thin stages to keep your embeds from sinking to the bottom of the mold. It turns a functional item into a conversation piece.
10. Raw Honey Additives
Stirring in a spoonful of raw honey adds a natural humectant to your soap. This means it helps your skin retain moisture instead of stripping it away. It also gives the soap a warm, golden hue and a subtle sweet scent. Pro tip: stir the honey in thoroughly while the base is hot to ensure it doesn’t settle in a sticky lump. Your skin will thank you for the extra hydration.
11. Loofah Slices
You can actually put the scrubber inside the soap by slicing a natural loofah and placing it in the mold. As you use the soap, the loofah is revealed, providing a built-in exfoliation tool. It is efficient, clever, and looks very “spa-day.” Pro tip: pour the soap slowly to ensure the liquid fills all the tiny holes in the loofah sponge. It makes your morning routine much more productive.
12. Minimalist Packaging
The soap making process isn’t finished until you wrap it up. Use brown kraft paper and some simple twine to give your bars a rustic, expensive look. It hides any small imperfections on the edges and makes them ready for gifting. Pro tip: include a small tag listing the ingredients so people know exactly what they are using. Even a mediocre batch looks amazing in the right packaging.
✨ New Member Etsy Shops (100% Unsponsored!)
We are incredibly proud of the talent in this community! 💖 We've rounded up some gorgeous new Etsy shops launched by our very own members.
There are ZERO affiliate links in this post—just 100% pure support for our makers. Click below to shop small, show them some love, and find your new favorite items! 👇🛍️


Conclusion
You are now officially ready to turn your kitchen into a mini soap factory. This hobby is the perfect mix of practical and creative, plus you never have to buy a boring gift again. Just remember that even if your first batch looks a little wonky, it still gets you clean. Grab your supplies and start sudsing up because your skin deserves better than the basic stuff.