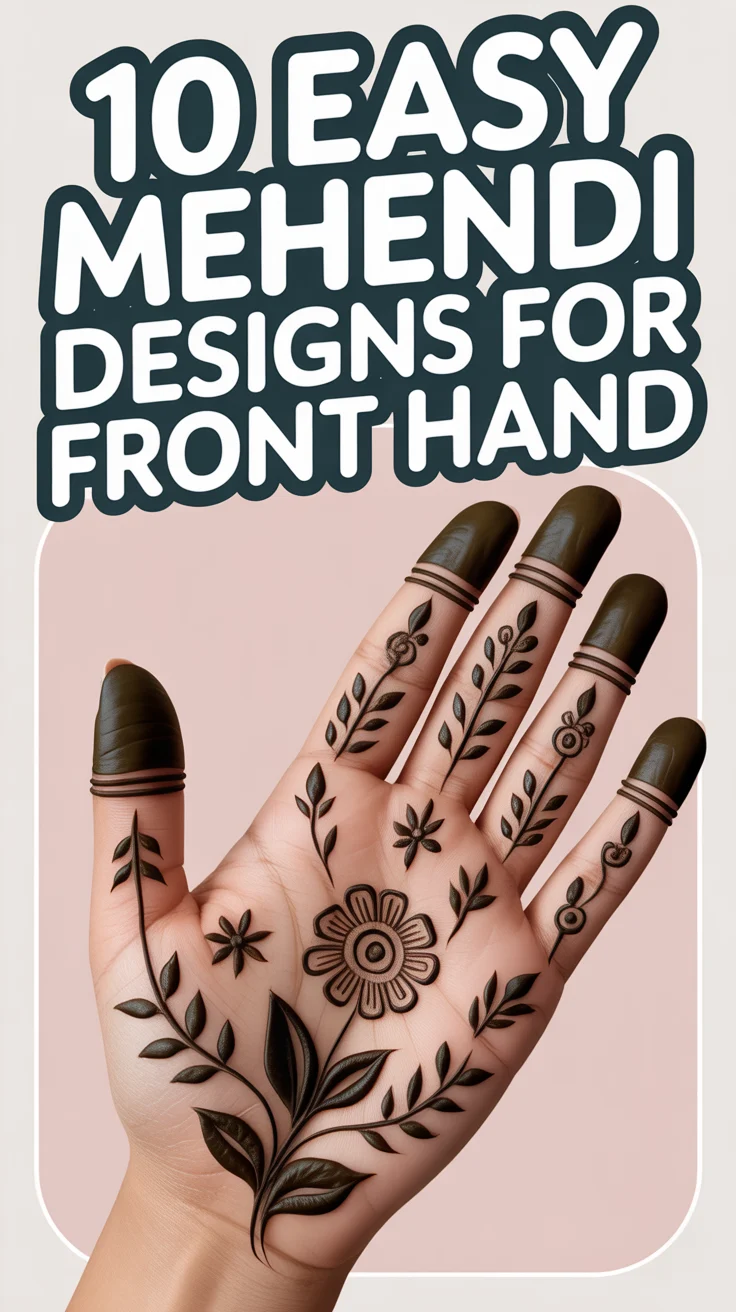
✨ 15 Simple Henna Designs Easy
🛠️ The Ultimate Maker's Toolkit
I've tested thousands of craft tools over the years. Whether you are quilting, crafting, or building mixed-media art, these are the top 5 absolute non-negotiable tools I personally recommend to guarantee professional results.
🪡 SINGER Heavy Duty 4452 Sewing Machine
The sewing community highly recommends this as the ultimate "bulletproof" entry-level machine. Its heavy metal frame powerfully pushes through thick denim and heavy quilt layers that would instantly jam a standard plastic machine.
✂️ Fiskars 8" Orange-Handled Scissors
Never settle for dull dollar-store blades. Wirecutter repeatedly names Fiskars the absolute best all-purpose craft scissor due to its legendary precision-ground blades and an ergonomic grip that prevents hand-cramping.
🔥 Gorilla Dual Temp Hot Glue Gun
Named Wirecutter's top choice because it literally does the work of two tools. It features dual-temperature settings offering low heat for delicate florals and blistering high heat for heavy wood adhesion repairs.
🖌️ Mod Podge Waterbase Gloss Sealer
The absolute undisputed champion of decoupage and paper crafts. Experts rely exclusively on this exact water-based formula because it glues, seals, and finishes beautifully without yellowing or flaking over time.
🎨 Apple Barrel Acrylic Paint (2 oz)
The quintessential, incredibly inexpensive craft paint. Woodworkers and hobby painters swear by its smooth flow and matte finish, providing massive value and remarkably thick color coverage on rough surfaces.
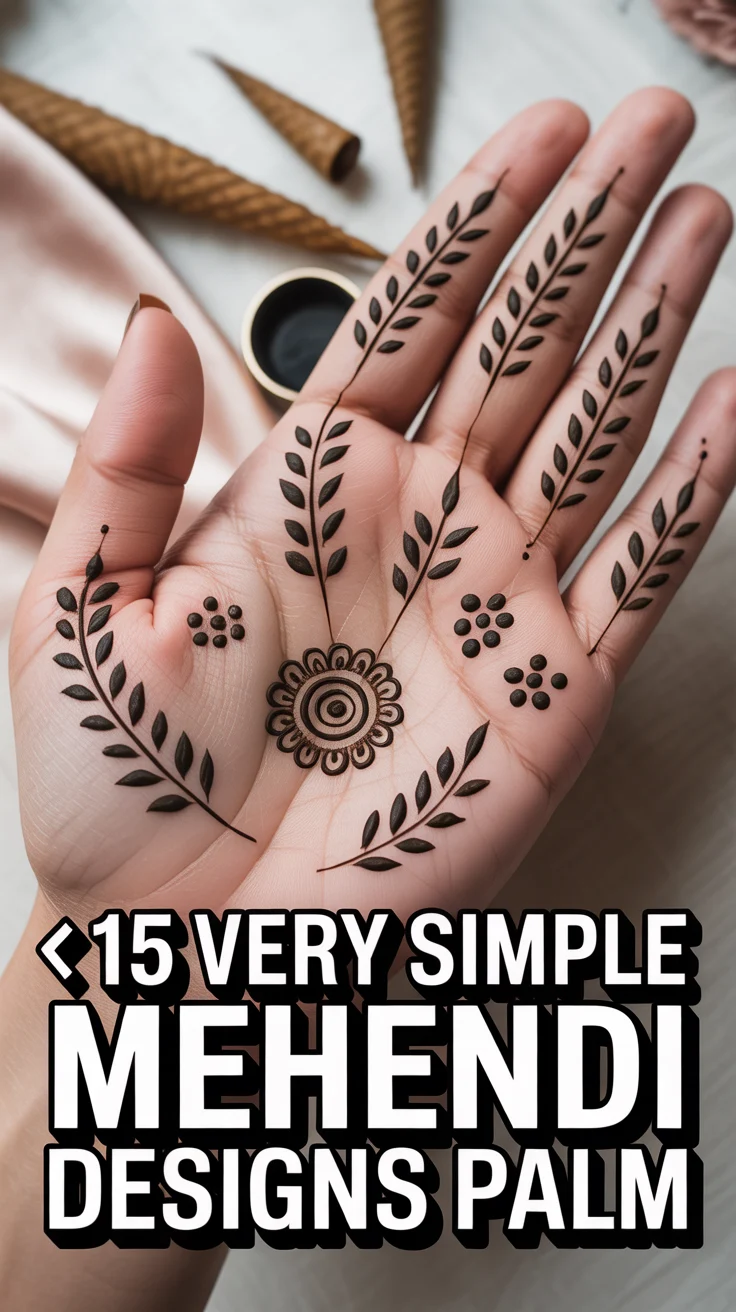
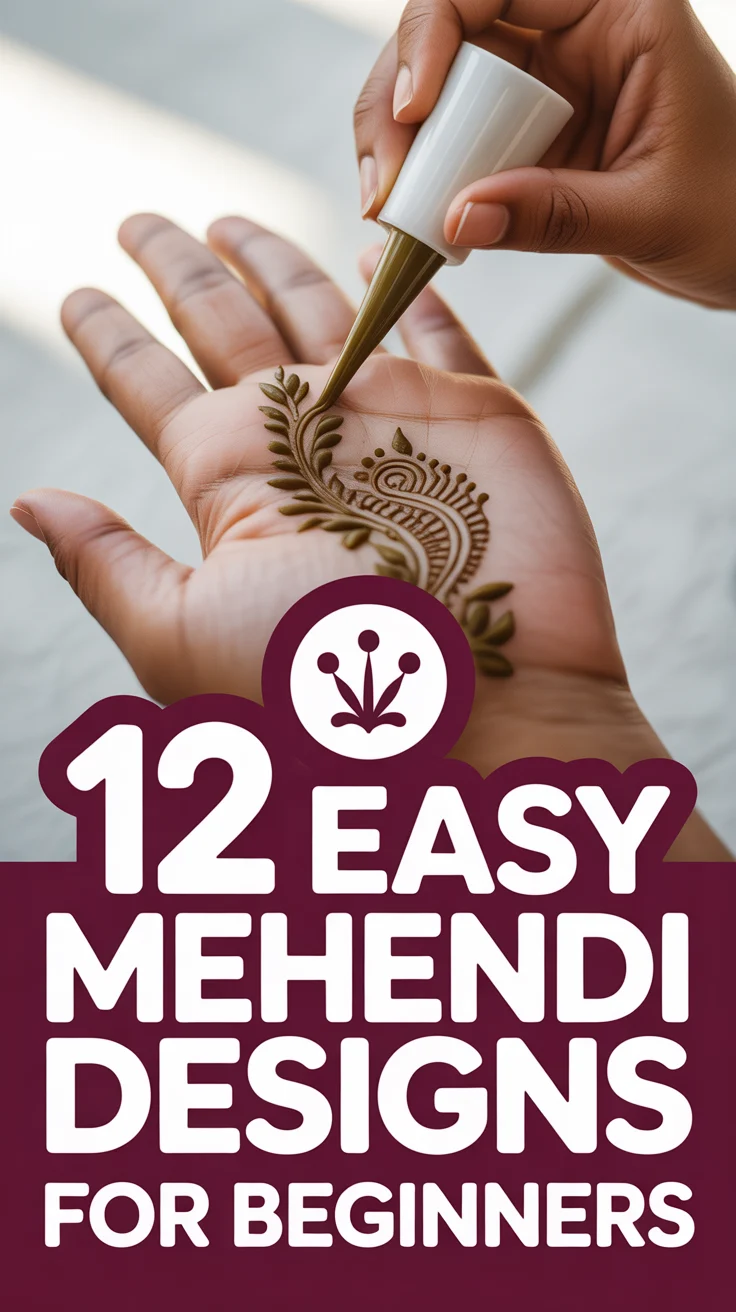
Okay, real talk. Ever scrolled through Insta and seen those utterly gorgeous henna hands, then immediately thought, “Ugh, too hard for my non-artistic self”? Been there, bought the T-shirt. But guess what, my trend-setting friend? Henna isn’t just for the pros with decades of practice. There’s a whole world of simple henna designs easy enough for even us mere mortals to rock.
Forget the intricate bridal patterns for a sec. We’re talking about those effortlessly chic, minimalist vibes that scream “I woke up like this” (even if you spent a solid 15 minutes perfecting that dot). So, grab your cone, maybe a friend for moral support, and let’s dive into some seriously achievable henna magic that’ll have everyone asking, “Where’d you get that done?”

1. Tiny Dots & Dashes
This is literally the gateway drug to henna addiction. Think of it as controlled chaos, but make it fashion. You’re just placing small dots and short dashes in a pleasing pattern, maybe along a finger or the wrist.
The beauty here is its forgiving nature. A slightly wobbly line just adds to the organic charm. Pro tip: Practice your dot pressure on a piece of paper first to get that perfect little pearl of henna. It works because it’s impossible to mess up a tiny dot.
2. Single Finger Stripe
Channel your inner minimalist with this super sleek design. Pick one finger, usually the middle or ring finger, and draw a straight line from the base to just below the nail. You can keep it thin or make it a bit bolder.
This design is incredibly chic and gives off major “I know what I’m doing” vibes without actually requiring much skill. Pro tip: Use a ruler or the edge of a card for a super crisp line if you’re feeling extra precise. It works because it’s clean, modern, and totally understated.
3. Wristband Bracelet
Who needs actual jewelry when your skin can be the canvas? A simple band around your wrist is a classic for a reason. You can do a single thick line, or two thinner parallel lines for a layered look.
This design is fantastic for beginners because you’re working on a relatively flat, accessible surface. It’s like drawing on a piece of paper, but way cooler. Pro tip: Keep your hand steady by resting your elbow on a table. It works because it’s a timeless accessory that needs zero effort.
4. Mini Mandala Dot
Don’t let the word “mandala” scare you. We’re talking mini. Start with a central dot, then draw one or two simple rings of dots or tiny scallops around it. Place it on the back of your hand or on your palm.
This creates a surprisingly intricate look with very little effort. It’s all about building outwards from a central point. Pro tip: Let each layer dry for a minute before adding the next to prevent smudging. It works because it looks complex but is deceptively simple.
5. Leafy Vine Trail
Embrace nature with a delicate vine. Draw a wavy line up your finger or across your hand, then add small, simple leaf shapes branching off it. Think simple teardrops or ovular shapes.
This design is wonderfully organic and forgiving. No need for perfectly uniform leaves; a little variation adds to its charm. Pro tip: Keep the leaves small and spaced out to avoid a cluttered look. It works because it’s naturally beautiful and flows easily.
6. Petite Floral Bloom
Who doesn’t love a tiny flower? Draw a small circle for the center, then add five or six simple petals around it. You can place this just about anywhere, like the back of your hand or near your wrist.
A small flower is super cute and instantly adds a touch of sweetness. It’s a classic motif for a reason, always a crowd-pleaser. Pro tip: Don’t overthink the petals; imperfect ones look just as lovely. It works because it’s universally adored and simple to execute.
7. Geometric Triangle
For those who prefer sharp lines over soft curves, a simple triangle is your go-to. Draw one clean triangle on the back of your hand or even a smaller one on a fingertip. You can leave it open or fill it in.
This design is modern, edgy, and looks incredibly intentional. It’s all about those straight lines, which are easier than you think. Pro tip: Use the side of your cone for straighter lines, dragging it gently. It works because it’s bold, contemporary, and gets straight to the point.
8. Heart Outline
Spread some love with a simple heart outline. This iconic shape is instantly recognizable and always adorable. Place it on your wrist, the base of a finger, or even on your ankle.
A heart is incredibly sweet and a fantastic way to practice your curves without too much pressure. Everyone loves a heart, right? Pro tip: Draw one half, then mirror it for a more symmetrical shape. It works because it’s a timeless symbol that’s surprisingly easy to draw.
9. Ankle Chain
Hello, summer vibes. A simple line or a series of dots forming a delicate “chain” around your ankle is pure magic. It’s understated but adds a touch of bohemian chic to any look.
This spot is great for beginners because it’s less visible than your hands, so you can practice without feeling self-conscious. Plus, it looks amazing with sandals. Pro tip: Have a friend help you with the back if you’re not super flexible. It works because it’s a subtle statement for sunny days.
10. Finger Tip Dip
This one is literally as easy as it sounds. You just “dip” the very tips of your fingers in henna, creating a solid block of color on the first segment. It’s bold, it’s dramatic, and it’s zero fuss.
It’s the quickest way to get a significant henna look without any intricate drawing. Perfect for when you’re short on time but want maximum impact. Pro tip: Use masking tape to create a super crisp line if you want that perfectly straight edge. It works because it’s high impact for minimal effort.
11. Star Cluster
Reach for the stars, quite literally. Draw a few small, simple star outlines scattered across the back of your hand or along your collarbone. They don’t have to be perfect; a little asymmetry adds character.
Stars are playful, whimsical, and incredibly charming. They add a touch of sparkle without requiring advanced drawing skills. Pro tip: Start with a central dot, then draw four lines radiating out, connecting them to form the points. It works because it’s fun, dreamy, and simple to freehand.
12. Simple Crescent Moon
Embrace your mystical side with a delicate crescent moon. Draw a curved line, then draw another parallel curve that meets the first at both ends. You can fill it in or leave it as an outline.
This design is elegant, serene, and surprisingly easy to achieve with just two curved lines. It looks beautiful on the wrist or back of the hand. Pro tip: Practice drawing smooth curves on paper first to get a feel for the cone. It works because it’s gracefully simple and universally enchanting.
13. Dot Grid
A grid of dots might sound basic, but trust us, it looks incredibly cool. Arrange small, evenly spaced dots in rows and columns on the back of your hand or forearm. It creates a modern, almost pixelated effect.
This design is all about precision with repetition, which is actually easier than trying to draw complex shapes. It’s minimalist perfection. Pro tip: Mark out your first few dots lightly with a pencil if you want perfect spacing, then go over them with henna. It works because it’s systematic, stylish, and satisfying to create.
14. Palm Swirl
One big, bold swirl in the center of your palm makes a statement. Start in the middle and slowly spiral outwards. You can keep it as a simple line or make the line thicker as it spirals.
This design is wonderfully expressive and allows for a lot of freedom. It’s less about perfect symmetry and more about fluid movement. Pro tip: Don’t lift your cone too much while swirling to keep the line continuous. It works because it’s dramatically simple and feels super organic.
15. Minimalist Arrow
Point yourself in the right direction with a simple arrow. Draw a straight line, then add two short diagonal lines at one end to form the arrowhead. Place it running up a finger, along your wrist, or on your forearm.
An arrow is clean, modern, and carries a cool, symbolic meaning. It’s incredibly easy to draw and looks effortlessly stylish. Pro tip: Keep your lines crisp and the arrowhead proportionate to the shaft for the best look. It works because it’s sleek, meaningful, and incredibly straightforward.
✨ New Member Etsy Shops (100% Unsponsored!)
We are incredibly proud of the talent in this community! 💖 We've rounded up some gorgeous new Etsy shops launched by our very own members.
There are ZERO affiliate links in this post—just 100% pure support for our makers. Click below to shop small, show them some love, and find your new favorite items! 👇🛍️


Conclusion
See? We told you. Henna isn’t just for the masters. These simple henna designs easy enough to tackle will have you feeling like a total artist, even if your usual drawing skills extend to stick figures. So go forth, experiment, and get ready to show off your effortlessly cool, temporary body art. Your hands (and Insta feed) will thank you. Now, which one are you trying first?