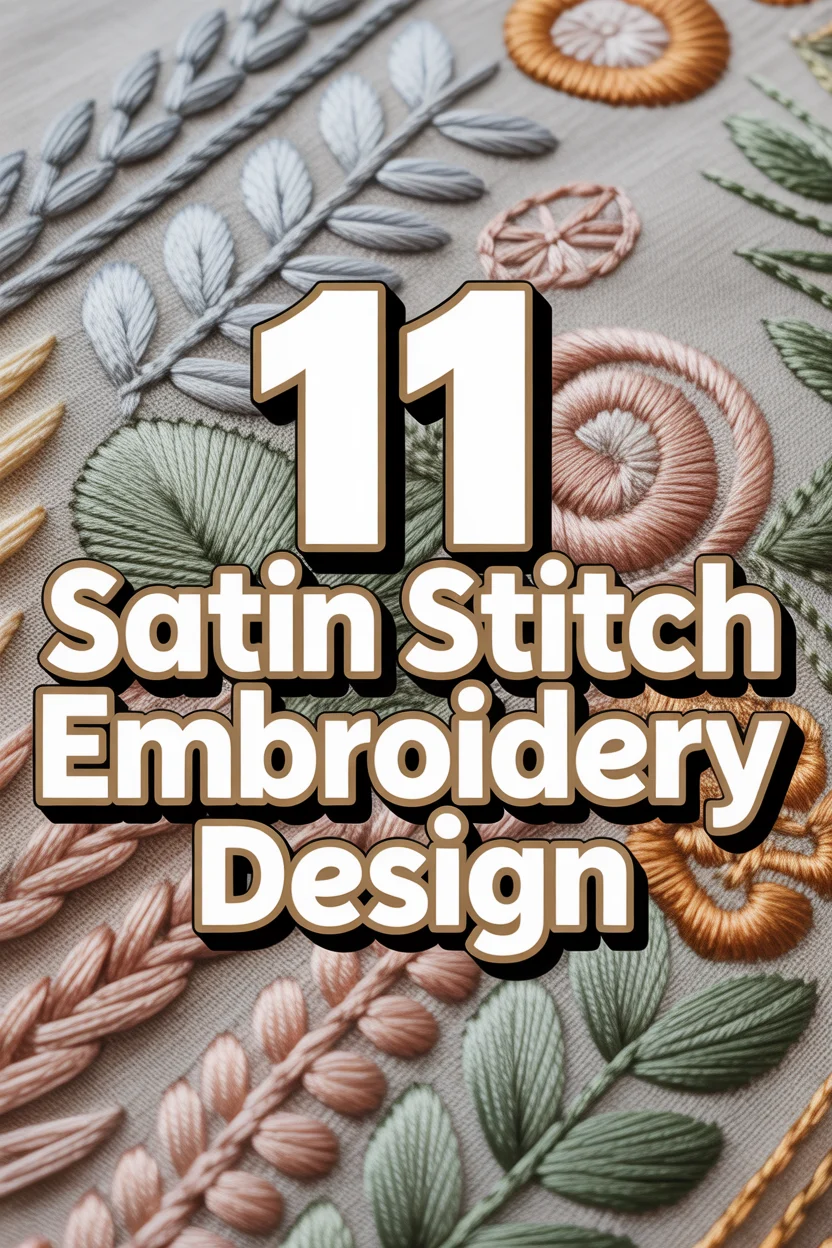
🧵 11 Satin Stitch Embroidery Design
🛠️ The Ultimate Maker's Toolkit
I've tested thousands of craft tools over the years. Whether you are quilting, crafting, or building mixed-media art, these are the top 5 absolute non-negotiable tools I personally recommend to guarantee professional results.
🪡 SINGER Heavy Duty 4452 Sewing Machine
The sewing community highly recommends this as the ultimate "bulletproof" entry-level machine. Its heavy metal frame powerfully pushes through thick denim and heavy quilt layers that would instantly jam a standard plastic machine.
✂️ Fiskars 8" Orange-Handled Scissors
Never settle for dull dollar-store blades. Wirecutter repeatedly names Fiskars the absolute best all-purpose craft scissor due to its legendary precision-ground blades and an ergonomic grip that prevents hand-cramping.
🔥 Gorilla Dual Temp Hot Glue Gun
Named Wirecutter's top choice because it literally does the work of two tools. It features dual-temperature settings offering low heat for delicate florals and blistering high heat for heavy wood adhesion repairs.
🖌️ Mod Podge Waterbase Gloss Sealer
The absolute undisputed champion of decoupage and paper crafts. Experts rely exclusively on this exact water-based formula because it glues, seals, and finishes beautifully without yellowing or flaking over time.
🎨 Apple Barrel Acrylic Paint (2 oz)
The quintessential, incredibly inexpensive craft paint. Woodworkers and hobby painters swear by its smooth flow and matte finish, providing massive value and remarkably thick color coverage on rough surfaces.
Alright, stitch wizards and fabric fanatics! Ever stared at a piece of embroidery and wondered, “How did they get it so ridiculously smooth?” Chances are, you’re gazing upon the glorious satin stitch. It’s the Beyoncé of embroidery stitches – flawless, a little extra, and absolutely worth the effort. Some folks think it’s tricky, but honestly, it just wants a little patience and a whole lotta love. We’re here to spill the tea on 11 ways to make this stitch your new bestie, turning your fabric into a masterpiece of silky perfection.
1. Monograms and Initials
Want to add a touch of fancy without going full Victorian? Satin stitch is your go-to for making letters pop. Think crisp, clean lines and a luxurious fill that screams ‘bespoke’ without the bespoke price tag.
This stitch makes even the simplest initial look incredibly polished. Choose a chunky font style to really show off that smooth texture. It’s perfect for personalizing gifts or adding a sophisticated touch to your own items.
Pro tip: Use a single strand of floss for smaller letters to maintain definition, or multiple strands for a bolder, puffier effect on larger ones. It’s all about playing with dimension, darling.
Seriously, nothing says ‘I put thought into this’ quite like a beautifully stitched monogram. It’s elegant, classic, and always in style.
2. Smooth Floral Petals and Leaves
Forget scratchy textures; with satin stitch, your flowers will look like they belong in a botanical illustration. This stitch is ideal for creating petals and leaves that have a natural, flowing feel.
Imagine roses with petals so smooth they almost look painted, or leaves with a realistic sheen. You can even play with subtle color variations within a single petal for a gorgeous gradient effect.
Here’s a little secret: Work your stitches from the outside edge towards the center or vice versa, keeping them close and even for that seamless finish. A little practice makes perfect, trust us.
Your garden will thank you for this level of detail. It brings a whole new level of artistry to your floral designs.
3. Crisp Geometric Shapes
Who said embroidery can’t be modern and chic? Satin stitch is excellent for filling in geometric shapes with precision. Triangles, squares, circles – they all look incredibly sharp and contemporary.
This is where your inner perfectionist can truly shine. The goal is super straight edges and a perfectly even fill. Think bold, graphic statements for a minimalist vibe.
Top tip for this one: Outline your shape first with a tiny backstitch or split stitch. This gives you a clear boundary to stitch up against, making those edges razor-sharp.
It’s surprisingly satisfying to complete a perfect geometric shape. Talk about clean lines and good vibes.
4. Simple Silhouettes
Sometimes less is more, especially when you’re going for impact. Use satin stitch to fill in simple animal or object silhouettes for a bold, graphic look that really stands out.
Think a sleek cat outline, a tiny bird, or a minimalist mountain range. The solid color fill gives these designs a striking presence on any fabric. It’s a statement without being over-the-top.
For best results, keep your stitches running in the same direction across the entire silhouette. This ensures a uniform, smooth surface that catches the light beautifully.
These designs are quick wins and look incredibly sophisticated. Hello, instant art!
5. Small Fill Areas (Hearts, Stars, Dots)
New to satin stitch or just need a quick dose of embroidery therapy? Tackle tiny shapes like hearts, stars, or simple dots. They’re fantastic for practice and add charming little details.
These small areas build confidence and help you master the tension and direction of your stitches. Plus, they’re adorable accents for clothing, accessories, or even larger projects.
A neat trick: Start your stitches from the center of the shape and work outwards, or from one side to the other. Just make sure those stitches are snug but not pulling your fabric.
You’ll be surprised how much joy a perfectly stitched tiny heart can bring. It’s the small things, right?
6. Abstract Swirls and Curves
Let your creative spirit soar with abstract designs filled with satin stitch. This technique beautifully emphasizes flowing lines and organic shapes, making them pop with texture.
Imagine intricate swirls that mimic brushstrokes or elegant curves that lead the eye across your fabric. The smooth finish makes these abstract pieces feel incredibly sophisticated and artful.
When tackling curves, make sure your stitches radiate outwards from a central point or follow the curve’s natural flow. This keeps everything looking seamless and intentional.
Your fabric becomes a canvas for movement and grace. Who knew thread could be so poetic?
7. Food Illustrations (Fruits, Candies)
Craving some stitch-able snacks? Satin stitch is perfect for making food items look smooth, plump, and utterly delicious. Think shiny apples, ripe berries, or perfectly smooth candies.
The stitch’s ability to create a seamless surface is ideal for mimicking the skin of a fruit or the glossy wrapper of a sweet treat. These designs are often vibrant and super fun to create.
For that extra juicy effect, try using a very subtle gradient of two similar colors within your satin stitch. It adds depth and makes your stitches look good enough to eat.
Warning: May cause sudden cravings. Your embroidery has never looked so appetizing.
8. Cartoon Characters
Bring your favorite animated pals to life with the magic of satin stitch. It’s fantastic for filling in the block colors and simple shapes that define many cartoon styles.
Think bold outlines and solid, smooth color fills for eyes, noses, or entire character bodies. The result is a vibrant, clean look that perfectly captures that animated charm.
A handy tip: If your character has multiple color areas, complete one color block fully before moving to the next. This helps keep your edges tidy and prevents colors from bleeding into each other visually.
Your fabric will be brimming with personality. Get ready for some serious character development.
9. Bold Text and Lettering
Beyond just initials, satin stitch can make entire words or short phrases stand out like nobody’s business. This is your chance to really make a statement with your stitched sentiments.
Choose a bold, blocky font to maximize the smooth, full coverage of the satin stitch. It looks fantastic for quotes, names, or even just a single powerful word.
To keep your text looking super sharp, ensure your stitches are parallel and consistent across each letter. This uniformity is key to that polished, professional finish.
Your words will literally pop off the fabric. Talk about making an impression.
10. Mini Landscapes (Sky, Water, Fields)
Create serene scenes with the smooth, flowing magic of satin stitch. It’s brilliant for depicting elements like a calm sky, reflective water, or expansive fields with a soft, blended look.
Imagine a tranquil blue sky or a placid lake, all rendered with seamless color. The smooth texture of the satin stitch lends itself perfectly to natural, flowing elements in a landscape.
For a realistic effect, try blending colors by alternating threads as you stitch. This creates a beautiful, subtle transition, especially effective for skies at dusk or rippling water.
You’re basically painting with thread. Your tiny world will look incredibly peaceful and inviting.
11. Shiny Objects (Gems, Metallic Effects)
Want to add some serious sparkle without using actual glitter? Satin stitch can mimic the smooth, reflective surface of jewels, metals, or glass. It’s all about how you use color and light.
Think about diamonds, polished gold, or even chrome. By carefully placing different shades of a color – from dark to light – you can create the illusion of a shiny, three-dimensional object.
The secret sauce here is strategic color placement and direction of your stitches to suggest facets and reflections. It’s a bit like pixel art but with thread, creating a dazzling effect.
Your embroidery will literally gleam. Get ready to add some serious bling to your fabric art.
✨ New Member Etsy Shops (100% Unsponsored!)
We are incredibly proud of the talent in this community! 💖 We've rounded up some gorgeous new Etsy shops launched by our very own members.
There are ZERO affiliate links in this post—just 100% pure support for our makers. Click below to shop small, show them some love, and find your new favorite items! 👇🛍️


Conclusion
So there you have it, folks – 11 epic ways to make the satin stitch your personal embroidery superpower. From slick monograms to shimmering fruit, this stitch is your ticket to a world of smooth, luxurious texture. Don’t be shy; grab your hoop, pick your favorite idea, and let that floss flow. Your next project is about to get a serious glow-up, and honestly, we’re already obsessed with what you’ll create.