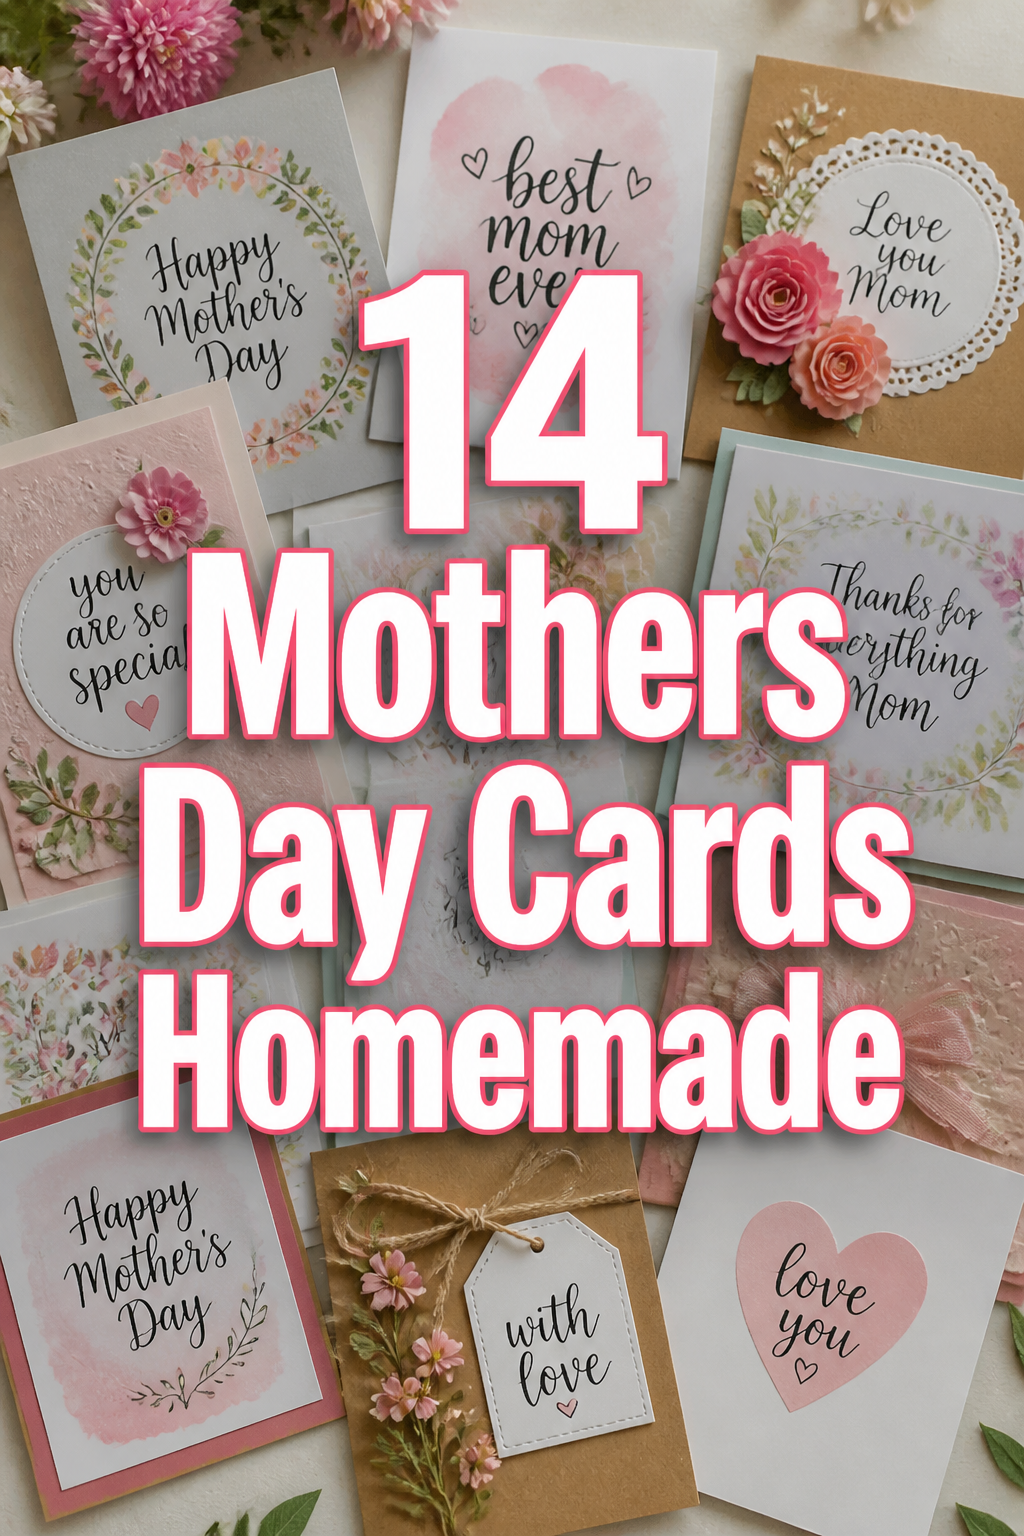
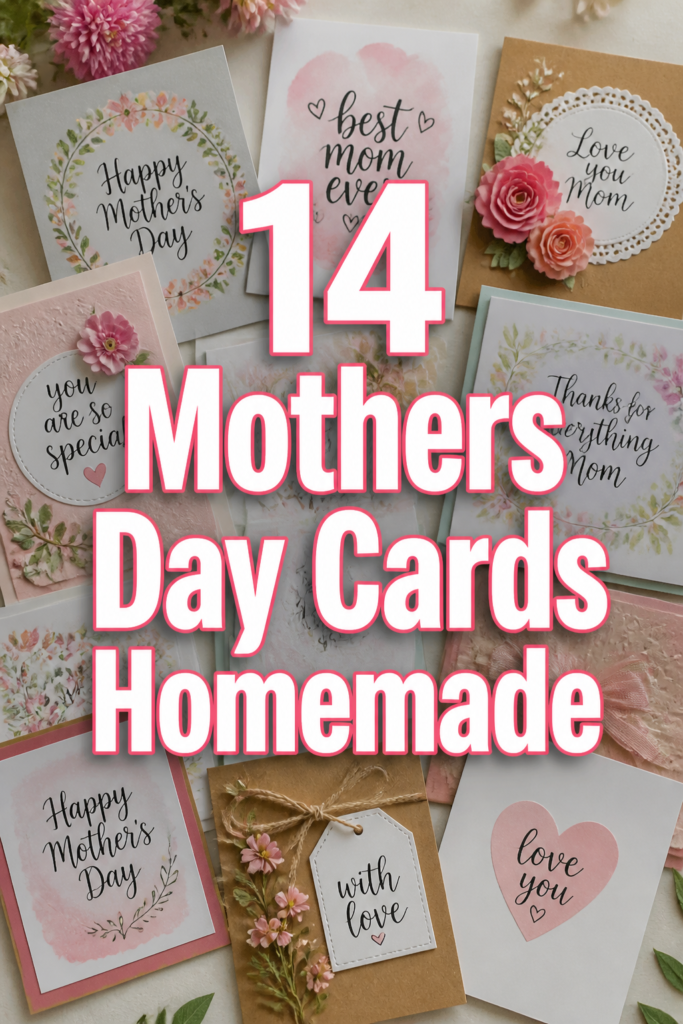
🌸 14 Mothers Day Cards Homemade
🛠️ The Ultimate Maker's Toolkit
I've tested thousands of craft tools over the years. Whether you are quilting, crafting, or building mixed-media art, these are the top 5 absolute non-negotiable tools I personally recommend to guarantee professional results.
🪡 SINGER Heavy Duty 4452 Sewing Machine
The sewing community highly recommends this as the ultimate "bulletproof" entry-level machine. Its heavy metal frame powerfully pushes through thick denim and heavy quilt layers that would instantly jam a standard plastic machine.
✂️ Fiskars 8" Orange-Handled Scissors
Never settle for dull dollar-store blades. Wirecutter repeatedly names Fiskars the absolute best all-purpose craft scissor due to its legendary precision-ground blades and an ergonomic grip that prevents hand-cramping.
🔥 Gorilla Dual Temp Hot Glue Gun
Named Wirecutter's top choice because it literally does the work of two tools. It features dual-temperature settings offering low heat for delicate florals and blistering high heat for heavy wood adhesion repairs.
🖌️ Mod Podge Waterbase Gloss Sealer
The absolute undisputed champion of decoupage and paper crafts. Experts rely exclusively on this exact water-based formula because it glues, seals, and finishes beautifully without yellowing or flaking over time.
🎨 Apple Barrel Acrylic Paint (2 oz)
The quintessential, incredibly inexpensive craft paint. Woodworkers and hobby painters swear by its smooth flow and matte finish, providing massive value and remarkably thick color coverage on rough surfaces.
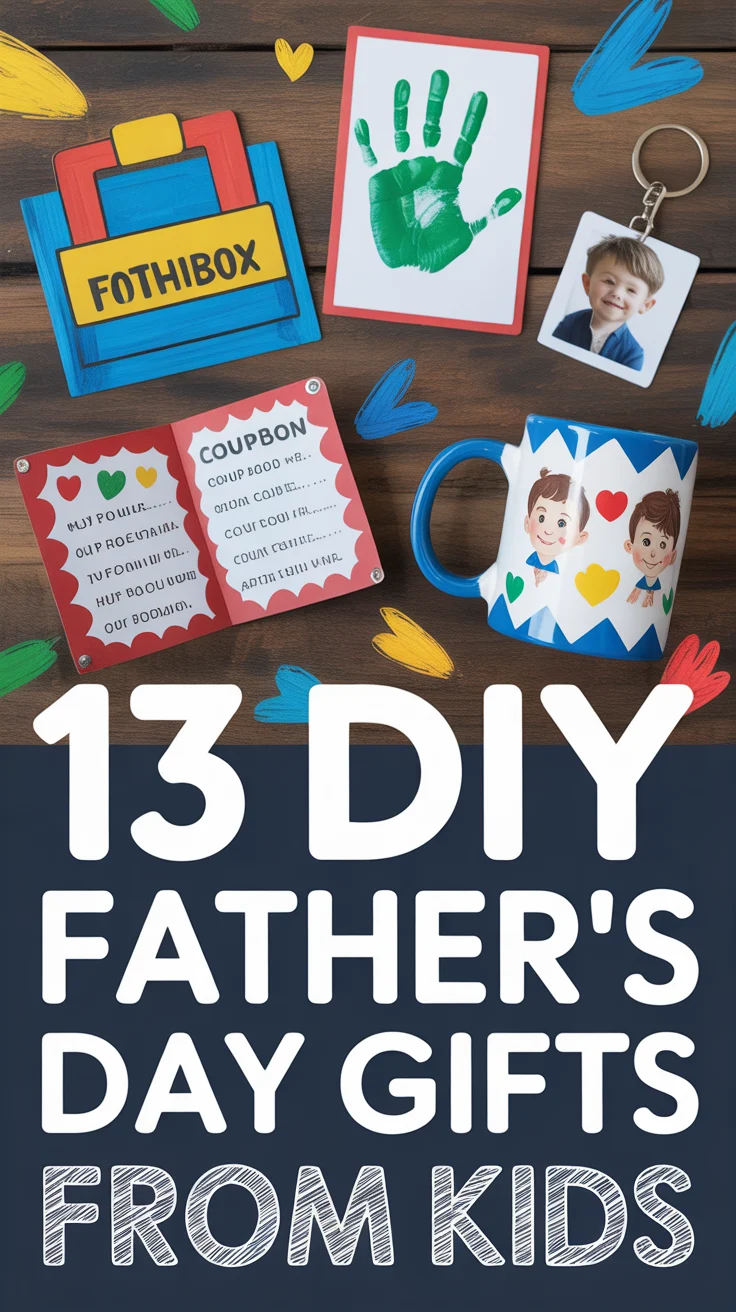
You probably realized Mother’s Day is tomorrow and your current gift situation looks bleak.
Store-bought cards feel impersonal and usually cost more than a fancy latte.
Check out these DIY ideas that make you look like the favorite child without breaking your bank account.
1. Pressed Flower Masterpiece
- Best For: Nature lovers
- Vibe: Cottagecore and elegant
- Why it works: Real flowers show you actually planned ahead for once.
Grab some wildflowers or a few petals from a grocery store bouquet. Flatten them between heavy books for a few days before gluing them onto heavyweight cardstock.
The organic textures create a high-end look that belongs in a boutique. Use a fine-liner pen to write a sweet note around the edges of the blooms.
Pro Tip: Use a microwave flower press if you forgot to dry them weeks ago and need results in sixty seconds.
2. Watercolor Abstract Design
- Best For: People who cannot draw a straight line
- Vibe: Artistic and modern
- Why it works: Mistakes just look like intentional design choices.
Wet your watercolor paper first and drop pastel pigments onto the surface. Let the colors bleed together naturally to create a dreamy, ethereal background.
Once it dries, use a gold metallic marker to write a simple message over the top. This technique costs pennies but looks like a gallery piece.
Pro Tip: Use painter’s tape to create a crisp white border around the edges of your card.
3. 3D Pop Up Heart
- Best For: Overachievers
- Vibe: Playful and surprising
- Why it works: It provides an interactive experience that stands out on the mantel.
Cut several identical heart shapes out of vibrant red paper. Fold them in half and glue the backs together to create a honeycomb effect.
Secure the assembly to the center fold of your card base. When she opens it, the heart springs to life in a burst of color.
Pro Tip: Use double-sided tape instead of liquid glue to prevent the paper from warping.
4. Polaroid Memory Card
- Best For: Nostalgia junkies
- Vibe: Retro and personal
- Why it works: Photos carry way more emotional weight than generic illustrations.
Mount an Instax photo or a printed square picture onto the front of a kraft paper card. Use patterned washi tape on the corners to give it a scrapbook feel.
Write a specific memory from that photo inside the card. This turns a simple greeting into a keepsake she will actually keep in a drawer forever.
Pro Tip: Write the date and location of the photo underneath the image in messy cursive.
5. Handprint Sun Art
- Best For: Parents with messy toddlers
- Vibe: Sweet and sentimental
- Why it works: Grandmas legally cannot throw away anything with a handprint on it.
Paint a child’s hand with bright yellow acrylic paint and press it onto white cardstock. Draw a smiley face in the center of the palm to turn it into a sun.
Add a cheesy pun like You are my sunshine to finish the look. It takes five minutes and guarantees a few happy tears.
Pro Tip: Keep baby wipes nearby because that yellow paint will end up on your sofa otherwise.
6. Embroidered Paper Card
- Best For: Crafty types with patience
- Vibe: Tactile and sophisticated
- Why it works: Texture makes the card feel much more expensive than it is.
Lightly sketch a simple shape like a flower or a heart with a pencil. Use a thick needle to pre-punch holes along the lines before sewing with embroidery floss.
The colorful thread adds a 3D element that you just can’t get with markers. Stick to simple geometric patterns if you aren’t a sewing pro.
Pro Tip: Tape a piece of paper over the back of the stitching to hide the messy knots.
7. Tea Bag Pocket Card
- Best For: Tea drinkers and cozy vibes
- Vibe: Comforting and thoughtful
- Why it works: It is basically a card and a tiny gift merged into one.
Fold a small strip of decorative paper and glue the sides to create a pocket on the front. Slide in her favorite tea bag or a packet of flower seeds.
Decorate the rest of the card with botanical stamps or simple doodles. It shows you know exactly how she likes to spend her Sunday mornings.
Pro Tip: Match the color of the cardstock to the tea brand’s packaging for a cohesive look.
8. Button Bouquet
- Best For: Using up that random junk drawer
- Vibe: Quirky and eclectic
- Why it works: Buttons add a fun, vintage charm that feels very homemade.
Glue assorted vintage buttons onto the card to act as flower heads. Draw green stems and leaves underneath them using a fine-point marker.
Mix and match sizes and colors to create a diverse garden. It is a great way to recycle old materials into something beautiful.
Pro Tip: Use a hot glue gun to ensure the heavier buttons don’t fall off mid-delivery.
9. Washi Tape Stripes
- Best For: Lazy perfectionists
- Vibe: Modern and clean
- Why it works: Tape creates perfectly straight lines without any effort.
- Materials: Metallic washi tape, white cardstock.
Layer different patterns of washi tape horizontally or vertically across the card front. Trim the edges for a crisp, professional finish that looks like a store-bought design.
Add a die-cut sentiment or a simple sticker in the middle. This is the fastest way to make a card that actually looks polished.
Pro Tip: Vary the widths of the tape to add more visual interest to the pattern.
10. Coffee Filter Flowers
- Best For: Pantry raiders
- Vibe: Soft and romantic
- Why it works: The paper absorbs ink in a way that mimics real flower petals.
Color white coffee filters with washable markers and spray them with a bit of water. Watch the colors spread and blend as they dry into beautiful ruffles.
Bunch them up and glue them to your card base to create massive, fluffy blooms. They have a delicate look that belies their humble kitchen origins.
Pro Tip: Use a hairdryer to speed up the drying process if you are in a rush.
11. Scrabble Tile Message
- Best For: Word nerds and board game fans
- Vibe: Intellectual and sturdy
- Why it works: The wooden tiles add a satisfying weight to the card.
Spell out Mom or her name using wooden Scrabble tiles and glue them to brown kraft paper. The minimalist aesthetic looks great on any bookshelf.
It feels more like a piece of decor than a temporary greeting. Pair it with a black ink pen for a classic, clean look.
Pro Tip: You can buy packs of just the tiles at craft stores so you don’t ruin your game set.
12. Fingerprint Dandelion
- Best For: Minimalists
- Vibe: Whimsical and light
- Why it works: It is a literal personal touch that is impossible to screw up.
Draw a thin black stem and a small circle for the dandelion base. Use an ink pad to place white or yellow fingerprints drifting away from the center.
It looks like a wish blowing in the wind and takes almost zero artistic skill. This design thrives on white space, so don’t overcomplicate it.
Pro Tip: Use a high-quality pigment ink pad to get the most vibrant color from your prints.
13. Geometric Cut Out
- Best For: Design enthusiasts
- Vibe: Sleek and professional
- Why it works: Negative space creates a very high-end, architectural feel.
Use a precision craft knife to cut a large heart or the word MOM out of the front cover. Glue a piece of glitter paper or brightly patterned card on the inside.
The color peeks through the window you created, adding depth and shadow. It looks like you spent hours on a laser-cutter when it only took ten minutes.
Pro Tip: Always use a cutting mat so you don’t ruin your dining room table.
14. Confetti Shaker Card
- Best For: The life of the party
- Vibe: Celebratory and loud
- Why it works: It is interactive and feels like a party in an envelope.
Create a small window using clear plastic film and double-sided foam tape. Fill the gap with colorful sequins and metallic confetti before sealing it shut.
Every time she moves the card, the confetti dances around inside the window. It is the ultimate way to celebrate a woman who loves a little sparkle.
Pro Tip: Make sure your foam tape creates a perfect seal or she will be vacuuming confetti for a week.
Our Top Recommended Finds
- Precision Craft Scissors: These help you get those tiny details right without any jagged edges.
- All-Purpose Craft Glue: A glue that dries clear is essential for keeping your card looking clean.
- Textured Cardstock Pack: Starting with high-quality paper makes even the simplest design look expensive.
Which of these will you try first?
Making a card is way more impressive than buying one, and these ideas prove it doesn’t have to be hard.
Your mom will love the effort, and you get to keep that extra five dollars for yourself.
Which design fits your mom’s personality best, or are you going to mix and match a few?