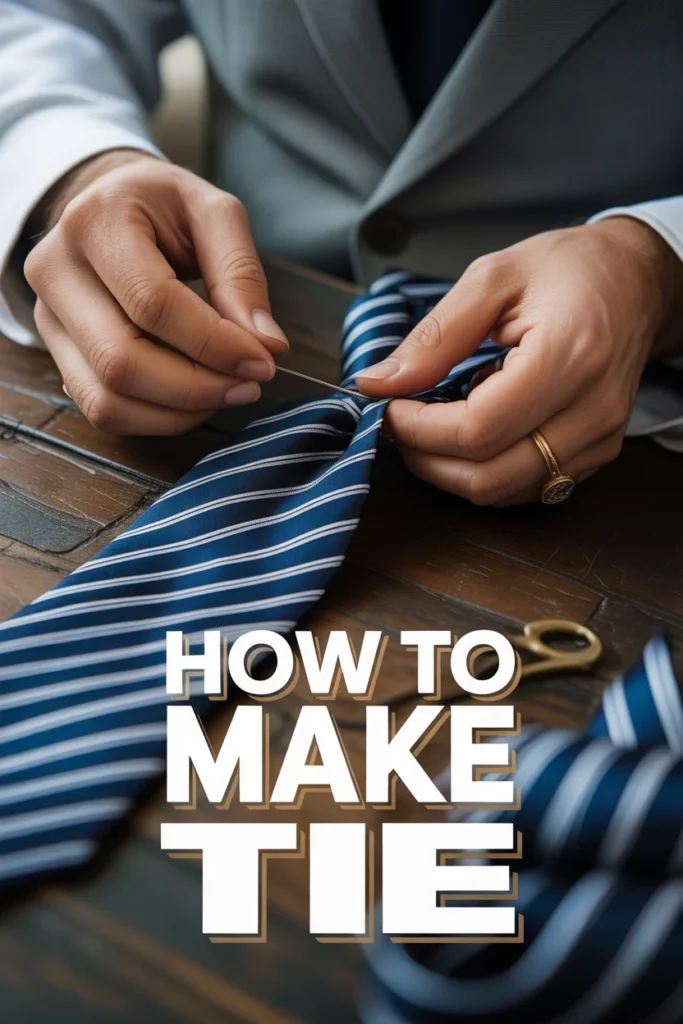
👔 How To Make Tie
🛠️ The Ultimate Maker's Toolkit
I've tested thousands of craft tools over the years. Whether you are quilting, crafting, or building mixed-media art, these are the top 5 absolute non-negotiable tools I personally recommend to guarantee professional results.
🪡 SINGER Heavy Duty 4452 Sewing Machine
The sewing community highly recommends this as the ultimate "bulletproof" entry-level machine. Its heavy metal frame powerfully pushes through thick denim and heavy quilt layers that would instantly jam a standard plastic machine.
✂️ Fiskars 8" Orange-Handled Scissors
Never settle for dull dollar-store blades. Wirecutter repeatedly names Fiskars the absolute best all-purpose craft scissor due to its legendary precision-ground blades and an ergonomic grip that prevents hand-cramping.
🔥 Gorilla Dual Temp Hot Glue Gun
Named Wirecutter's top choice because it literally does the work of two tools. It features dual-temperature settings offering low heat for delicate florals and blistering high heat for heavy wood adhesion repairs.
🖌️ Mod Podge Waterbase Gloss Sealer
The absolute undisputed champion of decoupage and paper crafts. Experts rely exclusively on this exact water-based formula because it glues, seals, and finishes beautifully without yellowing or flaking over time.
🎨 Apple Barrel Acrylic Paint (2 oz)
The quintessential, incredibly inexpensive craft paint. Woodworkers and hobby painters swear by its smooth flow and matte finish, providing massive value and remarkably thick color coverage on rough surfaces.
I remember the thrill of completing my very first handmade tie. It felt like a small act of rebellion against fast fashion, a personal touch in a world of mass production. This guide shares all the practical steps I learned, ensuring your own crafting journey is smooth and rewarding. You’re about to discover the satisfaction of creating a truly unique accessory.
Quick Overview
Get ready to craft a stylish, custom tie that reflects your unique personality. We’ll cover everything from fabric selection to the final pressing, ensuring a professional finish.
- Time needed: 4-7 hours (depending on experience)
- Difficulty: Beginner-Intermediate
- What you’ll need: Fabric, lining, tie pattern, sewing machine, thread, iron, basic sewing tools
Step-by-Step Instructions
Step 1: Gather Your Materials
Choosing the right materials is the foundation of a great tie. Think about the occasion and the wearer’s style when selecting your fabric.
For the outer fabric, select something with a nice drape like silk, cotton sateen, or a lightweight wool. You’ll need about 3/4 to 1 yard.
Pick a contrasting or complementary lining fabric; silk or rayon challis works beautifully. This adds body and helps the tie knot well.
Pro Tip: Look for fabrics with a slight sheen for a classic look, or a subtle texture for a modern twist. Avoid anything too thick or stiff, as it will be hard to knot.
Obtain a good quality tie pattern. Many independent designers offer excellent options, or you can find free ones online. Make sure it includes pieces for the main tie body, the tip, and the keeper loop.
Gather your essential sewing tools: sharp fabric shears, a rotary cutter and mat (optional but very helpful), pins or fabric clips, an iron and ironing board, a pressing cloth, a hand sewing needle, and matching thread. A tailor’s ham can be invaluable for pressing curved seams.
Step 2: Prepare Your Pattern and Fabric
Precision in cutting is paramount for a professional-looking tie. Take your time with this step; it truly makes a difference.
Cut out your pattern pieces carefully. If you’re using a PDF pattern, make sure to print it at 100% scale and tape it together accurately. Double-check all measurements.
Lay your main tie fabric out flat, ensuring it’s smooth and wrinkle-free. Most tie patterns require cutting on the bias (at a 45-degree angle to the selvage). This allows the tie to drape beautifully and prevents twisting.
Pin your pattern pieces securely to the fabric, aligning them perfectly with the bias grainline. Use plenty of pins to prevent shifting while cutting.
Cut your fabric pieces with sharp shears or a rotary cutter. Be precise and follow the pattern edges exactly. Repeat this process for your lining fabric as well.
Step 3: Assemble the Tie Body
Now we begin to bring the tie together by joining the main pieces. This step involves careful stitching and pressing.
Take your main tie pieces (usually two large sections and two tip sections). With right sides together, pin the large sections along one of the diagonal seams.
Stitch these sections together using a 1/4-inch seam allowance. Use a straight stitch on your sewing machine. Backstitch at the beginning and end of your seam to secure it.
Press the seam open using a warm iron. A pressing cloth helps protect delicate fabrics. This creates a flat, smooth foundation for the tie.
Repeat this process for any other main body sections your pattern requires, always pressing seams open immediately after stitching. You should now have one long, somewhat pointed piece of fabric.
Step 4: Craft the Tie Tip
The tie tips are key to its finished appearance. This step requires careful handling to achieve crisp points.
Align one outer fabric tie tip piece with the corresponding main tie body piece, right sides together. Pin them along the diagonal edge.
Stitch this seam, again using a 1/4-inch seam allowance. Press the seam open.
Repeat for the other tie tip, so both ends of your long tie body now have pointed ends.
Place the outer fabric tie body and the lining fabric tie body right sides together. Pin them along the two long edges and around the pointed tips, leaving the top, wider end open.
Sew along the pinned edges, pivoting at the points. Be careful to maintain an even seam allowance, especially around the curves.
Pro Tip: When sewing around the points, reduce your stitch length slightly for more control. Before turning, trim the seam allowances at the points very close to the stitching to reduce bulk, being careful not to cut through your stitches.
Step 5: Create the Tie Loop (Keeper)
The keeper loop holds the narrow end of the tie in place once it’s tied. It’s a small detail that adds significant functionality.
Take your small keeper loop fabric piece. Fold it in half lengthwise, right sides together.
Stitch along the long raw edge, creating a tube. Use a small seam allowance, typically 1/4 inch or less.
Trim the seam allowance very close to your stitches to reduce bulk. Turn the fabric tube right side out. A loop turner tool can be very helpful here.
Press the turned loop flat, with the seam centered on the back. This creates a neat, finished band.
Form the loop into a circle and stitch the raw ends together to create a continuous ring. This loop will be attached later.
Step 6: Finish the Edges
This is where your tie truly starts to take shape and gain its polished look. Turning and pressing are crucial.
Turn your entire tie body right side out through the open top end. Gently push out the points with a blunt tool (like a chopstick or point turner) to ensure they are crisp.
Press the entire tie very carefully, rolling the seams slightly to the inside so they don’t show from the front. Use a pressing cloth to protect your fabric. A tailor’s ham can help shape the curves.
Pin the keeper loop to the back of the wider end of the tie, about 8-10 inches from the tip. Stitch it securely in place using a few hand stitches or a very neat machine stitch on the seam allowance only.
Fold under the raw edges of the open top end of the tie by 1/4 inch, then another 1/4 inch. Press these folds.
Hand-stitch this opening closed with a slip stitch or blind hem stitch. This creates an invisible, clean finish.
Step 7: The Final Press
A thorough final press gives your handmade tie a professional, crisp appearance. Don’t skip this important step.
Lay your finished tie flat on your ironing board. Use a pressing cloth over the entire tie.
Press the tie gently but firmly, working from the narrow end to the wide end. Ensure all seams lie flat and smooth.
Roll the tie loosely and allow it to cool completely before storing or wearing. This helps set the shape and prevents wrinkles. Your custom tie is now ready to wear!
Common Mistakes to Avoid
Incorrect Fabric Choice
Choosing a fabric that is too thick, too thin, or too stretchy can ruin the tie’s drape and knot. Stiff fabrics will result in a bulky knot and a tie that doesn’t hang well. Overly thin fabrics may look flimsy and not hold their shape. Always opt for fabrics with good body and drape, like silk twill, cotton sateen, or lightweight wool.
Rushing the Pressing
Skipping or rushing the pressing steps between seams can lead to lumpy, unprofessional-looking ties. Each seam needs to be pressed open and flat before moving on. Proper pressing helps to meld the stitches into the fabric, creating a smooth and crisp finish. Take your time and use a pressing cloth to protect your fabric from scorching.
Ignoring Grainline
Cutting the tie fabric off-grain (not on the bias) is a common mistake that leads to a tie that twists and doesn’t hang straight. The bias cut is crucial for the tie’s drape and ability to knot properly. Always double-check your pattern placement and fabric grainline before cutting. A tie cut on the straight grain will never look as elegant.
Uneven Seams
Inconsistent seam allowances, especially around the pointed tips, can result in a lopsided or poorly shaped tie. An uneven seam allowance creates tension differences in the fabric, causing it to pucker or pull. Use a seam gauge or the markings on your sewing machine plate to maintain a consistent seam allowance throughout the project, particularly in visible areas.
Troubleshooting
Tie Looks Lumpy/Misshapen
If your tie appears lumpy or doesn’t lie flat, the issue often stems from inadequate pressing or bulky seam allowances. Go back and re-press each seam, ensuring they are fully open and flat. Use a pressing cloth and apply steam if your fabric allows. Trim all seam allowances, especially at points and curves, to reduce bulk before turning the tie right side out.
Seams Don’t Lie Flat
When seams refuse to lie flat, it might be due to too much fabric caught in the seam allowance or insufficient pressing. After stitching, clip into the seam allowance on curves (without cutting the stitches) to help it spread out. For points, trim the corners close to the stitching. A tailor’s ham can be very useful for pressing curved areas smoothly.
Tie Feels Too Stiff or Floppy
The stiffness or floppiness of your tie is usually related to your lining fabric choice. If it’s too stiff, the lining might be too heavy or thick for your outer fabric. If it’s too floppy, the lining might be too lightweight or absent. For future projects, experiment with different weights of silk, rayon, or cotton broadcloth as lining options to find the perfect balance for your chosen outer fabric.
Key Takeaways
- Precision in cutting on the bias ensures a beautiful drape and prevents twisting.
- Consistent seam allowances are vital for a professional, even finish.
- Pressing is a critical step; press every seam open and flat as you go.
- Trimming seam allowances, especially at points, reduces bulk and creates crisp edges.
- Hand-stitching the final opening provides an invisible, clean closure.
Frequently Asked Questions
Can I hand sew a tie?
Absolutely, you can hand sew a tie. It will take significantly more time and patience, but it’s a very rewarding process. Use a backstitch for structural seams and a slip stitch or blind hem stitch for finishing. Focus on small, even stitches for strength and a neat appearance.
What’s the best fabric for a beginner?
For beginners, cotton sateen or a lightweight linen blend is an excellent choice. These fabrics are easier to handle than slippery silks, press well, and show mistakes less readily. Once you gain confidence, you can move on to more challenging materials like silk or rayon.
How do I make a skinny tie?
To make a skinny tie, you simply need a tie pattern designed for a narrower width. The construction process remains the same, but the pattern pieces will be slimmer. If you’re adapting a standard pattern, be sure to reduce the width evenly across all pieces to maintain its proportions.
Can I wash a handmade tie?
Whether you can wash a handmade tie depends entirely on the fabric you used. Silk and wool ties are generally dry-clean only. Cotton ties might be hand-washable in cold water with mild detergent, but always test a scrap first. Linings can also affect washability, so when in doubt, dry clean.
Our Top Recommended Finds
- Quality Fabric Shears: A sharp pair of shears makes all the difference in achieving clean, accurate cuts, preventing frayed edges.
- Tailor’s Ham: This firm, oblong cushion helps you press curved seams and shaped areas, like the tie tips, without distorting them.
- Good Quality All-Purpose Thread: Strong, smooth thread prevents breaks and ensures durable seams. Choose polyester or silk thread for ties.
Your Style, Your Creation
You’ve just completed a project that speaks volumes about your creativity and skill. Imagine the pride of wearing a tie you made yourself, or gifting it to someone special. This isn’t just a piece of fabric; it’s a statement, a conversation starter, and a testament to your hands-on spirit.
Don’t stop here. This tie-making adventure is just the beginning. Consider exploring different fabrics, experimenting with embroidery, or even designing your own tie patterns. The world of textile crafting is vast and exciting. Take this newfound confidence and start your next project today!