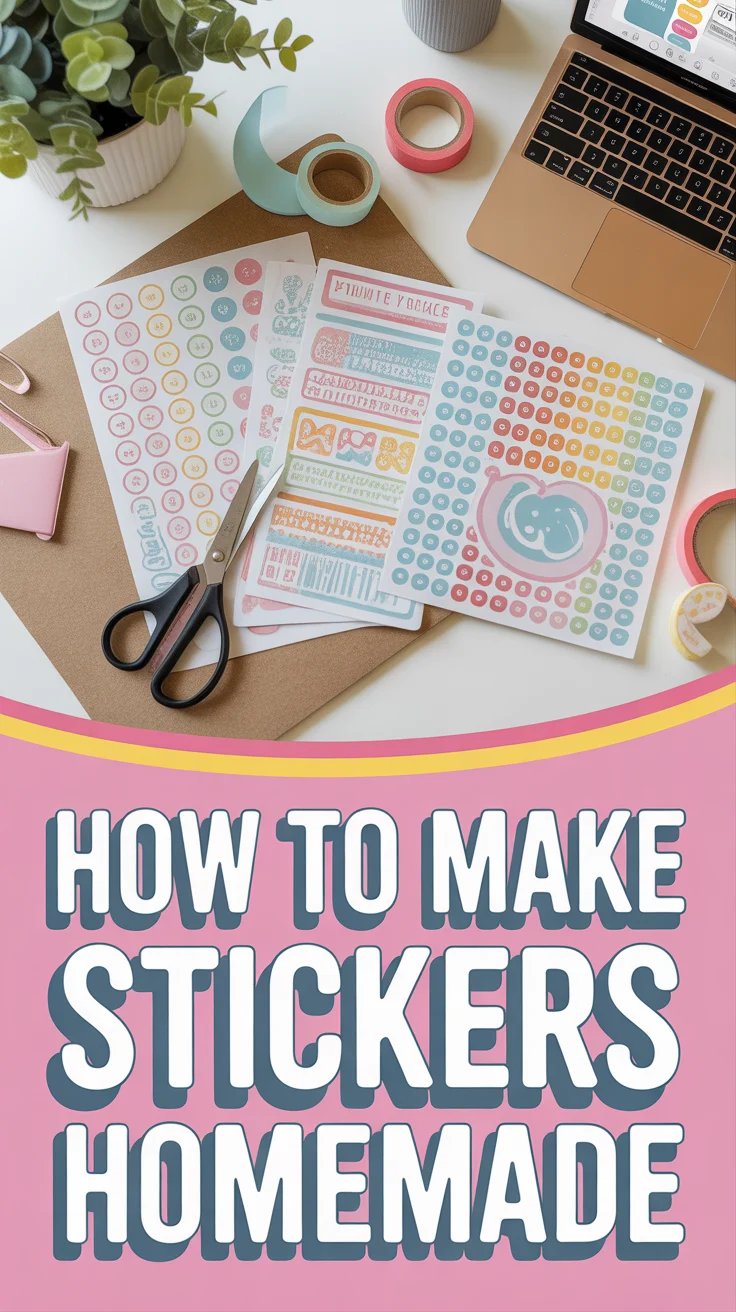
🎨 How To Make Stickers Homemade
🛠️ The Ultimate Maker's Toolkit
I've tested thousands of craft tools over the years. Whether you are quilting, crafting, or building mixed-media art, these are the top 5 absolute non-negotiable tools I personally recommend to guarantee professional results.
🪡 SINGER Heavy Duty 4452 Sewing Machine
The sewing community highly recommends this as the ultimate "bulletproof" entry-level machine. Its heavy metal frame powerfully pushes through thick denim and heavy quilt layers that would instantly jam a standard plastic machine.
✂️ Fiskars 8" Orange-Handled Scissors
Never settle for dull dollar-store blades. Wirecutter repeatedly names Fiskars the absolute best all-purpose craft scissor due to its legendary precision-ground blades and an ergonomic grip that prevents hand-cramping.
🔥 Gorilla Dual Temp Hot Glue Gun
Named Wirecutter's top choice because it literally does the work of two tools. It features dual-temperature settings offering low heat for delicate florals and blistering high heat for heavy wood adhesion repairs.
🖌️ Mod Podge Waterbase Gloss Sealer
The absolute undisputed champion of decoupage and paper crafts. Experts rely exclusively on this exact water-based formula because it glues, seals, and finishes beautifully without yellowing or flaking over time.
🎨 Apple Barrel Acrylic Paint (2 oz)
The quintessential, incredibly inexpensive craft paint. Woodworkers and hobby painters swear by its smooth flow and matte finish, providing massive value and remarkably thick color coverage on rough surfaces.
You want stickers, not a printer meltdown. Cool. Let’s make cute, durable stickers at home without selling your soul to a craft store. Grab your scissors, channel your inner goblin, and let’s get sticky.
1. Printer Paper and Clear Tape
Cheap, fast, and weirdly satisfying. Print your designs on regular paper and seal with clear packing tape for a glossy finish.
Trim the design, lay tape over the top, then trim again. Back it with double-sided tape or a glue stick when you’re ready to stick.
Pro tip: Burnish with a spoon to remove bubbles before trimming. Smooth = pro.
It works because tape adds water resistance and shine without fancy materials.
2. Printable Sticker Paper
The classic route. Buy matte or glossy sticker paper and print your art like a boss.
Use your printer’s photo settings for crisp colors, and let sheets dry before cutting. Hand-cut or use a cutting machine.
Pro tip: Do a test print on plain paper first to check size and color.
It works because it’s literally made to be stickers—clean edges, strong adhesive, minimal fuss.
3. Washi Tape Tiles
Have washi tape lying around? Turn it into mini stickers with personality.
Layer strips of washi tape on baking paper, draw your design, and cut. Peel off the baking paper when ready to use.
Pro tip: Outline with a fine-tip pen for a crisp look before cutting.
It works because baking paper releases cleanly and washi already sticks.
4. Contact Paper Lamination
Make sturdy, semi-waterproof stickers without special paper. Use contact paper to seal.
Place your printed art on full-sheet label paper or regular paper, cover the top with contact film, and cut.
Pro tip: Work from the center out with a card to avoid bubbles.
It works because contact film adds durability and a slick finish—even to plain paper.
5. Hand-Drawn Stickers
Go analog. Draw on white cardstock or heavy paper and turn your doodles into stickers.
Outline with waterproof pens, color with markers or watercolor (lightly), and seal with clear tape or contact paper. Add double-sided tape on the back.
Pro tip: Leave a white border for that professional sticker vibe.
It works because handmade = unique texture and charm you can’t fake.
6. Water-Transfer Tape Method
Make translucent, waterproof-ish stickers with packing tape and water. Magic trick time.
Print or cut designs from a magazine, apply clear packing tape, burnish, then soak in water. Rub off the paper; the ink stays on the tape.
Pro tip: Let it fully dry before sticking to avoid edge curl.
It works because the adhesive grabs pigment, leaving a sheer, glossy sticker.
7. Cricut or Silhouette Print-and-Cut
For the precision lovers. Use a cutting machine for kiss-cut sheets that look store-bought.
Print on sticker paper, load into the machine, and let it read registration marks. Perfect for sets and small businesses.
Pro tip: Add a 0.06–0.08 in offset for a clean border.
It works because machines nail consistent shapes and clean edges every time.
8. Upcycled Magazine Art
Free and eco-chic. Cut cool graphics from magazines or flyers.
Seal with clear tape or contact film, then back with double-sided tape. Instant collage stickers.
Pro tip: Layer pieces for depth, then tape once at the end.
It works because glossy print + sealing = vibrant, durable, zero waste guilt.
9. Transparent Stickers with Full-Sheet Labels
Go sleek and see-through. Use clear printable label sheets.
Print designs with bold lines and solid colors—light colors may look faint. Cut by hand or machine.
Pro tip: Increase ink saturation and avoid pale pastels for better visibility.
It works because clear labels blend into surfaces for a clean, pro look.
10. Glossy Mod Podge Finish
Shiny, sturdy, a little artsy. Brush Mod Podge over your cut designs.
Use on cardstock or sticker paper, let dry, then cut. Optional: add a top layer of spray sealer for water resistance.
Pro tip: Light, even coats prevent streaks and warping.
It works because Mod Podge hardens into a protective shell that looks polished.
11. Faux Vinyl with Waterproof Film
Make durable “vinyl” vibes without vinyl. Sandwich your art between waterproof film and sticker paper.
Print on matte sticker paper, apply clear laminate sheets on top, then cut. Great for laptops and water bottles.
Pro tip: Use UV-resistant laminate to prevent fading.
It works because the laminate adds scratch and water resistance like real vinyl.
12. Painter’s Tape Texture
Rugged and artsy. Use painter’s tape for a matte, textured sticker.
Layer strips on baking paper, draw or paint lightly, seal with thin clear tape, then cut.
Pro tip: Use oil-based pens or paint markers to avoid smudging.
It works because tape fibers give a unique canvas look that stands out.
13. Photo Stickers from Prints
Turn your camera roll into reality. Use glossy photo paper.
Print small grids, seal with contact film if needed, and back with double-sided adhesive sheets. Cut into minis.
Pro tip: Add rounded corners so they don’t peel up.
It works because photo paper delivers rich color and sharp details instantly.
14. Doodle Sheets for Kids and Chaos
Bulk fun with low effort. Print blank shapes and let the chaos (art) happen.
Kids color on full-sheet labels, you seal with tape or leave matte, then cut. Bam—personalized sticker packs.
Pro tip: Keep shapes simple for faster cutting and fewer tears.
It works because it’s interactive, cheap, and ridiculously cute.
✨ New Member Etsy Shops (100% Unsponsored!)
We are incredibly proud of the talent in this community! 💖 We've rounded up some gorgeous new Etsy shops launched by our very own members.
There are ZERO affiliate links in this post—just 100% pure support for our makers. Click below to shop small, show them some love, and find your new favorite items! 👇🛍️


Conclusion
Stickers don’t need fancy gear—just paper, tape, and a tiny sprinkle of chaos. Pick a method, seal it right, and start slapping your art on everything you own.
The value is in the control: your style, your finish, your budget. Now go forth and stick responsibly. Or not.