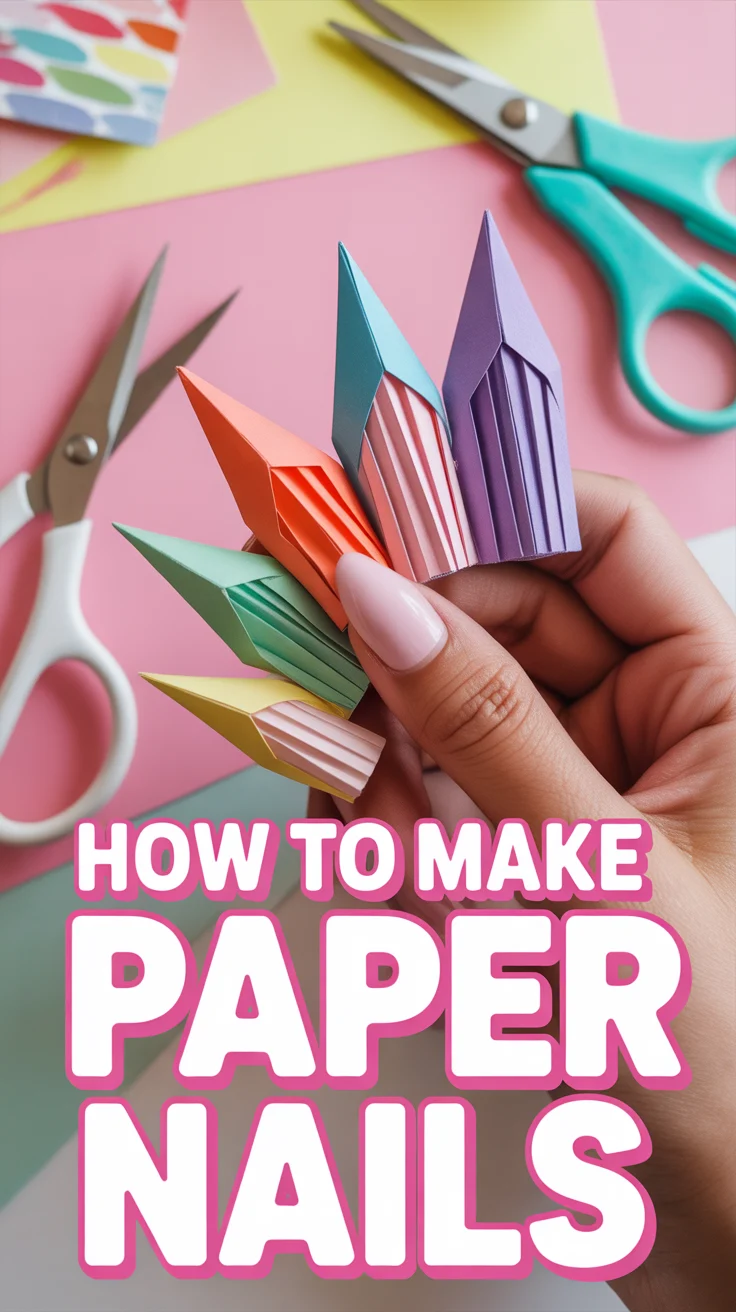
💅 How To Make Paper Nails
🛠️ The Ultimate Maker's Toolkit
I've tested thousands of craft tools over the years. Whether you are quilting, crafting, or building mixed-media art, these are the top 5 absolute non-negotiable tools I personally recommend to guarantee professional results.
🪡 SINGER Heavy Duty 4452 Sewing Machine
The sewing community highly recommends this as the ultimate "bulletproof" entry-level machine. Its heavy metal frame powerfully pushes through thick denim and heavy quilt layers that would instantly jam a standard plastic machine.
✂️ Fiskars 8" Orange-Handled Scissors
Never settle for dull dollar-store blades. Wirecutter repeatedly names Fiskars the absolute best all-purpose craft scissor due to its legendary precision-ground blades and an ergonomic grip that prevents hand-cramping.
🔥 Gorilla Dual Temp Hot Glue Gun
Named Wirecutter's top choice because it literally does the work of two tools. It features dual-temperature settings offering low heat for delicate florals and blistering high heat for heavy wood adhesion repairs.
🖌️ Mod Podge Waterbase Gloss Sealer
The absolute undisputed champion of decoupage and paper crafts. Experts rely exclusively on this exact water-based formula because it glues, seals, and finishes beautifully without yellowing or flaking over time.
🎨 Apple Barrel Acrylic Paint (2 oz)
The quintessential, incredibly inexpensive craft paint. Woodworkers and hobby painters swear by its smooth flow and matte finish, providing massive value and remarkably thick color coverage on rough surfaces.
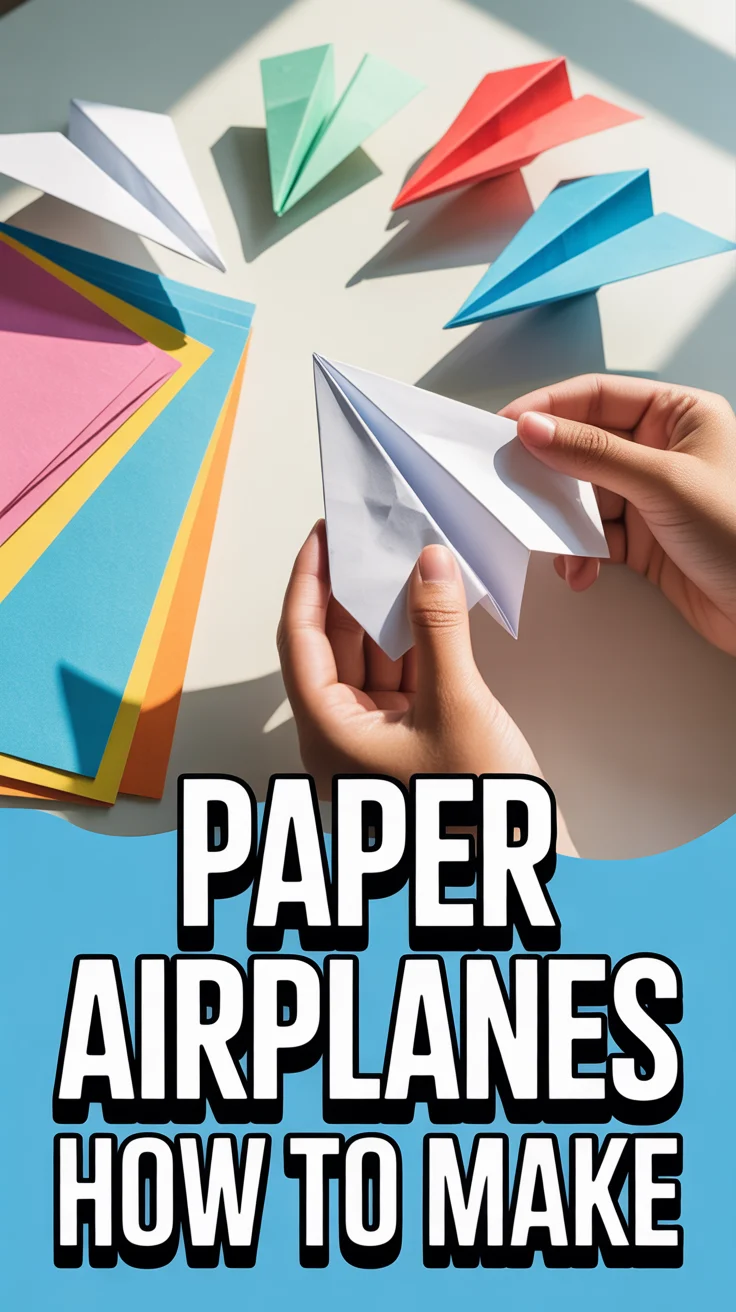
Ready to turn scrap paper into tiny works of fingertip art? Let’s make paper nails that look cute, stay put, and don’t require a salon appointment. Low cost, high drama, zero commitment. Grab your scissors—your hands are about to get famous.
1. Classic Wrap and Glue
Simple, sleek, and beginner-friendly. You’ll shape paper to your nail, glue it down, and file for a clean finish.
Use printer paper or magazine pages for slight flexibility. Cut a rounded tip, test fit, then secure with a thin layer of clear glue or top coat. Seal edges to prevent lifting.
Pro tip: Press the nail with a silicone tool while it dries for a smooth curve.
This works because the paper molds and sets, giving you a neat, polished base.
2. Press-On Paper Tips
Make pop-on tips you can reuse. Fast, commitment-free glam.
Trace your natural nail on cardstock, cut, and slightly curve the tip by rolling around a pencil. Attach with sticky tabs for easy removal.
Pro tip: Add a thin layer of clear tape on top for instant shine and durability.
It works by creating a structured tip with removable adhesive—cute and convenient.
3. Origami Nail Caps
Tiny paper engineering for chic claws. Fold, place, flex.
Use lightweight origami paper. Fold a small cap shape that hugs the nail, then secure with a dab of clear gel at the cuticle.
Pro tip: Score folds gently with a blunt tool so they bend without tearing.
Structured folds give strength without bulk—pretty and practical.
4. Layered Laminated Look
Think faux acrylics but with stationery. Strong and shiny.
Stack 2–3 layers of thin paper using clear-drying glue. Trim, then cover with transparent tape or clear polish for lamination.
Pro tip: Slightly stagger layers at the tip for extra reinforcement.
Layering builds durability while staying lightweight and glossy.
5. Magazine Mashup Art
High-fashion fingertips with zero budget. Collage the drama.
Cut tiny images or letters from magazines, assemble over a paper base, and seal with top coat. Keep edges flush for comfort.
Pro tip: Use a matte base under a glossy seal to make colors pop.
Mixed textures and bold prints create instant editorial vibes.
6. Glitter Sandwich
Sparkle without fallout. Your keyboard will thank you.
Brush clear glue on your paper nail, sprinkle fine glitter, then seal with another thin coat or top coat. Keep layers thin for flexibility.
Pro tip: Use a fan brush to flick off excess before sealing.
Encasing glitter prevents flaking and keeps the shine trapped and tidy.
7. Watercolor Wash
Soft, dreamy gradients that look hand-painted. Because they are.
Lightly tint watercolor paper with diluted paints. Let dry, cut, and apply. Seal with clear polish to deepen the hues.
Pro tip: Pre-curve the paper while damp to set a natural arch.
Porous paper locks in color, and sealing makes it vibrant and wearable.
8. Minimal French Tips
Clean, classy, zero pretension. Just vibes.
Cut slim tip strips from white cardstock or foil paper. Adhere only to the free edge, then seal the seam with top coat.
Pro tip: Angle the strip slightly to elongate short nails.
Focusing on the tip adds polish without full coverage—subtle and chic.
9. Holographic Tape Overlay
Shine like a disco ball but in a classy way. Mostly.
Apply a paper base, then cap with holographic washi tape. Trim edges with tiny scissors and seal with clear gel.
Pro tip: Warm the tape with your fingers to reduce wrinkles.
Tape adds instant texture and reflectivity with minimal work.
10. Embossed Texture
Raised designs that look pro but aren’t high effort. We love a hack.
Press patterns into soft paper using a ball stylus on a mousepad. Apply, then lock in with top coat.
Pro tip: Outline embossed areas with a thin line of metallic pen for contrast.
Texture catches light and hides tiny imperfections—win-win.
11. Matcha Matte Finish
Soft-touch chic without shine. Very “I read poetry” energy.
Paint paper nails with matte top coat or lightly buff after sealing. Pair with neutral shades or calm greens.
Pro tip: Add a glossy stripe down the center for subtle dimension.
Matte finish looks expensive and feels modern—effortless cool.
12. Stiletto Drama
Sharp, sculpted, and safe—because it’s paper. Be nice though.
Cut elongated triangles from cardstock, curve slightly, and attach with gel or strong glue. File sides to symmetry.
Pro tip: Reinforce the tip underside with a tiny strip for strength.
The tapered shape elongates hands and brings instant attitude.
13. Reusable Storage Set
Make once, wear again. Your future self says thanks.
Create a full set on a nail size chart, label backs, and store in a pill box. Refresh with a quick top coat before wearing.
Pro tip: Add tiny tabs at cuticles for easier lifting and removal.
Organized sets save time, reduce waste, and keep your look consistent.
- Materials to keep on hand: printer paper, cardstock, clear glue, top coat, mini scissors, nail file, washi tape, glitter, pens.
- Fit check: always test size before gluing to avoid lifting.
- Seal edges: run a thin bead of top coat around the perimeter.
- Removal: soak in warm soapy water, slide off gently, and moisturize.
✨ New Member Etsy Shops (100% Unsponsored!)
We are incredibly proud of the talent in this community! 💖 We've rounded up some gorgeous new Etsy shops launched by our very own members.
There are ZERO affiliate links in this post—just 100% pure support for our makers. Click below to shop small, show them some love, and find your new favorite items! 👇🛍️


Conclusion
Paper nails are the crafty shortcut to statement hands—no appointments, no drama, all personality. Mix textures, stack layers, and seal like a pro for wearable art in minutes. Your hands just got upgraded from “meh” to “main character.”