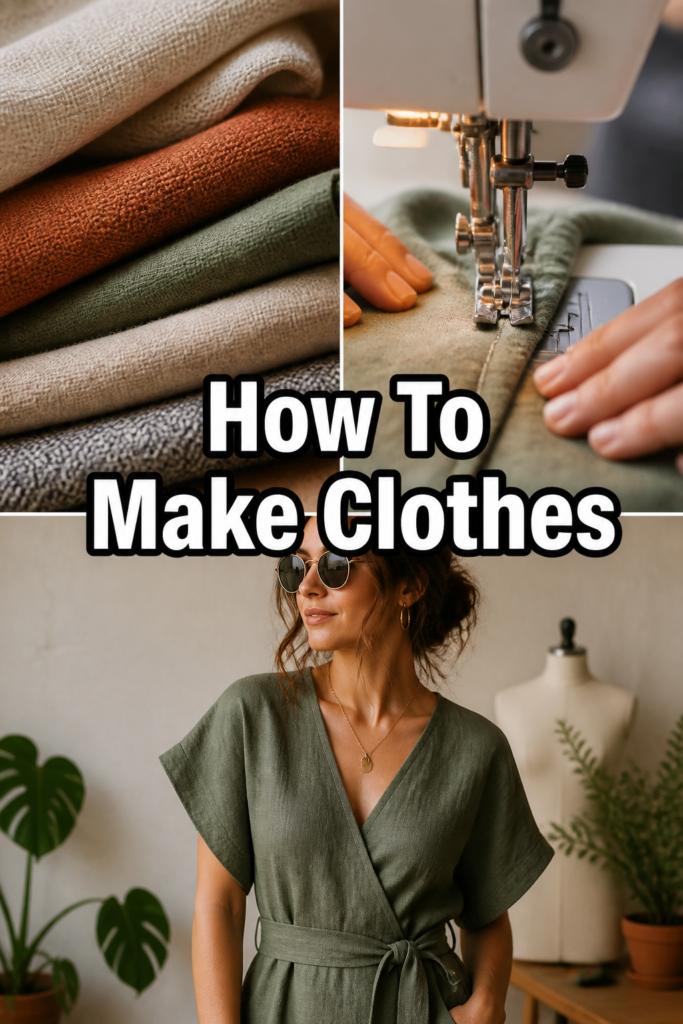
🧵 How To Make Clothes
🛠️ The Ultimate Maker's Toolkit
I've tested thousands of craft tools over the years. Whether you are quilting, crafting, or building mixed-media art, these are the top 5 absolute non-negotiable tools I personally recommend to guarantee professional results.
🪡 SINGER Heavy Duty 4452 Sewing Machine
The sewing community highly recommends this as the ultimate "bulletproof" entry-level machine. Its heavy metal frame powerfully pushes through thick denim and heavy quilt layers that would instantly jam a standard plastic machine.
✂️ Fiskars 8" Orange-Handled Scissors
Never settle for dull dollar-store blades. Wirecutter repeatedly names Fiskars the absolute best all-purpose craft scissor due to its legendary precision-ground blades and an ergonomic grip that prevents hand-cramping.
🔥 Gorilla Dual Temp Hot Glue Gun
Named Wirecutter's top choice because it literally does the work of two tools. It features dual-temperature settings offering low heat for delicate florals and blistering high heat for heavy wood adhesion repairs.
🖌️ Mod Podge Waterbase Gloss Sealer
The absolute undisputed champion of decoupage and paper crafts. Experts rely exclusively on this exact water-based formula because it glues, seals, and finishes beautifully without yellowing or flaking over time.
🎨 Apple Barrel Acrylic Paint (2 oz)
The quintessential, incredibly inexpensive craft paint. Woodworkers and hobby painters swear by its smooth flow and matte finish, providing massive value and remarkably thick color coverage on rough surfaces.
There’s a unique magic in wearing something you’ve brought to life yourself.
I still remember the thrill of stitching my first wearable garment, a simple skirt, years ago.
This guide will walk you through that same rewarding journey, making it accessible and fun.
Quick Overview
You’re about to embark on a creative adventure, transforming flat fabric into a personalized wardrobe staple. We’ll cover everything from initial inspiration to the final stitch.
- Time needed: 10-20 hours (for a simple project, spread over days)
- Difficulty: Beginner
- What you’ll need: Fabric, sewing machine (or needle and thread), pattern, scissors, measuring tape, pins.
Step-by-Step Instructions
Step 1: Find Your Spark
Every great garment begins with an idea. Think about what you want to wear or what your wardrobe currently lacks.
Browse fashion magazines, Pinterest, or even your favorite store for inspiration. Start with something simple like a basic skirt, a tote bag, or a pair of pajama shorts.
Pro Tip: Don’t try to make a ball gown for your first project. Simple shapes with minimal seams are your best friends when starting out. Focus on learning basic techniques first.
Step 2: Gather Your Tools & Materials
Having the right supplies makes all the difference in your sewing journey. A well-stocked toolkit ensures smooth progress and enjoyable crafting.
You’ll need a sewing machine (or hand-sewing needles), fabric, a pattern, fabric shears, pins, a seam ripper, an iron, and a measuring tape. Choose a beginner-friendly fabric like quilting cotton or linen blend for your first project.
Step 3: Understand Your Pattern
Patterns are your garment’s blueprint, guiding you through every cut and stitch. Take time to read through the instructions entirely before you even touch your fabric.
Identify your size based on the pattern’s measurement chart, not your ready-to-wear size. Cut out the pattern pieces carefully, noting any grainline arrows or notches.
Pro Tip: Trace your pattern pieces onto tissue paper or Swedish tracing paper instead of cutting the original. This allows you to reuse the pattern for different sizes or variations later.
Step 4: Prepare Your Fabric
Fabric can shrink, especially after its first wash. Pre-washing your fabric exactly as you would wash the finished garment prevents unpleasant surprises later.
Wash, dry, and iron your fabric thoroughly before cutting. This crucial step ensures your finished garment maintains its intended size and shape.
Step 5: Lay Out & Cut Fabric
Precision here is key for a well-fitting final product. Follow your pattern’s layout guide for placing pieces on the fabric.
Pin the pattern pieces securely to the fabric, aligning grainlines precisely. Use sharp fabric shears to cut around each piece smoothly, making sure to snip all notches.
Pro Tip: Always use dedicated fabric shears for cutting fabric. Using them on paper or other materials will dull them quickly, making accurate fabric cutting much harder.
Step 6: Mark & Transfer Details
Patterns often include important markings for darts, pockets, or buttonholes. These need to be transferred accurately to your fabric.
Use tailor’s chalk, a fabric pen, or tracing wheel and paper to mark these details. Transfer only what’s necessary for the current step to avoid cluttering your fabric.
Step 7: Start Sewing!
This is where your garment truly begins to take shape. Follow your pattern’s instructions step-by-step, starting with the main seams.
Pin pieces right sides together, matching notches and raw edges. Sew with a consistent seam allowance, and press each seam open or to one side as directed, after every step.
Pro Tip: Practice sewing straight lines and consistent seam allowances on scrap fabric before you start. This builds confidence and muscle memory.
Step 8: Fit As You Go
Don’t wait until the very end to try on your garment. Frequent fittings ensure a perfect fit and allow for adjustments.
Baste (sew with long, temporary stitches) seams that might need adjustment, like side seams or shoulder seams. Try on the garment, pin any necessary alterations, then sew the permanent seams.
Step 9: Finish the Details
The small details elevate your handmade clothing from good to great. Hems, necklines, and closures complete the look.
Follow your pattern for finishing hems, attaching collars or cuffs, and installing zippers or buttons. Press everything one last time for a crisp, professional finish.
Common Mistakes to Avoid
Not Pre-Washing Fabric
Skipping this step can lead to a garment that shrinks unevenly after its first wash. Your perfectly fitting creation might suddenly become too small or distorted.
Always wash, dry, and iron your fabric exactly as you plan to care for the finished garment. This stabilizes the fabric and removes any manufacturing sizing.
Ignoring Seam Allowance
Every pattern specifies a seam allowance, usually 5/8 inch or 1/2 inch. Deviating from this can significantly alter the garment’s fit.
Sew consistently at the specified seam allowance. Use the guides on your sewing machine’s needle plate to maintain accuracy, ensuring pieces join correctly.
Rushing the Process
Sewing requires patience and attention to detail. Rushing often leads to mistakes, crooked seams, or frustration.
Take breaks when you feel overwhelmed, and don’t be afraid to use your seam ripper. Slow and steady wins the race in sewing.
Using Dull Scissors
Cutting fabric with dull scissors can fray edges, distort pieces, and make accurate cutting impossible. This can lead to misaligned seams later on.
Invest in good quality fabric shears and reserve them exclusively for fabric. Keep them sharp and avoid using them on paper or other materials.
Troubleshooting
Skipped Stitches or Tangled Thread
This common issue can be frustrating, often making your machine sound clunky or causing nests of thread on the underside of your fabric.
First, re-thread your machine completely, both the top thread and the bobbin, ensuring everything is seated correctly. Check that your needle is inserted correctly and isn’t bent or dull; replace it if needed. Also, ensure your thread is high-quality and suitable for your fabric type.
Fabric Puckering or Wavy Seams
When fabric puckers, it often means the tension is off or your stitch length is too long for the fabric. Wavy seams can also occur if you’re pulling the fabric as you sew.
Adjust your machine’s tension settings; a slightly lower top tension can sometimes help. Shorten your stitch length for finer fabrics. Avoid pulling the fabric through the machine; let the feed dogs do the work, gently guiding the fabric instead.
Garment Doesn’t Fit Correctly
After all your hard work, a garment that doesn’t fit can be disheartening. This usually stems from inaccurate measurements or not fitting as you go.
Review your initial measurements against the pattern’s size chart. Baste seams and try on the garment at key stages (like after sewing side seams) to make small adjustments. A simple fix might be taking in or letting out side seams slightly.
Key Takeaways
- Start Simple: Choose beginner-friendly projects to build foundational skills and confidence.
- Prepare Thoroughly: Pre-wash fabric and read your pattern completely before cutting or sewing.
- Measure Accurately: Precision in measurements and cutting leads to a better-fitting garment.
- Press As You Go: Ironing seams after each step creates a professional, crisp finish.
- Fit Along the Way: Try on your garment periodically to make adjustments before it’s too late.
- Embrace Patience: Sewing is a journey; mistakes are part of learning. A seam ripper is your friend!
Frequently Asked Questions
What’s the best fabric for beginners?
Quilting cotton, broadcloth, or linen blends are excellent choices for beginners. They are stable, easy to cut, don’t slip much, and press well, making them forgiving for new sewers.
Do I need a sewing machine, or can I hand sew?
While you can hand sew many projects, a sewing machine significantly speeds up the process and creates stronger, more consistent stitches. For garment making, a machine is highly recommended for efficiency and durability.
How long does it take to make a simple garment?
For a beginner, a simple project like a skirt or pajama shorts might take anywhere from 10 to 20 hours, spread across several sessions. This includes reading the pattern, cutting, sewing, and finishing. Practice makes it faster!
What’s a seam ripper for?
A seam ripper is an indispensable tool used to carefully cut and remove stitches when you make a mistake or need to adjust a seam. It’s every sewer’s best friend and a symbol of learning.
Our Top Recommended Finds
- Reliable Sewing Machine: A basic mechanical machine with straight and zigzag stitches will serve you well.
- Sharp Fabric Shears: Essential for clean, accurate cuts that prevent fabric distortion.
- Flexible Measuring Tape: For taking body measurements and marking fabric curves precisely.
- Quality Seam Ripper: An ergonomic one will make correcting mistakes less tedious.
Your Creative Journey Begins Now
You now have the map to embark on your very own garment-making adventure. The satisfaction of wearing something you’ve crafted with your own hands is truly unparalleled.
Don’t let perfection be the enemy of progress. Pick a simple pattern, gather your materials, and take that first brave step today.
Imagine the wardrobe possibilities waiting for you to create them!