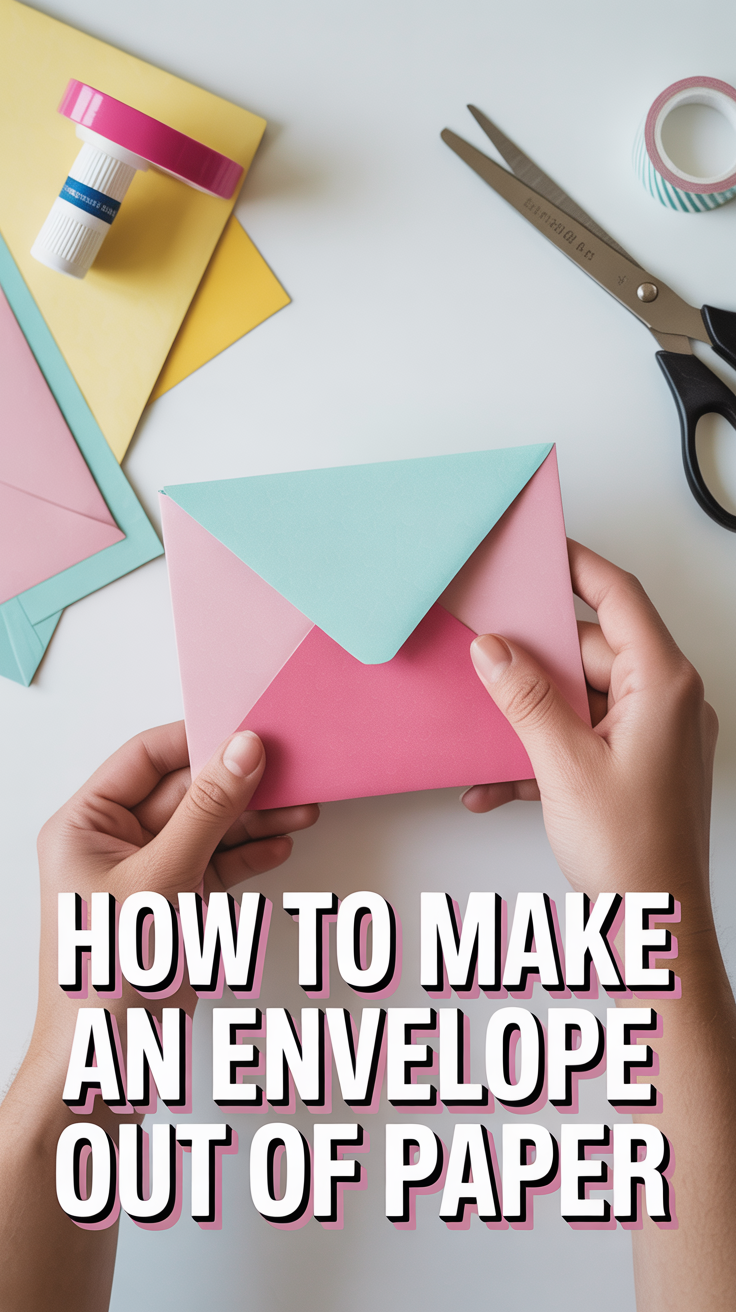
✉️ How To Make An Envelope Out Of Paper
Got a letter, card, or mysterious love note but zero envelopes? We can fix that with one sheet of paper and five minutes. No fancy tools, no origami Olympics. Just crisp folds, cute details, and envelopes that don’t scream “last-minute.”

1. Classic Square Fold
Meet the no-fuss, fits-most-cards envelope. It’s simple, clean, and always looks sharp. Great for invites and thank-you notes.
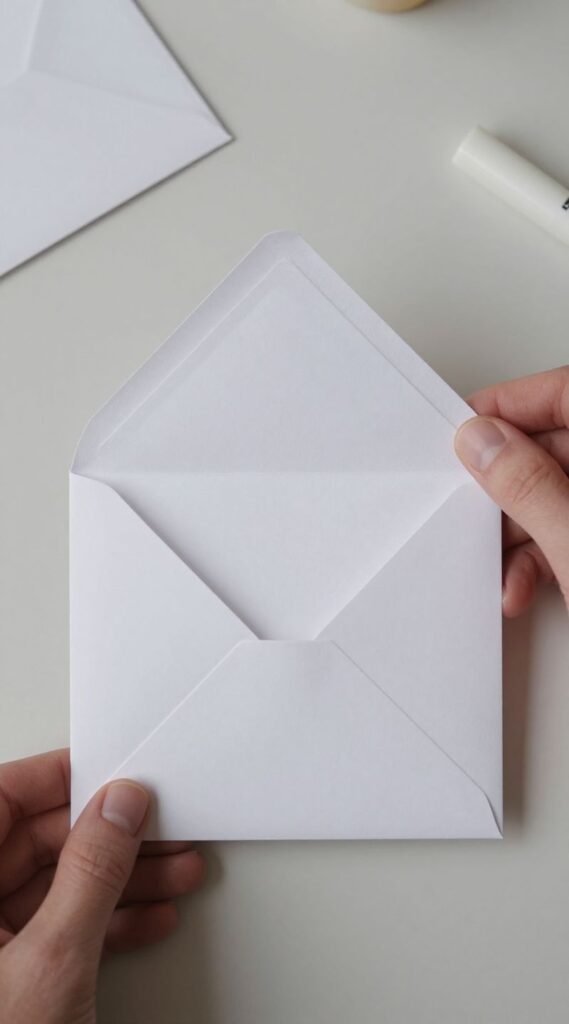
How it works: Start with a square paper. Rotate it like a diamond, fold the left and right corners to meet in the center, fold the bottom up, and the top down to seal.
Pro tip: Use a glue stick along the side flaps before folding up the bottom to keep it sleek and secure.
It works because the angles naturally create a snug pocket with minimal cutting and maximum style.
2. Rectangular Letter Wrap
You’ve got a letter, now turn it into its own envelope. Efficient and oddly satisfying.

How it works: Fold your letter into thirds lengthwise. Fold in the sides slightly, then fold up from the bottom and down from the top to overlap. Seal.
Pro tip: Add a tiny strip of double-sided tape inside the final flap for a smooth, invisible closure.
This works because your letter becomes the structure—no extra paper needed and zero wasted space.
3. Origami Diagonal Pocket
Chic little triangle pocket with instant stationery cred. Perfect for gift cards or mini notes.
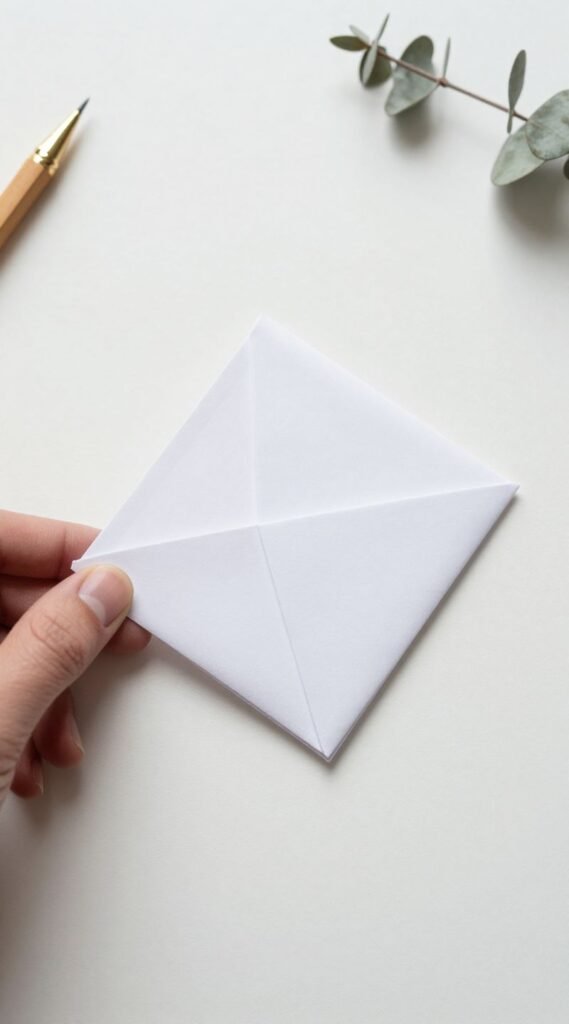
How it works: Use a square sheet. Fold it in half diagonally, fold the right corner to the left edge, then fold the left corner over the front. Tuck the top flap down.
Pro tip: Use slightly thicker paper (like 120 gsm) for crisp edges that hold their shape.
It works because the layered folds lock together—no glue, just geometry doing its thing.
4. Heart-Fold Envelope
Adorable and barely corny. Your message literally folds into a heart.
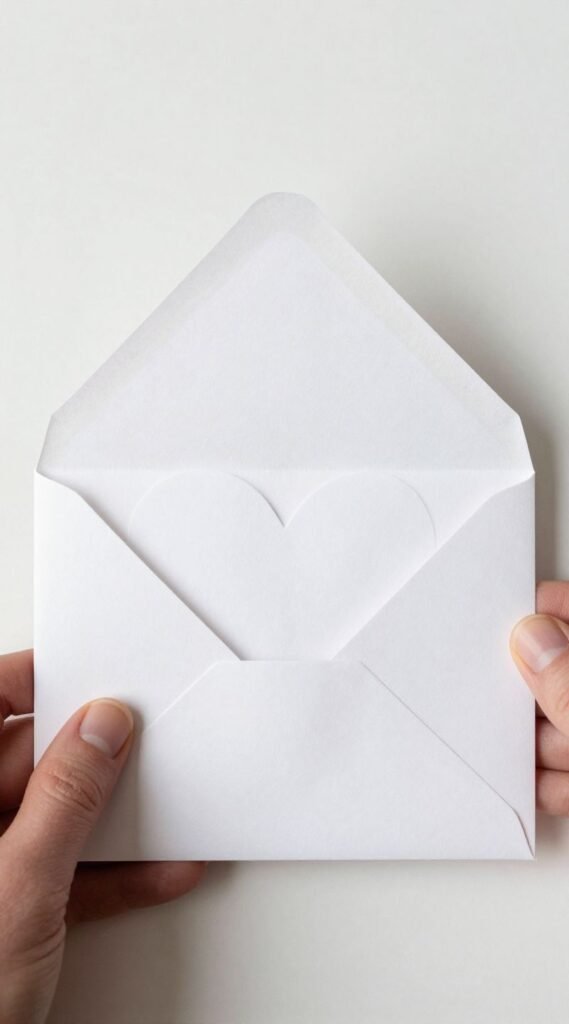
How it works: Cut a heart shape. Fold the sides toward the center, fold the bottom point up, then fold the top curves down to close.
Pro tip: Trace a bowl to get smooth curves and matching sides. Symmetry is the secret sauce.
It works because the curved top acts as a built-in flap that tucks neatly into the center.
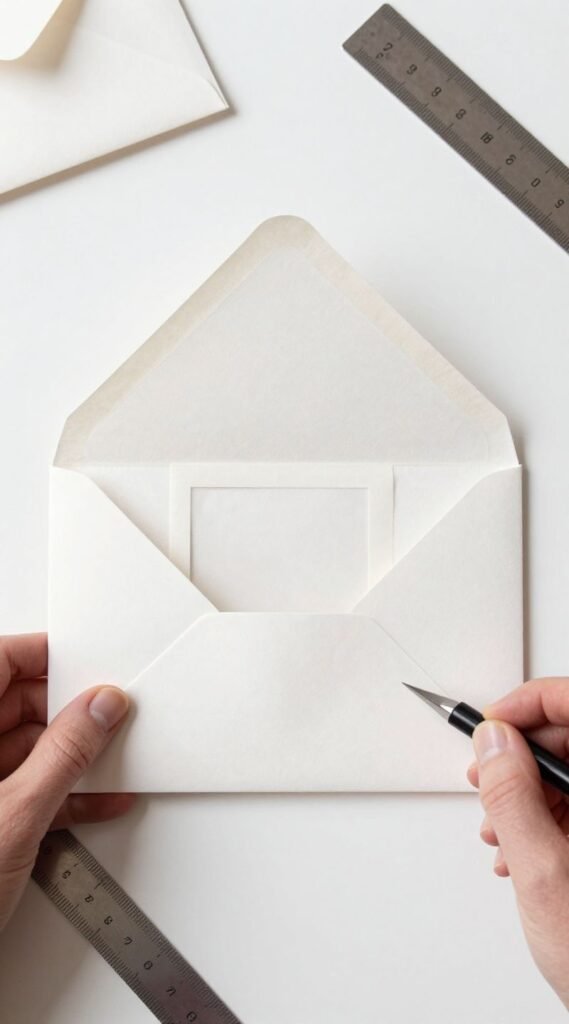
5. No-Cut Template Wrap
Zero cutting, maximum neatness. Ideal for those who misplace scissors like it’s a hobby.
How it works: Place your card centered on any rectangular paper. Fold sides in, bottom up, top down. Boom—envelope.
Pro tip: Lightly score folds with a butter knife for crisp, luxe creases.
It works because you size the envelope to the contents—custom fit every time.
6. String and Button Pocket
Vintage vibes with a functional twist. Perfect for keepsakes or photos.
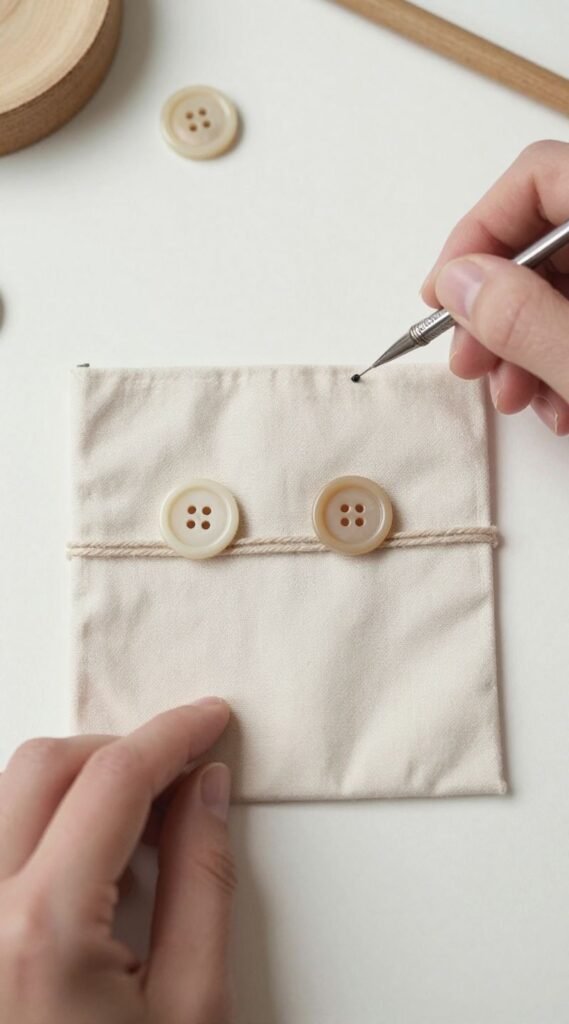
How it works: Make a simple pocket (side flaps + bottom). Add two small circles as “buttons” and wrap string around to close.
Pro tip: Reinforce buttons with a tiny dot of super glue over the brad or paper fastener.
It works because the wrap closure keeps contents secure without sticky residue.
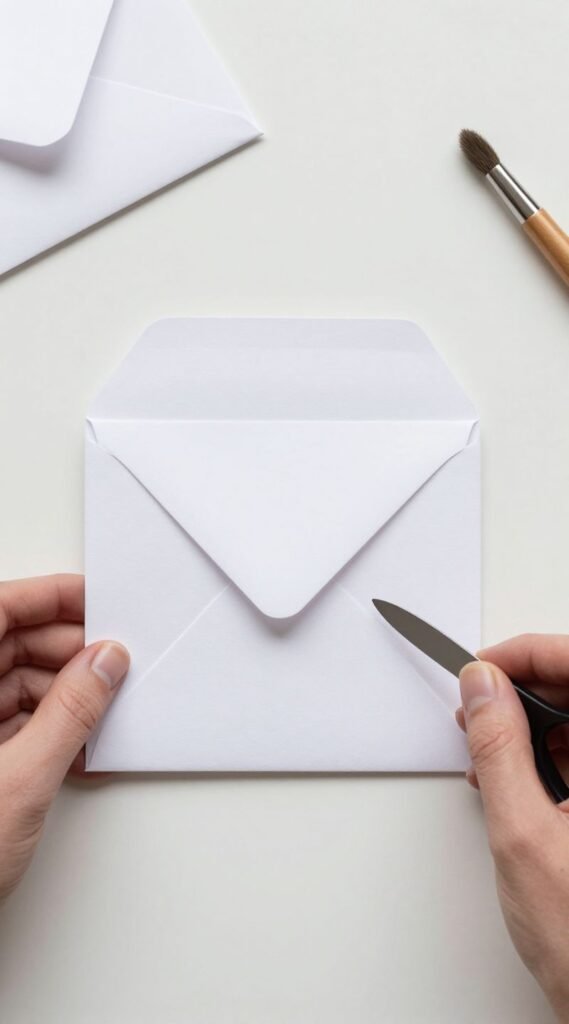
7. Triangle Flap Mailer
Modern shape, easy construction. Looks boutique, costs pennies.
How it works: Create a rectangular pocket. Cut the top into a centered triangle. Fold and seal.
Pro tip: Use contrasting washi tape along the flap edge for a designer finish.
It works because the triangle flap adds tension and keeps the silhouette slim.
8. Wax-Seal Statement
Drama? Absolutely. Seal your envelope like a regency main character.
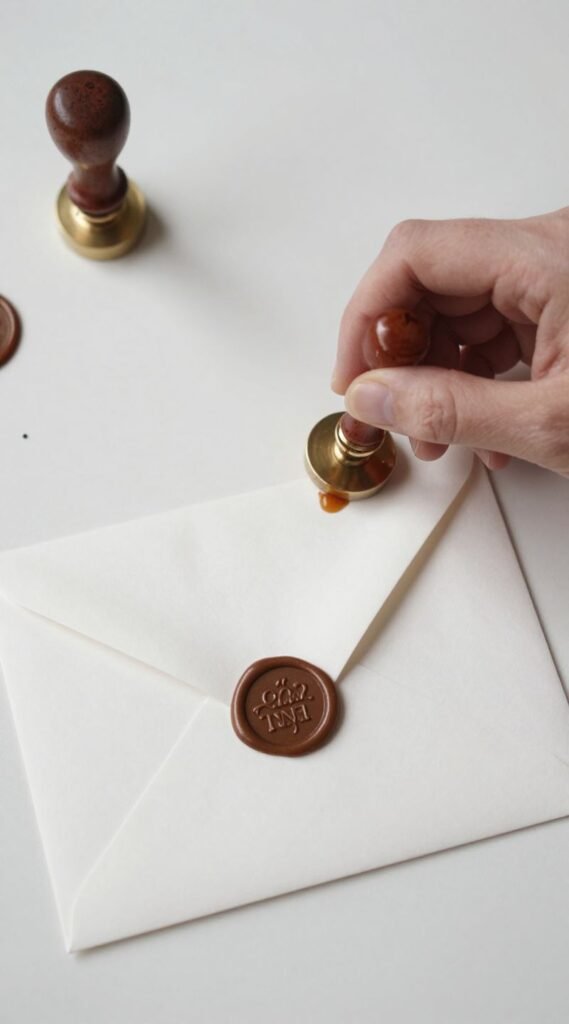
How it works: Fold any envelope style. Melt sealing wax on the flap and press with a stamp until cool.
Pro tip: Chill the stamp in the freezer for a minute so the wax releases cleanly.
It works because the hardened seal is both functional and gloriously extra.
9. Window Envelope Peekaboo
Let your design or name peek through. Practical and playful.
How it works: Cut a small rectangle in the front panel before assembly. Tape vellum or clear acetate behind the window, then fold the envelope.
Pro tip: Use a metal ruler and craft knife for clean edges—no jagged chaos.
It works because the window frames your content and elevates even simple paper.
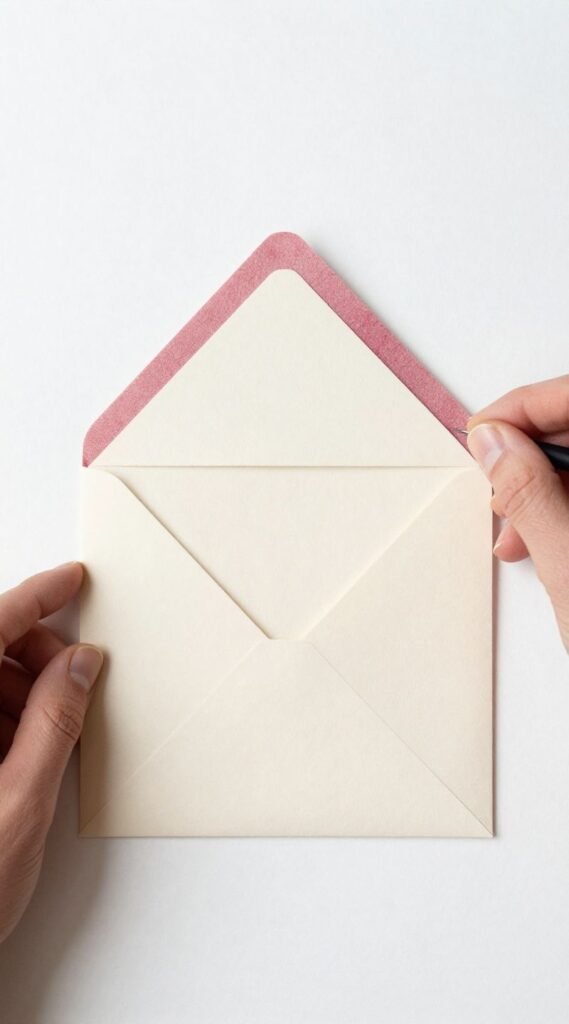
10. Lined Envelope Luxe
Add a sneaky pop of pattern inside. Instant upgrade.
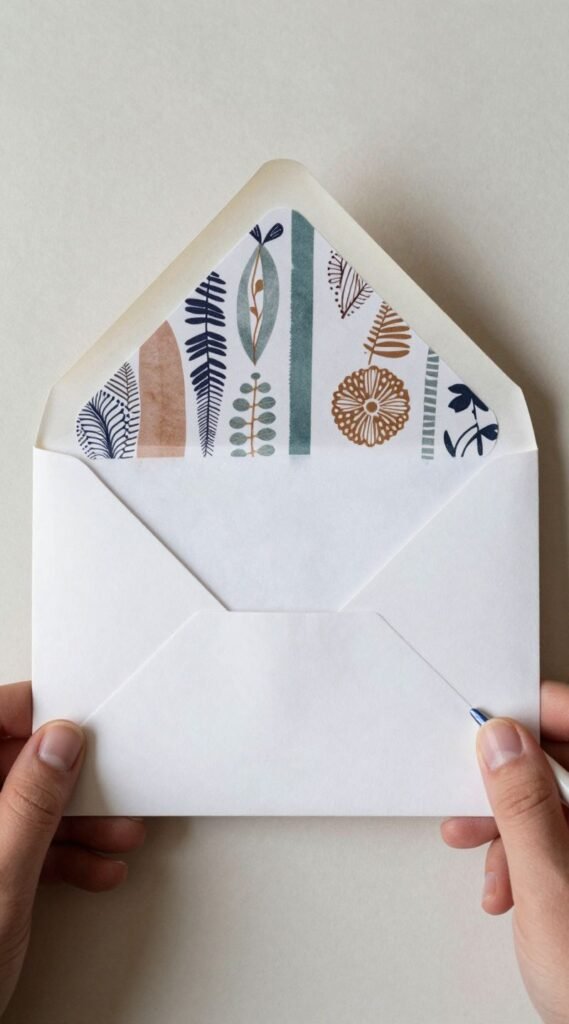
How it works: Make a basic envelope. Cut a slightly smaller inner liner from patterned paper and glue just along the top flap.
Pro tip: Use wrapping paper scraps for budget-friendly glam.
It works because the liner adds structure and style without bulking the seams.
11. CD-Style Round Envelope
Curvy and cute. Great for flat gifts, stickers, or notes.
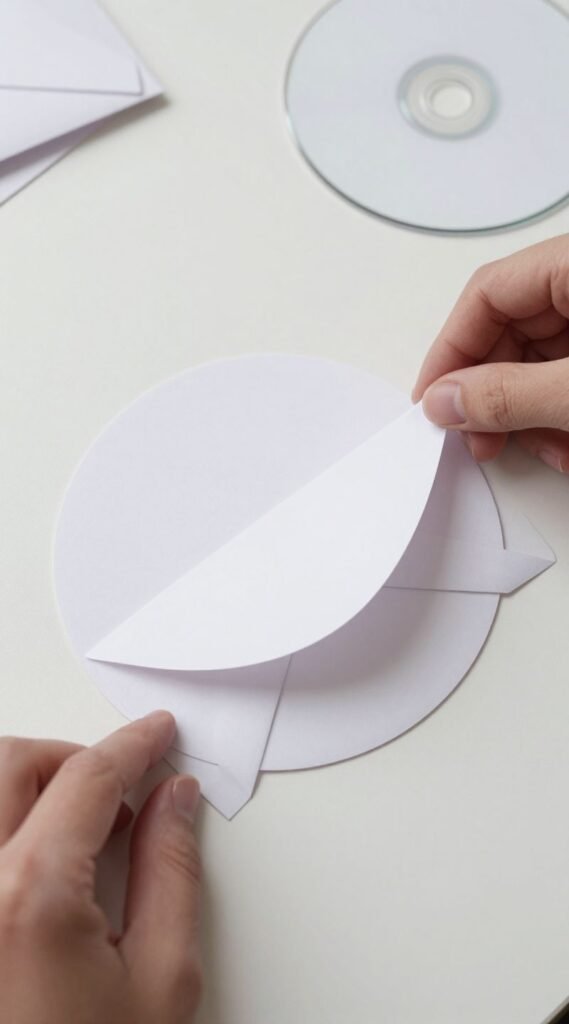
How it works: Cut a large circle. Fold four equal arcs toward the center until they overlap. Tuck one under to close.
Pro tip: Trace a dinner plate for symmetrical circles; symmetry keeps the flaps flush.
It works because overlapping curves create a tidy self-locking system.
12. Mini Accordion Pouch
Tiny, expandable, and ridiculously useful. Holds tags, stamps, or confetti.
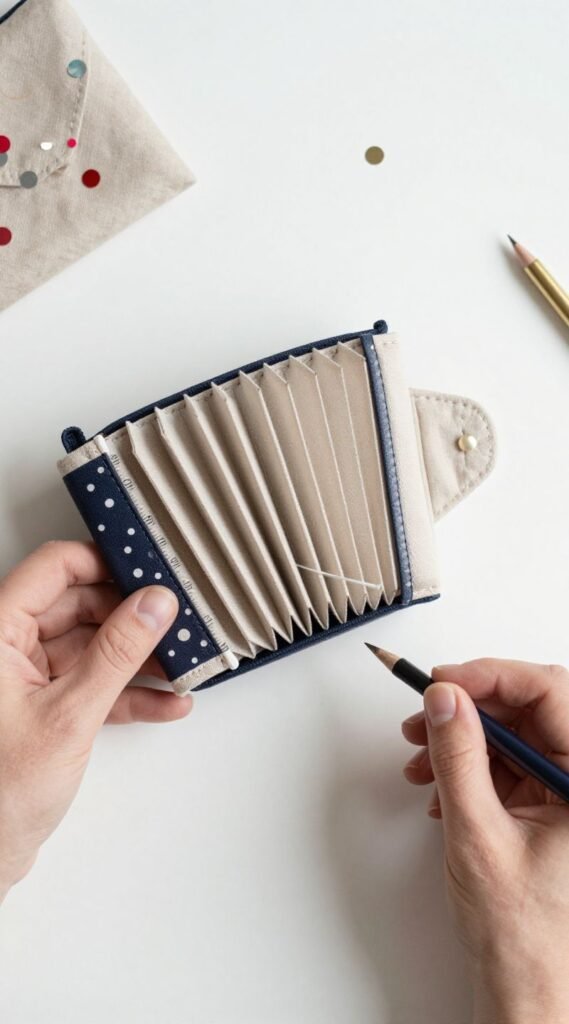
How it works: Create two rectangles for front and back. Add narrow accordion sides, glue edges, and finish with a flap.
Pro tip: Score the accordion folds evenly at 0.5 inch intervals for smooth expansion.
It works because the side gussets flex to fit more without splitting.
13. Book Page Upcycle
Eco-friendly and artsy. Your mail gets instant personality.
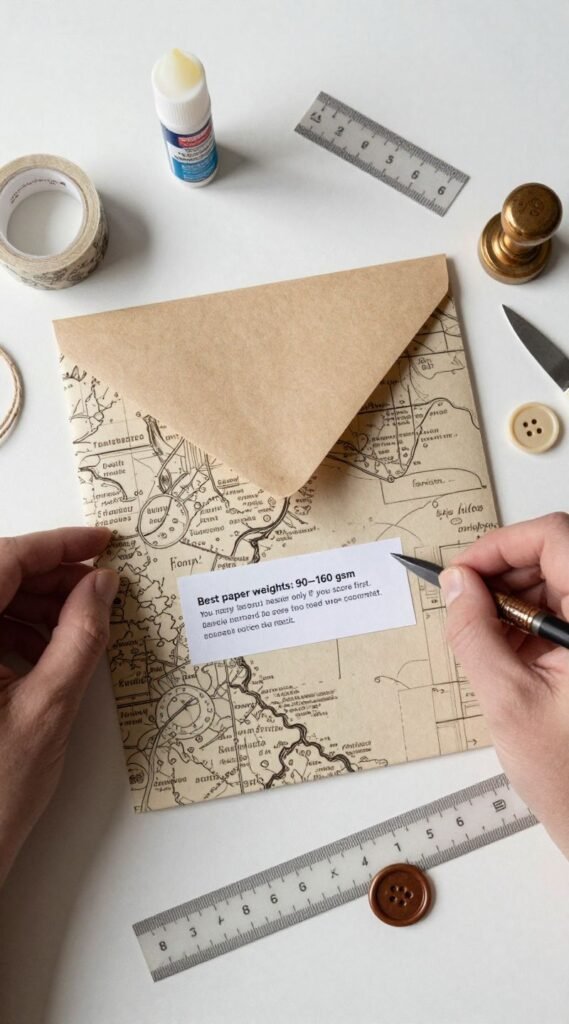
How it works: Use a page from an old book or map as your paper. Follow any basic fold pattern and seal.
Pro tip: Back thin pages with a sheet of kraft paper for strength while keeping the print visible.
It works because the printed texture makes even simple folds look intentional and chic.
- Materials you might want nearby: paper, glue stick, double-sided tape, washi tape, ruler, craft knife, wax seal, string, buttons.
- Best paper weights: 90–160 gsm for easy folding; go heavier only if you score first.
- Addressing tip: Use a bold pen or label so text stands out on patterned paper.
Conclusion
You now have thirteen ways to turn plain paper into mailbox-ready magic. From quick folds to fancy closures, you’ve got options for any vibe and any card. Keep a few sheets on hand, and you’ll never panic-envelope again. Your stationery drawer just leveled up—quietly, stylishly, and with zero drama.