📦 How To Make A Box
You want a box. Not a metaphor, a literal container for your stuff. Cool. I’ll walk you through ten fun ways to make one, from paper-cute to power-tool spicy. Grab some supplies, cue a playlist, and let’s build something that actually holds things without crying.
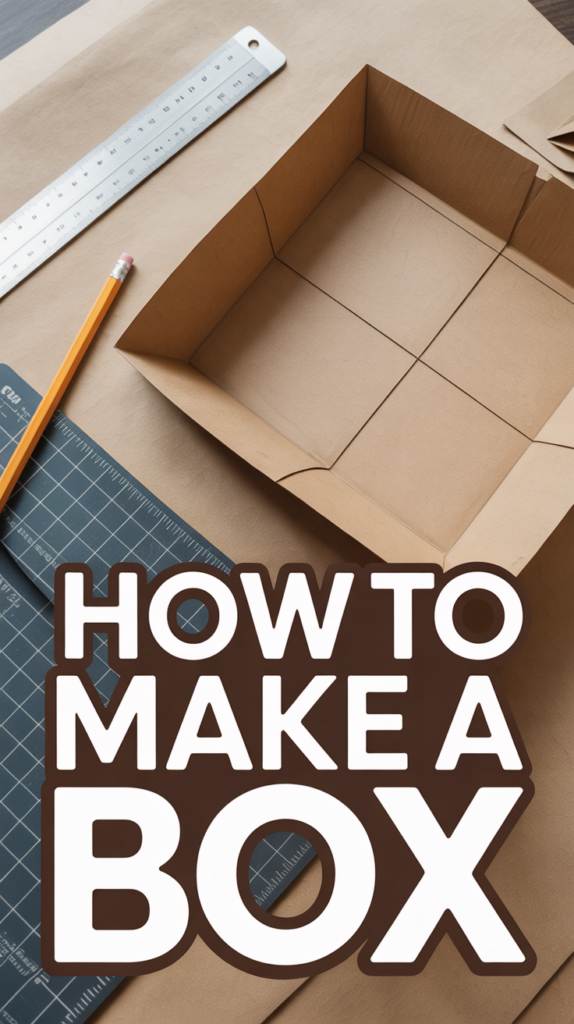
1. Classic Cardboard Fold-Up
Meet the MVP of boxes. It’s sturdy, cheap, and accepts duct tape like a love language.
Key points:
- Use a flat sheet of corrugated cardboard.
- Score fold lines with a blunt edge for crisp corners.
- Tape seams inside and outside for strength.
Pro tip: Run tape along the bottom seam in an H-pattern for maximum load-bearing sass.
Why it works: Corrugated layers add structure without bulk, so it’s tough but light.
2. Origami Paper Gift Box
Tiny, tidy, and weirdly satisfying. No glue, just folds and smug pride.
Key points:
- Use square paper; thicker craft paper holds shape better.
- Fold a lid slightly larger than the base.
- Press creases sharply for clean edges.
Pro tip: Lightly mist paper before final creases for tighter folds—don’t soak it, we’re making boxes, not tea.
Why it works: Tension from precise folds locks everything in place.
3. Foam Board Snap-Together
Lightweight, sleek, and great for organizers that look like you tried.
Key points:
- Cut panels with a sharp utility knife and metal ruler.
- Use rabbet cuts to interlock edges cleanly.
- Glue seams and reinforce with paper tape.
Pro tip: Score only the paper layer for bends without breaking the foam core.
Why it works: Foam board gives rigidity with minimal weight, perfect for shelves and drawers.
4. Wood Slat Storage Crate
Rustic vibes with actual function. Your plants and blankets will feel important.
Key points:
- Use pine slats and 1x2s for the frame.
- Pre-drill and screw for strength; glue joints for longevity.
- Sand and seal to prevent splinters.
Pro tip: Add a cross-brace underneath to stop sagging if you store heavy stuff.
Why it works: Framed slats distribute weight while keeping the build simple.
5. Leather Snap Box
Minimalist chic with big main-character energy. Folds flat, pops up when needed.
Key points:
- Use thick veg-tan or faux leather.
- Punch corner holes and add snaps or rivets.
- Burnish edges for a clean finish.
Pro tip: Stabilize the base with a hidden insert of chipboard wrapped in fabric.
Why it works: Leather holds its form and looks better with age—like your favorite boots.
6. Acrylic Box with Solvent Weld
Crystal clear and nerdy-cool. Great for display, zero for hiding clutter.
Key points:
- Laser-cut or carefully saw acrylic panels.
- Use solvent cement with a capillary applicator.
- Clamp lightly to avoid squeeze-out and bubbles.
Pro tip: Peel protective film only at the edges until you’re ready to glue to avoid scratches.
Why it works: Solvent welding melts edges to create seamless, strong joints.
7. Upcycled Cereal Box Organizer
Breakfast to desktop hero. It’s eco, it’s cute, it’s basically free.
Key points:
- Cut to size for drawers or shelves.
- Wrap with contact paper or fabric for durability.
- Reinforce corners with card strips and glue.
Pro tip: Add a pull tab using a brass fastener so it slides out like a tiny drawer.
Why it works: Thin card becomes sturdy when doubled and wrapped—teamwork makes structure.
8. 3D Printed Storage Cube
For the gadget people. Precise, modular, and wildly customizable.
Key points:
- Design with filleted corners for strength.
- Use thicker walls and higher infill for heavy loads.
- Add snap-fit lids or stackable rails.
Pro tip: Print in PETG for durability and mild flex; PLA if you want speed over heat resistance.
Why it works: Layered plastic with tuned geometry gives strong, repeatable results.
9. Fabric-Covered Keepsake Box
Soft on the eyes, sturdy under the hood. It’s the cardigan of containers.
Key points:
- Build a chipboard shell with PVA glue.
- Wrap with fabric; clip corners neatly.
- Add a hinged lid with ribbon or bookcloth.
Pro tip: Use a bone folder to smooth bubbles and sharpen edges like a pro bookbinder.
Why it works: Chipboard provides structure; fabric adds polish and durability.
10. Metal Tin Repurpose
Low effort, high payoff. It’s already a box—just give it purpose.
Key points:
- Clean thoroughly and remove odors with baking soda.
- Add foam inserts or dividers for tools or jewelry.
- Label or stencil for instant organization.
Pro tip: Line with adhesive felt to stop rattles and protect delicate items.
Why it works: Metal tins are durable, stackable, and surprisingly chic with tiny tweaks.
Conclusion
There you go—ten ways to box like a boss, from paper folds to power builds. Pick your vibe, match your materials, and make a container that actually contains. The best box is the one that fits your stuff, your style, and your patience level. Now go put things in their cute new homes before they escape again.