🎀 How To Make A Bow With Paper
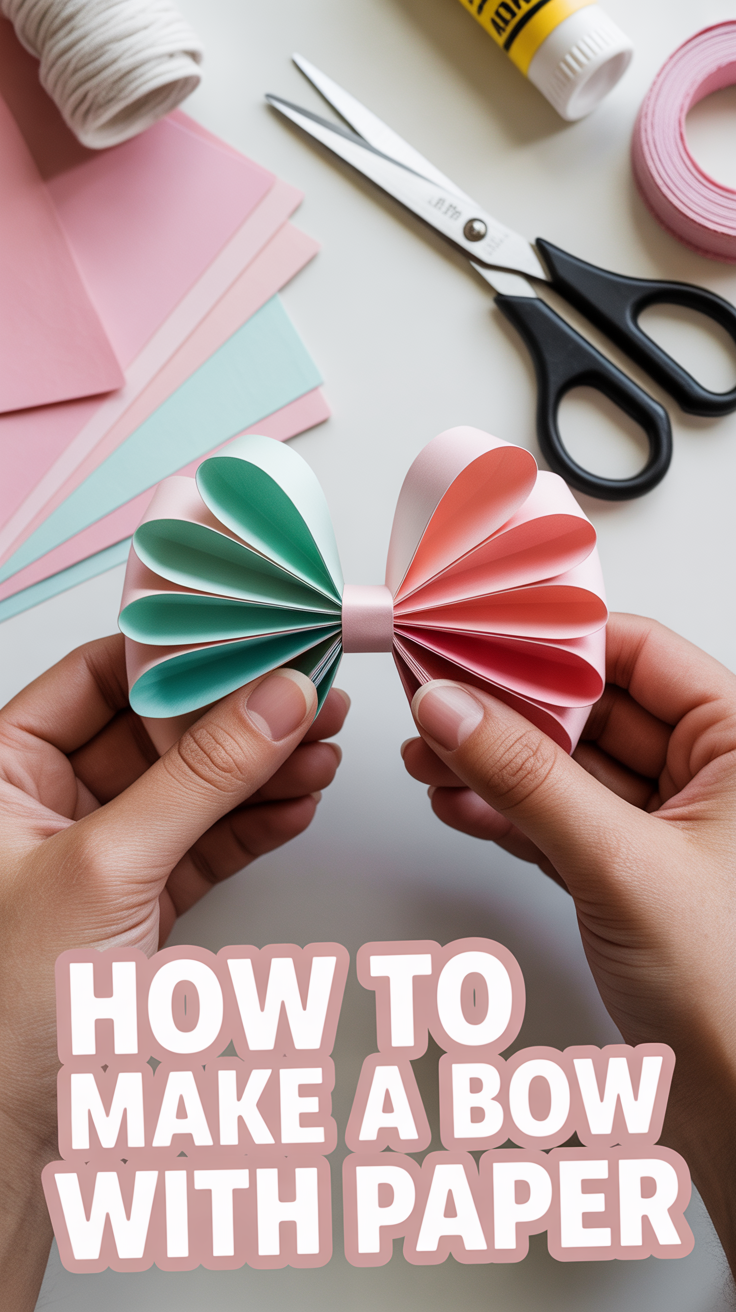
Got a sheet of paper and two minutes? Perfect. We’re about to turn humble paper into bows that look boutique-level fancy. No glue gun burns, no craft-store chaos—just fold, snip, flex, done.
Pick your paper: scrapbook, wrapping, printer, old magazine—if it bends, it blends. Keep scissors and some double-sided tape nearby. Let’s make bows that actually look intentional.

1. Classic Looped Bow
Think gift-wrap royalty. This one gives you that iconic bow look with minimal drama.
Key points:
- Cut a strip about 10 inches by 1.5 inches.
- Form two loops, cross them, and tuck one loop through the center like tying shoelaces.
- Secure the center with a tiny tape piece.
Pro tip: Slightly curve the paper with your thumb first for smoother loops. Less creasing, more glam.
It works because the tension in the loop keeps the bow neat and symmetrical.
2. Double Loop Bow
Same as classic, but extra. Literally two layers for plush volume.
Key points:
- Make one classic bow.
- Make a second, slightly smaller bow.
- Stack smaller on top and cinch together with a thin center strip.
Pro tip: Mix patterns—solid base, patterned top—for instant “I planned this” energy.
It works because stacked loops add depth without bulk.
3. Ribbon Strip Bow
When you don’t want to fold; you want flair. This one looks like a gift-shop ribbon.
Key points:
- Cut 5–7 strips in decreasing lengths.
- Loop each strip end-to-end into a figure-eight and tape the ends.
- Stack largest to smallest and secure in the center.
Pro tip: Use a contrasting center strip to hide tape and look polished.
It works because layered loops create dimension from flat paper.
4. Tuxedo Bow
Clean, rectangular, and sharp—like your stationery’s going to prom.
Key points:
- Cut a rectangle and fold both short ends to the center.
- Pinch the middle, creating a pleat.
- Wrap a thin strip around the center and tape at the back.
Pro tip: Score the center lightly with a blunt edge for a crisp pinch.
It works because symmetry and a tight center make the bow structured.
5. Origami Butterfly Bow
Pretty, delicate, and deceptively simple—zero tape if you’re zen.
Key points:
- Use a square sheet.
- Fold diagonals, then fold edges to meet at center.
- Reverse-fold to create two “wings,” pinch middle to bow shape.
Pro tip: Use thin paper for crisp folds; cardstock fights back.
It works because origami folds lock themselves into place.
6. Heart-Center Bow
Cute enough for cards, not too sweet to be cringe.
Key points:
- Make a classic looped bow.
- Punch or cut a small heart.
- Glue or tape the heart over the center strip.
Pro tip: Metallic paper hearts instantly look luxe.
It works because a focal shape hides seams and adds charm.
7. Layered Petal Bow
Florals for gifts? Groundbreaking—but this one’s actually chic.
Key points:
- Cut petal shapes in three sizes.
- Curve each petal by pulling along a pencil.
- Layer large to small and press the center to form a bow-like bloom.
Pro tip: Alternate textures—matte and glossy—for depth.
It works because curved petals mimic soft loops without folds.
8. Minimal Band Bow
Sleek, modern, Pinterest-board approved.
Key points:
- Cut a long strip and form a simple oval loop.
- Add a second identical loop.
- Stack horizontally and wrap a narrow center band.
Pro tip: Use monochrome for that gallery-aesthetic vibe.
It works because clean geometry reads high-end.
9. Fringe Pom Bow
Party on top. This one screams celebration with zero helium required.
Key points:
- Fold a rectangle and fringe the open edge finely.
- Roll it into a cylinder and tape.
- Fluff the fringe and squeeze the middle to bow it out.
Pro tip: Cut fringe super thin for fuller volume.
It works because micro-cuts create light, airy texture.
10. Envelope Tab Bow
Built-in upgrade for cards and letters—no extra bulk.
Key points:
- Cut a small bow shape with tabs on each side.
- Fold tabs back behind the card edge.
- Tape inside so the front stays clean.
Pro tip: Trace once, keep the template forever.
It works because hidden tabs give a seamless front view.
11. Curly Cue Bow
Like ribbon curls, but you made them from paper. Wizard behavior.
Key points:
- Cut narrow strips.
- Curl each around a pencil like you’re curling hair.
- Gather curls, pinch center, and wrap with a strip.
Pro tip: Mix widths for playful movement.
It works because varying tension creates dynamic curls.
12. Pocket Bow With Tag
Bow plus a hidden note—like a gift with a secret.
Key points:
- Create a wide loop and flatten it.
- Seal the sides, leaving a small pocket in front.
- Add a tiny tag inside; wrap a band to finish.
Pro tip: Write in contrast ink so it pops when revealed.
It works because function meets flair—cute and useful.
13. Giant Statement Bow
Go big or go back to regular bows. This one steals the show.
Key points:
- Use wrapping paper for scale.
- Create two oversized loops and one long tail piece.
- Cinch hard at center and reinforce with tape and a wide band.
Pro tip: Add fishtail cuts to the ends for drama.
It works because exaggerated proportions make anything look custom.
Conclusion
Paper bows: fast, cute, and weirdly satisfying. You just turned scraps into style—gift-ready, card-worthy, and totally flexy.
Keep a stash of strips and a roll of double-sided tape nearby, and you’ll always have a last-minute glow-up for packages, parties, and projects.