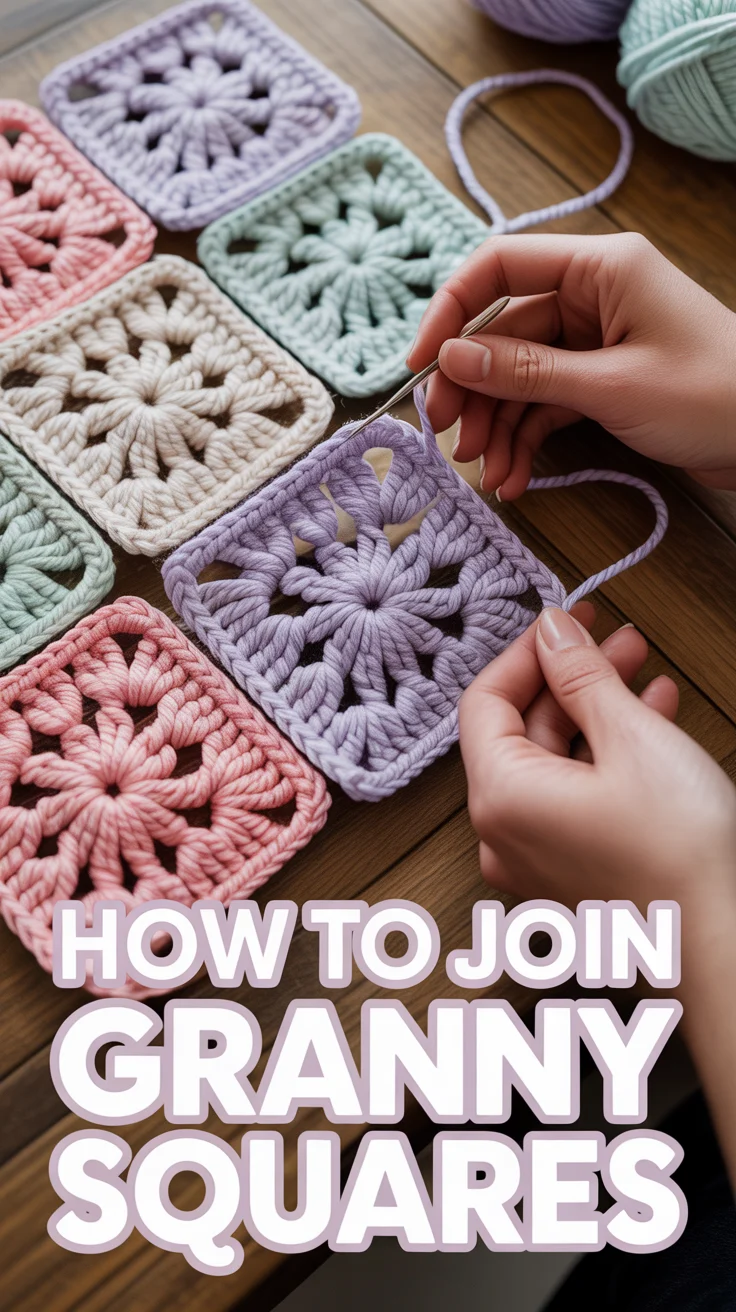
🧶 How To Join Granny Squares
🛠️ The Ultimate Maker's Toolkit
I've tested thousands of craft tools over the years. Whether you are quilting, crafting, or building mixed-media art, these are the top 5 absolute non-negotiable tools I personally recommend to guarantee professional results.
🪡 SINGER Heavy Duty 4452 Sewing Machine
The sewing community highly recommends this as the ultimate "bulletproof" entry-level machine. Its heavy metal frame powerfully pushes through thick denim and heavy quilt layers that would instantly jam a standard plastic machine.
✂️ Fiskars 8" Orange-Handled Scissors
Never settle for dull dollar-store blades. Wirecutter repeatedly names Fiskars the absolute best all-purpose craft scissor due to its legendary precision-ground blades and an ergonomic grip that prevents hand-cramping.
🔥 Gorilla Dual Temp Hot Glue Gun
Named Wirecutter's top choice because it literally does the work of two tools. It features dual-temperature settings offering low heat for delicate florals and blistering high heat for heavy wood adhesion repairs.
🖌️ Mod Podge Waterbase Gloss Sealer
The absolute undisputed champion of decoupage and paper crafts. Experts rely exclusively on this exact water-based formula because it glues, seals, and finishes beautifully without yellowing or flaking over time.
🎨 Apple Barrel Acrylic Paint (2 oz)
The quintessential, incredibly inexpensive craft paint. Woodworkers and hobby painters swear by its smooth flow and matte finish, providing massive value and remarkably thick color coverage on rough surfaces.
Got a pile of granny squares staring back like neglected houseplants? Let’s stitch those cuties into something wearable, giftable, or at least less guilt-inducing. We’ll cover fast joins, fancy joins, and the ones that make your grandma nod approvingly. Grab your hook, your yarn, and your main character energy.
1. Slip Stitch Seam
Simple, tidy, and quick—like the crochet version of double-sided tape. You lay two squares together and join through the back loops with slip stitches.
Why it’s good: Flat, slightly visible ridge gives a neat frame. Great for beginners and for keeping edges aligned.
Pro tip: Use a smaller hook than your squares to avoid a wavy seam. And don’t yank—gentle tension keeps the fabric supple.
It works because the back-loop slip stitch locks edges cleanly without bulk, giving a crisp grid.
2. Single Crochet Join
Chunkier, bold, and perfect for adding texture. Work single crochet through both squares’ outer loops.
Why it’s good: Creates a defined ridge that looks intentional—hello, graphic lines. Strong and durable for blankets and bags.
Pro tip: Keep your stitches even and count corners carefully; add 3 sc in corner spaces to prevent pulling.
It works because the raised seam distributes tension and makes assembly sturdy.
3. Mattress Stitch Magic
Invisible join vibes for the perfectionists. Sew with a tapestry needle, weaving through edge bars.
Why it’s good: Seam hides inside, squares kiss together with zero bulk. Flexible and clean.
Pro tip: Block first, then align stitch-for-stitch. Use a smooth yarn in a matching color for true stealth mode.
It works because you’re marrying the fabric’s vertical bars without compressing the stitches.
4. Join As You Go Granny
JAYG saves time and sanity. You attach new squares while completing the final round.
Why it’s good: No mountain of seaming later. Perfect for big blankets and modular clothing.
Pro tip: Replace chain spaces with slip stitches into the adjacent square’s chain spaces; keep tension soft so it lies flat.
It works because you integrate edges in real time for a cohesive drape.
5. Flat Slip Stitch Join
Like slip stitch seam, but done flat and only through one loop per square from the top. Very low profile.
Why it’s good: Almost invisible ridge on the front, smooth on the back. Great for delicate yarns.
Pro tip: Insert hook under the front loop only of each square for a sleek line; keep the yarn relaxed.
It works because minimal yarn passes through, reducing bulk and stiffness.
6. Zigzag Crochet Join
Decorative and stretchy—your blanket gets runway edges. You work alternating chain arches between squares.
Why it’s good: Adds flair and flexibility, perfect for garments or baby blankets.
Pro tip: Use a contrasting color to make the zigzag pop; test your stitch multiple to match square stitch counts.
It works because chains create elastic bridges that move with the fabric.
7. Whip Stitch Quickie
Fast, forgiving, and easy to undo if you change your mind (no judgment). Sew through edge loops with a simple whip.
Why it’s good: Speed demon method for big projects. Low learning curve.
Pro tip: Catch the outer loops only to hide the seam; keep stitches small and even to avoid a spiral twist.
It works because consistent diagonal passes pull edges together without bulk.
8. Flat Braid Join
Fancy without trying too hard. Uses chains and single crochets to create a lacy braid between squares.
Why it’s good: Adds decorative negative space and great drape. Stunning in shawls and throws.
Pro tip: Maintain a steady chain length—use ch 3 or ch 5 consistently—and lock corners with a sc, ch 1, sc combo.
It works because the braid distributes tension evenly while looking extra.
9. Continuous Join As You Go
No cutting after every square—your yarn stays on tour. You snake through rows with one continuous path.
Why it’s good: Fewer ends to weave, faster assembly, very tidy on the back.
Pro tip: Sketch your path first or follow a grid plan; mark corners with stitch markers so you don’t miss the pivots.
It works because consistent joining rounds unify the whole piece structurally.
10. Ladder Stitch Seam
Invisible sewing with surgical precision. You catch horizontal bars across edges, then gently snug.
Why it’s good: Seam vanishes, perfect for multicolor squares where you want the motifs to shine.
Pro tip: Tug lightly every few inches, not every stitch, to avoid puckering; match stitch-to-stitch along edges.
It works because the ladder collapses into the fabric, closing gaps neatly.
11. Tunisian Slip Join
Hybrid nerds, assemble. Use a Tunisian hook to slip join stitches for a flat, stable seam.
Why it’s good: Adds structure without bulk and behaves well on larger pieces.
Pro tip: Work with a hook one size larger than your square’s hook to maintain flexibility; keep loops loose.
It works because Tunisian slip stitches anchor edges with minimal height and maximum control.
- Blocking matters: Block squares before joining for accurate edges.
- Consistent corners: Most joins need 3 stitches or chain spaces at corners to prevent pinching.
- Yarn choice: Match fiber content and weight to avoid weird tension battles.
- Swatch first: Test a join on two mini squares to confirm drape and look.
✨ New Member Etsy Shops (100% Unsponsored!)
We are incredibly proud of the talent in this community! 💖 We've rounded up some gorgeous new Etsy shops launched by our very own members.
There are ZERO affiliate links in this post—just 100% pure support for our makers. Click below to shop small, show them some love, and find your new favorite items! 👇🛍️


Conclusion
Your granny squares are officially out of the stash and into their main character era. Pick the join that fits your vibe—sleek, chunky, lacy, or lightning-fast—and let the texture do the flexing.
The right join turns a stack of motifs into a finished piece with gorgeous structure, clean lines, and satisfying drape. Now go stitch that masterpiece and humble-brag appropriately.