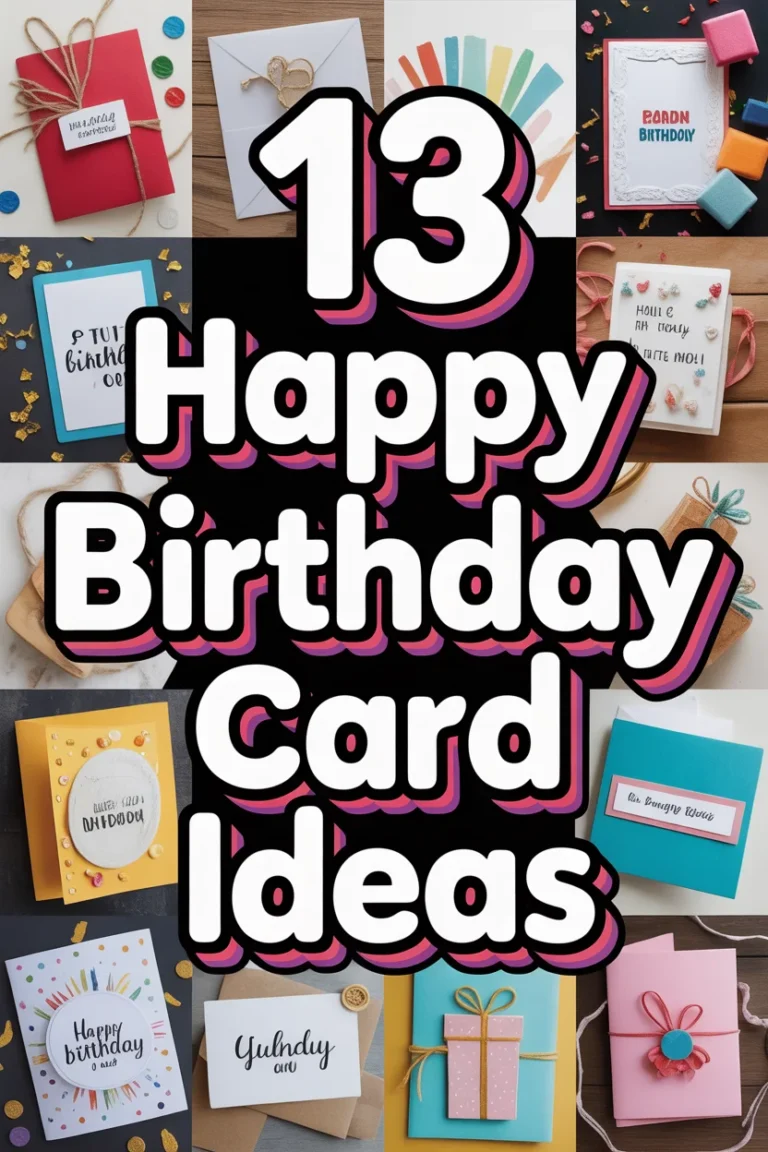
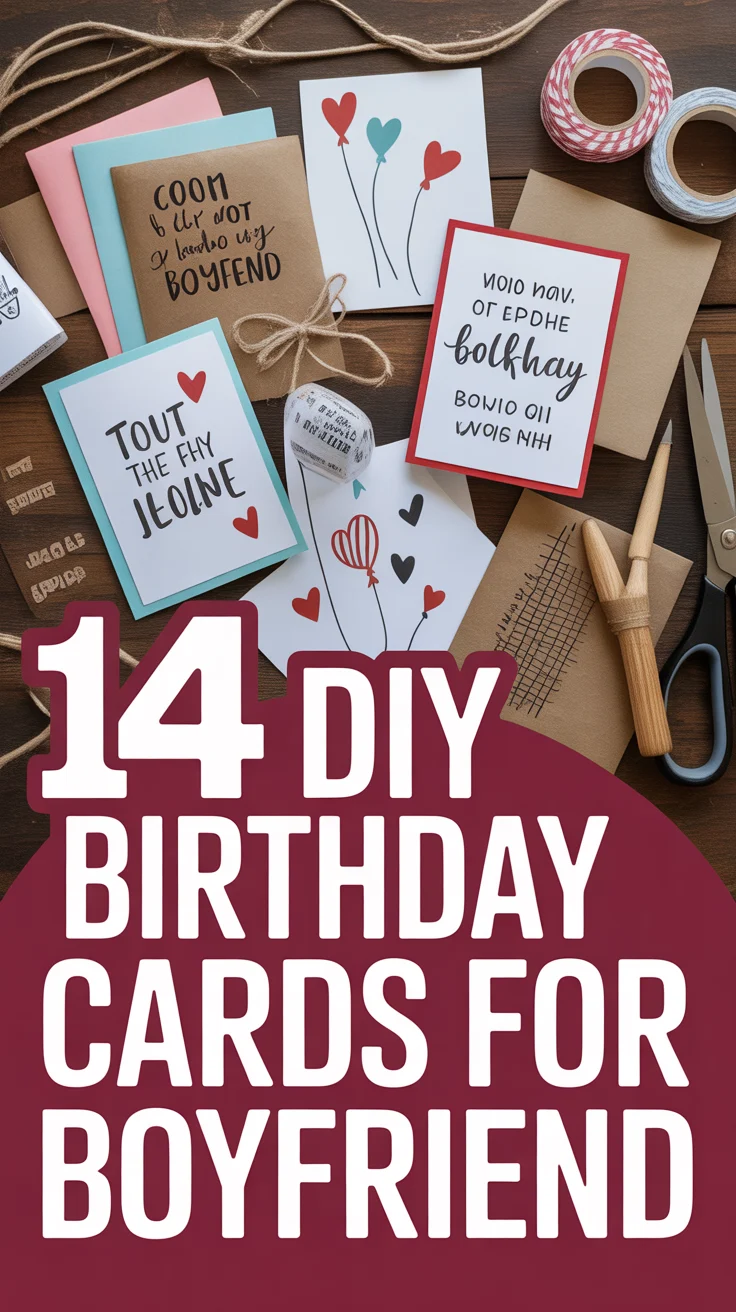
🥳 14 Happy Birthday Cards DIY
🛠️ The Ultimate Maker's Toolkit
I've tested thousands of craft tools over the years. Whether you are quilting, crafting, or building mixed-media art, these are the top 5 absolute non-negotiable tools I personally recommend to guarantee professional results.
🪡 SINGER Heavy Duty 4452 Sewing Machine
The sewing community highly recommends this as the ultimate "bulletproof" entry-level machine. Its heavy metal frame powerfully pushes through thick denim and heavy quilt layers that would instantly jam a standard plastic machine.
✂️ Fiskars 8" Orange-Handled Scissors
Never settle for dull dollar-store blades. Wirecutter repeatedly names Fiskars the absolute best all-purpose craft scissor due to its legendary precision-ground blades and an ergonomic grip that prevents hand-cramping.
🔥 Gorilla Dual Temp Hot Glue Gun
Named Wirecutter's top choice because it literally does the work of two tools. It features dual-temperature settings offering low heat for delicate florals and blistering high heat for heavy wood adhesion repairs.
🖌️ Mod Podge Waterbase Gloss Sealer
The absolute undisputed champion of decoupage and paper crafts. Experts rely exclusively on this exact water-based formula because it glues, seals, and finishes beautifully without yellowing or flaking over time.
🎨 Apple Barrel Acrylic Paint (2 oz)
The quintessential, incredibly inexpensive craft paint. Woodworkers and hobby painters swear by its smooth flow and matte finish, providing massive value and remarkably thick color coverage on rough surfaces.
Alright, let’s be real. Buying a generic birthday card feels a bit… meh, right? You fork over five bucks for something that probably just says “Happy Birthday” in a font you’ve seen a million times. Snoozeville! Your bestie, your sibling, or even your slightly-too-cool cousin deserves better. They deserve a masterpiece. A tiny, foldable, paper-based testament to your undying affection (and craft skills). Ditch the card aisle, grab some supplies, and let’s make some magic. Your wallet and your friends will thank you. Probably.
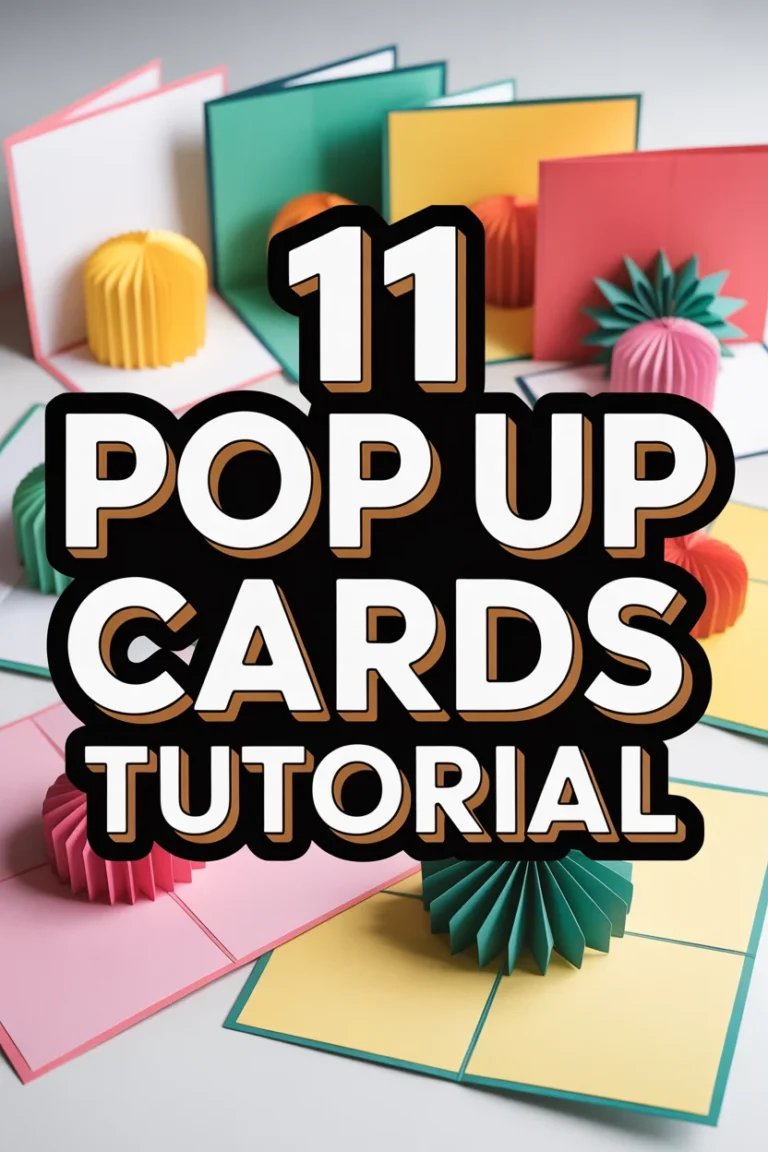
1. Pop-Up Party Scene
Want to literally elevate your card game? A pop-up card screams “I put effort into this!” You’re creating a tiny, paper diorama that springs to life when opened. It’s like a mini surprise party in an envelope.
Start with a simple base card and cut two parallel slits in the fold. Push the resulting tab forward to create a platform. Attach a small, fun element like a cake, a balloon, or a tiny gift box to that platform. Pro tip: Use thick cardstock for your pop-up elements; nobody wants a floppy paper party. This card is a definite showstopper because it adds an interactive element that store-bought just can’t replicate.
2. Watercolor Whimsy
Unleash your inner artist, even if your inner artist mostly draws stick figures. Watercolor cards are effortlessly chic and surprisingly forgiving. The soft, blended colors give a dreamy, artisanal vibe.
Grab some watercolor paper and your favorite paints. You can paint a loose floral design, a starry night sky, or even just abstract blobs of color. Let it dry completely before adding a simple message. Pro tip: Try a “wet-on-wet” technique by dampening the paper first for beautifully diffused colors. It’s perfect for adding a touch of elegance without needing a fine arts degree.
3. Button Bonanza
Who knew those random buttons in your sewing kit could be so stylish? This card adds awesome texture and a playful, tactile quality that begs to be touched. It’s quirky, cute, and totally unique.
Arrange an assortment of buttons on the front of your card to form a shape, like a balloon cluster, a flower, or even the first letter of their name. Secure them with strong craft glue. Pro tip: Mix and match button sizes and colors for an extra dynamic look. This one works wonders because it’s so visually interesting and makes people smile.
4. Washi Tape Wonders
If you’re a craft newbie, washi tape is your new best friend. It’s colorful, repositionable, and instantly elevates anything it touches. This card is practically foolproof and looks super trendy.
Tear or cut strips of various washi tapes and arrange them in patterns on your card. Think stripes, geometric shapes, or even creating a “cake” outline. You can layer them for a cool effect. Pro tip: Use a different pattern of tape to create a border for added flair. It’s a quick win for anyone wanting a vibrant and modern card.
5. Fingerprint Funnies
Get a little messy and a lot personal with fingerprint art. This is especially adorable for kids’ cards or for someone who appreciates a truly handmade, slightly goofy touch. It’s art straight from your digits!
Use washable ink pads in various colors. Press your finger onto the pad, then onto the card to create “blobs.” You can then draw tiny details with a fine-tip marker to turn those blobs into bees, balloons, or even tiny people. Pro tip: Practice on a scrap piece of paper first to get the hang of consistent prints. It’s incredibly personal and guaranteed to get a chuckle.
6. Sticker Story Time
Okay, so maybe “DIY” feels like a stretch here, but arranging stickers thoughtfully is an art form, people! This is the ultimate low-effort, high-impact card, perfect for when time is short but intentions are grand.
Choose a theme for your stickers, or just go wild with a random assortment. Create a small scene or use them to spell out a playful message. Layering stickers can add depth. Pro tip: Combine different types of stickers, like puffy ones with flat ones, for extra texture. It’s a super quick way to personalize a card with minimal fuss.
7. Photo Collage Card
Nothing says “I remember all our shenanigans” like a good old photo collage. This card is a sentimental journey, perfect for close friends or family, packed with inside jokes and cherished memories.
Print out several small photos (think passport photo size) of you and the recipient. Arrange them on the front of the card, overlapping slightly, to create a mosaic of memories. Add a small caption or date if you’re feeling extra. Pro tip: Use a glue stick for a smooth, wrinkle-free application of photos. It’s a heartfelt way to celebrate your shared history.
8. Threaded & Stitched Style
For the slightly more ambitious crafter, stitching on a card adds a sophisticated, tactile dimension. It looks intricate but is surprisingly simple to do with a few basic tools. It’s a cozy, handcrafted feel.
Sketch a simple design (like a heart, a star, or an initial) onto your card. Use a pushpin or needle to carefully poke small holes along your design outline. Then, use embroidery floss and a needle to stitch through the holes. Pro tip: Use contrasting thread colors for a bolder look. This card screams “thoughtful” and “artisan.”
9. Confetti Explosion Surprise
Want to add a literal pop to their birthday? A confetti card is pure joy and a tiny bit of playful chaos. Just be prepared for the recipient to find glitter in unexpected places for days. It’s worth it.
Create a small, clear plastic pocket (you can use a cut-up plastic bag or a clear envelope) and fill it with colorful confetti, glitter, or small sequins. Seal it securely and attach it to the inside or front of the card. Pro tip: Make sure the pocket is sealed tight; nobody wants loose confetti before the grand reveal. It’s an instant party starter!
10. Hand-Lettered Love
If you’ve got even a smidgen of decent handwriting (or just a lot of confidence), hand-lettering a card is incredibly personal and stylish. It shows you literally put your own hand into it.
Practice a few different fonts or lettering styles on scrap paper. Then, choose a meaningful phrase or their name and carefully letter it onto the card using a nice pen or brush marker. Pro tip: Outline your letters lightly in pencil first, then trace over them with your pen for clean lines. It’s a truly personalized touch that feels very current.
11. Origami Embellishment
Fold a little bit of magic onto your card! Adding a small origami figure instantly makes your card stand out. It’s unexpected, intricate, and shows off some serious folding prowess.
Fold a simple origami shape like a star, a heart, a tiny crane, or a flower from colorful paper. Securely glue the finished origami piece to the front of your card. Pro tip: Use paper that isn’t too thick for easier folding, especially for smaller designs. This card is a unique conversation starter and truly impressive.
12. Glitter Glam Galore
Sometimes, you just need to embrace the sparkle. A glitter-adorned card is festive, fun, and impossible to ignore. Yes, it will get everywhere, but that’s part of its charm.
Apply craft glue in a design (like stripes, dots, or a celebratory message) onto your card. Sprinkle glitter generously over the glue, then tap off the excess. Let it dry completely. Pro tip: Use a piece of scrap paper underneath to catch the excess glitter for easy cleanup and reuse. It’s pure, unadulterated birthday cheer.
13. Die-Cut Delights
If you have access to a die-cutting machine (or a very patient hand with an X-Acto knife), you can create incredibly precise and professional-looking designs. This takes your card from “cute” to “craft store quality.”
Use a die-cutting machine to cut out intricate shapes like balloons, candles, or even detailed lettering from contrasting cardstock. Adhere these cutouts to your card for a layered, polished look. Pro tip: Use foam adhesive dots to give your die-cuts a 3D effect. It’s perfect for a clean, sophisticated aesthetic.
14. Scrap Fabric Scenery
Don’t toss those fabric scraps! They can add incredible texture and a cozy, homey feel to your birthday card. It’s an eco-friendly and surprisingly chic way to craft.
Cut small pieces of colorful fabric into shapes like hills, clouds, or even tiny gift boxes. Glue them onto your card to create a miniature scene or a patchwork design. Pro tip: Use fabric glue to prevent fraying and ensure a strong bond. This card feels wonderfully tactile and wonderfully unique.
✨ New Member Etsy Shops (100% Unsponsored!)
We are incredibly proud of the talent in this community! 💖 We've rounded up some gorgeous new Etsy shops launched by our very own members.
There are ZERO affiliate links in this post—just 100% pure support for our makers. Click below to shop small, show them some love, and find your new favorite items! 👇🛍️


Conclusion
See? You’re basically a professional card maker now. No more sad, uninspired greetings for your favorite people. You’ve got 14 killer ideas up your sleeve, ready to unleash your inner craft beast. So go on, grab those supplies, blast some tunes, and make someone’s birthday truly special with a card that screams “I actually thought about you!” They’ll totally appreciate the effort. And maybe even frame it. You’re welcome.