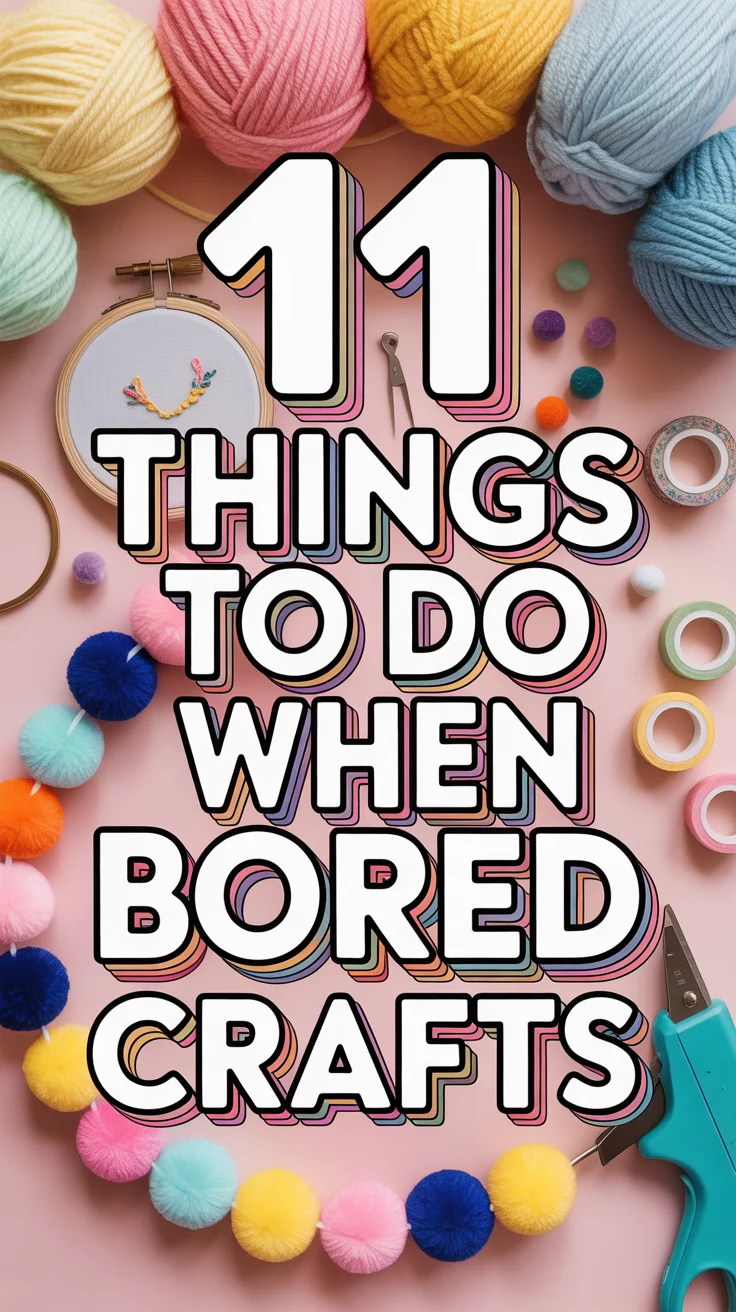
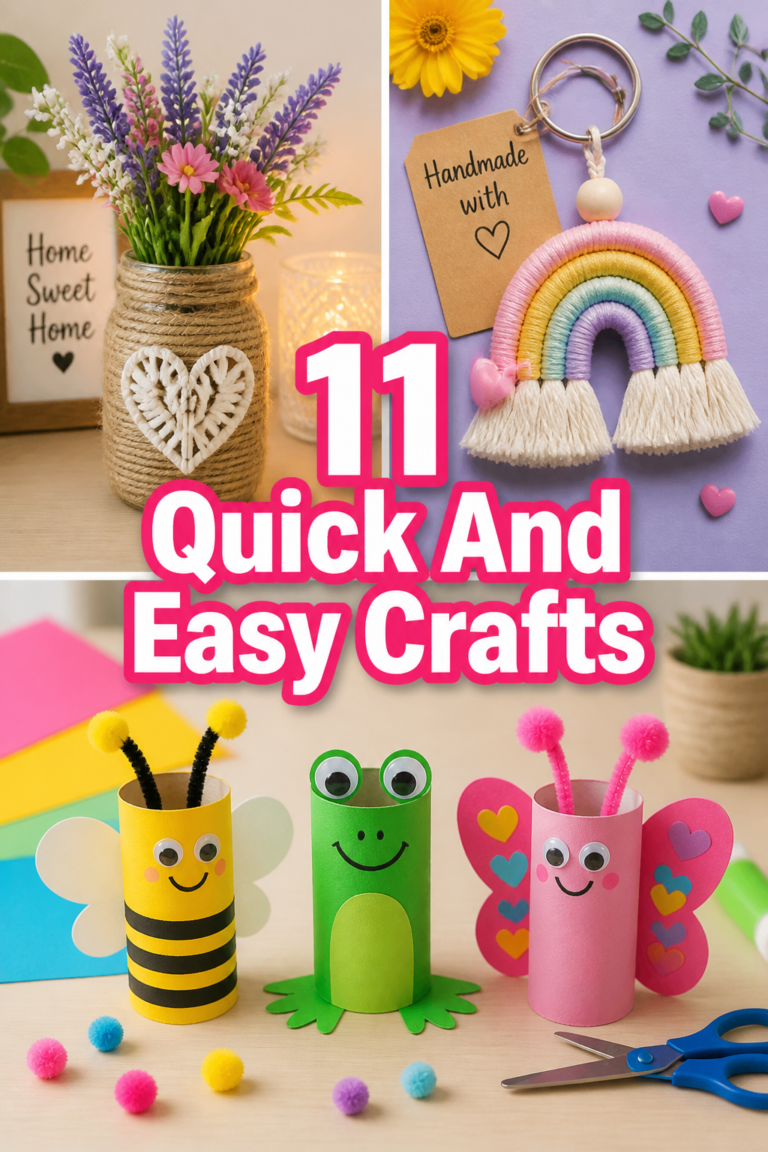
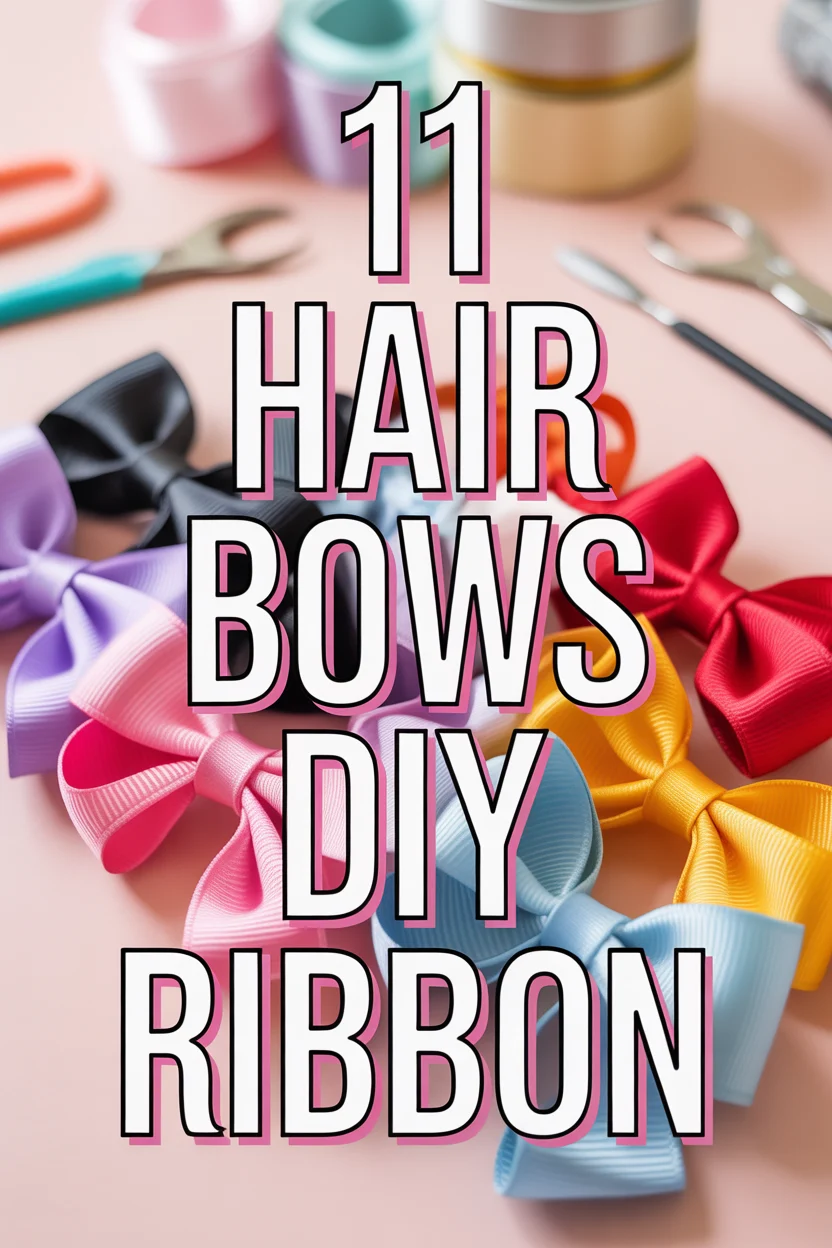
🎀 11 Hair Bows DIY Ribbon
🛠️ The Ultimate Maker's Toolkit
I've tested thousands of craft tools over the years. Whether you are quilting, crafting, or building mixed-media art, these are the top 5 absolute non-negotiable tools I personally recommend to guarantee professional results.
🪡 SINGER Heavy Duty 4452 Sewing Machine
The sewing community highly recommends this as the ultimate "bulletproof" entry-level machine. Its heavy metal frame powerfully pushes through thick denim and heavy quilt layers that would instantly jam a standard plastic machine.
✂️ Fiskars 8" Orange-Handled Scissors
Never settle for dull dollar-store blades. Wirecutter repeatedly names Fiskars the absolute best all-purpose craft scissor due to its legendary precision-ground blades and an ergonomic grip that prevents hand-cramping.
🔥 Gorilla Dual Temp Hot Glue Gun
Named Wirecutter's top choice because it literally does the work of two tools. It features dual-temperature settings offering low heat for delicate florals and blistering high heat for heavy wood adhesion repairs.
🖌️ Mod Podge Waterbase Gloss Sealer
The absolute undisputed champion of decoupage and paper crafts. Experts rely exclusively on this exact water-based formula because it glues, seals, and finishes beautifully without yellowing or flaking over time.
🎨 Apple Barrel Acrylic Paint (2 oz)
The quintessential, incredibly inexpensive craft paint. Woodworkers and hobby painters swear by its smooth flow and matte finish, providing massive value and remarkably thick color coverage on rough surfaces.
Alright, my stylish compadres, let’s get real. You’ve seen the hair bow resurgence, right? Suddenly, everyone’s rocking these adorable little ribbon numbers, and frankly, some of those price tags are giving my wallet a serious side-eye. But fear not, because we’re about to dive headfirst into the glorious, budget-friendly world of DIY hair bows. Grab your favorite ribbons, a hot glue gun that won’t judge your crafting skills, and let’s turn you into a ribbon-tying wizard. Your hair deserves this level of fabulousness, and your bank account will thank you.
1. The Classic Schoolgirl Bow
You know the one. It’s timeless, it’s chic, and it screams “I’m adorable but also probably aced my algebra test.” This bow is your go-to for a touch of refined sweetness.
You’ll want a medium-width grosgrain ribbon, something sturdy enough to hold its shape. Just loop it, tie it, and secure it to a hair elastic or barrette. It’s practically foolproof.
Pro tip: Slightly singe the ribbon ends with a lighter (carefully, please!) to prevent fraying. Nobody wants a raggedy bow, darling.
It works because it’s universally flattering and adds instant polish to any ponytail or half-updo.
2. Effortless Loopy Bow
Sometimes, you want a bow that looks like you just casually tossed it together, but secretly, it’s a masterpiece of intentional nonchalance. This is that bow.
It involves creating several loops and stacking them, giving a fuller, softer look than a traditional tied bow. Think soft satin or sheer organza for maximum floatiness.
Pro tip: Use floral wire to gather the center of your loops before securing with a thin piece of ribbon. It gives you more control than trying to tie ribbon around ribbon.
This bow adds volume and a dreamy, romantic vibe to any hairstyle, making it perfect for those “I woke up like this” but actually spent twenty minutes getting ready days.
3. Stacked Ribbon Bow
Why use one ribbon when you can use two? Or three? This bow is for the maximalists among us, or anyone who just can’t pick a favorite color.
Layer different widths or textures of ribbon to create depth and visual interest. A wide base ribbon with a narrower, contrasting one on top looks incredibly chic.
Pro tip: Secure each layer individually with a tiny dot of hot glue before assembling the whole bow. This prevents slippage and keeps your masterpiece intact.
It’s a statement piece that shows off your personality and adds a bespoke touch to your look, proving you’re not afraid to mix things up.
4. Velvet Dream Bow
Hello, luxury! Velvet ribbons are having a major moment, and for good reason. They add an instant touch of richness and sophistication to any ‘do.
Opt for a deep jewel tone like emerald, sapphire, or ruby for peak elegance. A simple loop and tie is all you need; the fabric does all the heavy lifting.
Pro tip: Velvet can be tricky to work with. Use sharp fabric scissors for clean cuts and avoid excessive handling to prevent crushing the pile.
This bow elevates even the simplest hairstyle, transforming it into something worthy of a fancy dinner party or just looking fabulous while grocery shopping.
5. Sheer Organza Whimsy
For those days when you want to feel like a fairy princess but also a cool girl, organza is your secret weapon. It’s light, airy, and utterly enchanting.
A wide organza ribbon tied in a loose, floppy bow creates a beautiful, ethereal effect. The transparency adds a delicate touch without being overpowering.
Pro tip: Don’t tie organza too tightly; let it breathe and flow. A loose knot often looks best with this fabric, giving it that effortless, whimsical feel.
It’s perfect for adding a soft, romantic flair, especially lovely for spring and summer looks or when you just need a little extra magic in your life.
6. Miniature Accent Bows
Sometimes, less is more, especially when “less” means a super cute tiny bow that’s just peeking out. These are perfect for subtle adornment.
Use thin satin or grosgrain ribbon to create small, delicate bows. Attach them to bobby pins or tiny snap clips for easy placement.
Pro tip: Make a bunch of these in different colors! You can scatter them through braids, pin them above your ears, or use them to secure small sections of hair.
They add a darling, unexpected detail without overwhelming your style, proving that even the smallest touches can make a big impact.
7. French Barrette Ribbon Wrap
Why settle for a plain barrette when you can make it a custom work of art? This trick turns a basic hair accessory into something special.
Wrap a French barrette with your chosen ribbon, securing the ends with hot glue. Then, tie a small bow and attach it to the wrapped barrette.
Pro tip: Choose a ribbon that complements the barrette’s color or goes for a bold contrast. Make sure your glue is minimal; nobody wants crusty glue residue.
It instantly upgrades a simple hair clip, giving you a unique, personalized accessory that looks way more expensive than it actually was.
8. Braided-In Ribbon Bow
Ready to weave some magic? Incorporating ribbon directly into your braid adds a continuous pop of color and culminates in a beautiful bow.
Start braiding with a long piece of ribbon alongside one of your hair sections. When you reach the end of your braid, tie the excess ribbon into a bow.
Pro tip: Use a narrower ribbon (think 1/2 inch to 1 inch wide) that has some drape, like satin or silk, so it blends seamlessly into your hair without adding bulk.
This technique creates a cohesive, intricate look that’s both playful and polished, perfect for adding an unexpected twist to your everyday braid.
9. The “Messy” Chic Bow
Not every bow needs to be perfectly symmetrical. Sometimes, a slightly undone, artfully messy bow is exactly what the style doctor ordered.
Use a slightly crinkled or textured ribbon, like linen or raw silk, and tie a loose, intentionally uneven bow. The charm is in its imperfection.
Pro tip: Don’t overthink it. Tie it quickly, adjust minimally, and let the natural folds of the ribbon do their thing. Embrace the chaos, darling.
It gives off an effortlessly cool vibe, proving that true style often comes from embracing a bit of beautiful messiness.
10. Two-Tone Contrast Bow
Can’t decide between two colors? Don’t! This bow design lets you have your cake and eat it too, with a striking color contrast.
Make a bow with one color ribbon, then layer a slightly smaller bow of a contrasting color on top, securing them together at the center.
Pro tip: Pick colors that either complement each other beautifully (e.g., navy and mustard) or create a bold, intentional clash for maximum impact.
It adds a dynamic element to your hair, making your bow stand out and showcasing your keen eye for color combinations.
11. Embellished Statement Bow
For when you want your bow to do more than just sit there looking pretty—you want it to make an entrance. This is where embellishments come in.
After crafting your basic bow, add pearls, rhinestones, tiny charms, or even a brooch to the center or along the loops.
Pro tip: Use E6000 glue for attaching embellishments; it’s super strong and dries clear. Less is more with the glue, though!
This bow truly speaks volumes about your style, turning a simple ribbon into a personalized, show-stopping accessory that’s uniquely you.
✨ New Member Etsy Shops (100% Unsponsored!)
We are incredibly proud of the talent in this community! 💖 We've rounded up some gorgeous new Etsy shops launched by our very own members.
There are ZERO affiliate links in this post—just 100% pure support for our makers. Click below to shop small, show them some love, and find your new favorite items! 👇🛍️


Conclusion
See? Who needs those overpriced boutique bows when you’ve got a little ribbon, a dash of creativity, and a whole lot of sass? Crafting your own hair bows isn’t just about saving a few bucks; it’s about infusing your style with personality, making something truly unique, and honestly, having a ridiculously good time doing it. So go forth, my friends, and bow-tify the world, one fabulous DIY ribbon creation at a time. Your hair (and your wallet) will thank you.