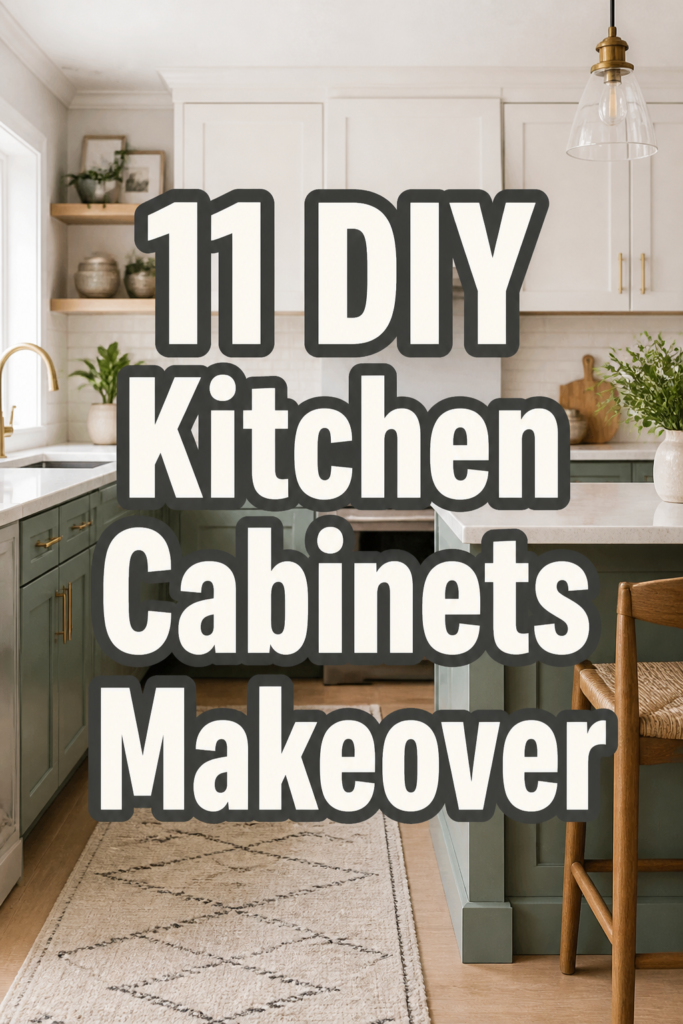
🎨 11 DIY Kitchen Cabinets Makeover
🛠️ The Ultimate Maker's Toolkit
I've tested thousands of craft tools over the years. Whether you are quilting, crafting, or building mixed-media art, these are the top 5 absolute non-negotiable tools I personally recommend to guarantee professional results.
🪡 SINGER Heavy Duty 4452 Sewing Machine
The sewing community highly recommends this as the ultimate "bulletproof" entry-level machine. Its heavy metal frame powerfully pushes through thick denim and heavy quilt layers that would instantly jam a standard plastic machine.
✂️ Fiskars 8" Orange-Handled Scissors
Never settle for dull dollar-store blades. Wirecutter repeatedly names Fiskars the absolute best all-purpose craft scissor due to its legendary precision-ground blades and an ergonomic grip that prevents hand-cramping.
🔥 Gorilla Dual Temp Hot Glue Gun
Named Wirecutter's top choice because it literally does the work of two tools. It features dual-temperature settings offering low heat for delicate florals and blistering high heat for heavy wood adhesion repairs.
🖌️ Mod Podge Waterbase Gloss Sealer
The absolute undisputed champion of decoupage and paper crafts. Experts rely exclusively on this exact water-based formula because it glues, seals, and finishes beautifully without yellowing or flaking over time.
🎨 Apple Barrel Acrylic Paint (2 oz)
The quintessential, incredibly inexpensive craft paint. Woodworkers and hobby painters swear by its smooth flow and matte finish, providing massive value and remarkably thick color coverage on rough surfaces.
Tired of those sad, outdated kitchen cabinets staring back at you?
We get it, a full kitchen reno costs more than a small island.
Good news, you don’t need to sell a kidney for a complete overhaul.
These 11 DIY kitchen cabinet makeovers are here to save your wallet and your sanity.
1. Fresh Coat of Paint
- Best For: Anyone with solid cabinet bones.
- Vibe: Instant transformation, customizable.
- Why it works: Paint is magic, giving your kitchen a whole new personality without the demo.
Grab some high-quality cabinet paint. Think a sophisticated sage green for a calming vibe or a bold navy blue for drama.
Proper prep is non-negotiable; clean, sand, and prime those surfaces like your life depends on it.
A good paint sprayer makes this job faster and smoother, but brushes and rollers work too for a more hands-on approach.
Pro Tip: Don’t skip the degreaser. Kitchen grease is sneaky and will ruin your finish faster than you can say “oops.”
2. Replace Hardware
- Best For: Low-effort, high-impact change-seekers.
- Vibe: Modern update, vintage charm, or anything in between.
- Why it works: New knobs and pulls are like jewelry for your cabinets; they elevate the entire look.
Out with the old, in with the bold. Swap out those dated brass pulls for sleek matte black bar handles.
Or perhaps go for some elegant brushed gold knobs to add a touch of glam.
This tiny tweak dramatically changes the feel of your kitchen without touching a single paint can.
Pro Tip: Measure your existing holes before buying new hardware. You want to avoid drilling new holes if possible, trust us.
3. Add Open Shelving
- Best For: Displaying pretty dishes or freeing up visual space.
- Vibe: Airy, modern farmhouse, minimalist.
- Why it works: It breaks up the monotony of solid cabinets and makes your kitchen feel larger.
Carefully remove some upper cabinet doors. Then, paint the interior of the cabinet box to match your walls or an accent color.
Install sturdy floating shelves, perhaps in a contrasting wood tone, to create a focal point.
Style them with your favorite cookbooks, ceramic bowls, or a few potted herbs.
Pro Tip: Only remove doors from cabinets housing items you actually want to display. Nobody needs to see your mismatched Tupperware collection.
4. Peel-and-Stick Wallpaper
- Best For: Renters or commitment-phobes.
- Vibe: Playful, patterned, easily changeable.
- Why it works: It adds personality and texture without permanent alterations or a huge budget.
Got cabinets with glass inserts? Line the back panels with a fun, graphic peel-and-stick wallpaper.
You can even apply it to the side panels of an island or the inside of a pantry cabinet for a delightful surprise.
Choose a bold geometric pattern or a subtle botanical print to make a statement.
Pro Tip: Clean the surface thoroughly before applying. Any dust or grime will make adhesion a nightmare.
5. Install Under-Cabinet Lighting
- Best For: Enhancing ambiance and task lighting.
- Vibe: Warm, inviting, functional.
- Why it works: It brightens your countertops and makes your kitchen feel more sophisticated and put-together.
Affix LED strip lights or small puck lights to the underside of your upper cabinets.
You can find battery-operated options for super easy, no-wiring installation.
These lights not only illuminate your workspace but also create a lovely, soft glow in the evening.
Pro Tip: Look for dimmable options to control the mood. Sometimes you need bright light, sometimes you just want a soft glow.
6. Reface with Veneer
- Best For: Drastically changing the cabinet material without full replacement.
- Vibe: Brand new, seamless, high-end.
- Why it works: It gives you the look of new cabinets at a fraction of the cost and effort of buying new.
If your cabinet boxes are sturdy but the doors are tired, consider refacing them with wood veneer sheets or laminate panels.
You can achieve the look of expensive wood species like cherry or maple without the hefty price tag.
This project requires precision and patience, but the results are incredibly rewarding.
Pro Tip: Use a sharp utility knife and a straight edge for clean cuts. Measure twice, cut once is gospel here.
7. Add Trim or Molding
- Best For: Upgrading flat-panel doors to a shaker style or adding architectural detail.
- Vibe: Custom, traditional, elegant.
- Why it works: It transforms basic, flat cabinet doors into something much more custom and expensive-looking.
Attach thin strips of wood molding to the face of your flat cabinet doors to create a shaker-style panel effect.
You can also add crown molding to the top of your upper cabinets to give them a built-in, finished look.
Paint everything to match, and suddenly your cabinets look like they cost a fortune.
Pro Tip: Use wood glue and small brad nails to secure the trim. Fill any gaps with caulk before painting for a flawless finish.
8. Chalk Paint Charm
- Best For: Achieving a distressed, shabby chic, or vintage look with minimal prep.
- Vibe: Rustic, cozy, antique-inspired.
- Why it works: Chalk paint requires little to no sanding or priming, making it a quick and easy option for a specific aesthetic.
Grab some chalk paint in a lovely muted tone like light gray or pale blue.
Apply it directly to your cabinets, then lightly sand some edges for a charming distressed effect.
Finish with a clear wax for durability and a beautiful matte sheen.
Pro Tip: Don’t over-distress. A little goes a long way to achieve that perfectly imperfect look.
9. Two-Tone Cabinets
- Best For: Adding depth and visual interest to your kitchen.
- Vibe: Modern, sophisticated, custom.
- Why it works: It breaks up a monochromatic kitchen and allows you to play with different color palettes.
Paint your upper cabinets a lighter color, like crisp white, and your lower cabinets a darker, contrasting shade such as charcoal gray or deep forest green.
Alternatively, keep all perimeter cabinets one color and paint your kitchen island a completely different accent hue.
This creates a dynamic and high-end feel that decorators love.
Pro Tip: Choose colors that complement each other and tie into other elements in your kitchen, like your backsplash or flooring.
10. Glass Panel Inserts
- Best For: Lightening up heavy-looking upper cabinets.
- Vibe: Elegant, open, display-ready.
- Why it works: It adds visual lightness and allows you to showcase beautiful dishware, making the kitchen feel more spacious.
Carefully remove the solid center panels from some of your cabinet doors.
Replace them with beautiful clear glass, frosted glass, or even reeded glass for a touch of texture.
This project might require a trip to a local glass shop for custom cuts, but it is totally worth it.
Pro Tip: Measure the panel opening precisely before ordering glass. You only want to do this once.
11. Faux Built-Ins
- Best For: Giving your kitchen a custom, high-end, renovated look.
- Vibe: Seamless, architectural, expensive.
- Why it works: It makes standard cabinets look like they were custom-built into your home, adding significant visual value.
Extend your upper cabinets to the ceiling by adding filler pieces or small boxes above them.
Then, add crown molding that ties into the existing cabinet molding.
Paint everything to match your existing cabinets for a truly integrated, custom look.
Pro Tip: Use shims to ensure everything is level and plumb. Imperfections become very noticeable when extending to the ceiling.
Our Top Recommended Finds
- A reliable paint sprayer: This speeds up the painting process dramatically and gives you a smooth, professional finish.
- Cordless drill/driver set: Essential for hardware installation, attaching trim, and making any necessary adjustments with ease.
- Orbital sander: Prepping surfaces properly makes all the difference for paint adhesion and a flawless end result.
Which of these will you try first?
See? Your kitchen doesn’t need a full-blown renovation to get that glow-up it deserves.
Pick one of these ideas, grab some supplies, and give those cabinets the love they’ve been begging for.
Drop a comment below and tell us which DIY kitchen cabinets makeover project you are tackling first!