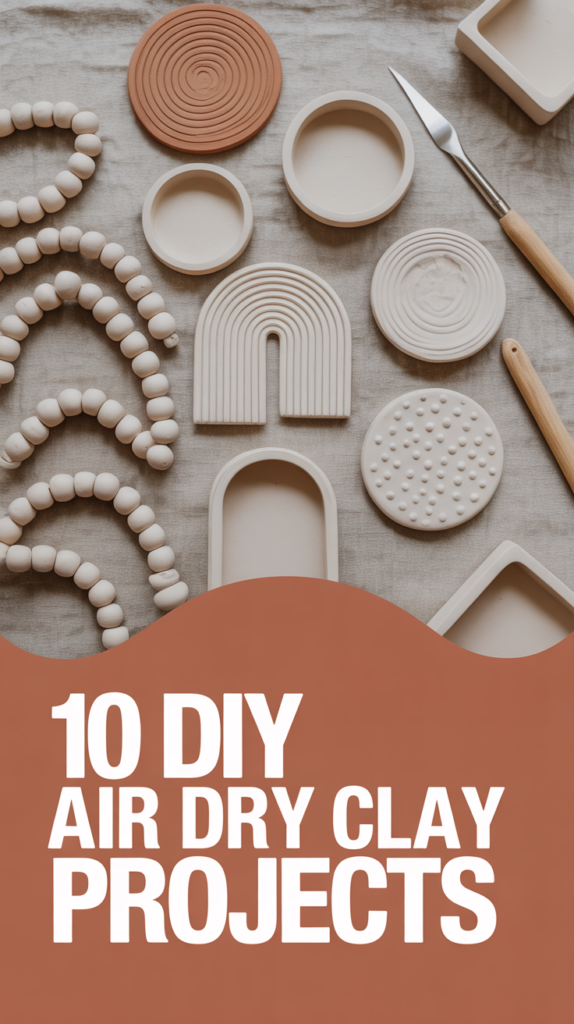
🧱 10 DIY Air Dry Clay Projects
Air dry clay is the crafty BFF that doesn’t ask for a kiln, a degree in ceramics, or your entire weekend. It dries on your counter, behaves better than sourdough, and turns into legit cute decor. Grab a block, cue a podcast, and let’s make tiny treasures.
1. Wavy Trinket Trays
Curvy edges, no rules. These trays corral rings, keys, and that rogue hair tie like a stylish little valet.
Roll clay to 1/4 inch, cut organic blobs, then pinch the edges up into soft waves. Smooth with a damp finger and add texture with a linen cloth. Paint after drying, then seal.
Pro tip: Use a bowl as a mold for a gentle dish shape while it dries.
It works because the organic form hides imperfections while still looking designer-level.
2. Minimalist Incense Holders
Small, sleek, and incense ash doesn’t ghost your desk anymore.
Shape a pebble or small bar, poke a hole at a slight angle, and flatten the base. Add a shallow groove for ash if you’re fancy. Finish with matte varnish.
Pro tip: Test hole size with the actual incense stick before drying.
Simple geometry equals effortless calm vibes—minus the mess.
3. Arch Bookends
Chunky arches that pretend your paperbacks are museum pieces.
Form two solid arches or U-shapes, at least 1 inch thick. Insert hidden weights (washers, coins) before sealing the bottom with clay. Sand smooth after drying.
Pro tip: Add a felt pad underneath to protect shelves and stop slipping.
They anchor shelves visually and physically—cute and sturdy is a power combo.
4. Personalized Name Tags
Custom labels for plants, gifts, or that jar of “definitely not buttons.”
Roll thin, cut rectangles or arches, then stamp letters. Poke a hole for twine or skewer for plant stakes. Paint letters with a fine brush and seal.
Pro tip: Dust the stamp with cornstarch to prevent sticking.
They make everything feel intentional, even your snack stash.
5. Modern Wall Hangings
Geometric tiles that give your wall main-character energy.
Cut circles, semicircles, and rectangles, then texture with mesh, lace, or wood grain. Poke holes before drying. String with cord and space with knots.
Pro tip: Mix matte and gloss sealers for dimensional contrast.
Modular pieces mean instant art that scales to your wall space.
6. Speckled Bud Vases
Cute vessels that turn grocery flowers into gallery moments.
Wrap a clay slab around a small glass tube or bottle. Blend seams, then add speckles with thinned acrylic flicks. Let the glass stay inside for real water use.
Pro tip: Use waterproof sealant on the exterior to prevent moisture stains.
Tiny vases deliver big style with minimal floral commitment.
7. Textured Coasters
Save your table, but make it aesthetic.
Cut circles or squares, then press in patterns using forks, leaves, or stamps. Sand the edges smooth after drying. Finish with heat-resistant sealer.
Pro tip: Add cork backing for grip and extra insulation.
Functional art that keeps rings off wood—host mode unlocked.
8. Pebble Magnets
Your fridge deserves better than pizza coupons alone.
Shape small pebbles, flatten backs, and let dry. Paint color blocks, then glue on strong magnets. Cluster them like a mini rock garden.
Pro tip: Seal with satin varnish to mimic real stone.
They’re tiny, fast, and addictively collectible.
9. Mini Sculpted Candles Holders
Little pedestals for tea lights or taper drama.
For tapers, create a cylinder and insert the candle wrapped in plastic to size the opening. For tea lights, form a shallow cup. Let dry fully, then paint.
Pro tip: Keep clay at least 1/2 inch thick for stability and heat buffer.
They elevate mood lighting without hogging table space.
10. Trinket Creatures
Tiny animals that moonlight as ring stands or charm dishes.
Sculpt simple forms—cats, snails, birds—with exaggerated features. Create a small dish base or a tail/horn to hold rings. Paint with pastels or punchy brights.
Pro tip: Use a toothpick for crisp facial details, then seal to prevent smudging.
Whimsical and useful equals instant joy on your nightstand.
- Drying basics: Slow-dry to prevent cracks—cover loosely for the first day.
- Sanding: Use 400–600 grit for a buttery finish.
- Sealing: Choose matte for stone vibes, gloss for ceramic shine.
- Color: Acrylics love clay; test on a scrap first.
Conclusion
Air dry clay turns nap-time projects into decor you’ll actually use. It’s low-stress, high-reward, and wildly customizable. Start simple, seal smart, and let your shelves brag for you.