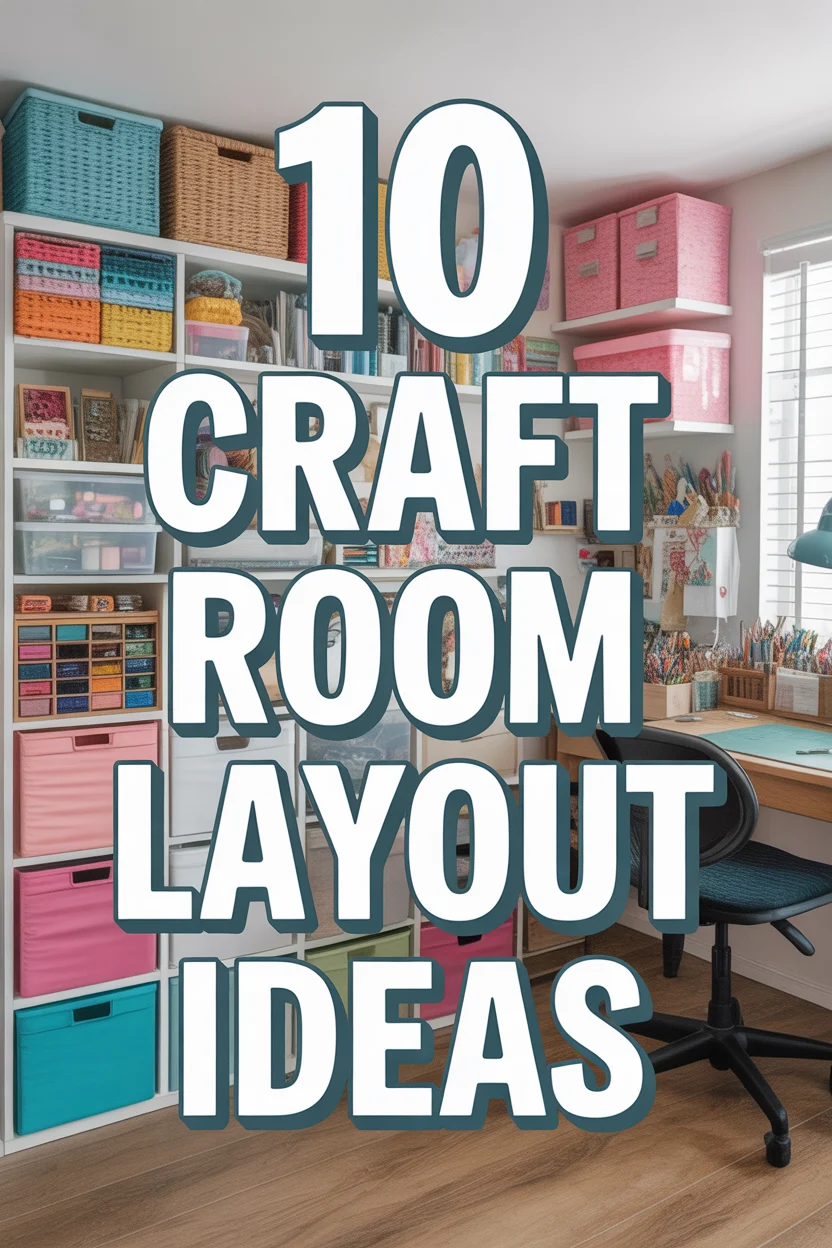
🎨 10 Craft Room Layout Ideas
🛠️ The Ultimate Maker's Toolkit
I've tested thousands of craft tools over the years. Whether you are quilting, crafting, or building mixed-media art, these are the top 5 absolute non-negotiable tools I personally recommend to guarantee professional results.
🪡 SINGER Heavy Duty 4452 Sewing Machine
The sewing community highly recommends this as the ultimate "bulletproof" entry-level machine. Its heavy metal frame powerfully pushes through thick denim and heavy quilt layers that would instantly jam a standard plastic machine.
✂️ Fiskars 8" Orange-Handled Scissors
Never settle for dull dollar-store blades. Wirecutter repeatedly names Fiskars the absolute best all-purpose craft scissor due to its legendary precision-ground blades and an ergonomic grip that prevents hand-cramping.
🔥 Gorilla Dual Temp Hot Glue Gun
Named Wirecutter's top choice because it literally does the work of two tools. It features dual-temperature settings offering low heat for delicate florals and blistering high heat for heavy wood adhesion repairs.
🖌️ Mod Podge Waterbase Gloss Sealer
The absolute undisputed champion of decoupage and paper crafts. Experts rely exclusively on this exact water-based formula because it glues, seals, and finishes beautifully without yellowing or flaking over time.
🎨 Apple Barrel Acrylic Paint (2 oz)
The quintessential, incredibly inexpensive craft paint. Woodworkers and hobby painters swear by its smooth flow and matte finish, providing massive value and remarkably thick color coverage on rough surfaces.
Okay, fellow creative genius, let’s talk about your craft room. Is it currently a sanctuary of inspiration or a battlefield of half-finished projects and rogue glitter? (Spoiler: mine’s usually the latter, no judgment.) We all dream of that perfectly organized, utterly Pinterest-worthy space where ideas flow like perfectly melted glue. But how do you actually get there without needing a degree in spatial engineering? Relax, I’ve got you. Let’s dive into some seriously smart, totally doable craft room layout ideas that’ll have your space singing.
1. The Zone Ranger Layout
Ever feel like your sewing machine is judging your painting supplies? This layout is all about giving each craft its own dedicated turf. Think distinct areas for specific activities, like a “sewing station” and a “paper crafting corner.”
You’re basically setting up mini-studios within one room. This keeps your tools and materials for one project from migrating into another, saving you precious minutes (and sanity) searching for that elusive seam ripper. Pro tip: Use different colored storage bins or labels to visually delineate each zone. It’s like a tiny craft village!
This works because it minimizes cross-contamination of supplies and maximizes focus. No more glue sticks mingling with your embroidery floss.
2. Vertical Storage King
Look up, buttercup! If your floor space is tighter than a pair of skinny jeans after Thanksgiving, your walls are your best friends. We’re talking pegboards, floating shelves, wall-mounted bins, and even tall bookcases.
This layout gets everything off your precious work surfaces, making your room feel bigger and your tools super accessible. Imagine seeing all your washi tape lined up like tiny, colorful soldiers. Pro tip: Install a pegboard directly above your main workspace for immediate access to frequently used tools. It’s like magic, but with hooks.
It’s a winner for small spaces or anyone who hates clutter, keeping things tidy and visible without sacrificing floor area.
3. Portable Powerhouse
Who says your craft supplies have to stay put? This layout embraces mobility with rolling carts, wheeled storage units, and lightweight, stackable containers. Think of it as your craft room on wheels.
You can literally roll your entire painting station from one end of the room to the other, or even into another room if you need a change of scenery (or to escape the kids). Pro tip: Invest in a sturdy utility cart with multiple shelves; it’s a game-changer for moving projects in progress. Freedom, baby!
This layout is perfect for multi-functional rooms or for crafters who like to move their operations around the house.
4. Corner Office Crafty
Got an awkward corner just begging for attention? Don’t ignore it. A corner desk or L-shaped workstation can turn that neglected nook into a surprisingly productive craft hub. It’s about maximizing every square inch.
This setup provides ample surface area for spreading out without consuming the entire room. Plus, being tucked into a corner can feel wonderfully cozy and private, perfect for deep creative dives. Pro tip: Add corner shelving above your desk to make the most of that vertical space. No corner left behind!
It’s a genius solution for smaller rooms or for crafters who need a dedicated space but don’t have a whole room to spare.
5. Shared Space Savvy
Your craft room moonlighting as a guest room or home office? No problem. This layout focuses on dual-purpose furniture and clever concealment. Think Murphy beds that hide away or desks that fold up.
The key here is making your craft supplies disappear when they’re not in use, transforming the room back into its secondary function. It’s like a secret agent for your glitter. Pro tip: Use attractive baskets or cabinet doors to stash away your supplies so they don’t scream “CRAFT EXPLOSION” when company arrives.
This layout is brilliant for those living in smaller homes who need their rooms to wear multiple hats throughout the day.
6. Minimalist Maker
Tired of drowning in supplies you barely use? This layout advocates for a “less is more” approach. Only keep the tools and materials you genuinely love and frequently use. Quality over quantity, always.
A minimalist space feels calm, uncluttered, and allows your mind to focus solely on the creative process, not on where to stash that extra roll of ribbon. It’s surprisingly liberating. Pro tip: Regularly declutter and donate anything you haven’t touched in six months. Be ruthless, your future self will thank you.
It’s ideal for crafters who prefer a serene environment and want to reduce visual noise, letting their projects shine.
7. The U-Shape Utopia
Imagine being surrounded by all your creative goodness. The U-shape layout does just that, placing your main workspace in the center with storage and additional surfaces wrapping around you. It’s an ergonomic dream.
Everything you need is just a swivel chair away, minimizing movement and maximizing efficiency. It feels like a command center for creativity. Pro tip: Ensure your central workspace is sturdy and large enough for your most ambitious projects. You’re the captain of this craft ship!
This layout is perfect for crafters with a dedicated room who want optimal workflow and easy access to all their tools and materials.
8. Island Oasis
A central island isn’t just for kitchens anymore. In a craft room, a large, sturdy island can serve as your primary workspace, cutting station, or even a multi-person crafting hub. It’s the heart of the room.
This setup provides 360-degree access, allowing you to move freely around your project or host a crafting party with friends. Plus, built-in storage underneath is a huge bonus. Pro tip: Choose an island with wheels if you want the flexibility to reconfigure your space on a whim. Roll with it!
It’s fantastic for crafters who need a generous, versatile work surface and love the idea of collaborative crafting sessions.
9. Closet Conversion
Don’t underestimate the power of a good closet. With a little imagination (and maybe a few shelves), a standard closet can be transformed into a surprisingly functional “cloffice” or mini craft studio. It’s your secret creative hideaway.
This layout is the ultimate space-saver, allowing you to close the doors on your creative chaos when company comes over or you just need a break. Out of sight, out of mind (until inspiration strikes again). Pro tip: Install a pull-out shelf or a small desk that folds down to maximize your working area. Every inch counts!
It’s an ingenious solution for apartment dwellers or anyone needing a dedicated craft spot without sacrificing a whole room.
10. Open Concept Creative
Who says your craft space has to be hidden away? This layout integrates your creative zone seamlessly into a larger living area, like a living room or dining room. It’s about making your craft an aesthetic part of your home.
The trick here is to use attractive, cohesive storage solutions that blend with your home decor, making your supplies look like intentional design elements. Think pretty baskets and stylish shelving. Pro tip: Keep your color palette consistent with the rest of the room to ensure a harmonious flow. No jarring transitions here.
This layout works wonderfully for crafters who want their passion to be a visible, integrated part of their home’s personality, not just a hidden hobby.
✨ New Member Etsy Shops (100% Unsponsored!)
We are incredibly proud of the talent in this community! 💖 We've rounded up some gorgeous new Etsy shops launched by our very own members.
There are ZERO affiliate links in this post—just 100% pure support for our makers. Click below to shop small, show them some love, and find your new favorite items! 👇🛍️


Conclusion
So there you have it, fellow creative. Ten ways to whip your craft room into shape, or at least give it a fighting chance against the glitter monster. Whether you’re a minimalist marvel or a maximalist magician, there’s a layout here that’ll make your creative heart sing (and maybe even help you find that missing pair of scissors).
Remember, your craft space should inspire you, not stress you out. So go forth, organize, create, and make that room work for you. Happy crafting, you magnificent maker!