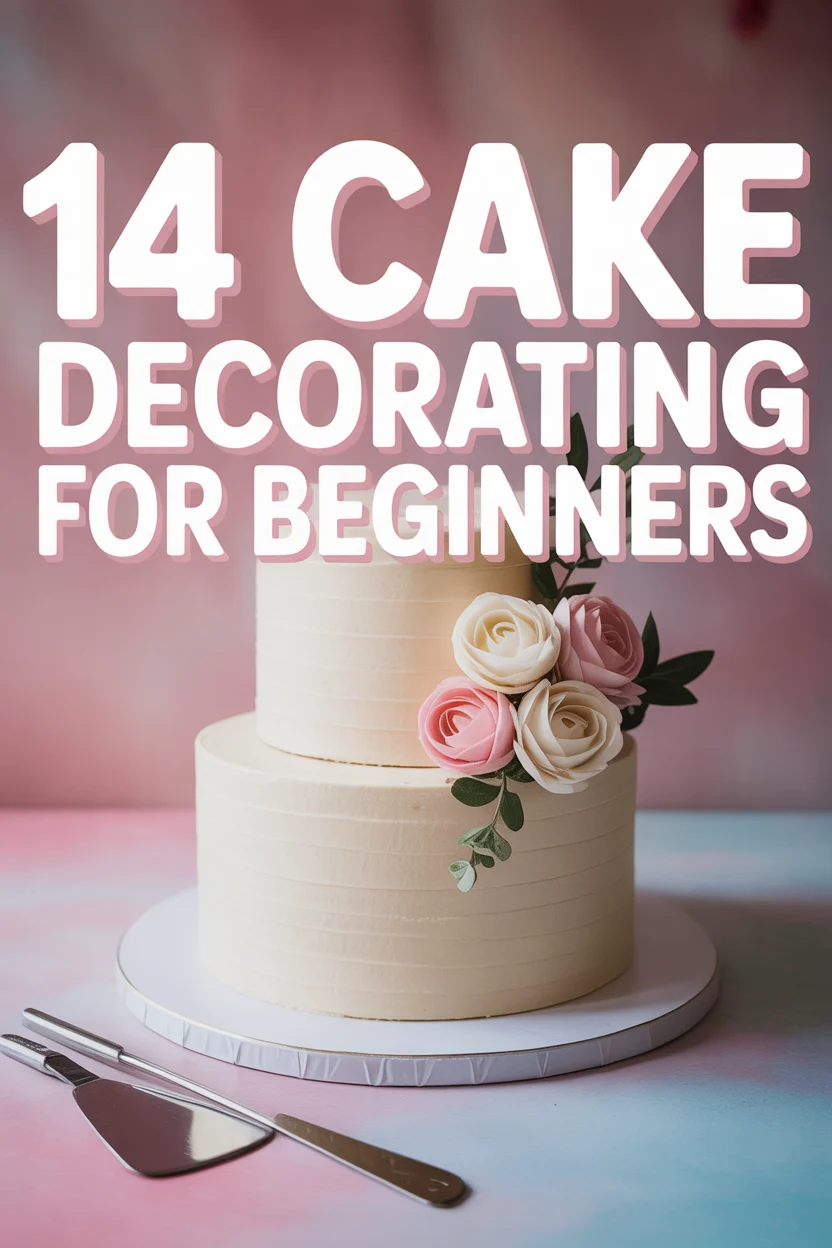
🎂 14 Cake Decorating For Beginners
🛠️ The Ultimate Maker's Toolkit
I've tested thousands of craft tools over the years. Whether you are quilting, crafting, or building mixed-media art, these are the top 5 absolute non-negotiable tools I personally recommend to guarantee professional results.
🪡 SINGER Heavy Duty 4452 Sewing Machine
The sewing community highly recommends this as the ultimate "bulletproof" entry-level machine. Its heavy metal frame powerfully pushes through thick denim and heavy quilt layers that would instantly jam a standard plastic machine.
✂️ Fiskars 8" Orange-Handled Scissors
Never settle for dull dollar-store blades. Wirecutter repeatedly names Fiskars the absolute best all-purpose craft scissor due to its legendary precision-ground blades and an ergonomic grip that prevents hand-cramping.
🔥 Gorilla Dual Temp Hot Glue Gun
Named Wirecutter's top choice because it literally does the work of two tools. It features dual-temperature settings offering low heat for delicate florals and blistering high heat for heavy wood adhesion repairs.
🖌️ Mod Podge Waterbase Gloss Sealer
The absolute undisputed champion of decoupage and paper crafts. Experts rely exclusively on this exact water-based formula because it glues, seals, and finishes beautifully without yellowing or flaking over time.
🎨 Apple Barrel Acrylic Paint (2 oz)
The quintessential, incredibly inexpensive craft paint. Woodworkers and hobby painters swear by its smooth flow and matte finish, providing massive value and remarkably thick color coverage on rough surfaces.
Okay, let’s be real. Scrolling through Instagram, it’s easy to think cake decorating is some mystical art reserved for culinary wizards and people with way too much free time. But guess what? You don’t need a pastry degree or a kitchen full of gadgets to make a cake look like it just stepped off a magazine cover. Seriously, your inner cake artist is just waiting for an excuse to get messy. We’re talking about making cakes that look amazing without the meltdown. Here are 14 ridiculously easy ways to level up your bakes, no stress involved.
1. The Art of the Crumb Coat
Ever tried to frost a cake and ended up with a blizzard of crumbs in your pristine buttercream? Yeah, we’ve all been there. The crumb coat is your secret weapon, a thin layer of frosting that locks all those pesky crumbs in place.
Just spread a super thin layer of frosting all over your cake, then pop it in the fridge for 15-20 minutes. It creates a smooth canvas for your final, flawless layer.
Pro tip: Use an offset spatula for the smoothest application. It’s a game-changer, trust us.
This simple step ensures your final frosting looks professional and crumb-free, making you look like a total pro.
2. Simple Swirls with an Offset Spatula
Forget piping bags if they intimidate you. A basic offset spatula can create beautiful, rustic texture that looks totally intentional and chic. It’s the ultimate “I meant to do that” move.
After applying your final coat of frosting, use the edge of your offset spatula to create gentle swirls or peaks on the top and sides. Play around with the direction and pressure.
Pro tip: Don’t overthink it. The more organic the swirls, the better it looks. Imperfection is perfection here.
This technique adds visual interest and a handmade touch without requiring any precision. Easy win.
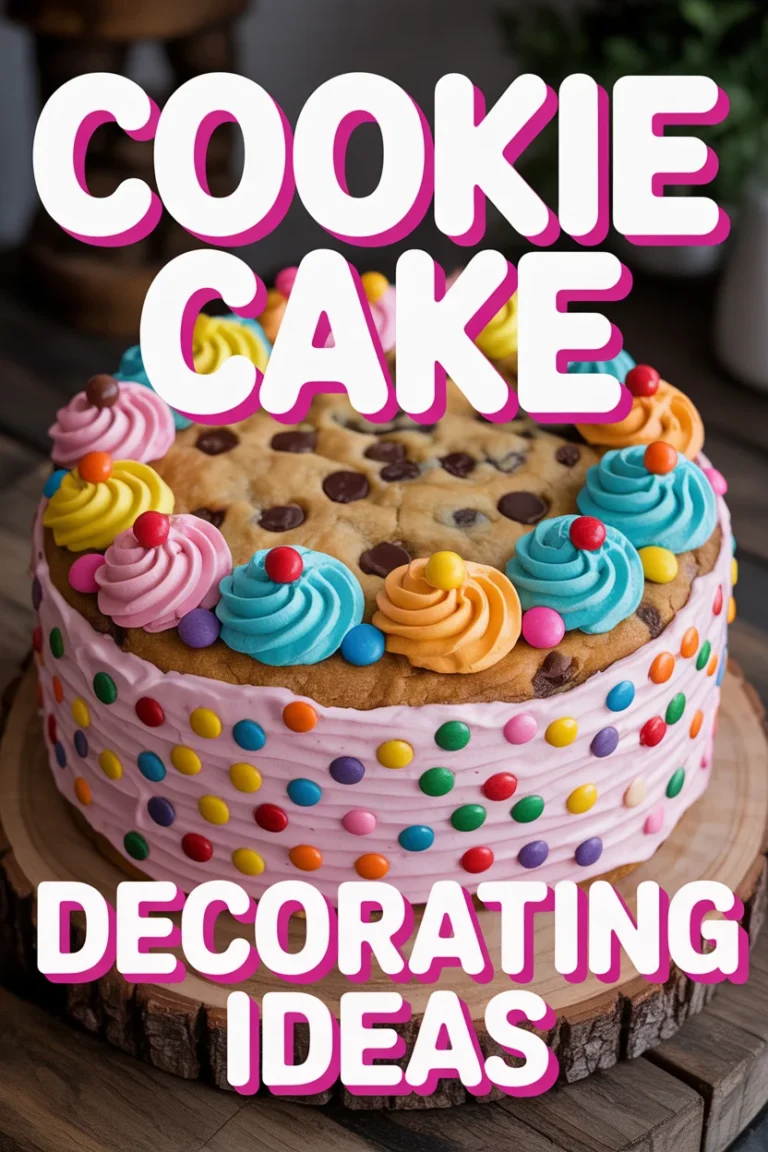
3. The Mighty Sprinkle Spill
Sprinkles aren’t just for kids’ birthday parties anymore. A well-placed cascade of sprinkles can elevate a simple cake from “homemade” to “hipster bakery chic.”
Frost your cake, then grab a handful of your favorite sprinkles. Gently press them onto the sides, or let them artfully spill over the top edge. Mix and match colors and shapes for extra flair.
Pro tip: Use nonpareils or jimmie sprinkles for a classic look, or grab some fancy metallic rods for extra sparkle.
This method is quick, fun, and instantly adds a celebratory vibe to any cake.
4. Fresh Fruit Fiesta
Nature’s candy is also nature’s best cake decorator. Fresh fruit adds vibrant color, natural sweetness, and a touch of effortless elegance that no artificial topping can match.
Wash and dry your favorite berries (strawberries, raspberries, blueberries are always a hit), sliced kiwi, or citrus segments. Arrange them artfully on top of your frosted cake, perhaps around the edge or piled in the center.
Pro tip: Brush a little apricot glaze (warm apricot jam strained) over the fruit for a glossy, professional finish.
It’s healthy-ish, beautiful, and tastes incredible. What’s not to love?
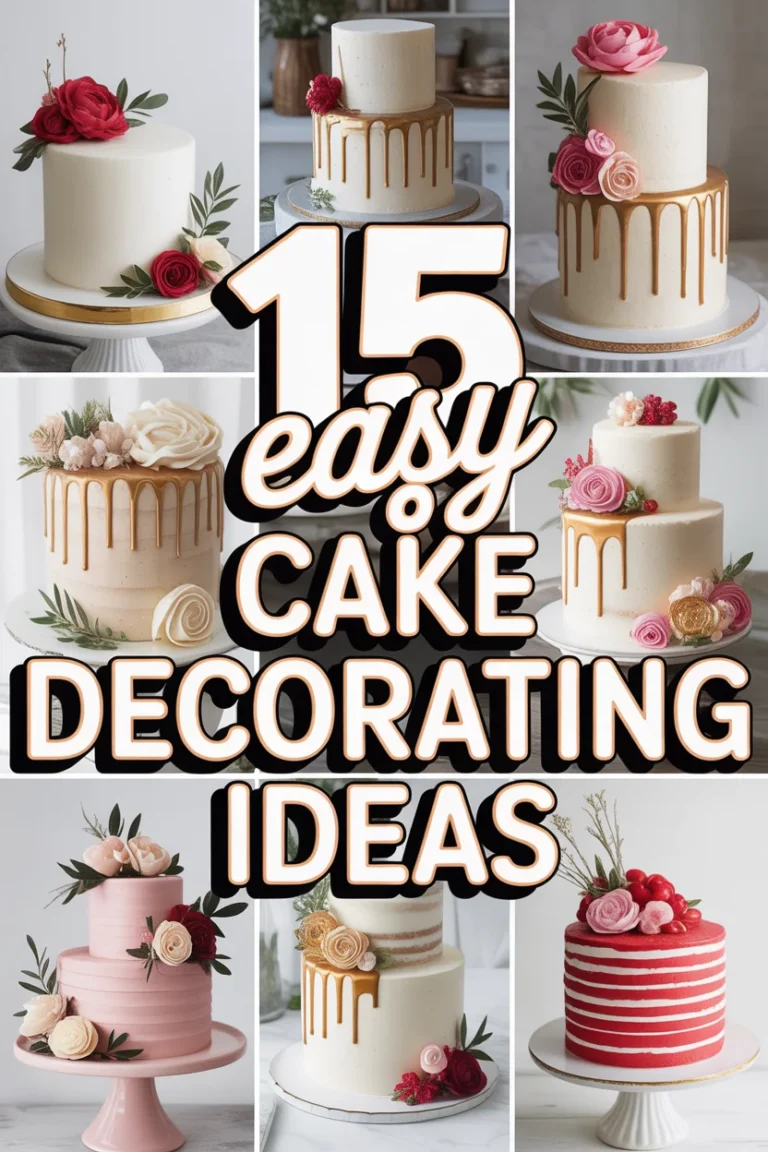
5. The Drip Effect
A chocolate or ganache drip looks super impressive but is surprisingly simple to pull off. It adds a professional, indulgent touch that’s basically foolproof.
Make a simple ganache (equal parts chocolate and warm cream) or use melted candy melts. Let it cool slightly, then spoon it onto the edge of your chilled cake, letting it drip naturally down the sides. Fill the center if you like.
Pro tip: Use a squeeze bottle for more control over your drips. Practice on the back of a plate first.
This technique makes your cake look like it came from a fancy patisserie, with minimal effort.
6. Powdered Sugar Stencils
Who knew a doily could be a secret weapon? Using stencils and powdered sugar creates delicate, intricate patterns with zero artistic skill required.
Place a doily, a custom-cut paper stencil, or even a leaf on top of your cake (which should have a non-sticky frosting or be lightly chilled). Dust generously with powdered sugar, then carefully lift the stencil to reveal your design.
Pro tip: Make sure your cake top is perfectly flat for the best stencil transfer. A flat top is key.
It’s elegant, simple, and the contrast against a darker cake or frosting is just chef’s kiss.
7. Candy Melts Magic
Candy melts are your colorful, versatile friends. They come in every shade imaginable and are super easy to melt and mold, creating fun and vibrant decorations.
Melt candy melts according to package directions. You can drizzle them over the cake, dip cookies or fruit in them, or even spread them thinly on parchment paper and cut out shapes once firm.
Pro tip: Add a tiny bit of coconut oil or vegetable shortening to thin out your candy melts for easier drizzling.
This method offers endless color possibilities and solidifies quickly, making it great for last-minute flair.
8. Edible Flower Power
Adding fresh, edible flowers to your cake is an instant style upgrade. It’s chic, natural, and screams “I’m sophisticated but also fun.”
Source food-safe, organic edible flowers (think pansies, violas, rose petals, lavender). Gently arrange them on your frosted cake. A simple cluster or a scattering can look stunning.
Pro tip: Always check that flowers are truly edible and pesticide-free. Your local farmer’s market is a great spot.
They bring a whimsical, garden-fresh beauty that’s effortlessly charming.
9. Ombre Frosting Layers
Creating an ombre effect sounds fancy, but it’s just a clever way to use different shades of the same color frosting. It looks stunning and is surprisingly forgiving.
Divide your frosting into 3-4 bowls. Keep one white, and gradually add small amounts of food coloring to the others to create increasing shades of your chosen color. Apply the darkest shade at the bottom, graduating to the lightest at the top.
Pro tip: Blend the colors gently with your spatula as you apply them to create a seamless transition.
This technique creates a beautiful, gradient effect that’s visually appealing and quite simple to master.
10. Textured Frosting with a Palette Knife
Sometimes, the “imperfect” look is actually the goal. Using a small palette knife or even the back of a spoon can create gorgeous, artistic textures that hide any frosting mishaps.
After applying your base frosting, use a clean palette knife (or spoon) to create peaks, valleys, or sweeping motions across the cake. Experiment with different angles and pressure.
Pro tip: Keep your tool clean between strokes to prevent dragging crumbs and ensure sharp textures.
This method adds depth and character, making your cake look artisanal and unique.
11. Wafer Paper Wonders
Wafer paper is thin, edible, and surprisingly easy to work with. You can cut it, paint it, or shape it for delicate and modern cake decorations.
Cut wafer paper into geometric shapes, strips, or even flower petals. You can attach it to your frosted cake with a tiny dab of frosting or edible glue. It adds a contemporary, architectural feel.
Pro tip: Wafer paper is sensitive to moisture, so handle it with dry hands and apply just before serving if your environment is humid.
It offers a sophisticated, minimalist aesthetic that’s totally on-trend.
12. Cookie Toppers
Why stop at cake when you can add cookies? Decorating a cake with custom or store-bought cookies is a genius way to add personality and extra deliciousness.
Bake or buy small, flat cookies. Decorate them simply with royal icing, or just use plain ones. Arrange them on top of your cake, either standing upright or laid flat. Mini Oreos or shortbread cookies work wonderfully.
Pro tip: Use a bit of extra frosting on the back of the cookie to “glue” it upright onto the cake if desired.
It’s a fun, playful way to add height and a customizable touch to your dessert.
13. Gold Lustre Dust Glam
Everything is better with a little sparkle, right? Edible lustre dust mixed with a clear alcohol (like vodka) creates a paint that can add gorgeous metallic accents to your cake.
Mix a tiny bit of gold lustre dust with a few drops of vodka or lemon extract until it forms a paint-like consistency. Use a small, clean paintbrush to add details, brush strokes, or splatter effects onto your chilled cake or decorations.
Pro tip: Less is more with the liquid. You want a thick paint, not a watery wash. Practice on parchment paper first.
This technique instantly elevates your cake to “fancy occasion” status with minimal effort.
14. Simple Lettering with Stencils or Templates
Adding a message makes a cake personal, but freehand lettering can be scary. Stencils or simple printed templates make it easy to write perfectly.
Print out your desired message in a font you like. Place parchment paper over it and trace with melted chocolate or royal icing. Once dry, carefully peel and place on your cake. Alternatively, use a plastic stencil directly on the cake with powdered sugar or diluted food coloring.
Pro tip: For chocolate lettering, use a piping bag with a tiny hole or a parchment paper cone for precision.
A personalized message makes any cake feel extra special, and now you can do it without the shaky hand syndrome.
✨ New Member Etsy Shops (100% Unsponsored!)
We are incredibly proud of the talent in this community! 💖 We've rounded up some gorgeous new Etsy shops launched by our very own members.
There are ZERO affiliate links in this post—just 100% pure support for our makers. Click below to shop small, show them some love, and find your new favorite items! 👇🛍️


Conclusion
So, there you have it, future cake boss! No need to feel intimidated by those perfect Pinterest cakes anymore. Cake decorating is all about having fun, experimenting, and letting your creativity flow, even if that creativity involves strategically placed sprinkles. These simple techniques are your ticket to making cakes that look like a million bucks without actually spending a million bucks (or hours) on them. Go forth, bake something beautiful, and remember: if it tastes good, you’ve already won. The pretty part is just a bonus.