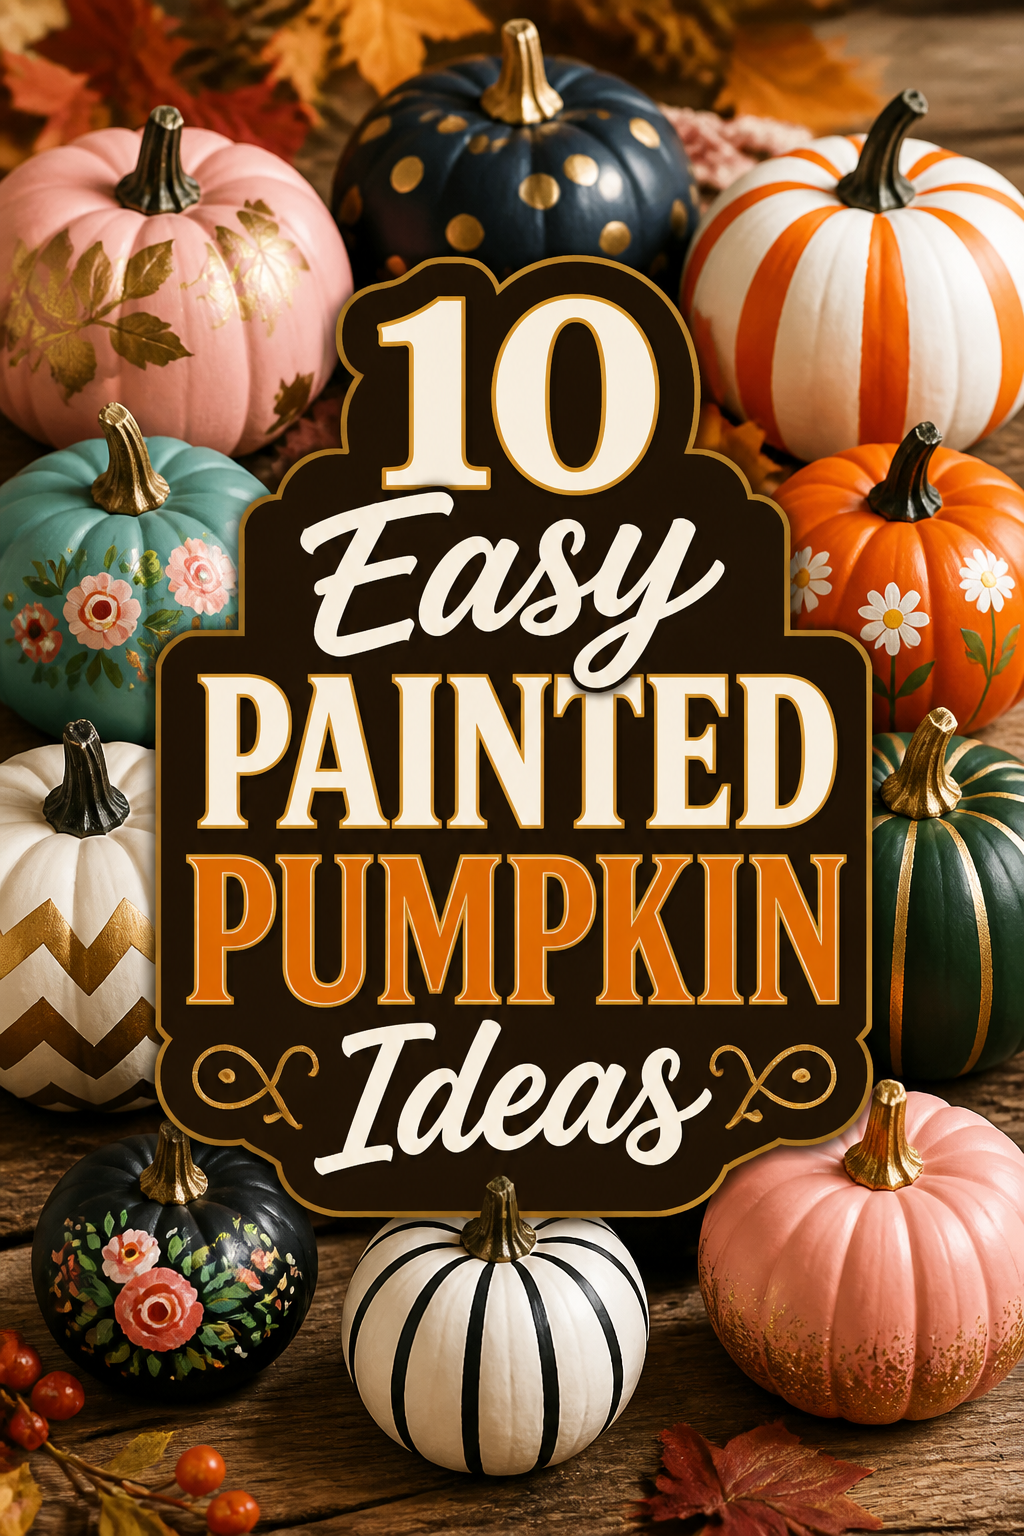
🎨 10 Easy Painted Pumpkin Ideas
🛠️ The Ultimate Maker's Toolkit
I've tested thousands of craft tools over the years. Whether you are quilting, crafting, or building mixed-media art, these are the top 5 absolute non-negotiable tools I personally recommend to guarantee professional results.
🪡 SINGER Heavy Duty 4452 Sewing Machine
The sewing community highly recommends this as the ultimate "bulletproof" entry-level machine. Its heavy metal frame powerfully pushes through thick denim and heavy quilt layers that would instantly jam a standard plastic machine.
✂️ Fiskars 8" Orange-Handled Scissors
Never settle for dull dollar-store blades. Wirecutter repeatedly names Fiskars the absolute best all-purpose craft scissor due to its legendary precision-ground blades and an ergonomic grip that prevents hand-cramping.
🔥 Gorilla Dual Temp Hot Glue Gun
Named Wirecutter's top choice because it literally does the work of two tools. It features dual-temperature settings offering low heat for delicate florals and blistering high heat for heavy wood adhesion repairs.
🖌️ Mod Podge Waterbase Gloss Sealer
The absolute undisputed champion of decoupage and paper crafts. Experts rely exclusively on this exact water-based formula because it glues, seals, and finishes beautifully without yellowing or flaking over time.
🎨 Apple Barrel Acrylic Paint (2 oz)
The quintessential, incredibly inexpensive craft paint. Woodworkers and hobby painters swear by its smooth flow and matte finish, providing massive value and remarkably thick color coverage on rough surfaces.
Okay, real talk. Pumpkin carving? It’s a whole messy vibe we don’t always have time for, right?
Plus, those sad, shriveled gourds after a week are just not it.
Good news, my friend. Painting pumpkins is where the real magic happens, and it’s surprisingly simple.
Get ready to ditch the guts and embrace some seriously chic, no-fuss decor with these brilliant ideas.

1. The Chic Minimalist Swirl
- Best For: Modern decor lovers, quick projects
- Vibe: Sophisticated, understated, effortlessly cool
- Why it works: It looks fancy but takes minimal effort.
Start with a crisp white matte paint base on your pumpkin. Let it dry completely, because patience is a virtue, even with gourds.
Then, grab a thin brush and some black acrylic paint. Gently swirl abstract lines around the pumpkin, keeping it organic and free-flowing.
Don’t overthink it; the beauty is in the imperfection. Think subtle elegance, not intricate patterns.
This look screams “I have my life together” without actually demanding too much from you.
Pro Tip: Use a lazy Susan or a cake stand to easily rotate your pumpkin while painting, keeping your lines smooth and continuous. Your wrists will thank you.
2. Moody Floral Silhouettes
- Best For: Cottagecore enthusiasts, romantic autumn vibes
- Vibe: Whimsical, dark academia, subtly gothic
- Why it works: It’s artistic without requiring a fine art degree.
Paint your pumpkin a deep, dramatic shade like matte navy, forest green, or even a rich plum. Let that luxurious color set the tone.
Once dry, use a stencil or freehand some simple floral shapes in a contrasting metallic like gold or copper.
Think delicate branches, single roses, or tiny sprigs. The goal is elegant shadow play, not a full botanical garden.
It’s basically a sophisticated tattoo for your pumpkin, and who doesn’t love that?
Pro Tip: Dab the paint on with a sponge brush for a softer, more ethereal silhouette effect, rather than harsh lines.
3. Geometric Color Block
- Best For: Mid-century modern fans, anyone who loves sharp lines
- Vibe: Bold, contemporary, graphic
- Why it works: Tape does most of the heavy lifting for you.
Pick 2-3 complementary colors that make your heart sing, maybe a terracotta, cream, and a pop of mustard yellow.
Use painter’s tape to section off your pumpkin into various geometric shapes: triangles, squares, or even just bold stripes.
Paint each section, letting layers dry before removing the tape for crisp edges. It’s like interior design for your gourd.
The clean lines and contrasting colors make these pumpkins seriously Instagram-worthy.
Pro Tip: Press the painter’s tape down firmly before painting to prevent bleed-through, especially on textured pumpkins. Run a credit card edge over it for extra sealing power.
4. Speckled Egg Effect
- Best For: Farmhouse chic, rustic charm, easy texture
- Vibe: Organic, natural, subtly whimsical
- Why it works: It’s messy in a good way, hiding imperfections easily.
Start with a base coat in a muted tone, like a soft sage green, a warm beige, or a light robin’s egg blue.
Once dry, dip an old toothbrush into a slightly darker contrasting paint (think brown or dark gray).
Run your thumb over the bristles, flicking tiny speckles onto the pumpkin. Practice on paper first to get your technique down.
It’s surprisingly therapeutic and delivers a charming, earthy aesthetic without much fuss.
Pro Tip: Thin your speckle paint slightly with water for finer, more delicate flecks that look totally natural. Don’t go overboard; less is more with speckles.
5. Abstract Brushstrokes
- Best For: Art lovers, those who embrace imperfection
- Vibe: Expressive, modern art gallery, free-spirited
- Why it works: There’s no wrong way to do it, truly.
Choose a palette of 3-4 colors you adore, perhaps some blush pinks, deep reds, and a touch of gold.
Using various brush sizes, apply bold, sweeping strokes, dabs, and smears across the pumpkin’s surface.
Layer colors, let them blend a little, and just enjoy the process. Pretend you’re a famous artist, darling.
This style is all about embracing spontaneity and creating a unique, painterly masterpiece.
Pro Tip: Work quickly and intuitively. Don’t try to replicate a specific image; just let your hand move and the colors play. It’s supposed to be abstract, after all.
6. Metallic Dipped Glam
- Best For: High-end decor vibes, adding sparkle
- Vibe: Glitzy, luxurious, effortlessly chic
- Why it works: It’s simple but looks incredibly fancy.
Paint your pumpkin a solid, elegant color like charcoal gray, deep teal, or even just a clean white.
Once completely dry, grab some shimmery gold, silver, or rose gold metallic paint.
Carefully paint the bottom third or top third of the pumpkin, creating a “dipped” effect. A steady hand is your best accessory here.
It’s giving “expensive art piece” energy, but your wallet will remain happily intact.
Pro Tip: Use painter’s tape to create a super crisp line for your “dip.” Once the metallic paint is almost dry, slowly peel the tape away at an angle for a perfectly clean edge.
7. Gingham Pattern Play
- Best For: Farmhouse kitchens, picnic aesthetics, cheerful decor
- Vibe: Cozy, quaint, charmingly rustic
- Why it works: It’s a classic pattern that instantly feels homey.
Start with a light base coat, maybe a soft cream or a pale blue. Let it dry completely.
Then, using painter’s tape, create vertical stripes across the pumpkin. Paint them in your chosen gingham color, like barn red or navy.
Once dry, remove the tape, then re-tape horizontally, painting those stripes. Where the colors overlap, you’ll get that lovely darker gingham square effect.
It’s a little more involved, but the result is so darn cute, it’s worth the extra tape.
Pro Tip: Ensure your base coat is super dry before taping, and apply thin coats of paint for the stripes to avoid clumpy lines. Patience is your gingham guru.
8. Constellation Dreams
- Best For: Stargazers, cosmic lovers, dreamy aesthetics
- Vibe: Mystical, ethereal, celestial
- Why it works: It’s surprisingly easy to make a big impact with tiny dots.
Paint your pumpkin a deep, inky midnight blue or a rich black. This is your night sky, so make it dramatic.
Once dry, use a fine-tipped brush or even a toothpick dipped in white or silver paint to dot on stars.
Connect some dots to form constellations (hello, Big Dipper). Add a few larger, brighter stars for visual interest.
It’s like bringing a piece of the cosmos right into your living room, no telescope required.
Pro Tip: Before you start dotting, lightly sketch out a few constellation patterns with a white pencil or chalk to guide your hand. This prevents accidental cosmic chaos.
9. Ombre Fade
- Best For: Gradient enthusiasts, subtle color transitions
- Vibe: Serene, artistic, flowing
- Why it works: It looks professional but is surprisingly forgiving.
Choose two or three colors that blend beautifully, like a light peach fading into a deep coral, or sky blue into navy.
Apply the darkest color to the bottom, the lightest to the top, and the middle shade in between. Work in sections.
While the paint is still wet, use a clean, dry brush to gently blend the edges where the colors meet, creating a seamless transition.
It’s a smooth operator of a pumpkin, bringing a sophisticated pop of color to any space.
Pro Tip: Keep a spray bottle of water handy. Lightly misting the pumpkin surface as you blend can help keep the paint workable and make transitions smoother.
10. Polka Dot Party
- Best For: Fun-loving decorators, playful aesthetics
- Vibe: Cheerful, whimsical, eternally youthful
- Why it works: It’s classic, cute, and impossible to mess up.
Pick a base color for your pumpkin, maybe a cheerful yellow or a bold teal.
Once that’s dry, grab some contrasting paint (think white, black, or even metallic gold) and a few different sized round sponges or the eraser end of a pencil.
Dip and dab dots all over your pumpkin. Vary the sizes and spacing for a playful, dynamic look.
It’s simple, it’s sweet, and it guarantees smiles. Who doesn’t love a good polka dot?
Pro Tip: For perfectly round dots, don’t press too hard with your sponge or eraser. A gentle, even dab is all you need. Reload with paint frequently for consistent color.
Our Top Recommended Finds
- High-Quality Acrylic Paint Set: A good set with a variety of colors means you’re always ready for your next masterpiece without breaking the bank.
- Assorted Paint Brush Kit: From fine details to broad strokes, having the right brush makes all the difference for precision and ease.
- Painter’s Tape (various widths): Essential for those crisp lines and geometric patterns, trust us, the cheap stuff just leads to bleed-through despair.
Which of these will you try first?
See? Ditching the carving knife doesn’t mean ditching the fun. These painted pumpkin ideas are your ticket to effortlessly chic fall decor.
Which of these easy ideas are you absolutely itching to try out this season? Spill the tea in the comments below!