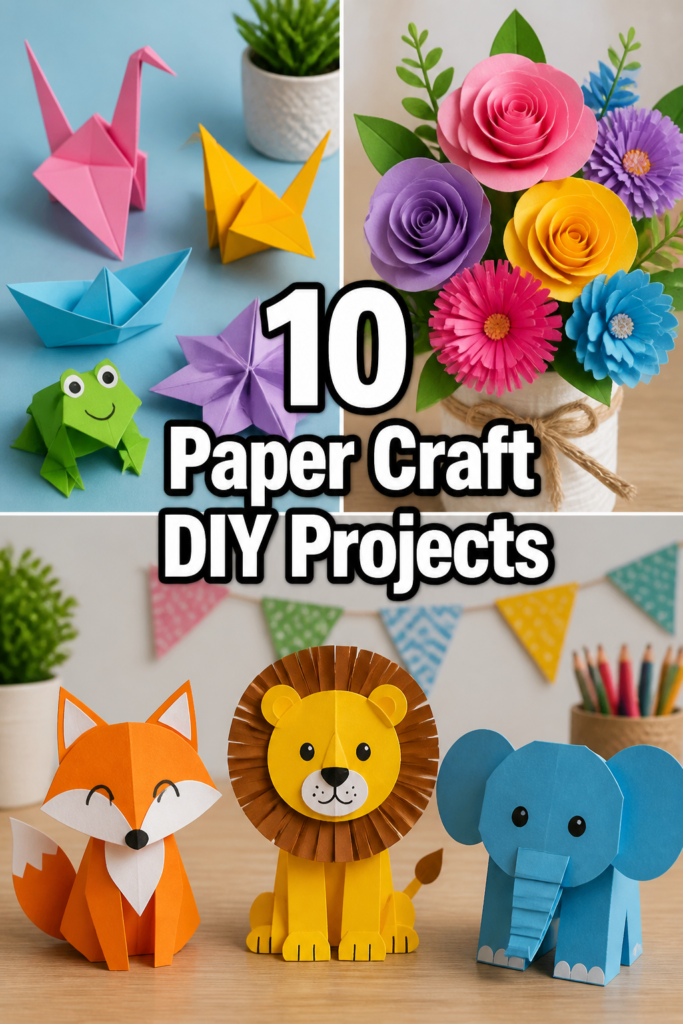
✂️ 10 Paper Craft DIY Projects
🛠️ The Ultimate Maker's Toolkit
I've tested thousands of craft tools over the years. Whether you are quilting, crafting, or building mixed-media art, these are the top 5 absolute non-negotiable tools I personally recommend to guarantee professional results.
🪡 SINGER Heavy Duty 4452 Sewing Machine
The sewing community highly recommends this as the ultimate "bulletproof" entry-level machine. Its heavy metal frame powerfully pushes through thick denim and heavy quilt layers that would instantly jam a standard plastic machine.
✂️ Fiskars 8" Orange-Handled Scissors
Never settle for dull dollar-store blades. Wirecutter repeatedly names Fiskars the absolute best all-purpose craft scissor due to its legendary precision-ground blades and an ergonomic grip that prevents hand-cramping.
🔥 Gorilla Dual Temp Hot Glue Gun
Named Wirecutter's top choice because it literally does the work of two tools. It features dual-temperature settings offering low heat for delicate florals and blistering high heat for heavy wood adhesion repairs.
🖌️ Mod Podge Waterbase Gloss Sealer
The absolute undisputed champion of decoupage and paper crafts. Experts rely exclusively on this exact water-based formula because it glues, seals, and finishes beautifully without yellowing or flaking over time.
🎨 Apple Barrel Acrylic Paint (2 oz)
The quintessential, incredibly inexpensive craft paint. Woodworkers and hobby painters swear by its smooth flow and matte finish, providing massive value and remarkably thick color coverage on rough surfaces.
Ever find yourself scrolling through endless feeds, feeling that creative itch but your wallet’s staging a protest?
Yeah, we get it. But guess what? Your next masterpiece is probably just a few sheets of paper away.
Get ready to unleash your inner artist without breaking the bank. We’ve got ten paper craft DIY projects that are seriously next-level, and honestly, a little addicting.
1. Geometric Paper Mobiles
- Best For: Nursery decor, minimalist home accents.
- Vibe: Modern, airy, surprisingly chic.
- Why it works: Adds a sophisticated touch to any space without much fuss or cash.
Grab some sturdy cardstock in a mix of muted pastels like mint, blush, and a soft gray. Cut out various geometric shapes — think triangles, hexagons, and cubes — then fold and glue them into 3D forms.
String them up with clear fishing line from a simple wooden dowel or a metal hoop. Hang it over a reading nook or in a baby’s room for instant, calming vibes.
Pro Tip: Vary the size of your geometric shapes to create a more dynamic and visually interesting mobile.
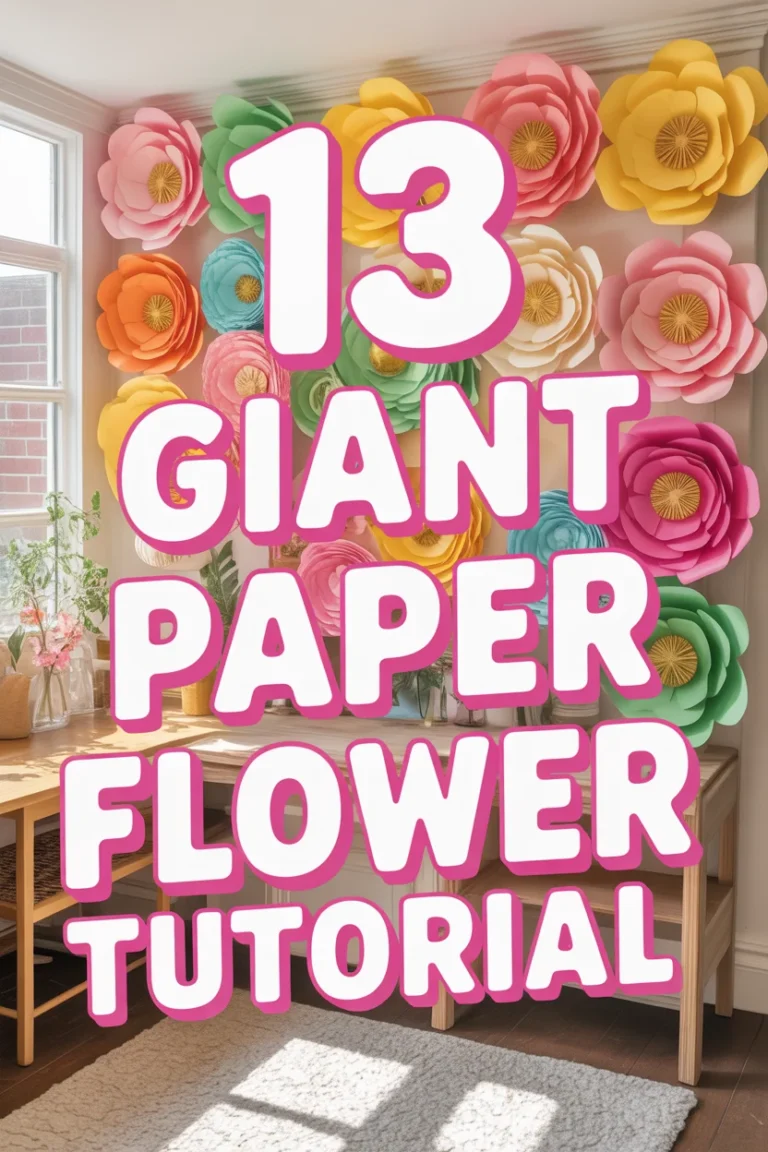
2. DIY Giant Paper Flowers
- Best For: Party backdrops, photo booths, event decor.
- Vibe: Whimsical, show-stopping, totally Instagrammable.
- Why it works: Makes a huge visual impact on a tiny budget.
You’ll need large rolls of vibrant crepe paper or heavyweight cardstock in colors like blush, ivory, and a pop of gold. Cut out petal shapes in varying sizes, then gently curl the edges with a pencil or your fingers.
Assemble them layer by layer using a hot glue gun, building up from the smallest petals to the largest. Attach a wire stem or a flat base to display your floral masterpieces.
Pro Tip: Use a curling tool or the edge of your scissors to gently curl petal edges for a more realistic, softer look.
3. Personalized Paper Lanterns
- Best For: Cozy evenings, outdoor patio ambiance, unique gifts.
- Vibe: Warm, inviting, magical.
- Why it works: Creates a soft, magical glow easily and affordably.
Start with plain white paper lanterns and get creative with tissue paper. Cut out shapes or strips from jewel-toned tissue paper and use Mod Podge to adhere them to the lantern surface.
You can create a mosaic effect, a striped pattern, or even abstract designs. Pop in some battery-operated LED tea lights for a safe, enchanting glow.
Pro Tip: Layer different colors of tissue paper for a beautiful stained-glass effect when the light shines through.
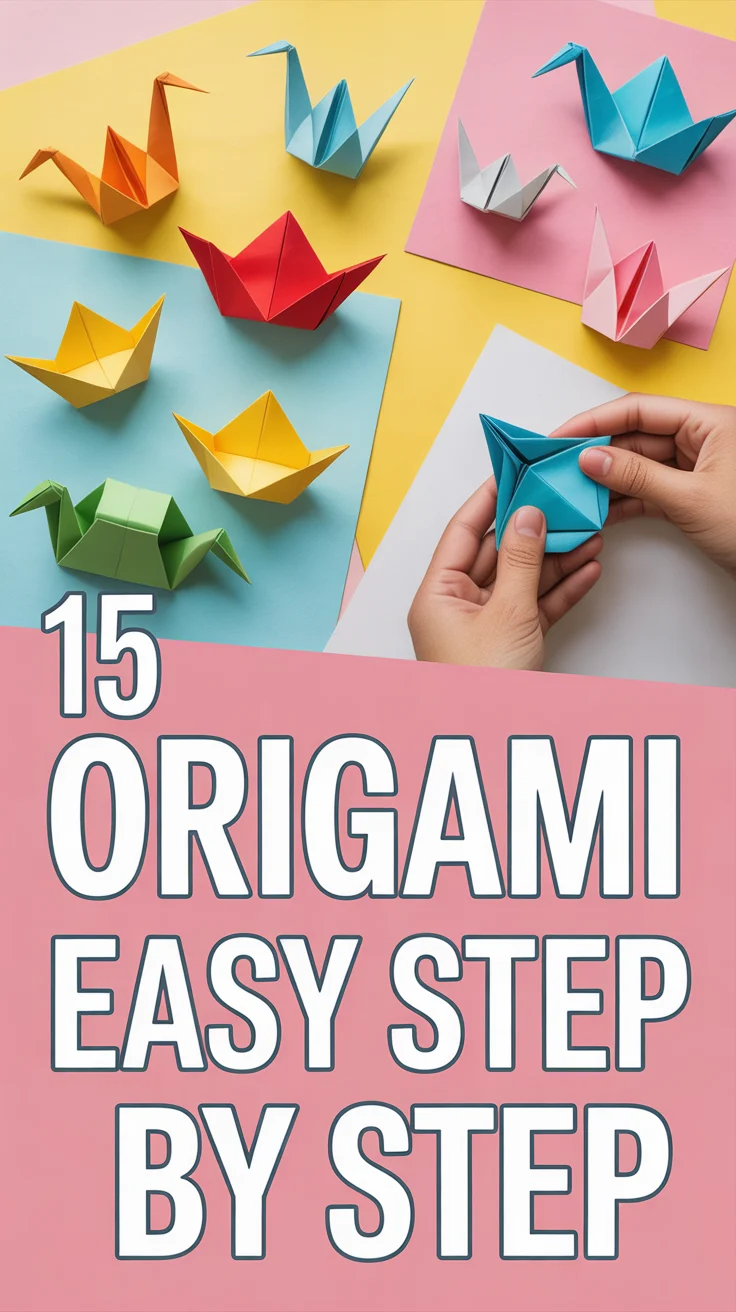
4. Origami Animal Planters
- Best For: Desk decor, small gifts for plant lovers, brightening up shelves.
- Vibe: Cute, quirky, surprisingly sophisticated.
- Why it works: Upgrades basic succulents or air plants with loads of personality.
Grab some sturdy, patterned origami paper or even colorful scrapbook paper. Fold a variety of adorable origami animals like foxes, elephants, or even geometric beasts.
Once folded, carefully place small terracotta pots or even just the plastic nursery pots inside your paper creations. Add a mini succulent or an air plant for a touch of green.
Pro Tip: Use a bit of waterproof glue or double-sided tape to secure the origami to the pot if you plan on watering frequently.
5. 3D Paper Wall Art
- Best For: Gallery walls, dorm room decor, adding texture to a space.
- Vibe: Artistic, modern, dynamic.
- Why it works: Adds dimension and visual interest to flat walls without heavy frames.
Pick a monochromatic palette of heavy cardstock (think grays, blacks, whites, or a single bold color). Sketch out a design — maybe a geometric pattern, an abstract swirl, or even stylized leaves.
Cut out your shapes using a craft knife, then layer and lift them with foam adhesive dots to create depth. Arrange your pieces on a canvas or directly on the wall for a striking display.
Pro Tip: Sketch your design first on a piece of paper, then cut and layer for a cohesive and balanced look.
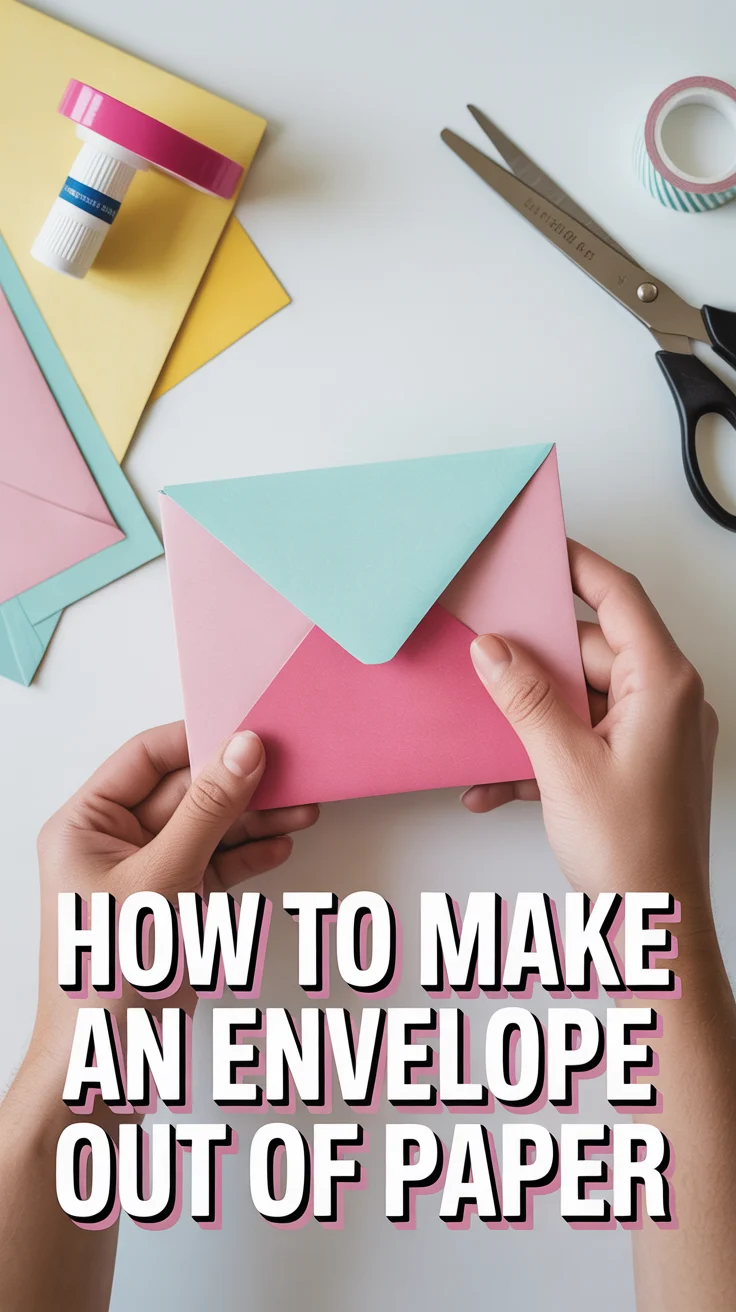
6. Custom Gift Tags and Bags
- Best For: Holiday gifting, party favors, making presents extra special.
- Vibe: Thoughtful, personalized, charming.
- Why it works: Elevates any gift from basic to bespoke in minutes.
You’ll need some plain kraft paper or cardstock, a few fun stamps (alphabet, small designs), and some colorful pens. Cut your paper into various tag shapes or fold small bags.
Stamp names, messages, or cute designs onto your tags and bags. Finish them off with some rustic twine or a brightly colored ribbon for that extra handmade touch.
Pro Tip: Keep a stash of pre-cut tags ready for those last-minute gift wrapping emergencies. You’ll thank yourself later.
7. Paper Bead Jewelry
- Best For: Boho accessories, unique gifts, upcycling projects.
- Vibe: Earthy, handcrafted, surprisingly chic.
- Why it works: Turns old magazines and scrap paper into stylish, wearable art.
Gather up some old magazines, colorful scrap paper, or even newspaper for a cool, muted look. Cut long, tapered strips of paper, then roll them tightly around a toothpick or a quilling tool, gluing the end down.
Once dry, coat your paper beads with a clear varnish or Mod Podge for durability and shine. String them onto elastic cord or jewelry wire with other small beads to create unique necklaces, bracelets, or earrings.
Pro Tip: Roll your paper strips tightly and consistently for uniform beads that look more professional.
8. Shadow Box Art
- Best For: Keepsakes, personalized gifts, displaying small treasures.
- Vibe: Nostalgic, sentimental, artful.
- Why it works: Beautifully displays small mementos and paper cutouts.
Grab a shadow box frame and some decorative papers like vintage maps, old sheet music, or textured cardstock. Cut out intricate paper shapes — silhouettes, flowers, or abstract designs.
Arrange your paper cutouts and any small objects (like buttons, dried flowers, or tiny trinkets) inside the shadow box. Use glue or foam dots to create depth and secure everything in place.
Pro Tip: Plan your layout inside the shadow box before you start gluing anything down to ensure everything fits perfectly.
9. Woven Paper Baskets
- Best For: Desk organization, small storage, rustic home decor.
- Vibe: Functional, rustic chic, eco-friendly.
- Why it works: A surprisingly sturdy and stylish way to organize clutter using recycled materials.
Collect old newspapers, magazines, or brown paper bags. Cut them into uniform strips, then fold and glue them to create sturdy paper “reeds.”
Weave these reeds together using a simple over-under pattern, building up the sides of your basket. You can use a bit of Mod Podge to strengthen the finished product and give it a slight sheen.
Pro Tip: Cut your paper strips uniformly for a cleaner, more professional-looking weave. Consistency is key here.
10. Paper Quilled Greeting Cards
- Best For: Special occasion cards, unique invitations, thoughtful gestures.
- Vibe: Delicate, intricate, truly artisanal.
- Why it works: Adds an elegant, handmade touch that makes any card stand out.
You’ll need a set of colorful quilling paper strips, a quilling tool, and some white glue. Roll the paper strips into various shapes like tight coils, teardrops, or marquises.
Arrange and glue these delicate paper shapes onto a blank cardstock base to create intricate designs — flowers, abstract patterns, or even tiny animals. It’s like drawing with paper.
Pro Tip: Start with basic shapes like coils and teardrops to get comfortable with the quilling tool before tackling more complex and detailed designs.
Our Top Recommended Finds
- A Precision Craft Knife Set: Because clean cuts make all the difference, and a dull blade is just asking for trouble.
- A Self-Healing Cutting Mat: Save your countertops and get perfectly straight lines every time. It’s a non-negotiable for serious paper crafters.
- A Reliable Low-Temp Hot Glue Gun: For quick bonds without the risk of scorching your delicate paper projects.
Which of these will you try first?
So, there you have it! Ten amazing paper craft projects to get your creative juices flowing without emptying your pockets.
Whether you’re jazzing up your space or making a thoughtful gift, paper is your unsung hero. Which project are you diving into first?