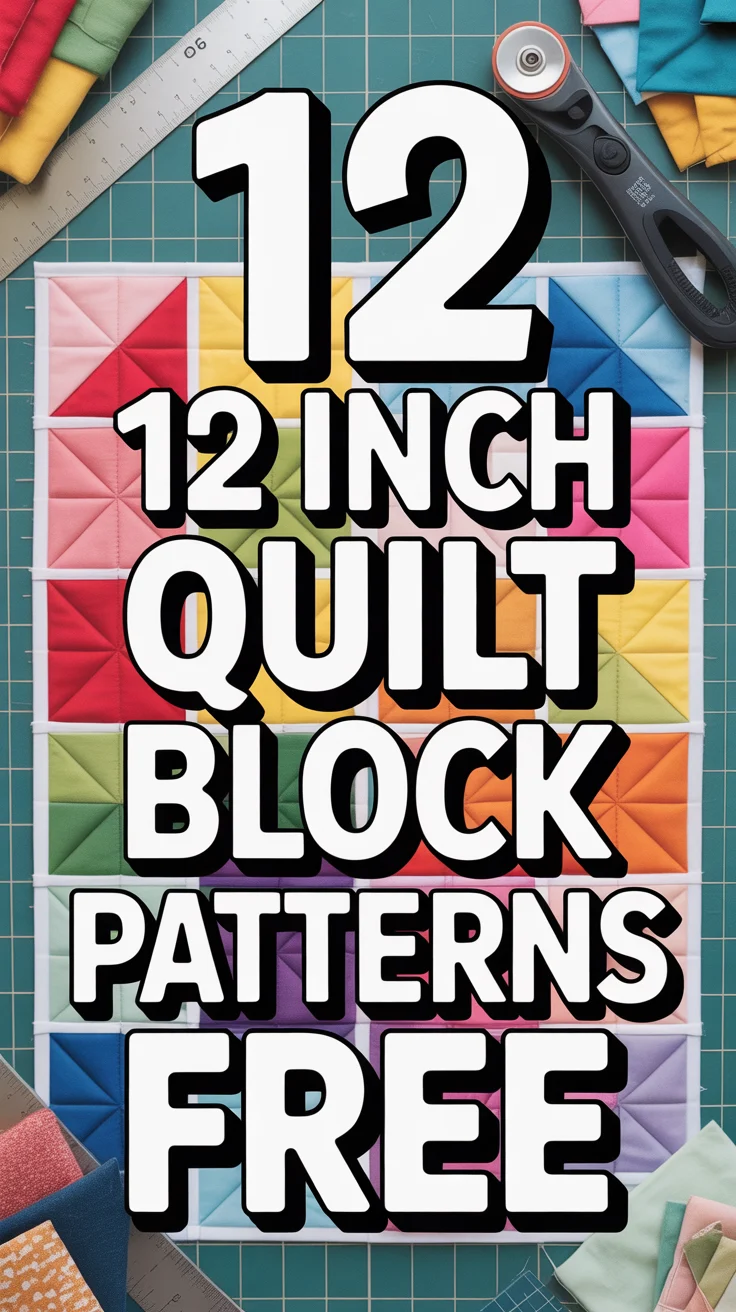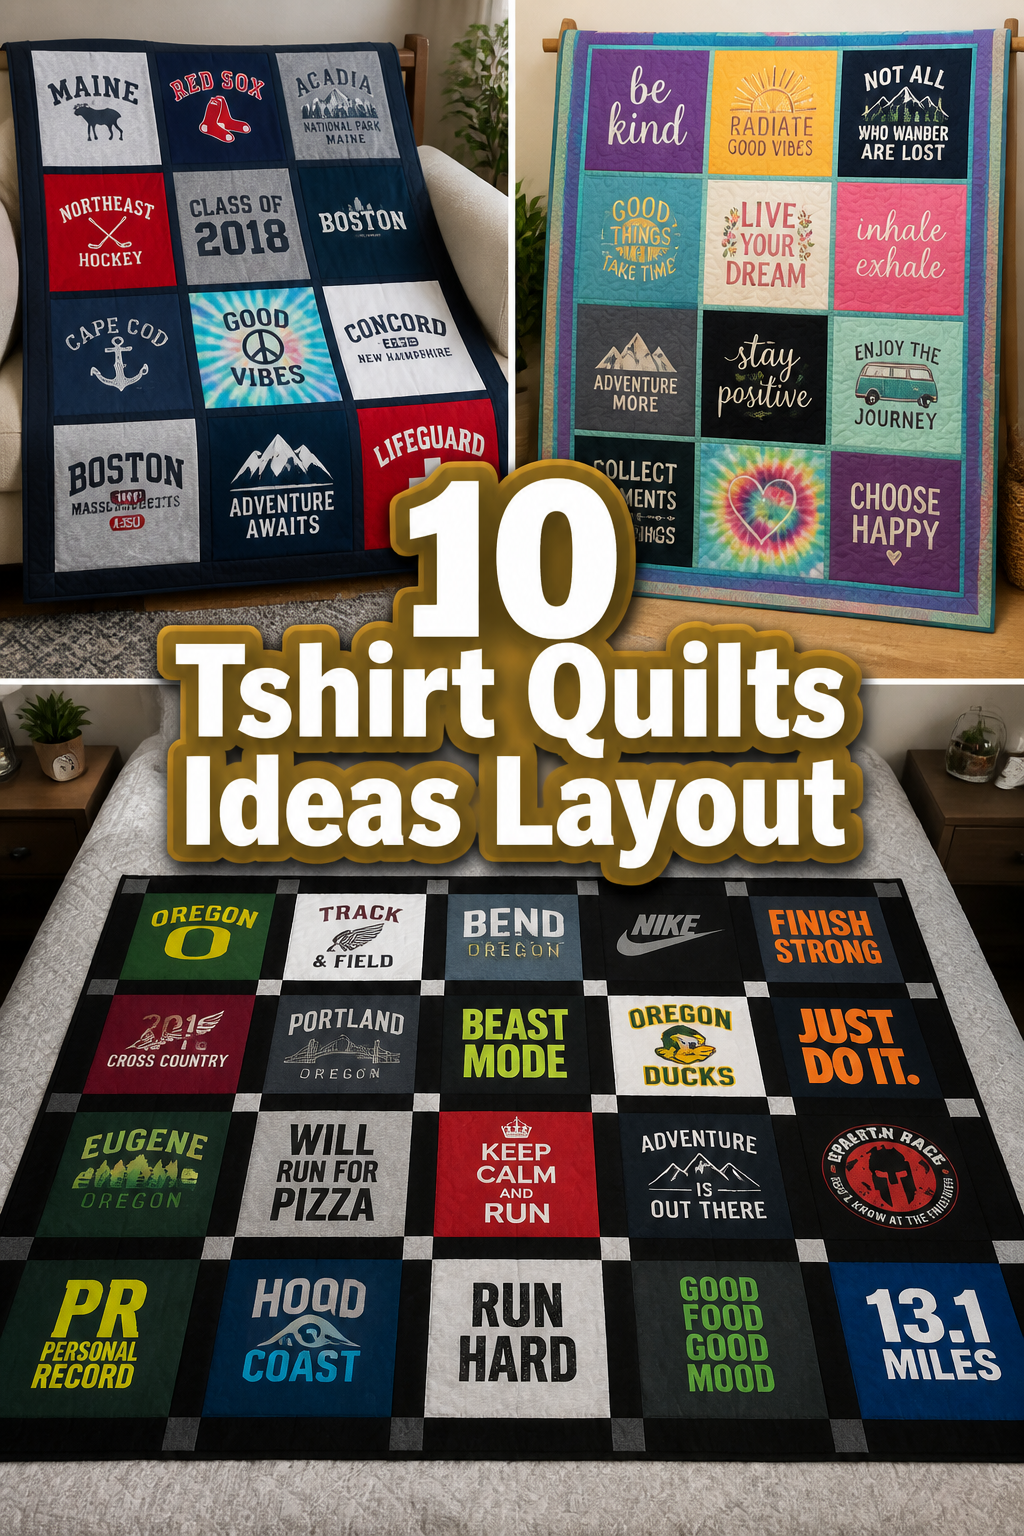
🧵 10 Tshirt Quilts Ideas Layout
🛠️ The Ultimate Maker's Toolkit
I've tested thousands of craft tools over the years. Whether you are quilting, crafting, or building mixed-media art, these are the top 5 absolute non-negotiable tools I personally recommend to guarantee professional results.
🪡 SINGER Heavy Duty 4452 Sewing Machine
The sewing community highly recommends this as the ultimate "bulletproof" entry-level machine. Its heavy metal frame powerfully pushes through thick denim and heavy quilt layers that would instantly jam a standard plastic machine.
✂️ Fiskars 8" Orange-Handled Scissors
Never settle for dull dollar-store blades. Wirecutter repeatedly names Fiskars the absolute best all-purpose craft scissor due to its legendary precision-ground blades and an ergonomic grip that prevents hand-cramping.
🔥 Gorilla Dual Temp Hot Glue Gun
Named Wirecutter's top choice because it literally does the work of two tools. It features dual-temperature settings offering low heat for delicate florals and blistering high heat for heavy wood adhesion repairs.
🖌️ Mod Podge Waterbase Gloss Sealer
The absolute undisputed champion of decoupage and paper crafts. Experts rely exclusively on this exact water-based formula because it glues, seals, and finishes beautifully without yellowing or flaking over time.
🎨 Apple Barrel Acrylic Paint (2 oz)
The quintessential, incredibly inexpensive craft paint. Woodworkers and hobby painters swear by its smooth flow and matte finish, providing massive value and remarkably thick color coverage on rough surfaces.
Your closet currently looks like a graveyard for concert tees and high school sports jerseys.
You cannot throw them away because of the memories, but you also haven’t worn that neon “Class of ’08” shirt in a decade.
Here are some genius ways to turn that fabric hoard into something actually useful.
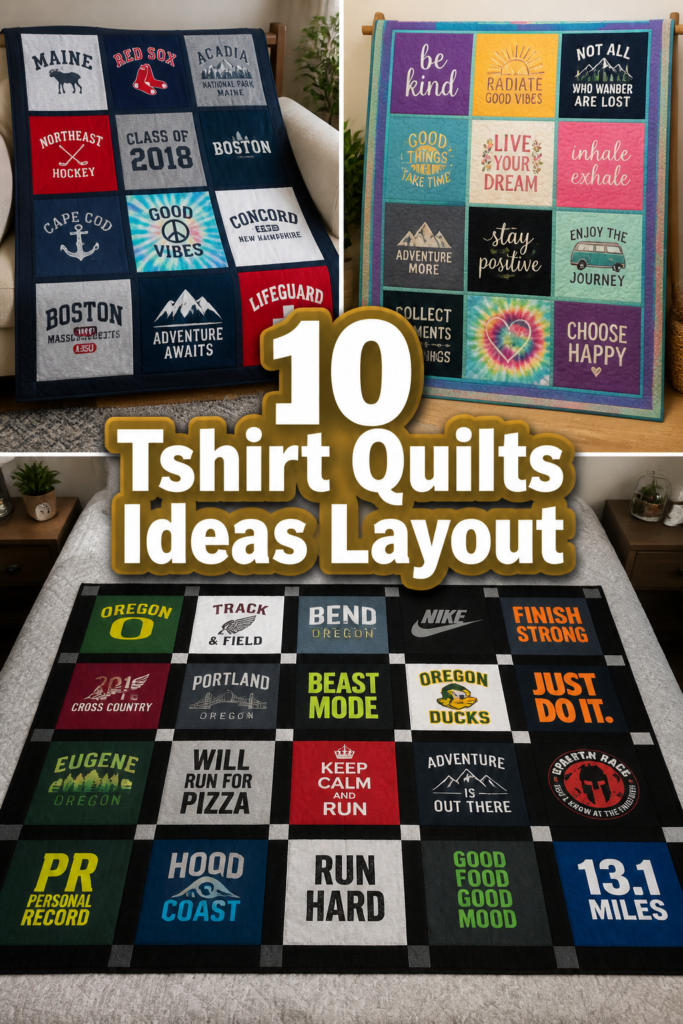
1. The Traditional Grid
- Best For: Beginners who fear math
- Vibe: Clean and organized
- Why it works: It uses uniform squares to create a balanced look.
Cut your shirts into 12-inch squares and sew them in straight rows.
This layout handles heavy cotton tees best because everything stays symmetrical.
Use a contrasting sashing fabric between the blocks to make the colors pop.
Pro Tip: Use iron-on stabilizer so your stretchy shirts do not turn into a wavy mess.
2. The Random Mosaic
- Best For: People with shirts of all sizes
- Vibe: High-energy and eclectic
- Why it works: It fits different logo sizes together like a puzzle.
Grab those pocket logos and giant back graphics without worrying about size.
You will need extra scraps of fabric to fill in the gaps between the different rectangles.
This style takes more planning but looks the most professional when finished.
Pro Tip: Lay everything out on the floor first to ensure you do not have two dark blue shirts touching.
3. The Color Gradient
- Best For: The aesthetically obsessed
- Vibe: Sophisticated and intentional
- Why it works: It turns a pile of random shirts into a curated work of art.
Sort your shirts into color piles before you even touch the scissors.
Transition from light pastels at the top to deep jewel tones at the bottom.
This layout hides the fact that some shirts are crusty old gym rags.
Pro Tip: If you lack a certain color, buy a few blank fat quarters in that shade to bridge the gap.
4. The Modern Chevron
- Best For: Trendy bedroom decor
- Vibe: Geometric and sharp
- Why it works: It breaks up the “boxy” look of most t-shirt quilts.
Cut your shirts into triangles instead of squares to create a zig-zag pattern.
Mix solid jersey fabric with your graphic tees to give the eyes a place to rest.
It looks great with monochromatic color schemes like grey, black, and white.
Pro Tip: Use a rotary cutter and a 60-degree ruler for those crisp angles.
5. The Polaroid Snapshot
- Best For: Photography lovers
- Vibe: Nostalgic and cute
- Why it works: It frames small logos as if they were instant photos.
Cut the shirt graphics into small squares and add wide white borders on the bottom.
This is perfect for vacation shirts or small chest logos that get lost in big blocks.
Choose a dark grey backing fabric to make the “photos” stand out.
Pro Tip: Write the date or location on the white border with fabric markers for extra sentiment.
6. The Window Pane Sash
- Best For: Showcasing bold graphics
- Vibe: Structured and professional
- Why it works: Thick borders act like frames for each shirt.
Surround each shirt block with 2-inch strips of black or navy fabric.
This adds significant size to the quilt without needing 50 shirts.
It gives the finished product a high-end boutique feel rather than a DIY project.
Pro Tip: Match the sashing color to the most common color in your shirt collection.
7. The Applique Circle
- Best For: Rule breakers
- Vibe: Whimsical and soft
- Why it works: Circles eliminate the stress of perfectly straight lines.
Cut your favorite logos into large circles using a dinner plate as a template.
Sew them onto a large fleece blanket or a single piece of heavy canvas.
Use a zigzag stitch around the edges to prevent fraying and add texture.
Pro Tip: Use double-sided fusible web to stick the circles down before sewing.
8. The Braided Border
- Best For: Using every single scrap
- Vibe: Boho and cozy
- Why it works: It uses the “trash” pieces of the shirt for the edges.
Create a standard center grid but leave the sleeves and backs for the border.
Braid long strips of fabric and sew them around the perimeter of the quilt.
This adds weight and warmth, making it the ultimate couch throw.
Pro Tip: Wash the shirts first so the braided edges get that soft, distressed look.
9. The Diagonal Diamond
- Best For: Advanced crafters
- Vibe: Dynamic and energetic
- Why it works: Tilting the squares 45 degrees changes the entire perspective.
Set your shirt blocks on point so they look like diamonds instead of boxes.
You will need setting triangles for the edges to make the quilt rectangular.
This layout works wonders for sports jerseys with diagonal stripes.
Pro Tip: Be careful with fabric stretch when cutting on the bias (diagonally).
10. The Storyboard Layout
- Best For: Graduation or retirement gifts
- Vibe: Narrative and meaningful
- Why it works: It organizes shirts chronologically.
Place your oldest shirts in the top left and move toward the most recent.
Mix in denim scraps from old jeans for a rugged, durable texture.
This layout tells a visual story of your life through the years.
Pro Tip: Include a small fabric label in the corner explaining the timeline.
Our Top Recommended Finds
- Self-healing cutting mat: This saves your dining table from the wrath of your rotary cutter.
- Lightweight Fusible Interfacing: This is the secret sauce that stops t-shirt fabric from stretching into weird shapes.
- Walking foot for sewing machine: It helps feed the thick layers of jersey fabric through the machine without bunching.
Which of these will you try first?
Stop letting those memories rot in a plastic bin under your bed.
A t-shirt quilt is the only way to wear 30 shirts at once without looking absolutely insane.
Are you going for the clean grid or the chaotic mosaic vibes?