🧱 What To Make Out Of Clay
& CRAFT IDEAS
Beginner-friendly tutorials, creative projects,
and weekly inspiration in your inbox.
🛠️ The Ultimate Maker's Toolkit
I've tested thousands of craft tools over the years. Whether you are quilting, crafting, or building mixed-media art, these are the top 5 absolute non-negotiable tools I personally recommend to guarantee professional results.
🪡 SINGER Heavy Duty 4452 Sewing Machine
The sewing community highly recommends this as the ultimate "bulletproof" entry-level machine. Its heavy metal frame powerfully pushes through thick denim and heavy quilt layers that would instantly jam a standard plastic machine.
✂️ Fiskars 8" Orange-Handled Scissors
Never settle for dull dollar-store blades. Wirecutter repeatedly names Fiskars the absolute best all-purpose craft scissor due to its legendary precision-ground blades and an ergonomic grip that prevents hand-cramping.
🔥 Gorilla Dual Temp Hot Glue Gun
Named Wirecutter's top choice because it literally does the work of two tools. It features dual-temperature settings offering low heat for delicate florals and blistering high heat for heavy wood adhesion repairs.
🖌️ Mod Podge Waterbase Gloss Sealer
The absolute undisputed champion of decoupage and paper crafts. Experts rely exclusively on this exact water-based formula because it glues, seals, and finishes beautifully without yellowing or flaking over time.
🎨 Apple Barrel Acrylic Paint (2 oz)
The quintessential, incredibly inexpensive craft paint. Woodworkers and hobby painters swear by its smooth flow and matte finish, providing massive value and remarkably thick color coverage on rough surfaces.
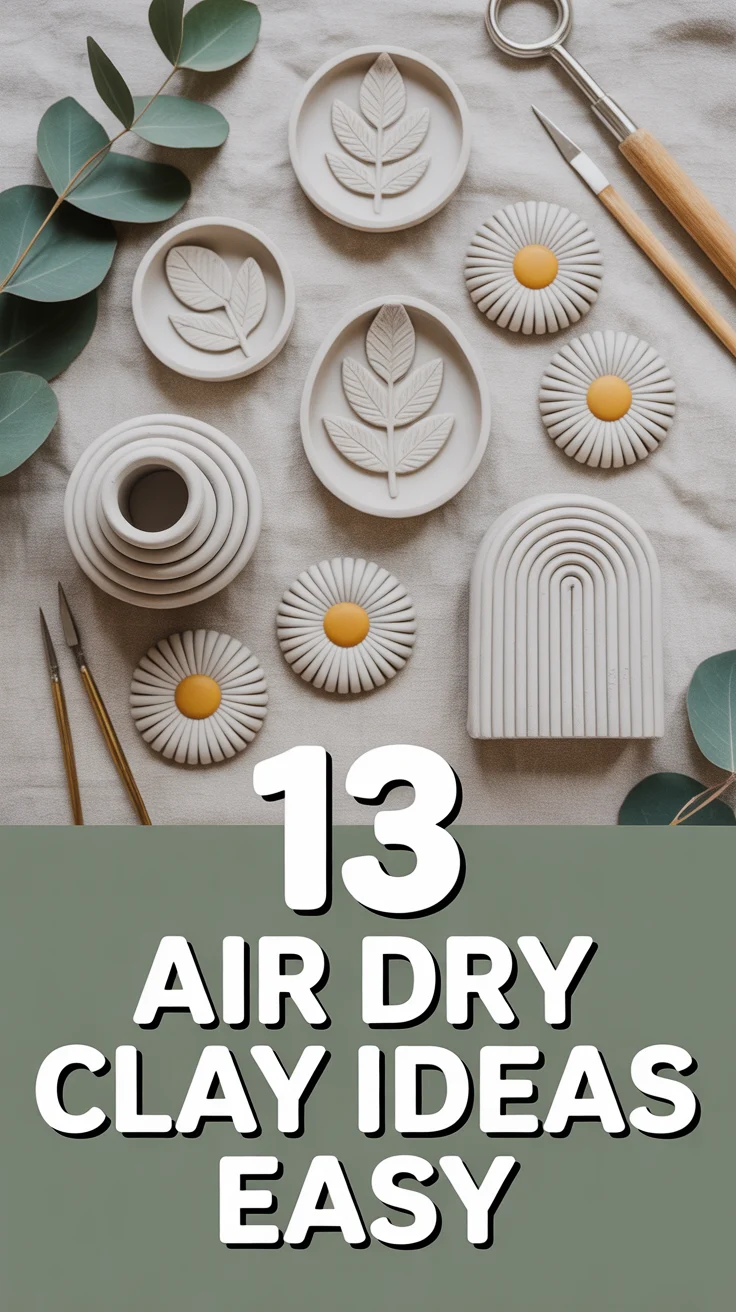
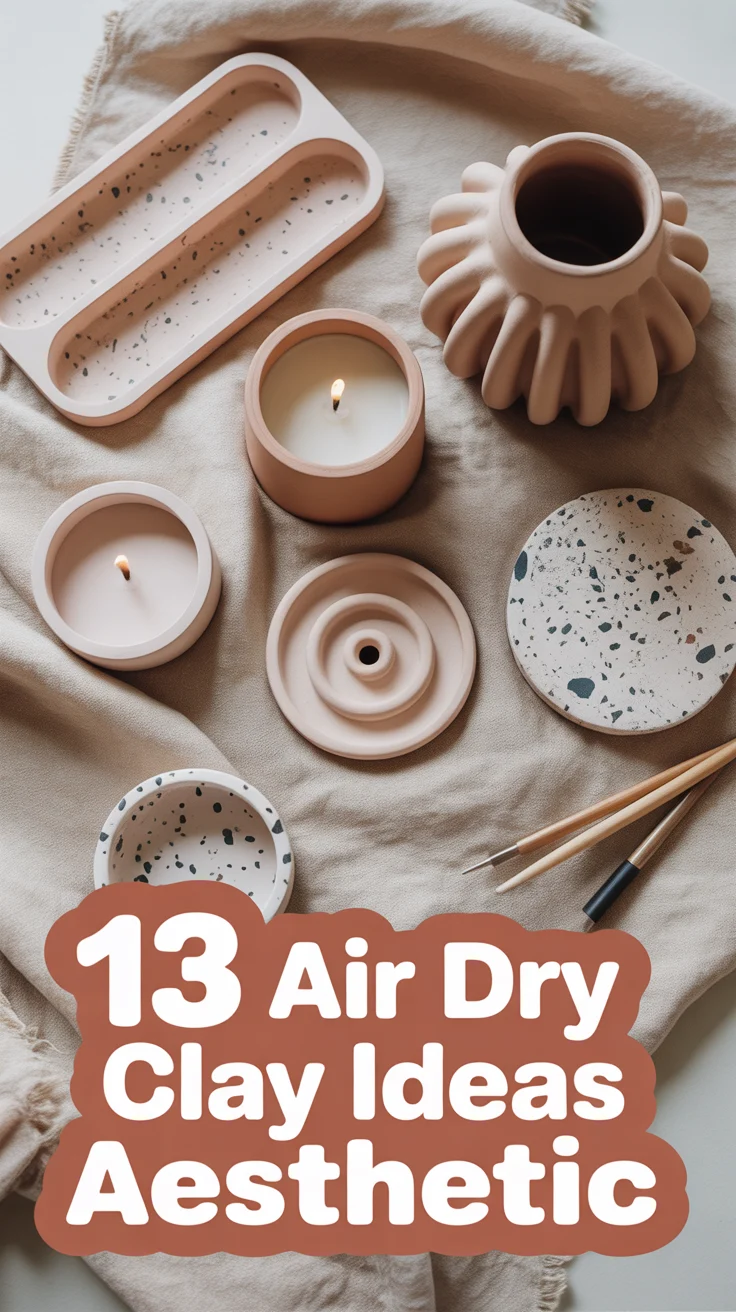
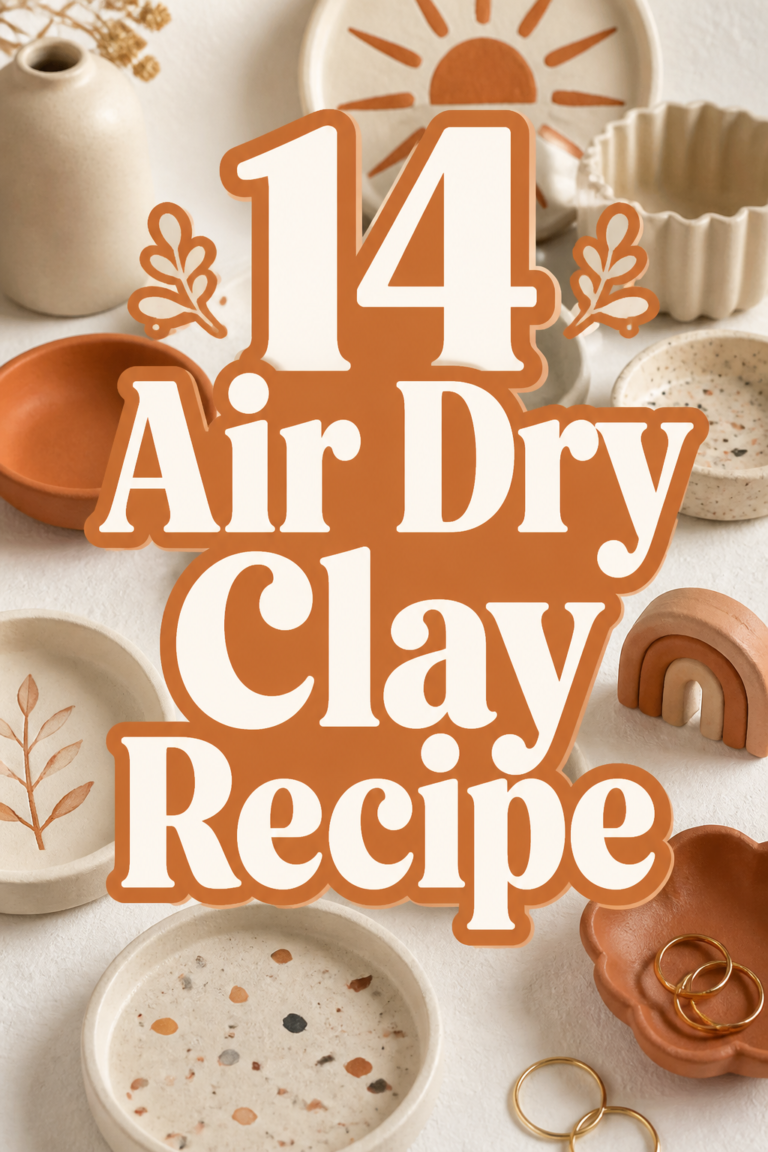
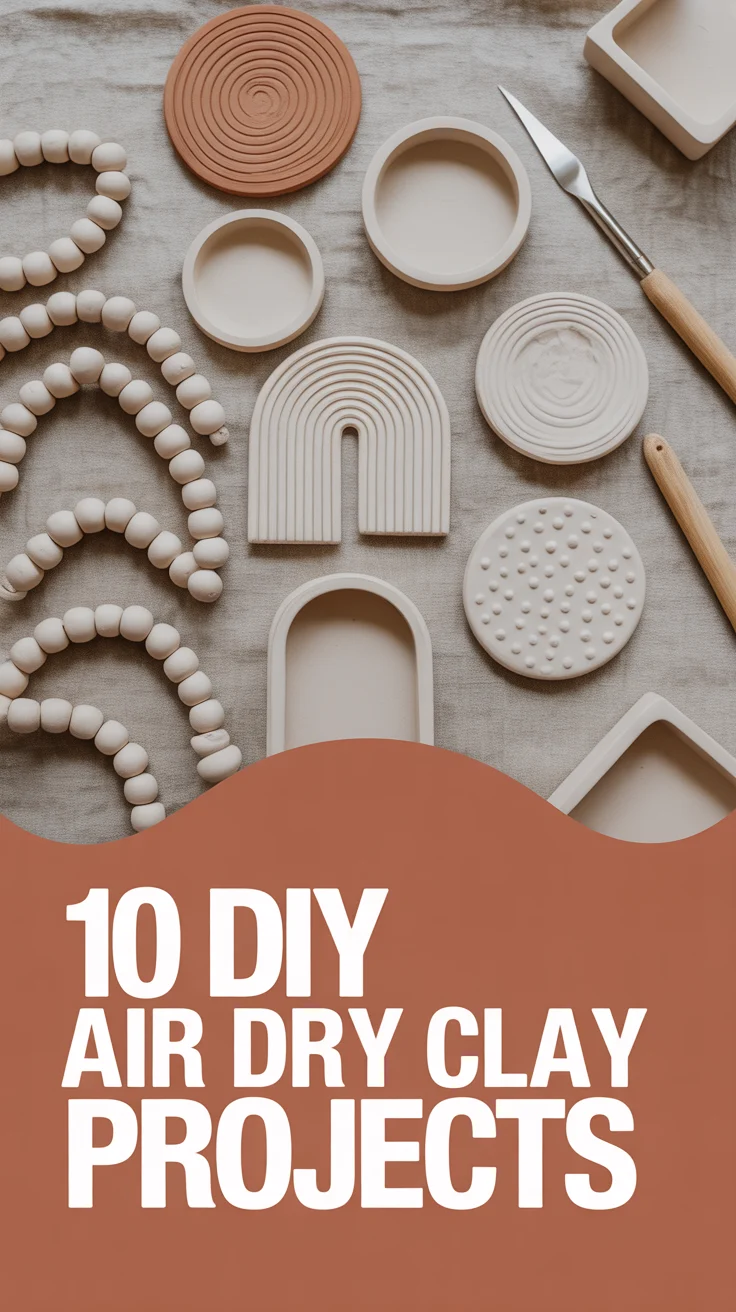
Got clay and chaos energy? Perfect combo. Clay is forgiving, customizable, and wildly satisfying. No kiln? No problem—air-dry clay exists for a reason. Let’s make cool stuff your shelves will brag about.
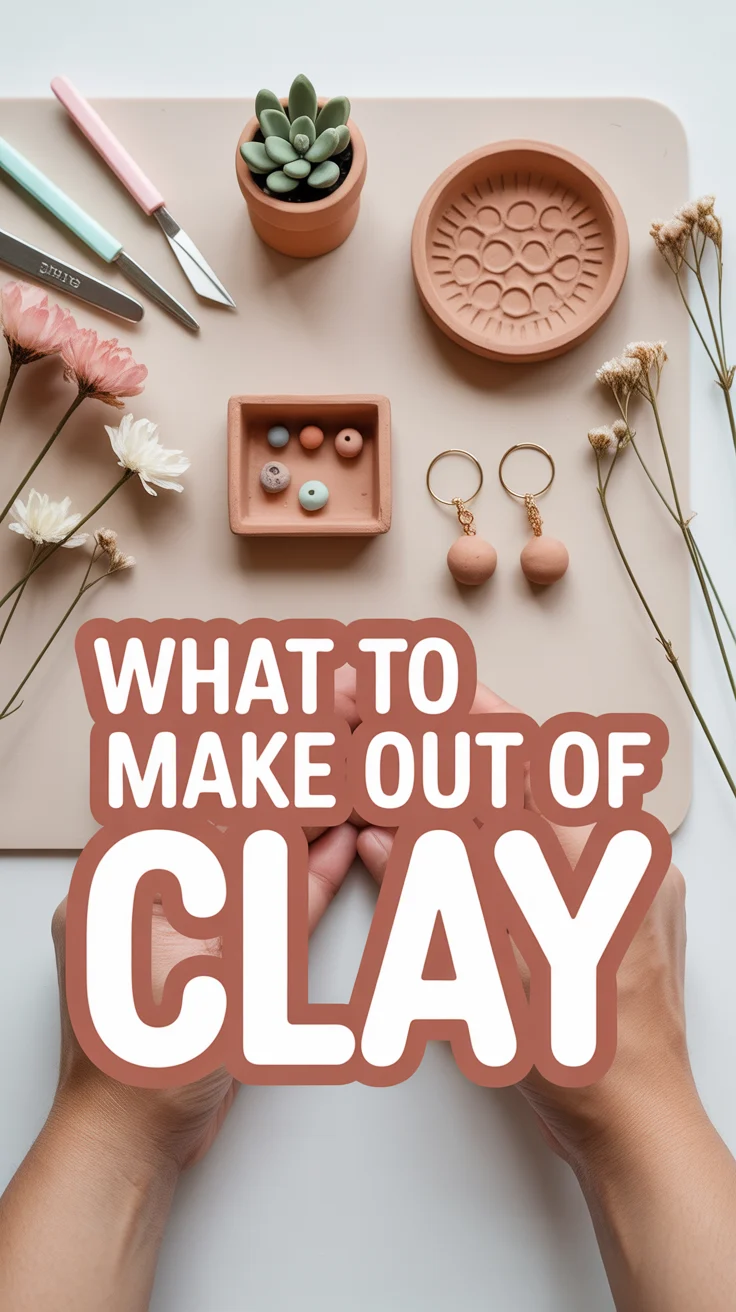
1. Trinket Dishes
Small, cute, and wildly useful. These catch-all dishes love rings, keys, and the mysterious bobby pins that multiply at night.
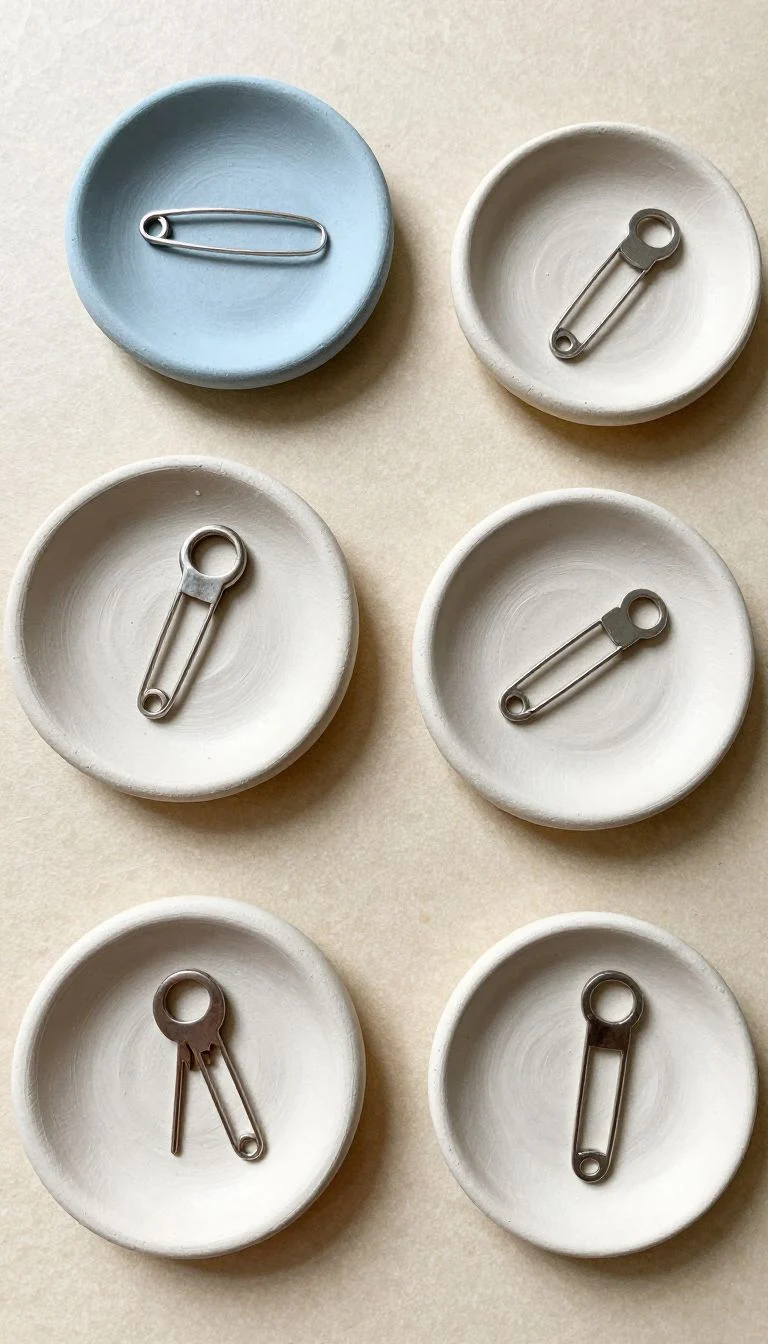
- Use air-dry clay or polymer for easy baking.
- Shape by hand or press into a round cookie cutter for clean edges.
- Paint with acrylics and seal with a clear varnish.
Pro tip: Drape over the bottom of a bowl to get that perfect curve.
It works because it’s quick, giftable, and makes clutter look intentional.
2. Plant Pots
Give your plants a glow up. Clay pots add texture and personality to that pothos you forgot to water.
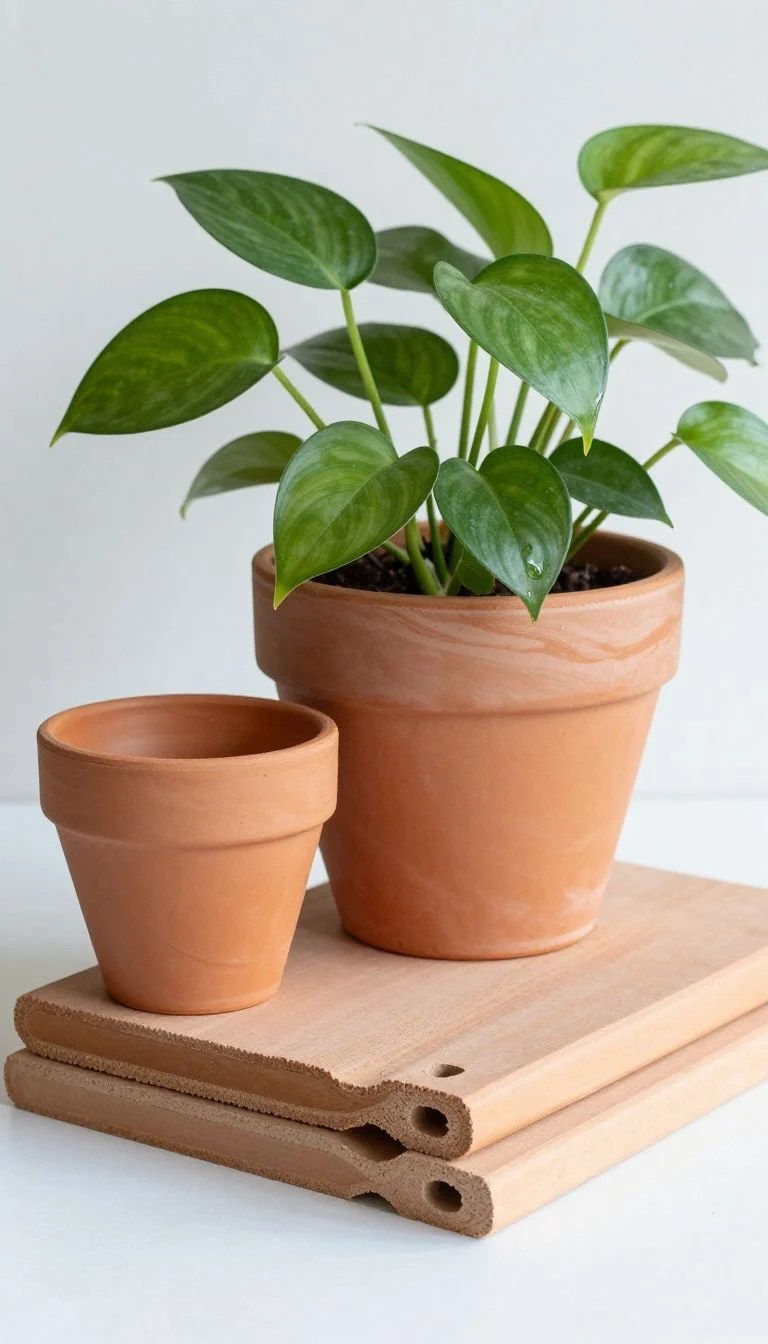
- Roll slabs and join with score-and-slip for sturdy seams.
- Poke a drainage hole before drying or baking.
- Add carved patterns or marbled clay for style.
Pro tip: Line with a plastic nursery pot if your clay isn’t waterproof.
It works because custom size + custom vibe = plant parent win.
3. Incense Holders
Zen, but make it cute. These take minutes to shape and instantly level up your desk altar.
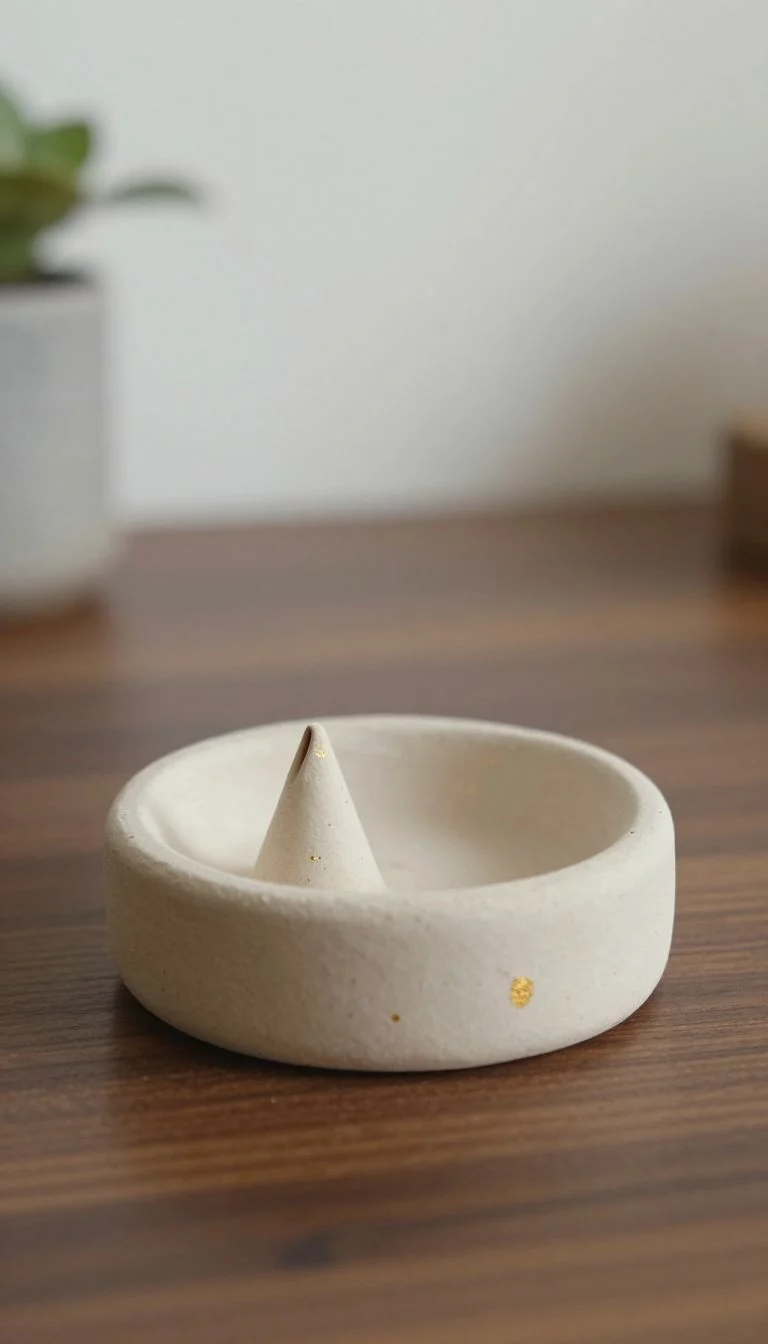
- Make a flat base and a tiny angled hole for sticks.
- For cones, form a shallow dish with a raised rim.
- Decorate with gold leaf accents or speckles.
Pro tip: Test the hole angle before drying so ash lands on the base.
It works because it’s functional art that also smells smugly good.
4. Candle Holders
Mood lighting, but handmade. From taper stands to chunky tea-light thrones, you control the drama.
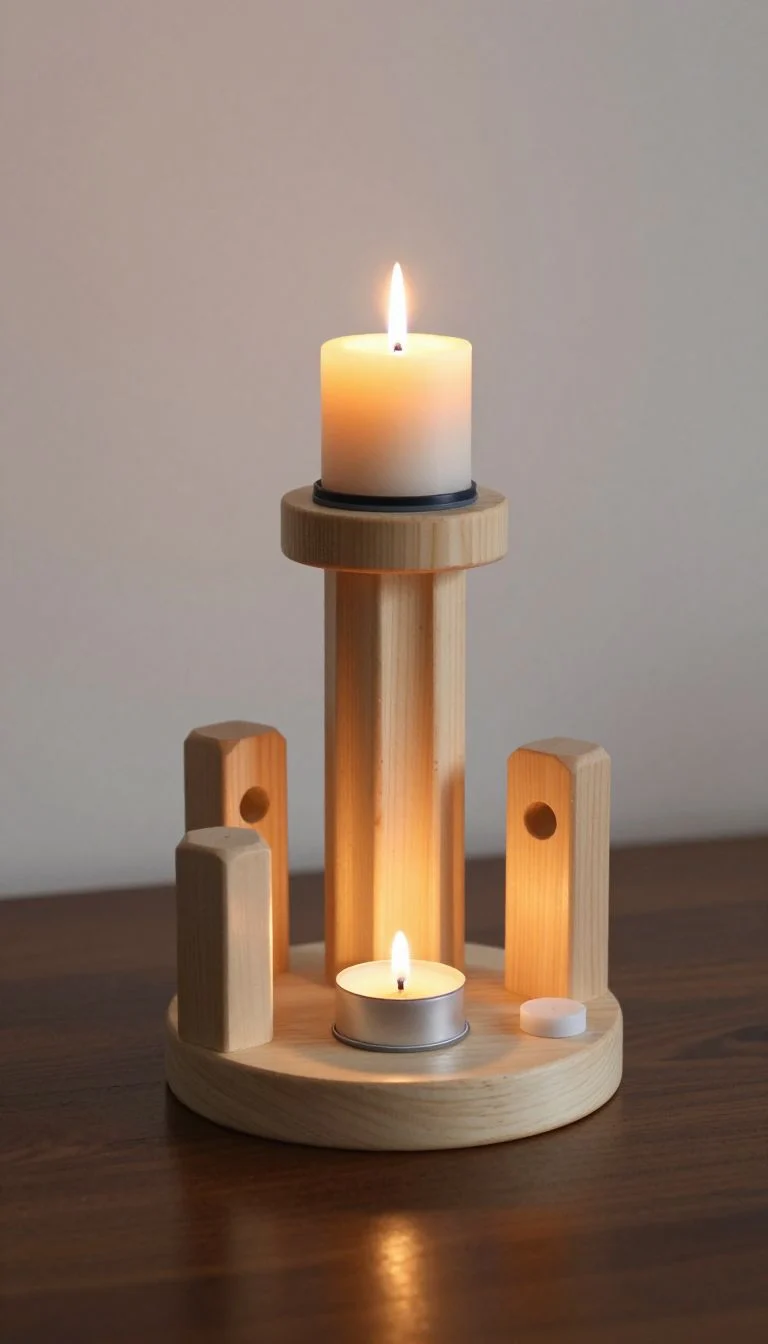
- Measure the candle diameter and size the socket snugly.
- Keep bases wide and stable for safety.
- Use heat-safe seals and avoid direct flame contact.
Pro tip: Wrap the candle in parchment, press into clay, then remove—perfect fit every time.
It works because it blends cozy with custom.
5. Statement Earrings
Lightweight and loud in the best way. Polymer clay earrings look boutique, cost coffee money.
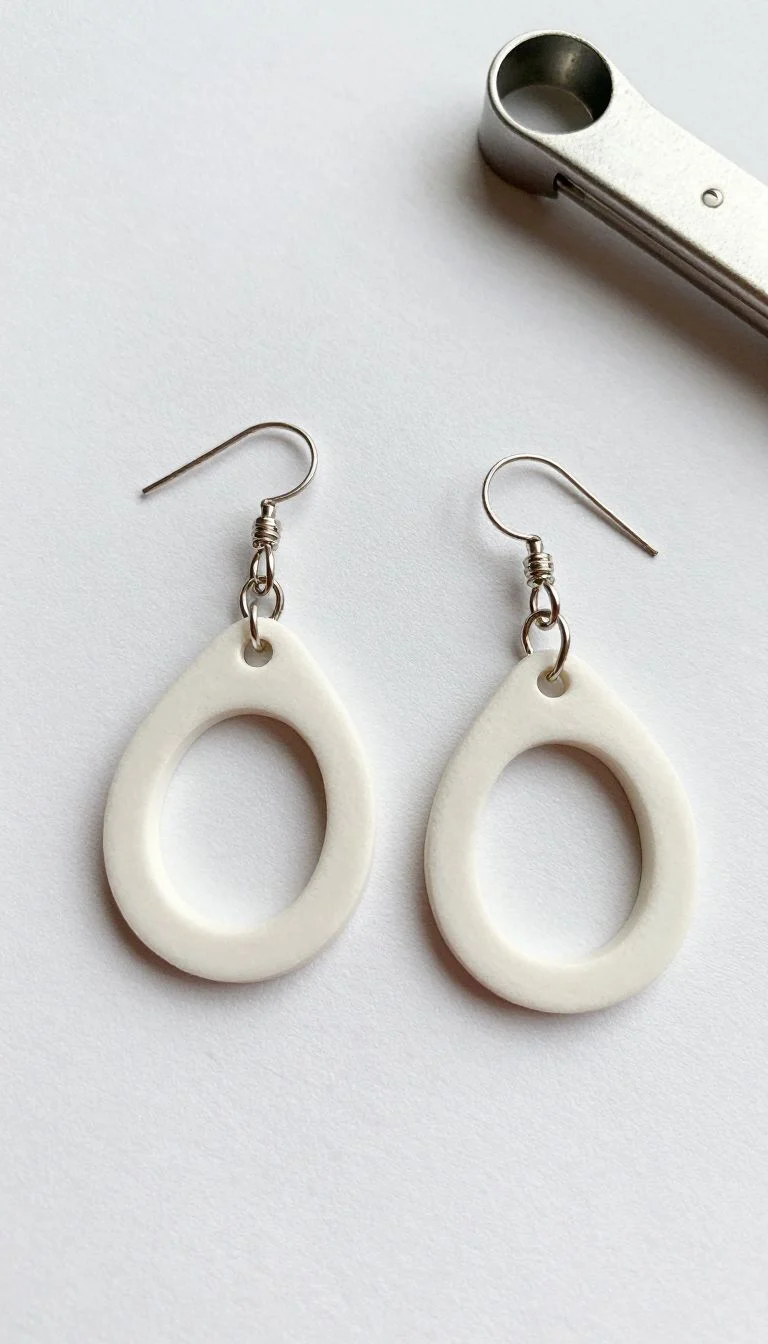
- Cut shapes with mini cutters or a craft knife.
- Bake, then sand edges for a clean finish.
- Attach jump rings and hypoallergenic posts.
Pro tip: Layer thin slabs for terrazzo or checkerboard without bulk.
It works because they’re customizable and instantly outfit-elevating.
6. Phone Stands
Finally, a cute way to watch recipes while cooking noodles. Simple shape, big convenience.
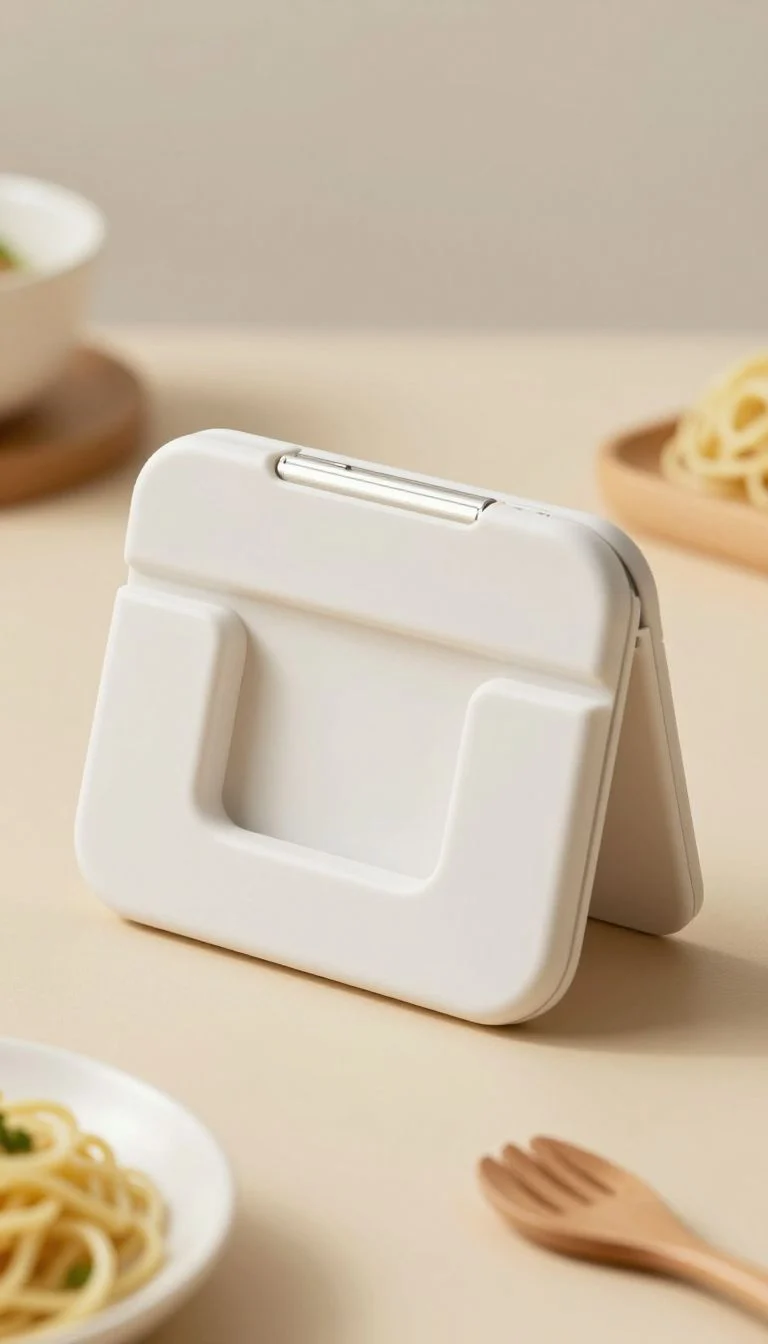
- Form a U-shaped cradle with a slight back tilt.
- Add a lip so your phone doesn’t slide off.
- Texture with stamps or keep it minimal.
Pro tip: Test with your actual phone case for perfect sizing.
It works because hands-free is the new stress-free.
7. Spoon Rests
Save your counters and your sanity. A spoon rest is the tiny hero your stove deserves.
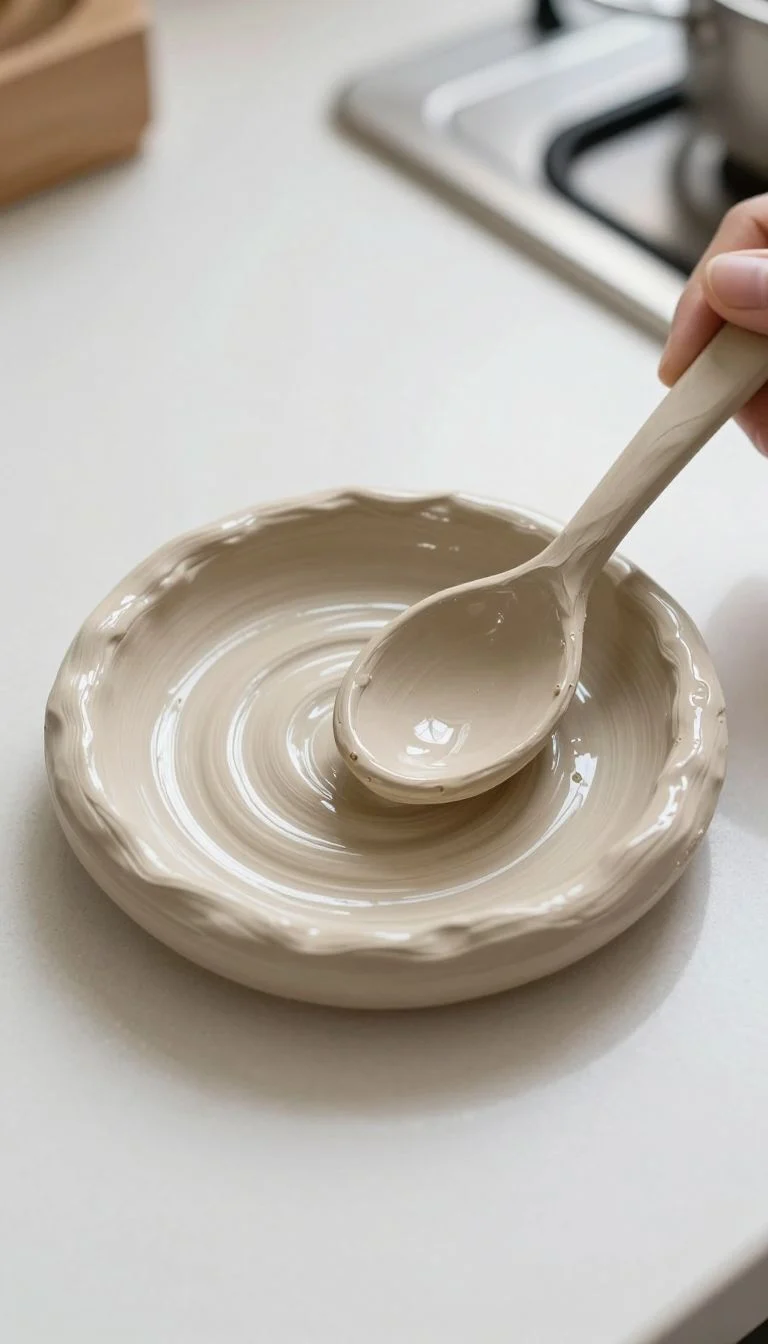
- Flatten a thick disc and pinch a resting notch.
- Make it glossy for easy wipe-downs.
- Go for food-safe sealants if needed.
Pro tip: Press a real spoon into the clay to set the size and curve.
It works because it blends practicality with everyday joy.
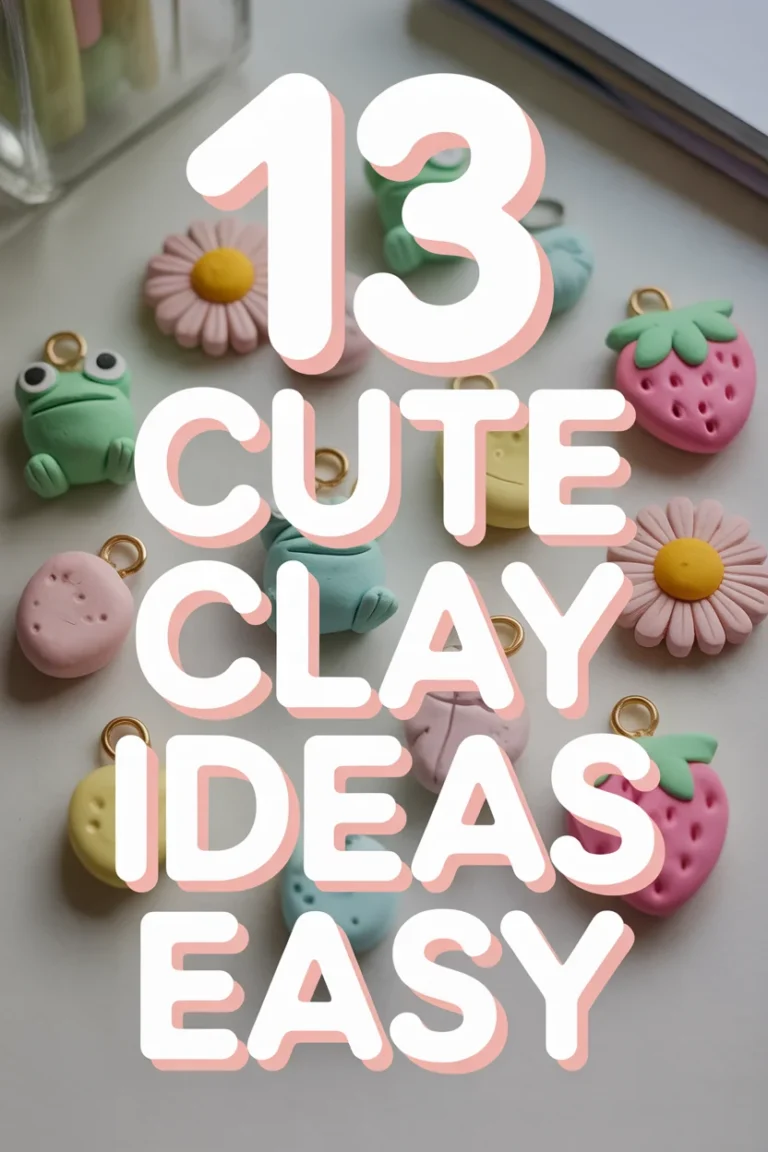
8. Keychains
Your keys deserve personality too. Tiny clay charms = tiny dopamine hits.
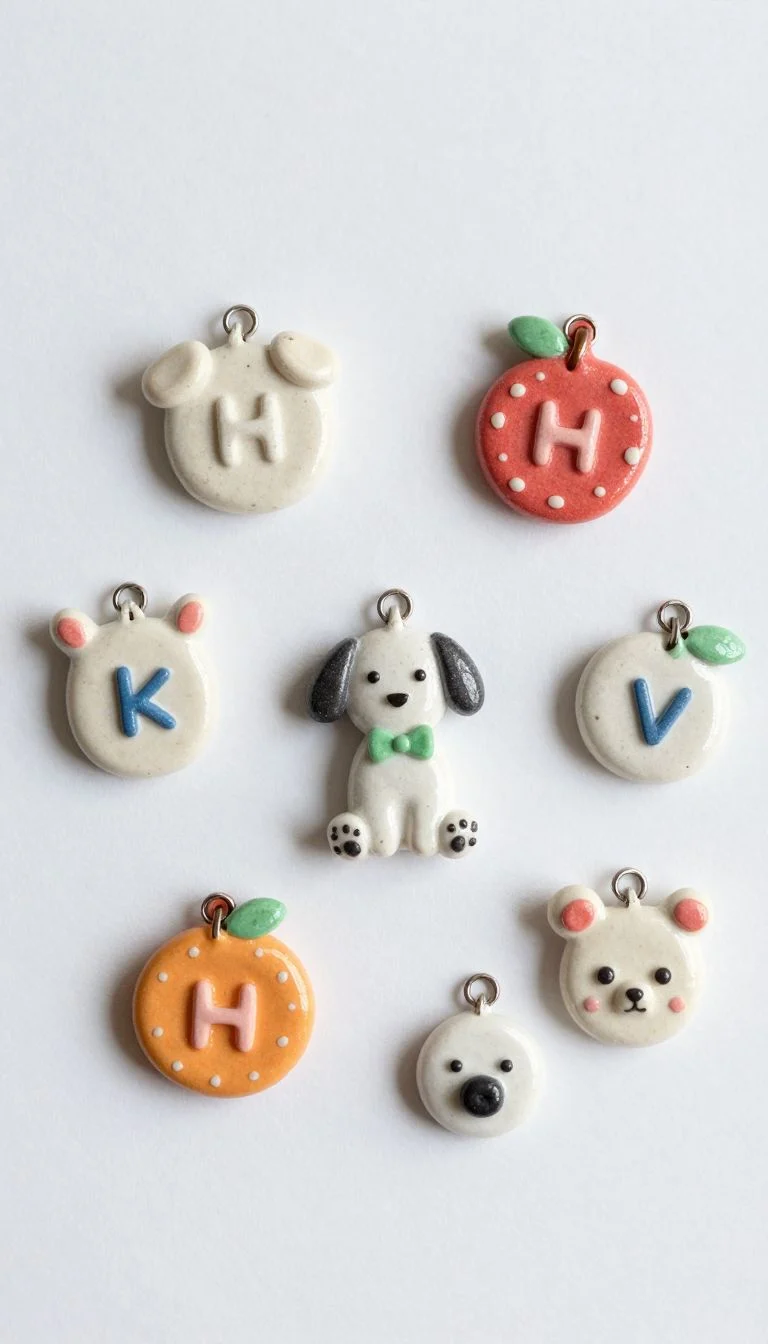
- Shape initials, fruits, or mini pets.
- Use eyepins before baking or drying.
- Seal for scuff resistance.
Pro tip: Add mica powder before sealing for a soft shimmer.
It works because it’s fast, fun, and super giftable.
9. Personalized Name Plates
Desk, door, or shelf—claim your territory with style. Classy, not corporate.
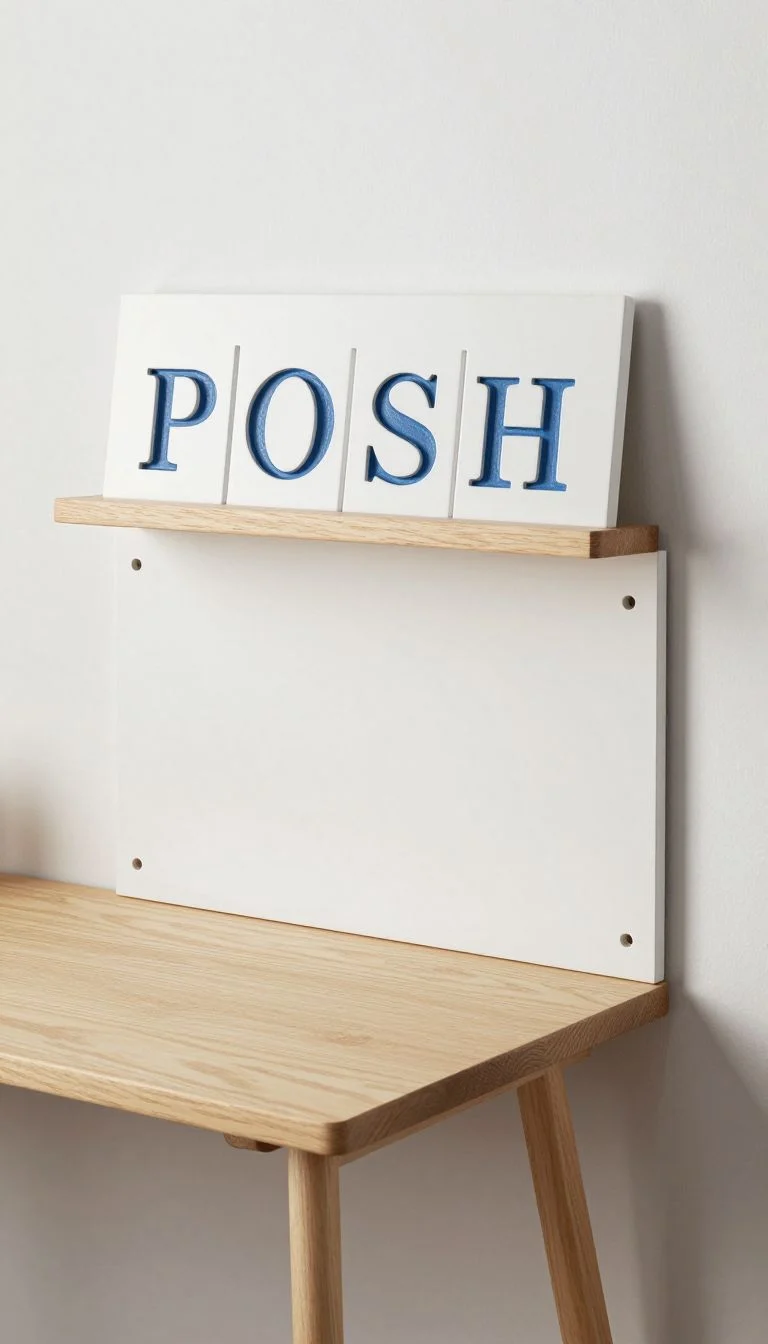
- Roll a rectangular slab and smooth edges.
- Stamp or carve letters before curing.
- Attach to a stand or add wall hang holes.
Pro tip: Use contrasting paint in the letters, wipe excess for a crisp inlay.
It works because it’s personal and instantly polished.
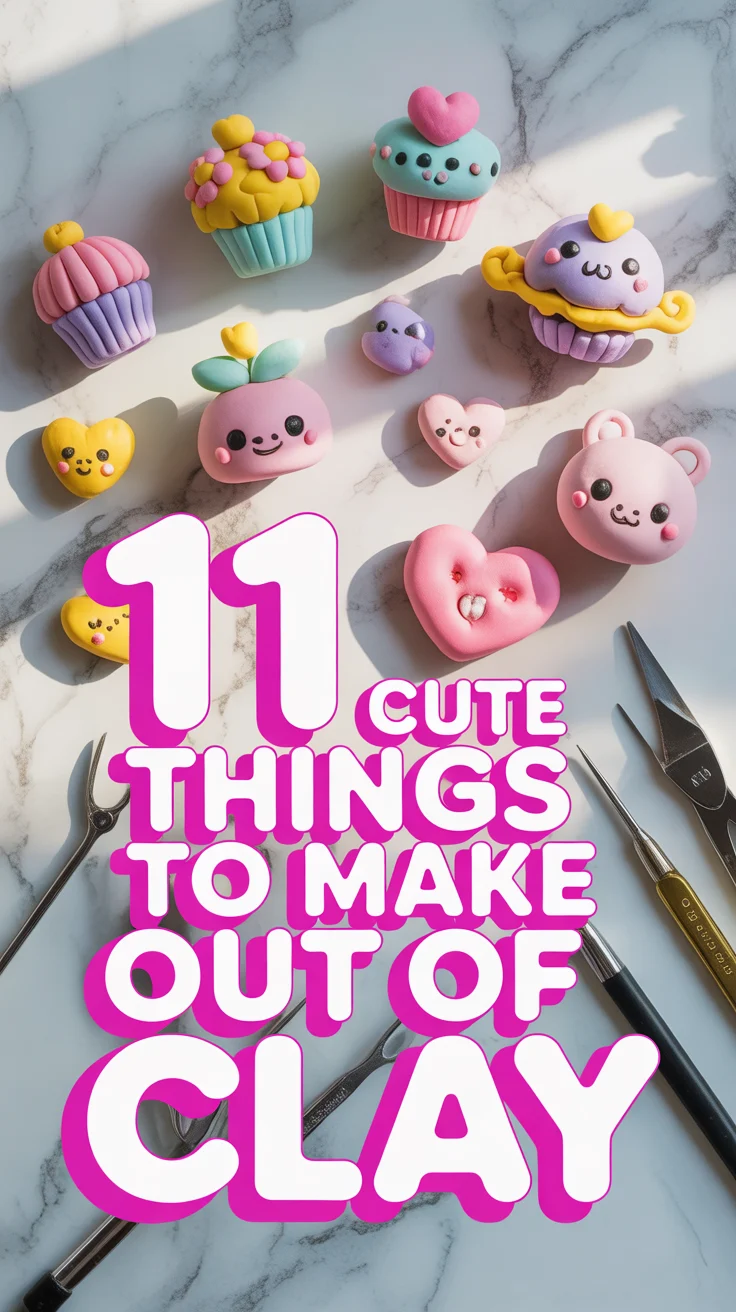
10. Mini Sculptures
From squishy animals to abstract blobs—desk totems that spark joy and mild curiosity.
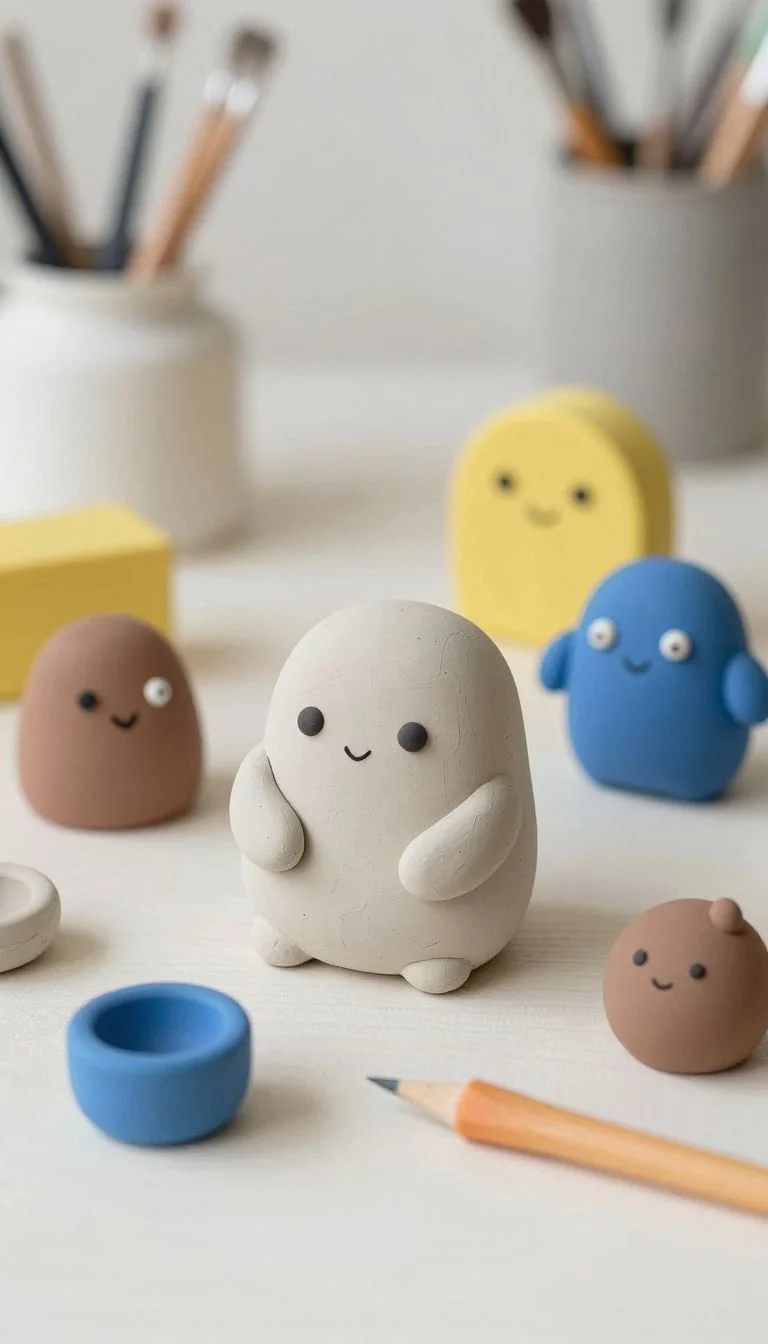
- Start with a foil core to save clay.
- Blend seams with a silicone tool and water or clay softener.
- Finish with matte or satin varnish.
Pro tip: Keep features exaggerated; small details read better that way.
It works because it’s pure creativity on a tiny stage.
11. Texture Stamps
Make tools to make more art—very meta, very efficient. Custom stamps level up everything else you create.
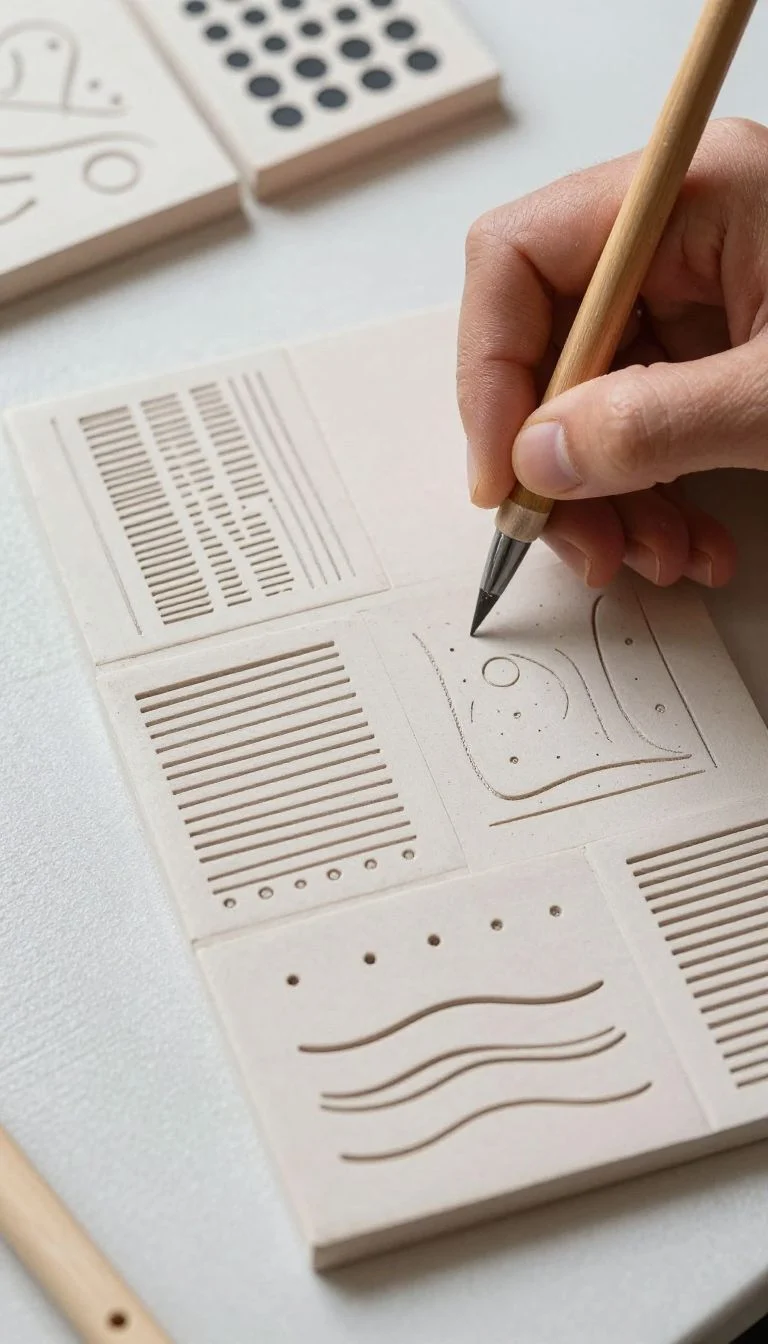
- Carve repetitive patterns into small clay tiles.
- Harden fully, then use on fresh slabs.
- Create sets: lines, dots, waves.
Pro tip: Add a little handle on the back so your fingers stay clean.
It works because one stamp multiplies your design options instantly.
Conclusion
Clay is the ultimate glow-up material—cheap, chill, and endlessly remixable. Start small, mess a little, learn a lot, and suddenly your space looks curated on purpose. Your hands make cool things; let them prove it, one squishy project at a time.
& CRAFT IDEAS
Beginner-friendly tutorials, creative projects,
and weekly inspiration in your inbox.