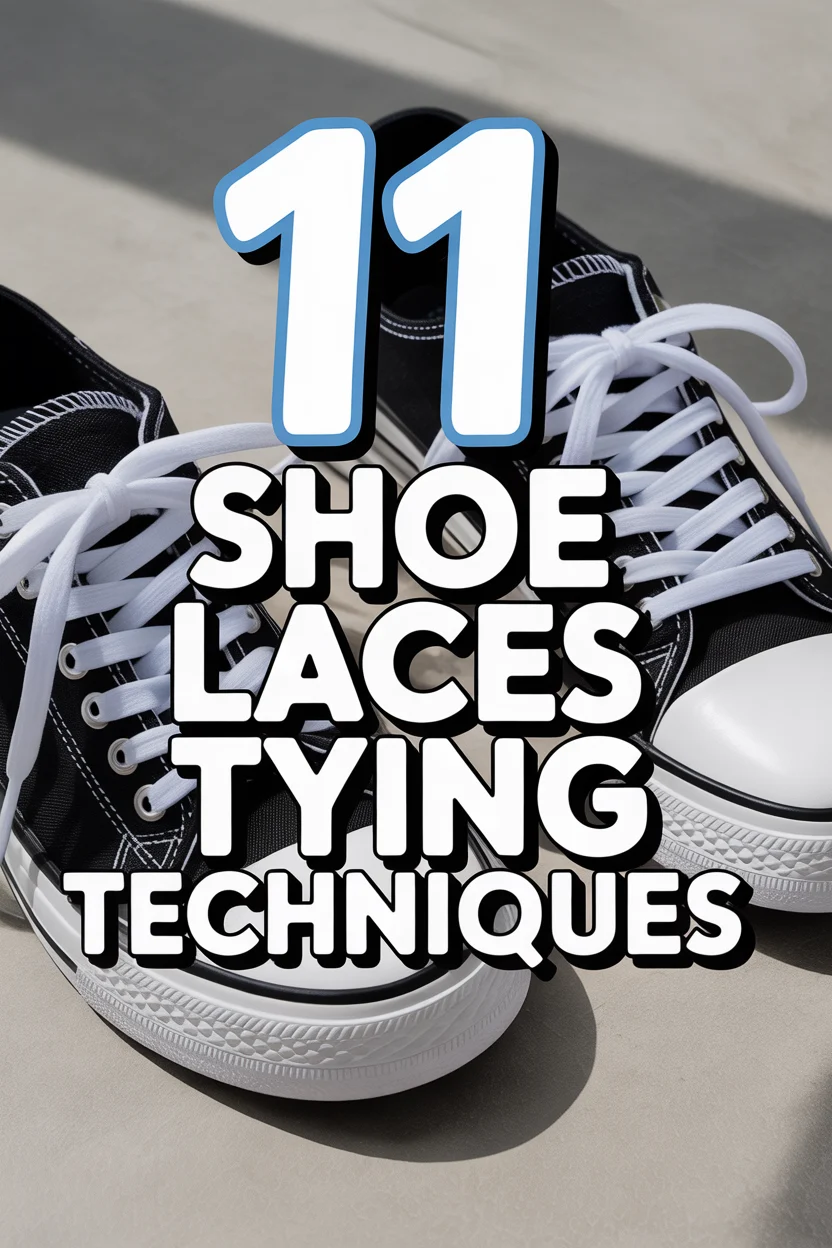
👟 11 Shoe Laces Tying Techniques
🛠️ The Ultimate Maker's Toolkit
I've tested thousands of craft tools over the years. Whether you are quilting, crafting, or building mixed-media art, these are the top 5 absolute non-negotiable tools I personally recommend to guarantee professional results.
🪡 SINGER Heavy Duty 4452 Sewing Machine
The sewing community highly recommends this as the ultimate "bulletproof" entry-level machine. Its heavy metal frame powerfully pushes through thick denim and heavy quilt layers that would instantly jam a standard plastic machine.
✂️ Fiskars 8" Orange-Handled Scissors
Never settle for dull dollar-store blades. Wirecutter repeatedly names Fiskars the absolute best all-purpose craft scissor due to its legendary precision-ground blades and an ergonomic grip that prevents hand-cramping.
🔥 Gorilla Dual Temp Hot Glue Gun
Named Wirecutter's top choice because it literally does the work of two tools. It features dual-temperature settings offering low heat for delicate florals and blistering high heat for heavy wood adhesion repairs.
🖌️ Mod Podge Waterbase Gloss Sealer
The absolute undisputed champion of decoupage and paper crafts. Experts rely exclusively on this exact water-based formula because it glues, seals, and finishes beautifully without yellowing or flaking over time.
🎨 Apple Barrel Acrylic Paint (2 oz)
The quintessential, incredibly inexpensive craft paint. Woodworkers and hobby painters swear by its smooth flow and matte finish, providing massive value and remarkably thick color coverage on rough surfaces.
1. Criss-Cross Classic
Ah, the OG. This is likely how your shoes came straight out of the box, but we’re giving it a proper nod. It’s simple, effective, and works with almost any shoe style or eyelet count.
You thread the laces straight through the bottom eyelets, then criss-cross them over and under, feeding them through the next set of eyelets. It creates a comfortable, even tension across the foot.
Pro Tip: Always go under for the first cross if you want a cleaner look on top. It makes the “X” pattern pop.
This method is a timeless winner because it’s easy to tighten and loosen, offering universal comfort without much fuss.
2. Straight Bar Lacing
For a sleek, minimalist vibe, this one’s your jam. It gives your shoes a super clean, almost custom-made appearance, especially on sneakers with fewer eyelets.
You lace straight across the bottom, then skip an eyelet on the inside, bringing the lace up to the next visible bar. All the diagonal action happens on the inside, keeping the exterior perfectly horizontal.
Pro Tip: This style is a bit trickier to adjust if your shoe has an odd number of eyelets, so plan accordingly. Use flat laces for maximum effect.
It works wonders for making your shoes look incredibly neat and tidy, perfect for a modern, understated aesthetic.
3. Ladder Lacing
Ready to secure your shoes like you’re scaling a wall (or just walking to the coffee shop)? Ladder lacing offers superior hold and a distinct, almost military-grade look.
You thread laces straight across at the bottom, then vertically up through the next eyelet on the same side, creating a “rung.” Then, cross over horizontally to the opposite side, repeating the vertical lift. It forms a series of parallel bars with vertical connectors.
Pro Tip: This technique is fantastic for boots or shoes where you need a really snug fit, like hiking gear. It prevents slippage big time.
This method is a powerhouse for stability, ensuring your foot stays locked in, no matter what adventures you’re tackling.
4. Loop Back Lacing
Want a look that’s both decorative and provides a decent grip? Loop back lacing creates an interesting visual texture with a slightly more intricate feel than the basic criss-cross.
Start with a straight bar at the bottom. Then, instead of crossing directly, you bring the lace up through the next eyelet on the same side, loop it back under the previous horizontal bar, and then cross over to the other side’s upper eyelet.
Pro Tip: This style works best with round or slightly thicker laces to really emphasize the looped design. It’s less about speed and more about visual appeal.
It’s a great way to add a touch of flair and a unique pattern, making your shoes stand out in a subtly stylish way.
5. Sawtooth Lacing
For those who love a bit of asymmetry and a super tight fit, say hello to Sawtooth lacing. It offers a distinct diagonal pattern on one side and a straight look on the other.
You lace straight across the bottom. Then, on one side, you bring the lace up vertically through the next eyelet. On the other side, you cross diagonally over to the next eyelet. This creates a staggered, tooth-like pattern.
Pro Tip: Decide which side you want the diagonal ‘sawtooth’ pattern to show. This can make a subtle difference in the overall aesthetic.
This technique is fantastic for shoes that need to hug your foot closely, providing a strong, secure, and visually interesting fit.
6. Display Lacing (Hidden Knot)
Ever wonder how some folks get that perfectly clean, knot-free look on their shoes? This is the secret sauce. It’s all about making the knot disappear, leaving only pristine lacing on display.
You lace your shoes normally (straight bar or criss-cross work well), but then you create the bow inside the shoe, under the tongue. You might need slightly longer laces for this magic trick.
Pro Tip: Practice tying the knot inside the shoe first. It’s a bit awkward at first, but totally worth it for the sleek finish.
This method is pure genius for achieving an ultra-clean, polished look, making your shoes appear even more sophisticated and custom-fitted.
7. Twistie Lacing
If you’re into textures and want your laces to look less like strings and more like a braided embellishment, Twistie Lacing is your new obsession. It’s surprisingly simple but looks super intricate.
You start by twisting each lace around itself a few times after it comes out of an eyelet, then thread it through the opposite eyelet. Repeat this twisting motion before each cross, creating a braided or twisted effect along the entire lace path.
Pro Tip: Use thinner, rounder laces for this technique to really highlight the twists. Thicker laces might make it too bulky.
It adds a playful, artisanal touch to your footwear, making those basic laces look like a meticulously crafted detail.
8. Double Helix Lacing
For ultimate security and a uniquely interwoven pattern, the Double Helix is your go-to. It looks complex but offers an incredibly snug and comfortable fit, perfect for performance shoes.
This involves lacing in a criss-cross pattern, but instead of going straight into the next eyelet, you wrap the lace around the previous diagonal segment before threading it through. It creates a double-layered, helix-like effect.
Pro Tip: This one uses up a fair bit of lace, so make sure yours are long enough. It’s excellent for preventing laces from coming undone during intense activity.
It’s a powerhouse for preventing loosening and providing maximum foot support, ensuring your laces stay put no matter how active you get.
9. Hidden Knot Lacing
Wait, didn’t we cover this? Nope, this is different from Display Lacing. This technique hides the entire knot and bow within the shoe’s eyelets, not just under the tongue. It’s next-level stealth.
You thread the laces so that the final two eyelets on each side have enough slack to tie a small knot between them, tucked away. The goal is to make the knot invisible from the outside, often using the top two eyelets.
Pro Tip: This works best with shoes that have a slightly wider gap between the top eyelets. You’ll need decent dexterity and a little patience.
This method is for the true minimalist, offering an unparalleled clean finish by completely banishing the visible knot.
10. Spider Web Lacing
Get ready to weave a masterpiece! Spider Web Lacing is purely for aesthetics, creating an intricate, web-like pattern across the shoe’s vamp. It’s definitely a head-turner.
This technique involves starting with a straight bar, then creating a series of criss-crosses that loop around the main horizontal bars. You essentially create a grid by weaving laces over and under existing segments.
Pro Tip: This style is a bit time-consuming, so save it for special occasions or shoes you want to show off. Round laces work best for defining the “web.”
It’s a fantastic way to turn your shoes into a work of art, showcasing a unique and captivating design that demands attention.
11. Bow Tie Lacing
No, we’re not talking about neckwear, though your shoes will look just as dapper. Bow Tie Lacing creates a series of small, decorative ‘bow ties’ or knots along the length of your lacing, adding a fancy touch.
After each eyelet, you tie a small overhand knot in the lace before threading it through the next eyelet on the opposite side. This forms tiny, symmetrical bows or knots that sit neatly between the eyelets.
Pro Tip: This style eats up a lot of lace, so grab some extra-long ones! It’s super charming on canvas shoes or boots.
This playful yet elegant method adds a whimsical, tailored detail, making your shoes look effortlessly chic and uniquely styled.
✨ New Member Etsy Shops (100% Unsponsored!)
We are incredibly proud of the talent in this community! 💖 We've rounded up some gorgeous new Etsy shops launched by our very own members.
There are ZERO affiliate links in this post—just 100% pure support for our makers. Click below to shop small, show them some love, and find your new favorite items! 👇🛍️


Conclusion
Alright, you lace-tying maestro, you’ve officially leveled up! No more settling for the same old loop-de-loop. Your shoes are crying out for a bit of personality, and now you’ve got a whole arsenal of techniques to give them just that.
So go forth, experiment, and don’t be afraid to switch it up. Whether you’re after sleek, secure, or simply stunning, there’s a lacing style out there waiting to make your footwear sing. Your feet (and your fashion sense) will thank you.