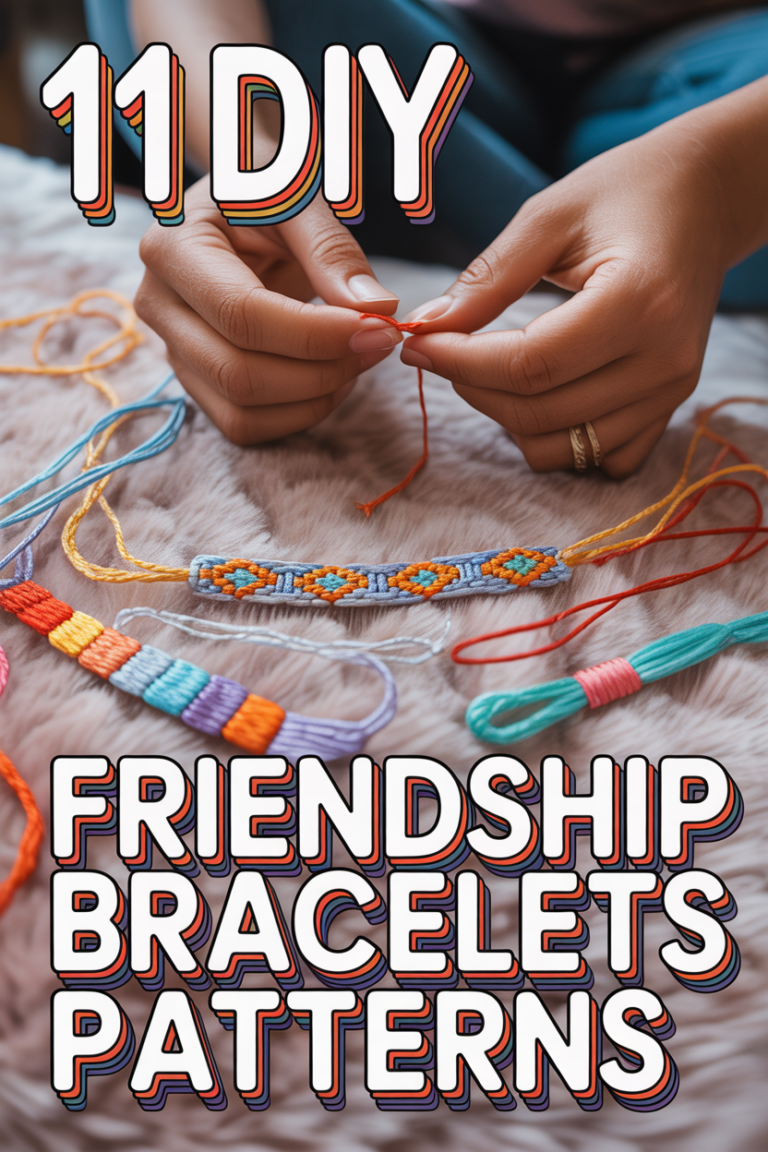
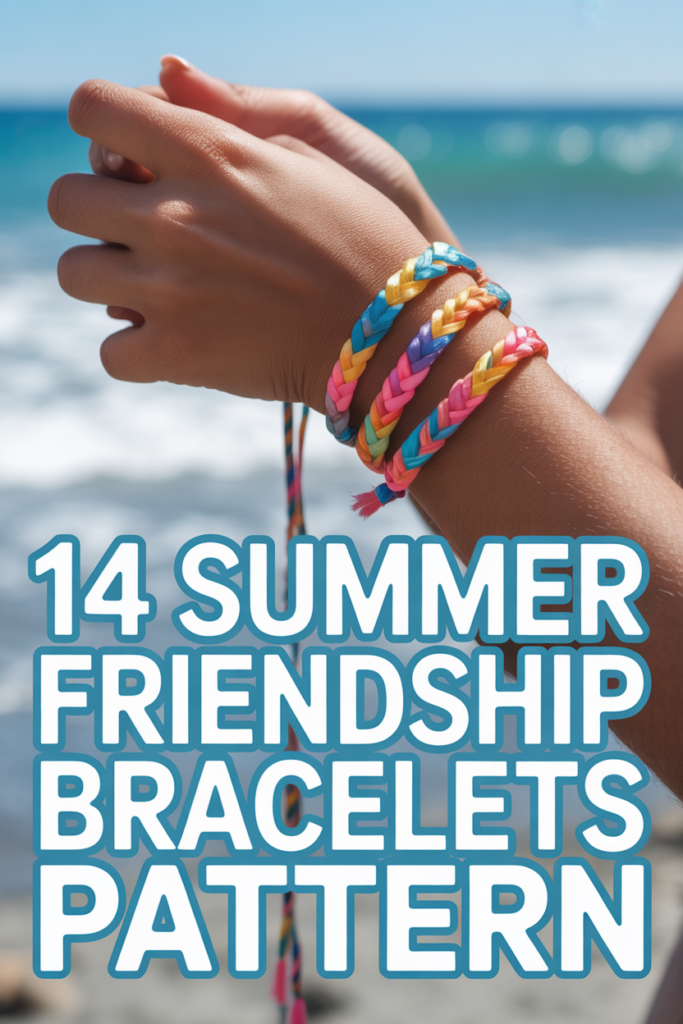
🌞 14 Summer Friendship Bracelets Pattern
🛠️ The Ultimate Maker's Toolkit
I've tested thousands of craft tools over the years. Whether you are quilting, crafting, or building mixed-media art, these are the top 5 absolute non-negotiable tools I personally recommend to guarantee professional results.
🪡 SINGER Heavy Duty 4452 Sewing Machine
The sewing community highly recommends this as the ultimate "bulletproof" entry-level machine. Its heavy metal frame powerfully pushes through thick denim and heavy quilt layers that would instantly jam a standard plastic machine.
✂️ Fiskars 8" Orange-Handled Scissors
Never settle for dull dollar-store blades. Wirecutter repeatedly names Fiskars the absolute best all-purpose craft scissor due to its legendary precision-ground blades and an ergonomic grip that prevents hand-cramping.
🔥 Gorilla Dual Temp Hot Glue Gun
Named Wirecutter's top choice because it literally does the work of two tools. It features dual-temperature settings offering low heat for delicate florals and blistering high heat for heavy wood adhesion repairs.
🖌️ Mod Podge Waterbase Gloss Sealer
The absolute undisputed champion of decoupage and paper crafts. Experts rely exclusively on this exact water-based formula because it glues, seals, and finishes beautifully without yellowing or flaking over time.
🎨 Apple Barrel Acrylic Paint (2 oz)
The quintessential, incredibly inexpensive craft paint. Woodworkers and hobby painters swear by its smooth flow and matte finish, providing massive value and remarkably thick color coverage on rough surfaces.
Alright, listen up, trendsetters. Summer is officially knocking, and you know what that means. Beach days, questionable tan lines, and, of course, the glorious return of friendship bracelets. Forget those flimsy ones you bought at the boardwalk circa 2005. We’re leveling up. Get ready to ditch the screen time and dive into some serious string therapy with your besties. It’s time to weave some magic, because honestly, what’s a summer without a little arm candy that screams “we’re best friends and totally coordinated”
1. Classic Candy Stripe
This is the OG, the mother of all friendship bracelets. It’s simple, it’s iconic, and frankly, if you haven’t made one of these, have you even lived a summer life? Grab some brightly colored embroidery floss and let those diagonal stripes do their thing.
Pro tip: Keep your knots super snug for a clean, professional finish. Nobody wants a floppy candy stripe.
It’s a timeless pattern for a reason, perfect for beginners and a sweet hit of nostalgia.
2. Chevron Zigzag
Ready to step up your game just a notch? The chevron is your next move. It creates those satisfying V-shapes that look way more complicated than they actually are. Your friends will be thoroughly impressed.
You’ll typically need two sets of colors, mirroring each other, to get that iconic zigzag. It’s all about left-to-right and right-to-left knotting.
Woven pro tip: Use a different color for your starting string to really make the chevron pop.
This pattern is a total crowd-pleaser and looks fantastic stacked.
3. Ombre Gradient
Who doesn’t love a good gradient, especially when it involves string? This pattern uses varying shades of the same color to create a beautiful, smooth transition. It’s chic, understated, and surprisingly easy to achieve.
You’ll need at least three to four shades of your chosen color, from light to dark. Just knot them in sequence, letting the colors blend.
Pro tip: Start with the lightest shade and gradually introduce the darker ones. It makes the transition look seamless.
It’s perfect for a sophisticated summer vibe without being too loud.
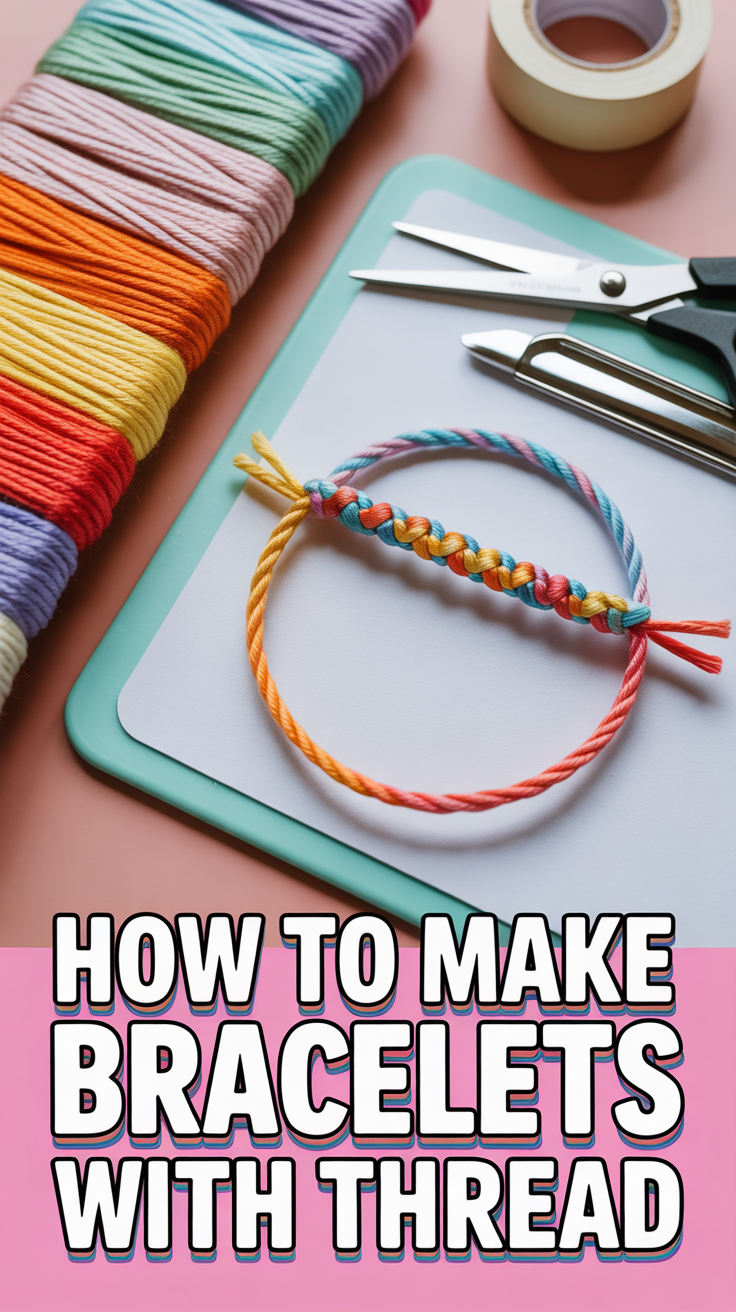
4. Braided Twist
Sometimes, less is more, especially when you want something quick and chic. The braided twist is exactly what it sounds like: a simple braid, but with a clever twist (literally) that gives it a unique texture.
You’ll take a few strands, twist them tightly in one direction, then twist the whole bundle in the opposite direction. It creates a cool, ropelike effect.
Woven pro tip: Secure your ends with a strong knot before you start twisting to prevent unraveling.
This one is ridiculously fast to make and looks effortlessly cool.
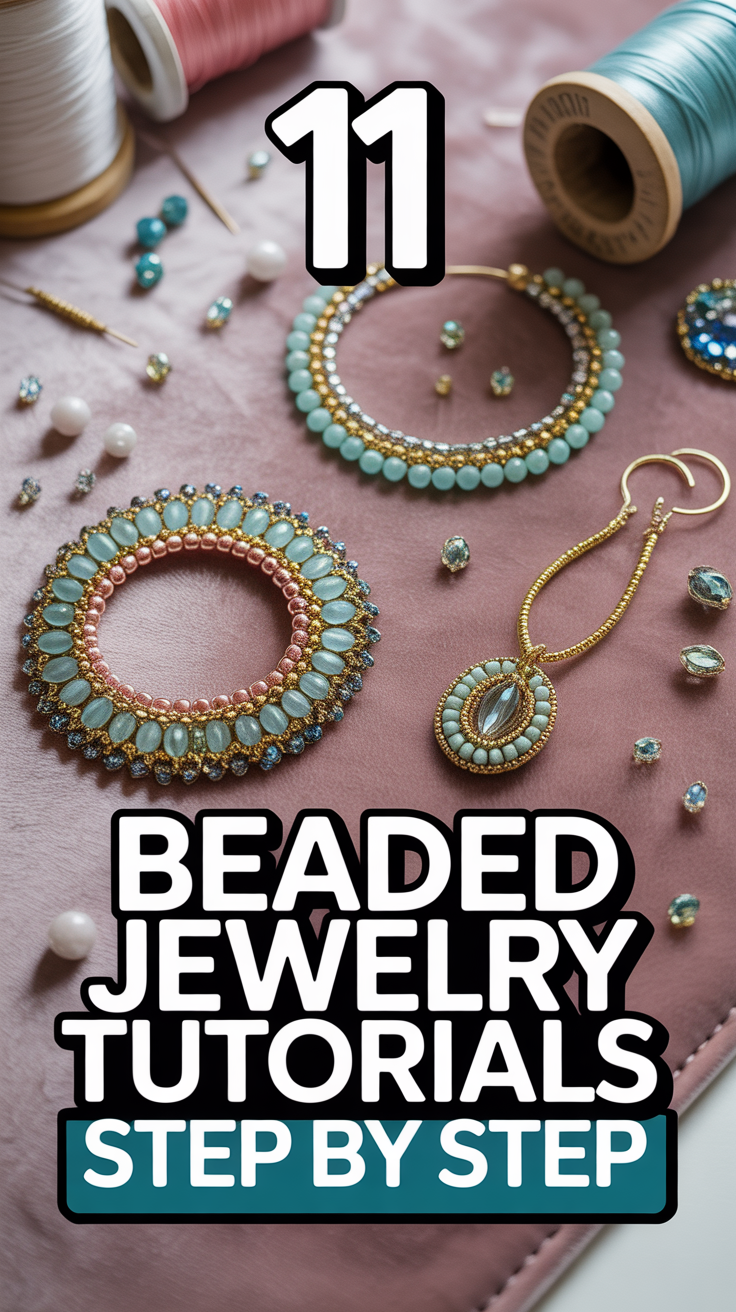
5. Beaded Delight
Add some sparkle to your summer arm party. Incorporating beads into your friendship bracelet takes it from cute to “OMG, where did you get that?” Choose small, colorful beads that slide easily onto your floss.
You can string beads at intervals on a simple braided or knotted pattern. Think seed beads, tiny pearls, or even some cool letter beads for a personalized touch.
Pro tip: Use a thin wire needle or a bead spinner if you’re working with super tiny beads.
It’s a fantastic way to customize and add a touch of glam.
6. Macrame Knot
If you’re feeling a bit bohemian, the macrame square knot is your new best friend. It creates a chunky, textured bracelet that looks incredibly intricate but is surprisingly meditative to make.
You’ll typically use two working strings around a central core string. The repetitive square knot forms a lovely flat or spiral pattern.
Woven pro tip: Keep your tension consistent to ensure your knots are uniform and neat.
This pattern screams “I spent all summer at a music festival and I loved it.”
7. Ladder Stitch
This pattern creates a cool, ladder-like effect with parallel strands connected by horizontal knots. It’s visually interesting and offers a different texture than your usual diagonal stripes.
You’ll work with multiple strings, knotting them across a central set of strings to form the “rungs” of the ladder. It’s a bit different but totally worth it.
Pro tip: Use a contrasting color for your “rungs” to really highlight the ladder design.
It’s an unexpected design that will definitely get compliments.
8. Diamond Pattern
Feeling fancy? The diamond pattern is a classic for a reason. It creates beautiful, symmetrical diamond shapes using contrasting colors. It’s a bit more involved but totally achievable.
You’ll typically start with a central knot and work outwards, then bring the strings back to the center to close the diamond shape.
Woven pro tip: Pay close attention to your knotting direction to ensure your diamonds are perfectly formed.
This pattern looks incredibly polished and sophisticated.
9. Heart Motif
Spread some love with a cute heart pattern. This one requires a bit more precision, but the result is undeniably adorable. It’s perfect for showing your bestie some extra affection.
You’ll use a combination of forward and backward knots to shape the heart. It’s often done on a background of a single color to make the hearts stand out.
Pro tip: Practice the knot sequence on a scrap piece first to get the hang of the curves.
It’s a sweet, personal touch for your closest pals.
10. Fishtail Braid
Move over, hair braids, the fishtail is coming for your wrists. This pattern looks intricate and delicate, giving off serious mermaid vibes. It’s surprisingly simple once you get the hang of it.
You only need two strands of floss, which you continuously cross over each other, incorporating small sections from the outside.
Woven pro tip: Keep your sections small and even for the most beautiful, intricate fishtail.
This bracelet is dainty, chic, and perfect for layering.
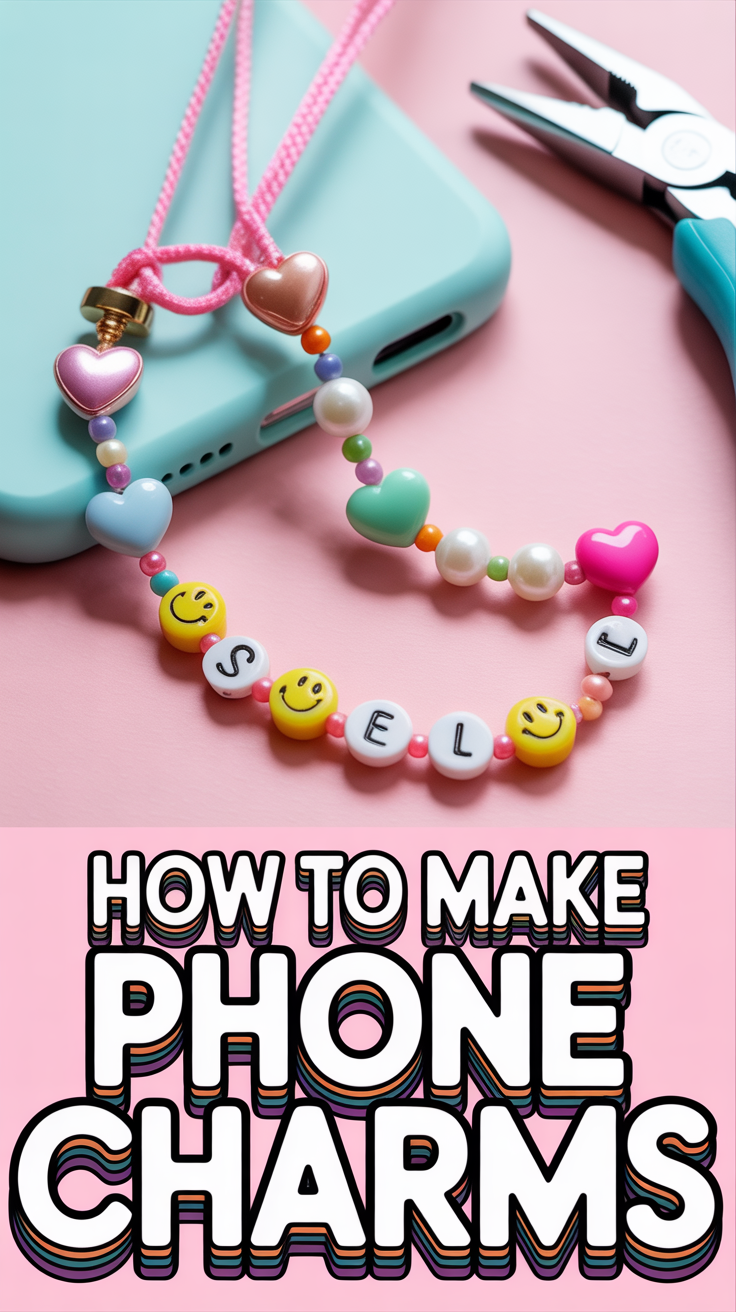
11. Alphabet Beads
Personalization is key, right? Spell out names, inside jokes, or empowering words with alphabet beads. It’s a classic for a reason and always a hit with your crew.
Just string the letter beads onto a simple braided or twisted bracelet. You can even add some colorful spacer beads in between.
Pro tip: Use strong, durable cord that won’t fray when you’re pushing those beads through.
It’s the ultimate way to make a bracelet truly unique and meaningful.
12. Tassel Ends
Why just knot it when you can tassel it? Adding cute, fluffy tassels to the ends of your bracelets gives them a playful, bohemian flair. It’s an easy way to elevate any design.
Once your bracelet is finished, simply wrap and knot some extra floss around the ends to create mini tassels. Trim them evenly.
Woven pro tip: Use a contrasting color for your tassels to add an extra pop of fun.
This detail instantly makes your bracelet look more finished and stylish.
13. Kumihimo Disk
Okay, this one sounds fancy, but a Kumihimo disk (you can DIY one from cardboard) makes intricate round braids incredibly easy. It’s a game-changer for creating round, ropelike bracelets.
You load your strings onto the disk and follow a simple sequence of moving them around. It’s mesmerizing and creates a beautiful, dense braid.
Pro tip: Use different colored strings to create cool spiral patterns with the Kumihimo technique.
It’s a fun, unique way to make a bracelet that looks professionally done.
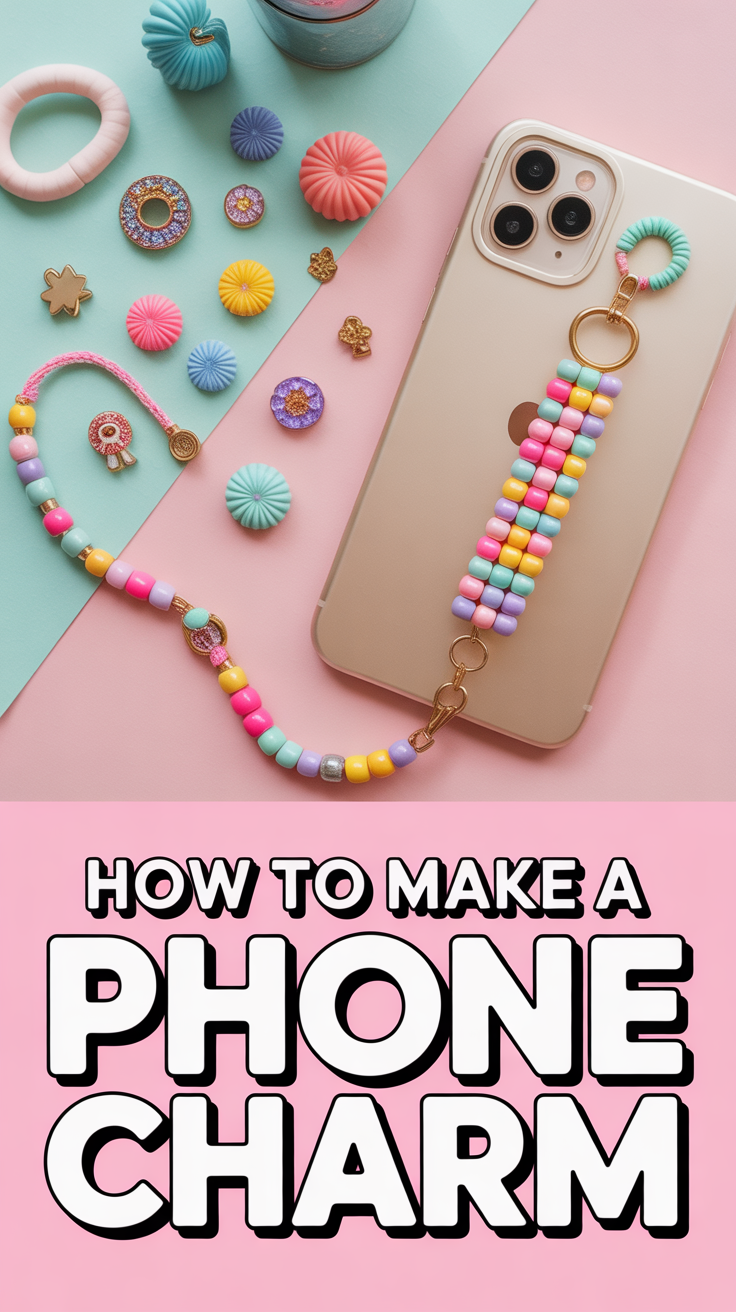
14. Waxed Cord Minimalist
Sometimes, you just want something sleek, simple, and waterproof. Enter the waxed cord minimalist bracelet. These are durable, often adjustable, and have a wonderfully earthy feel.
You can use simple sliding knots with a single waxed cord, or incorporate a few small beads. They’re great for everyday wear.
Woven pro tip: Burn the ends of your waxed cord gently with a lighter to prevent fraying (carefully, of course).
It’s effortlessly cool and built to last through all your summer adventures.
✨ New Member Etsy Shops (100% Unsponsored!)
We are incredibly proud of the talent in this community! 💖 We've rounded up some gorgeous new Etsy shops launched by our very own members.
There are ZERO affiliate links in this post—just 100% pure support for our makers. Click below to shop small, show them some love, and find your new favorite items! 👇🛍️


Conclusion
So there you have it, 14 ways to level up your friendship bracelet game this summer. Grab your floss, rally your besties, and get knotting. These aren’t just strings; they’re tiny, wearable declarations of friendship, memories in the making, and a seriously stylish accessory. Go forth and weave your magic, you crafty legends.