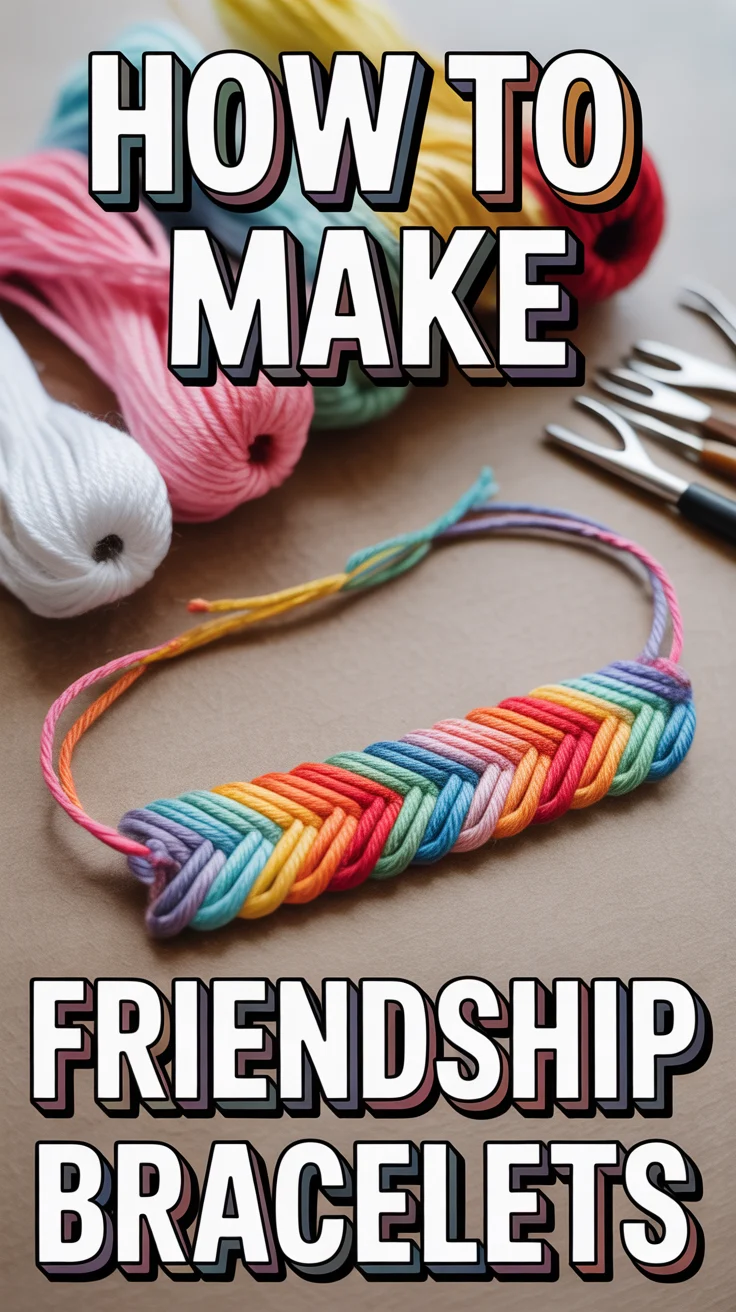
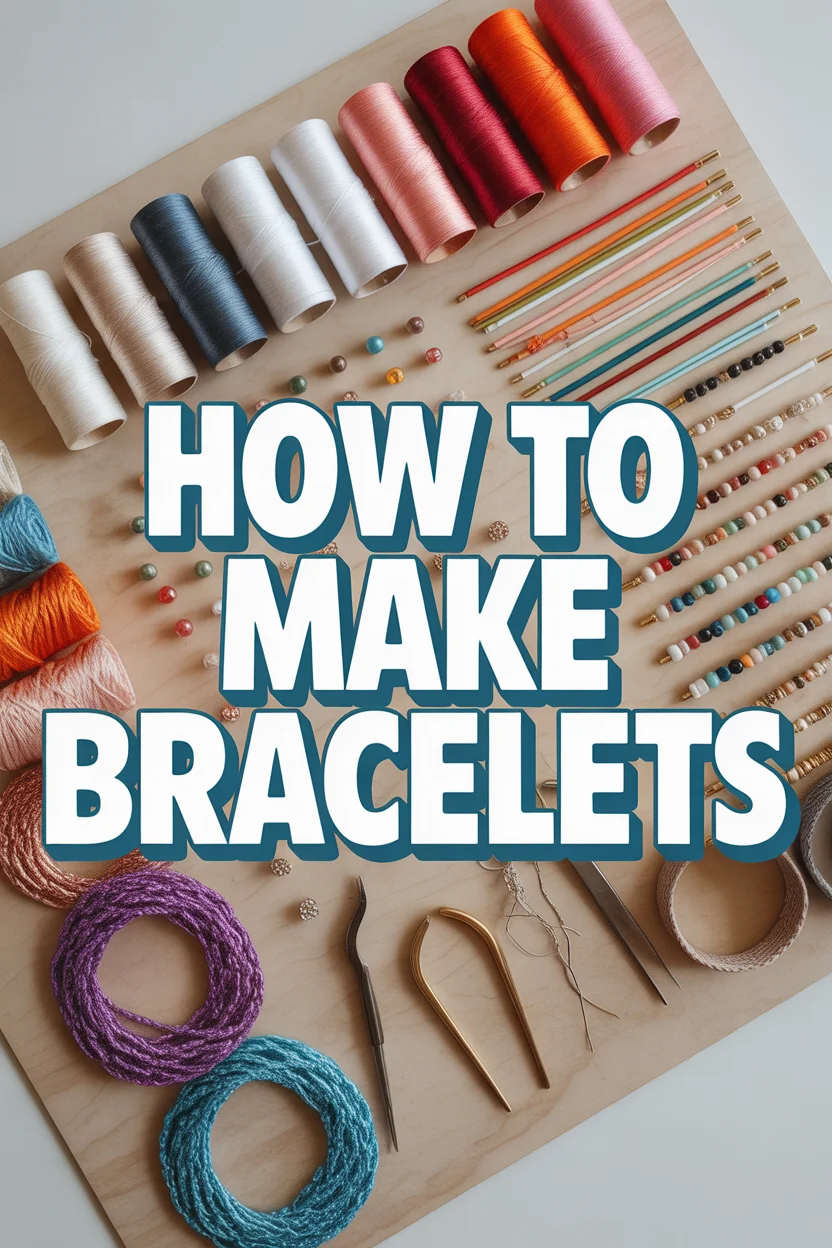
✨ How To Make Bracelets
🛠️ The Ultimate Maker's Toolkit
I've tested thousands of craft tools over the years. Whether you are quilting, crafting, or building mixed-media art, these are the top 5 absolute non-negotiable tools I personally recommend to guarantee professional results.
🪡 SINGER Heavy Duty 4452 Sewing Machine
The sewing community highly recommends this as the ultimate "bulletproof" entry-level machine. Its heavy metal frame powerfully pushes through thick denim and heavy quilt layers that would instantly jam a standard plastic machine.
✂️ Fiskars 8" Orange-Handled Scissors
Never settle for dull dollar-store blades. Wirecutter repeatedly names Fiskars the absolute best all-purpose craft scissor due to its legendary precision-ground blades and an ergonomic grip that prevents hand-cramping.
🔥 Gorilla Dual Temp Hot Glue Gun
Named Wirecutter's top choice because it literally does the work of two tools. It features dual-temperature settings offering low heat for delicate florals and blistering high heat for heavy wood adhesion repairs.
🖌️ Mod Podge Waterbase Gloss Sealer
The absolute undisputed champion of decoupage and paper crafts. Experts rely exclusively on this exact water-based formula because it glues, seals, and finishes beautifully without yellowing or flaking over time.
🎨 Apple Barrel Acrylic Paint (2 oz)
The quintessential, incredibly inexpensive craft paint. Woodworkers and hobby painters swear by its smooth flow and matte finish, providing massive value and remarkably thick color coverage on rough surfaces.
Imagine transforming simple strands and tiny treasures into wearable art that tells your unique story. Crafting your own bracelets isn isn’t just a hobby; it’s a journey into self-expression, a mindful escape, and a wonderful way to create personalized gifts that truly come from the heart. Get ready to unlock your inner artisan and weave a little magic into your life, one beautiful bead at a time.
Quick Overview
This guide will walk you through the exciting process of designing and assembling your very own beaded bracelet, equipping you with the skills to create a piece you’ll be proud to wear or gift. You’ll learn how to choose materials, measure for the perfect fit, string beads with ease, and secure your creation with a professional finish.
Time needed: 45-90 minutes (depending on design complexity and experience level)
Difficulty: Beginner
What you’ll need: Beading cord, an assortment of beads, a clasp (toggle or lobster claw with jump rings), scissors, a ruler or measuring tape, and optional flat-nose pliers.
Step-by-Step Instructions
Step 1: Gather Your Tools & Materials
Before diving into the creative process, it’s essential to have all your supplies laid out and ready. This creates a smooth workflow and prevents interruptions once you’re in the zone. Think of your workspace as your personal design studio – organized and inspiring!
- Beading Cord: For beginners, a flexible, strong cord like elastic stretch cord (for stretch bracelets) or nylon beading thread (for clasped bracelets) is ideal. Choose a thickness appropriate for your beads’ holes. A common size is 0.5mm to 0.8mm for most standard beads. For this guide, we’ll focus on a clasped bracelet using nylon beading thread or a similar non-stretchy cord.
- Beads: This is where your personality shines! Select beads of various sizes, shapes, and colors. Consider glass beads, natural stone beads, wooden beads, or even metal accents. Ensure the holes are large enough for your chosen cord.
- Clasp: A reliable clasp is crucial. Lobster claw clasps are popular and secure, often paired with jump rings. Toggle clasps offer a decorative closure. Make sure your clasp matches the aesthetic of your beads.
- Scissors: Sharp craft scissors are essential for clean cuts of your cord.
- Ruler or Measuring Tape: Accuracy is key for a well-fitting bracelet.
- Bead Stopper or Binder Clip (Optional but Recommended): This handy little tool prevents beads from sliding off one end of your cord while you’re working.
- Flat-Nose Pliers (Optional): Useful for opening and closing jump rings if your clasp requires them.
- Bead Tray or Mat (Optional): A specialized mat with flocked surface or a simple tray helps keep beads from rolling away.
Pro tip: When selecting beads, consider a “theme” or color palette. Starting with 2-3 complementary colors or a mix of different textures (e.g., smooth glass, rough stone, shiny metal) can make your design cohesive and visually interesting.
Step 2: Plan Your Design
This is the fun part where your imagination takes flight! Don’t just string beads randomly; take a moment to visualize your creation. Lay your beads out on your bead mat or a clean cloth in the order you intend to string them. This allows you to experiment with different patterns, color combinations, and bead arrangements before committing them to the cord.
- Experiment with alternating small and large beads.
- Create symmetry by mirroring a pattern from the center outwards.
- Try an ombré effect with graduating shades of a single color.
- Mix different bead materials for added texture and visual interest.
Don’t be afraid to rearrange and try multiple layouts until you find one that truly speaks to you. This planning stage is crucial for achieving a professional-looking finished product.
Pro tip: Take a photo of your favorite layout with your phone. This way, if you accidentally bump your beads, you have a reference to reassemble your design quickly.
Step 3: Measure Your Wrist & Cut Your Cord
A well-fitting bracelet is comfortable and stylish. Measure your wrist directly below the wrist bone using a flexible measuring tape. For a comfortable fit, add about 0.5 to 1 inch (1.25 to 2.5 cm) to your wrist measurement. This accounts for the thickness of the beads and ensures the bracelet isn’t too tight.
- Example: If your wrist measures 6 inches, aim for a bracelet length of 6.5 to 7 inches.
Once you have your desired bracelet length, cut a piece of beading cord that is significantly longer than your final bracelet length – typically 10 to 12 inches (25 to 30 cm) longer. This extra length provides ample room for tying knots, attaching clasps, and making adjustments without feeling cramped. You can always trim excess cord, but you can’t add more!
Pro tip: If you’re using a very thin cord or working with small beads, threading a needle onto the end of your cord can make the stringing process much easier and faster.
Step 4: Secure Your First Clasp End
Now it’s time to anchor your design. Take one end of your cut cord and thread it through the loop of one half of your clasp (e.g., the lobster claw itself, or one half of a toggle clasp). If your clasp requires a jump ring, thread the cord through the jump ring first.
Tie a secure knot to attach the clasp. A simple overhand knot followed by a square knot or surgeon’s knot works well. For added security, you can tie a double knot. Ensure the knot is tight and close to the clasp, leaving a small tail of cord (about 1-2 inches) that you’ll secure later.
If you’re using a crimp bead (a small metal tube that is “crimped” with pliers to secure the cord), thread a crimp bead onto the cord, then thread the cord through the clasp, then back through the crimp bead, forming a small loop. Pull the cord tight, then flatten the crimp bead with flat-nose pliers. This creates a very strong and neat attachment.
After securing the clasp, you might want to add a bead stopper or a temporary knot to the other end of your cord. This prevents your strung beads from sliding off while you’re working, saving you potential frustration!
Pro tip: For extra security, especially with nylon threads, you can add a tiny dab of clear craft glue (like E6000 or super glue) onto the finished knot. Let it dry completely before proceeding.
Step 5: Start Stringing Your Beads
With your first clasp securely attached, you can now begin the exciting process of bringing your planned design to life. Carefully pick up your beads, one by one, and thread them onto the cord in the order you laid them out in Step 2. Take your time and enjoy watching your vision materialize.
- Slide each bead down the cord until it rests against the previous bead or the secured clasp.
- Keep the cord taut as you string to prevent tangles and ensure the beads sit snugly.
- If a bead has a particularly small hole, gently twist the cord as you push it through.
- Periodically check the length against your wrist measurement to ensure you’re on track. Remember to account for the space taken up by the second clasp.
Continue stringing until your bracelet reaches the desired length, subtracting the length of the second clasp part that will be added. For instance, if your target length is 7 inches and your clasp is 0.5 inches long, string beads until the beaded section measures 6.5 inches.
Pro tip: If you’re using beads with directional holes (like some shaped beads), pay attention to how they sit on the cord to ensure they face the way you want in the final design.
Step 6: Finish with the Second Clasp
Once all your beads are strung and you’ve reached your desired length (remembering to account for the clasp), it’s time to secure the second half of your clasp. Remove your bead stopper from the free end of the cord.
Thread the free end of your cord through the loop of the second clasp component (e.g., the jump ring attached to the lobster claw, or the bar of the toggle clasp). Pull the cord taut, making sure there are no gaps between your beads and the first clasp. You want the beads to sit snugly, but not so tightly that the bracelet becomes stiff and uncomfortable.
Now, tie another secure knot, similar to how you secured the first clasp. An overhand knot followed by a square knot or surgeon’s knot is recommended. Pull the knot as close to the beads as possible. You might need to use a pair of pliers or a thin tool to gently push the knot tighter against the last bead.
If using crimp beads, follow the same procedure as Step 4: thread a crimp bead, then the clasp, then back through the crimp bead, pull tight, and crimp.
Pro tip: Before making your final, tight knot, try on the bracelet. This is your last chance to check the fit and make any adjustments to bead count. A little wiggle room is good; too tight and it will break, too loose and it will snag.
Step 7: Trim & Secure
With both ends of your clasp securely knotted, you’ll have two small tails of excess cord. It’s time to trim them neatly. Trim the tails as close to the knots as possible without accidentally cutting the main knot itself. A sharp pair of scissors will give you a clean cut.
For added durability and to prevent knots from unraveling, apply a tiny drop of clear craft glue (like E6000, Super Glue, or Fray Check) directly onto each knot. Use a toothpick or the tip of a needle to apply just a small amount. Be careful not to get glue on the beads or the clasp itself, as it can dull their finish.
Allow the glue to dry completely according to the manufacturer’s instructions. This usually takes several hours, so resist the urge to wear or handle your new bracelet until it’s fully cured.
Pro tip: If your cord is nylon or a synthetic material, you can often carefully melt the very tip of the trimmed tail with a thread burner or a lighter (briefly!) to create a tiny, secure melted “blob” that prevents fraying. Practice this on scrap cord first, and always exercise extreme caution.
Step 8: Admire Your Creation!
Once the glue is dry, your beautiful, custom-made bracelet is complete! Fasten the clasp and try it on. Feel the satisfaction of wearing something you crafted with your own hands. You’ve transformed raw materials into a unique piece of jewelry that reflects your style and creativity.
Take a moment to appreciate your hard work. This isn’t just a bracelet; it’s a testament to your patience, creativity, and newfound skill. Wear it with pride, or package it beautifully as a thoughtful, handmade gift for someone special.
Pro tip: Don’t stop at one! Now that you’ve mastered the basics, think about creating a matching set (necklace or earrings) or experimenting with different bead types, colors, and patterns. The possibilities are endless!
Common Mistakes to Avoid
Even experienced crafters make mistakes, but knowing the common pitfalls can help you sidestep them and achieve better results faster.
- Not Measuring Your Wrist Accurately: This is perhaps the most common mistake. A bracelet that’s too tight will be uncomfortable and prone to breaking, while one that’s too loose will constantly slide around and potentially get caught on things.
Why it’s problematic: Leads to an ill-fitting, uncomfortable, and potentially fragile bracelet.
Correct approach: Always measure your wrist first, then add 0.5 to 1 inch for comfort, depending on bead size. Try on the bracelet before making final knots.
- Weak or Insufficient Knots: The knots are the foundation of your bracelet’s durability. If they’re not secure, your beautiful creation will fall apart.
Why it’s problematic: The clasp will detach, and beads will scatter, leading to frustration and loss of your hard work.
Correct approach: Use strong, reliable knots like a surgeon’s knot or a double overhand knot. For extra security, apply a small dab of clear craft glue to the finished knots and allow it to dry completely.
- Cutting the Cord Too Short: It feels wasteful to cut a long piece of cord, but running out of cord in the middle of a project is far more frustrating than trimming a bit of excess.
Why it’s problematic: You won’t have enough length to comfortably tie secure knots, leading to rushed, weak knots or having to restart the entire project.
Correct approach: Always cut your cord significantly longer than your desired bracelet length (e.g., 10-12 inches extra). You can always trim the excess.
- Overcrowding Beads: Trying to squeeze too many beads onto a cord, especially with stretchy bracelets, can make the bracelet stiff and prone to breaking.
Why it’s problematic: Reduces flexibility, increases tension on the cord, and makes the bracelet uncomfortable to wear. It also makes it more likely to snap.
Correct approach: Ensure there’s a slight amount of slack or give, especially if using a stretchy cord. Beads should sit comfortably next to each other without being jammed.
- Using the Wrong Cord Thickness for Your Beads: If the cord is too thick, it won’t fit through the bead holes. If it’s too thin, the beads might wobble or the cord might not be strong enough.
Why it’s problematic: Beads won’t string, or the bracelet will be flimsy and break easily.
Correct approach: Always check the bead hole size against your cord thickness before you start. It’s often helpful to have a variety of cord thicknesses on hand.
Troubleshooting
Even with the best planning, sometimes little issues pop up. Here are some common problems and quick solutions:
- My Bracelet is Too Tight/Loose After Finishing:
Issue: You’ve finished knotting, and the fit isn’t quite right.
Solution: If it’s only slightly off, you might be able to live with it for your first project! For more significant issues, you’ll need to carefully untie one of the knots (this is easier if you haven’t glued it yet). Add or remove beads as needed, then re-tie the knot securely. This is why trying it on before the final knot is crucial!
- Beads Won’t Fit on My Cord:
Issue: You’ve chosen beads, but your cord is too thick to go through the holes.
Solution: First, try twisting the cord as you push; sometimes this helps. If not, you have two options: either find a thinner cord that is still strong enough for your project, or choose beads with larger holes. Always check bead hole sizes against cord thickness before starting a project.
- My Knot Keeps Slipping or Coming Undone:
Issue: Despite tying, your knots aren’t holding securely.
Solution: Ensure you’re using the correct knotting technique (e.g., surgeon’s knot, square knot) and pulling it extremely tight. For extra security, try tying a triple knot. Most importantly, apply a tiny drop of clear craft glue (like E6000 or Super Glue) to the knot and let it dry completely. This is the best defense against slipping knots.
Key Takeaways
- Preparation is Key: Gather all materials and plan your design before you start stringing.
- Measure Accurately: A well-fitting bracelet requires precise wrist measurement and allowance for comfort.
- Secure Knots are Crucial: Learn and use strong knotting techniques, and consider using glue for extra security.
- Take Your Time: Rushing leads to mistakes. Enjoy the mindful process of creation.
- Don’t Be Afraid to Experiment: Play with different bead combinations and patterns.
- Practice Makes Perfect: Your first bracelet might not be flawless, but each one will improve your skills.
Frequently Asked Questions
Q: What’s the best type of cord for a beginner bracelet?
A: For a clasped bracelet, a strong nylon beading thread (like C-Lon or S-Lon) in a 0.5mm to 0.8mm thickness is excellent. For stretch bracelets, a high-quality elastic cord (like Stretch Magic) is recommended. Both are durable and relatively easy to work with.
Q: How can I make my bracelet adjustable?
A: Instead of a fixed clasp, you can use a sliding knot closure (often called a macrame square knot slider). This involves creating a series of square knots that allow the bracelet to expand and contract. Alternatively, you can add an extender chain to a traditional clasp.
Q: Can I mix different types of beads in one bracelet?
A: Absolutely! Mixing materials like glass, stone, wood, and metal adds texture and visual interest. Just ensure their hole sizes are compatible with your chosen cord and that their weights are balanced so the bracelet hangs nicely.
Q: How do I clean my handmade bracelet?
A: Gently wipe beads with a soft, damp cloth and mild soap if necessary. Avoid harsh chemicals, as they can damage beads or cord. For metal components, use a jewelry polishing cloth. Always ensure the bracelet is completely dry before storing.
What’s Next?
You’ve just completed your first beautiful bracelet – congratulations! But the journey doesn’t have to end here. Now that you’ve mastered the basics, a whole world of jewelry crafting awaits.
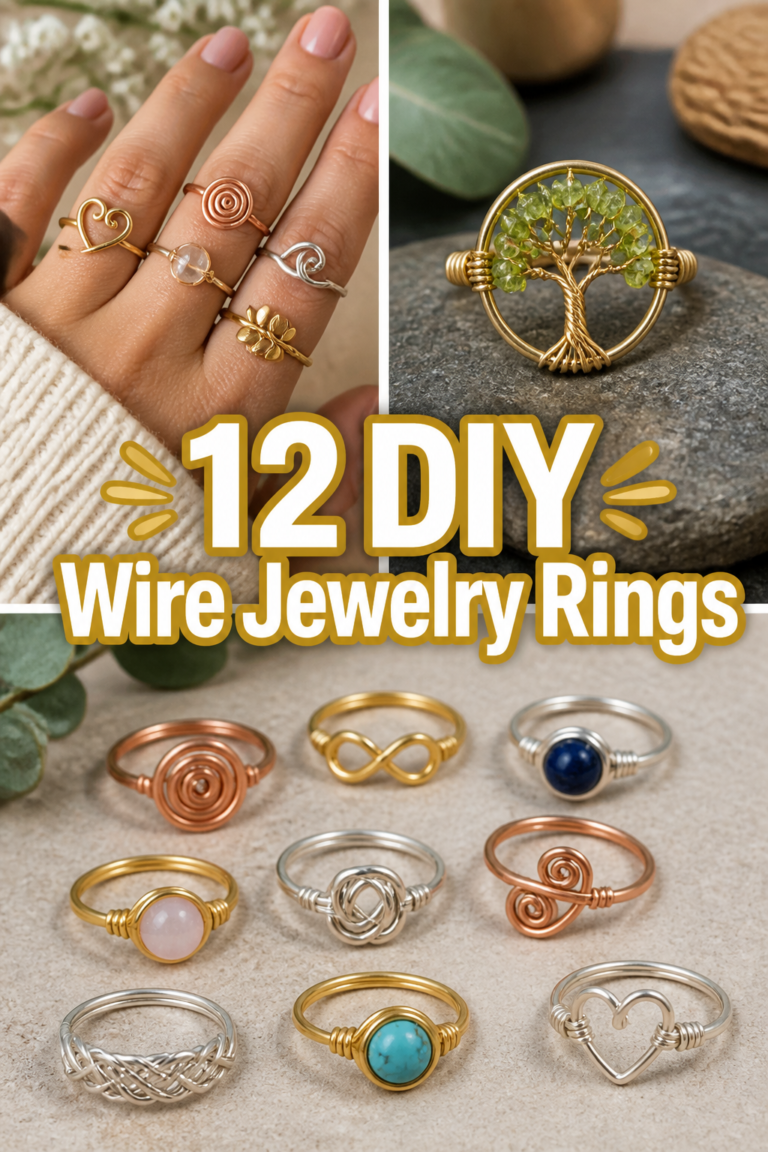
- Explore New Techniques: Dive into stretch bracelets, learn different knotting methods like macrame, or try wire wrapping to create more intricate designs.
- Experiment with Materials: Work with seed beads for delicate patterns, incorporate charms and pendants, or try working with different types of metal findings.
- Create Matching Sets: Design coordinating necklaces, earrings, or anklets to go with your new bracelet.
- Gift Your Creations: Share your talent by making personalized bracelets for friends and family. Handmade gifts are always cherished!
- Join a Community: Look for local beading groups, online forums, or workshops to connect with other crafters and learn new skills.
Don’t let your tools sit idle! Pick out some new beads, challenge yourself with a slightly more complex design, or simply try a new color palette. The more you create, the more confident and skilled you’ll become. Your hands are now capable of weaving beauty into existence. What will you make next?