🧵 11 Panel Quilts Ideas Layout Patterns Free
Got a gorgeous fabric panel and zero clue what to do with it? Same, until these layouts started behaving. Here are free, fuss-light ideas to turn panels into quilts that look planned, not accidental. Grab coffee, thread your machine, and let’s make that panel the star.

1. Center Stage Medallion
Put the panel smack in the middle like it owns the place. Then frame it with tidy borders that step out in color.
- Key moves: Panel centered, skinny inner border, then a wider contrast border.
- Benefits: Fast finish, perfect for bold prints, super giftable.
Pro tip: Use a 1-inch stop border to keep busy prints from bleeding into the next frame.
Why it works: The eye lands on the art, and the borders do the clapping.
2. Log Cabin Frame Up
Build around the panel with asymmetric log-cabin strips for movement.
- Key moves: Add light on two sides, dark on the other two, repeat.
- Benefits: Adds size without slicing the panel, modern vibe.
Pro tip: Keep strip widths consistent—try 2.5-inch cuts for speed.
Why it works: Directional strips pull focus while looking intentionally scrappy.
3. Picture Window Sashing
Turn your panel into a gallery piece with wide sashing and cornerstones.
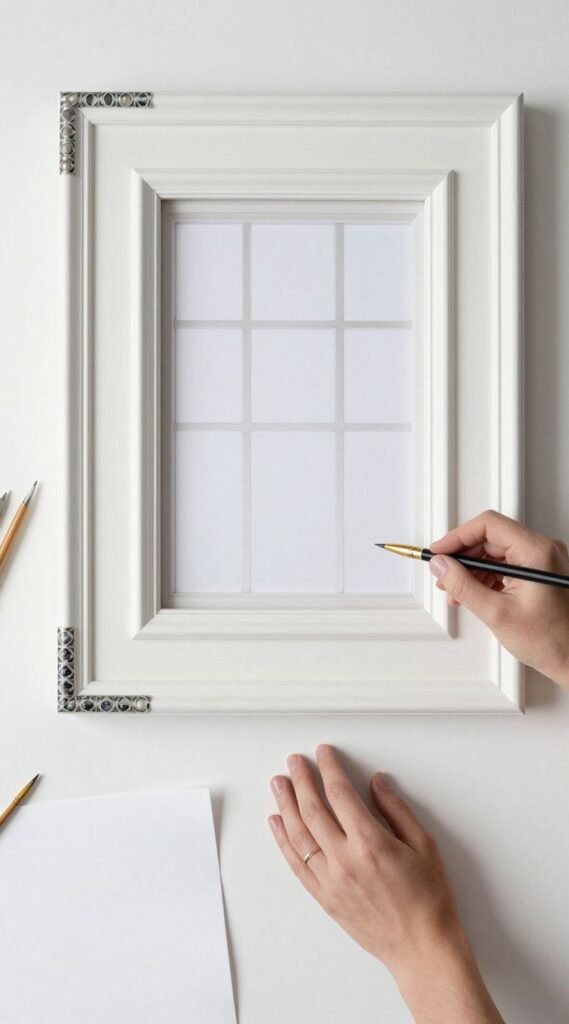
- Key moves: Add 3–4 inch sashing, pop in contrasting cornerstones.
- Benefits: Frames the art, easy to scale up.
Pro tip: Match cornerstone color to a tiny motif in the panel for cohesion.
Why it works: Clean lines let the print breathe and look custom.
4. Split Panel With Strippy Inserts
Slice the panel once and add a skinny improv strip for drama.
- Key moves: Cut panel vertically, insert a 1–2 inch pieced strip.
- Benefits: Adds width, breaks up heavy prints, artsy twist.
Pro tip: Stabilize with spray starch before cutting to keep edges crisp.
Why it works: The interrupting line reads modern without overwhelming the image.
5. On-Point Diamond Drop
Rotate the panel to sit on-point and let triangles do the heavy lifting.
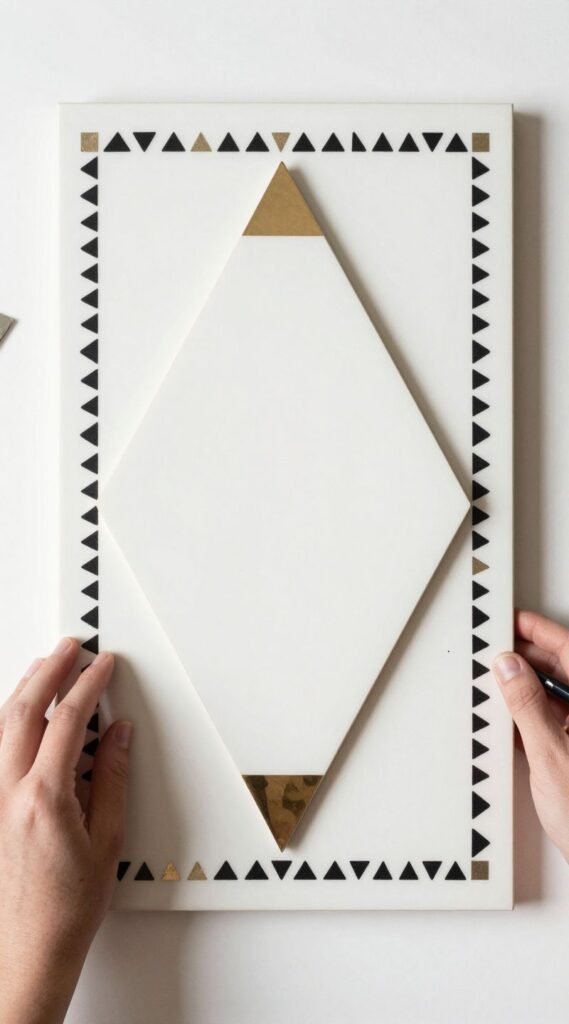
- Key moves: Set panel as a diamond, add setting triangles and a border.
- Benefits: Instant elegance, great for tall narrow panels.
Pro tip: Use non-directional prints for triangles to avoid awkward corners.
Why it works: The tilt adds movement and makes simple look fancy.
6. Bargello Echo Border
Echo panel colors with easy bargello-style wave strips.
- Key moves: Sew strip sets, subcut, and stagger for a soft ripple.
- Benefits: Looks complex, sews simple, color story stays tight.
Pro tip: Keep strips at 2 inches for smoother curves and fewer seams.
Why it works: The subtle wave hugs the panel without stealing the spotlight.
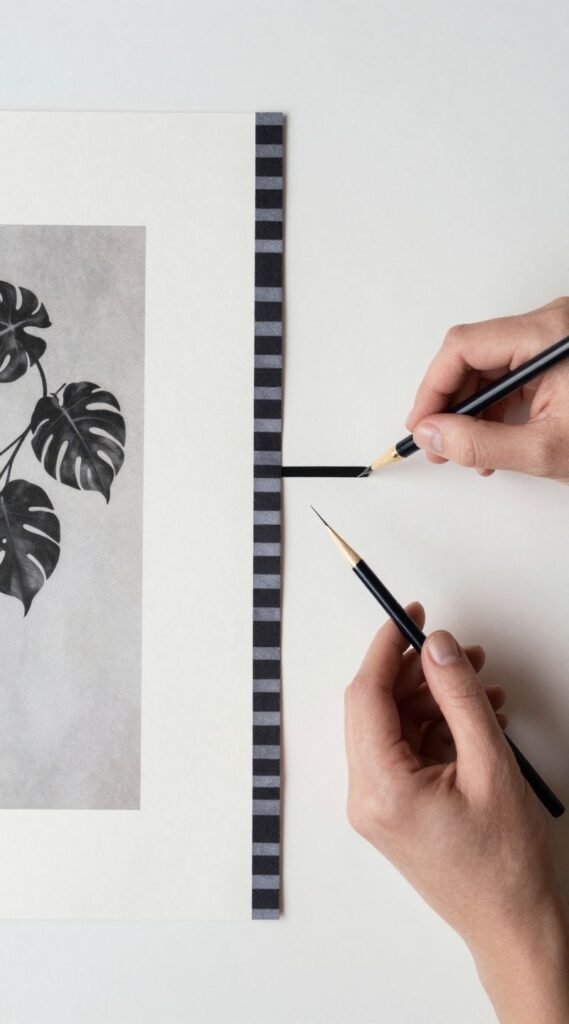
7. Checkerboard Parade
Add a crisp checkerboard border that reads classic and clean.
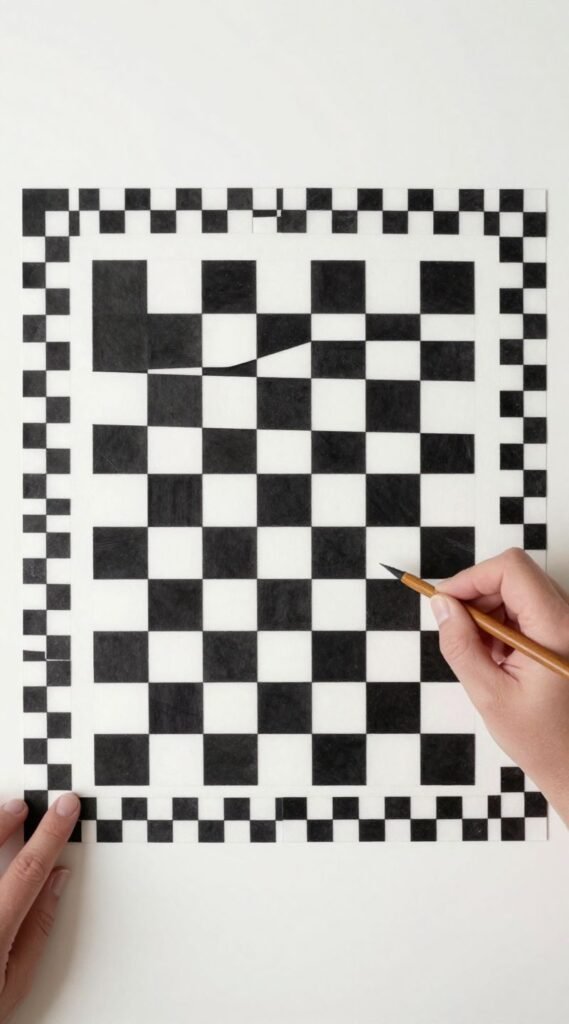
- Key moves: Piece 2.5-inch squares, build a ring around the panel.
- Benefits: Uses scraps, timeless look, super beginner-friendly.
Pro tip: Alternate low-volume and bold squares to soften busy panels.
Why it works: The rhythm frames the art and adds texture.
8. Floating Panel Negative Space
Let the panel float in a sea of solid fabric for a gallery feel.
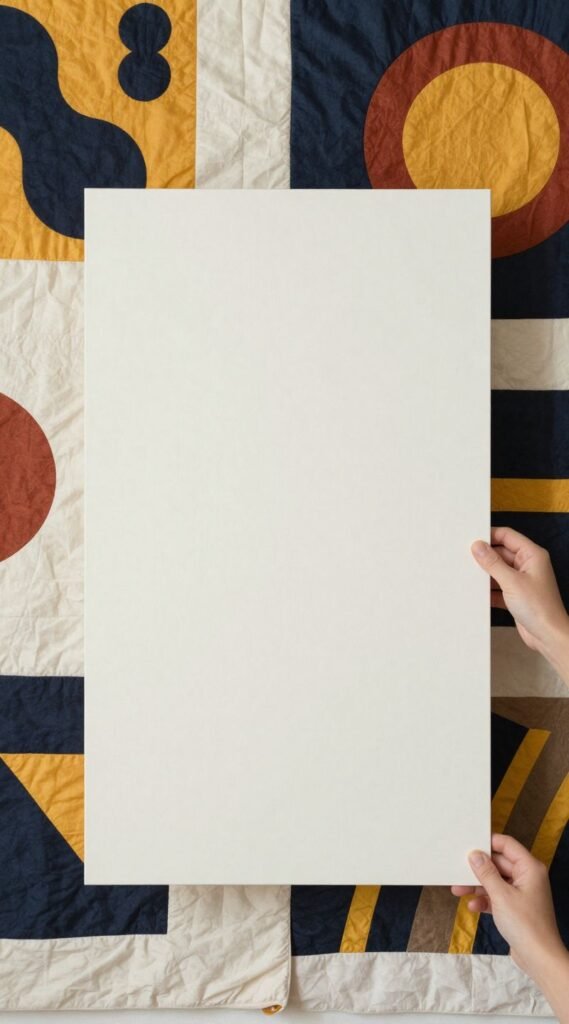
- Key moves: Offset the panel, surround with negative space.
- Benefits: Minimal cutting, modern aesthetic, quilting shines.
Pro tip: Quilt the background with big, bold motifs and keep the panel lightly quilted.
Why it works: Contrast in density draws the eye and feels chic.
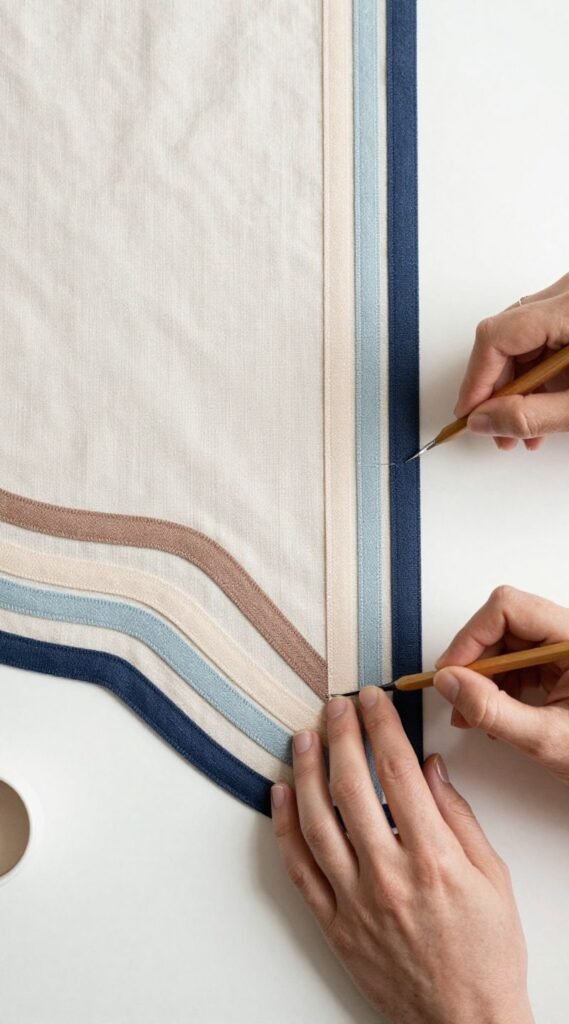
9. Stair-Step Framing
Use graduated borders that grow wider like steps out from the panel.
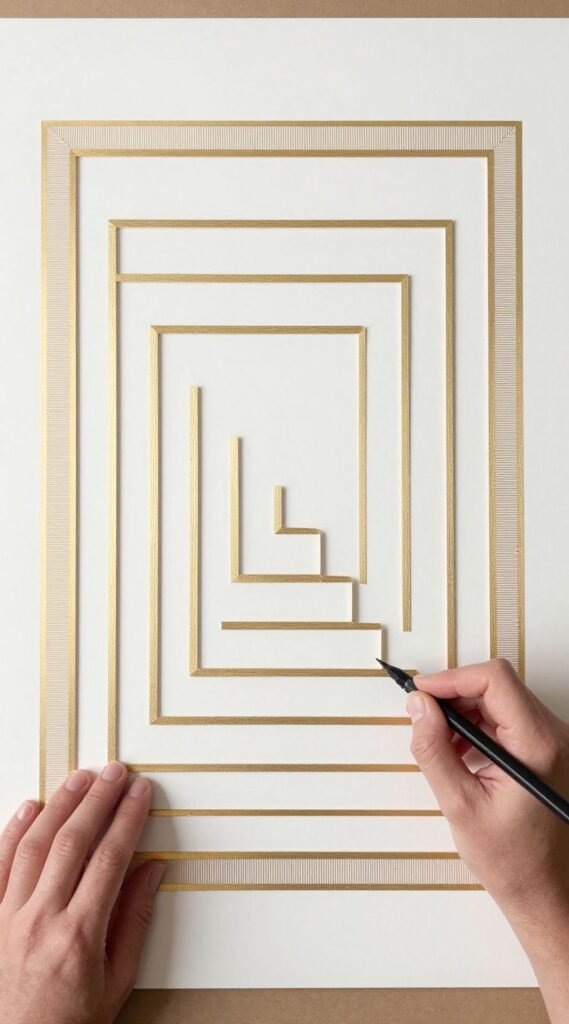
- Key moves: Add 1-inch, then 2-inch, then 3-inch borders.
- Benefits: Scales fast, balanced proportions, easy measuring.
Pro tip: Alternate print-solid-print to keep steps crisp.
Why it works: Visual rhythm reads intentional and polished.
10. Panel Plus Star Corners
Frame your panel with corner stars for a classic-meets-fun finish.
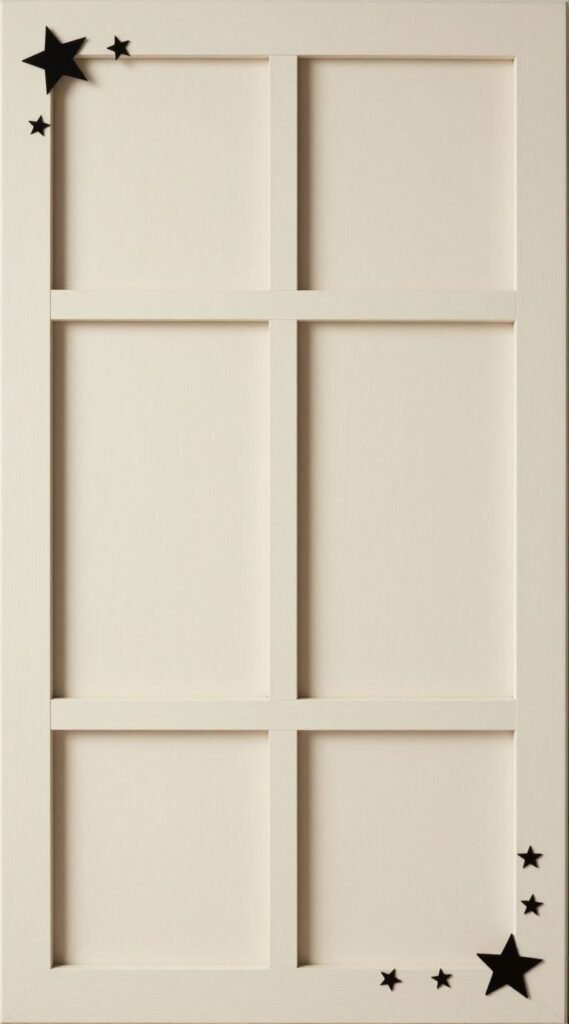
- Key moves: Add sashing, piece star blocks in the four corners.
- Benefits: Adds sparkle, uses charm squares, customizable size.
Pro tip: Fussy cut star centers with motifs pulled from the panel palette.
Why it works: Stars pull color outward and tie the whole top together.
11. Triptych Cut and Frame
Slice the panel into three equal sections and spread them with spacers.
- Key moves: Cut into three vertical panels, add narrow sashing between and around.
- Benefits: Adds width, hides print distortions, artsy display.
Pro tip: Keep spacer sashing 0.75–1.5 inches to maintain the original image flow.
Why it works: Triptychs feel high-end while staying quick to piece.
Conclusion
Your panel isn’t a puzzle piece—it’s the cover star. Pick a layout that flatters its colors, add borders with intention, and let quilting do the encore. With these free ideas, your fabric finally gets the spotlight it deserves without the drama.