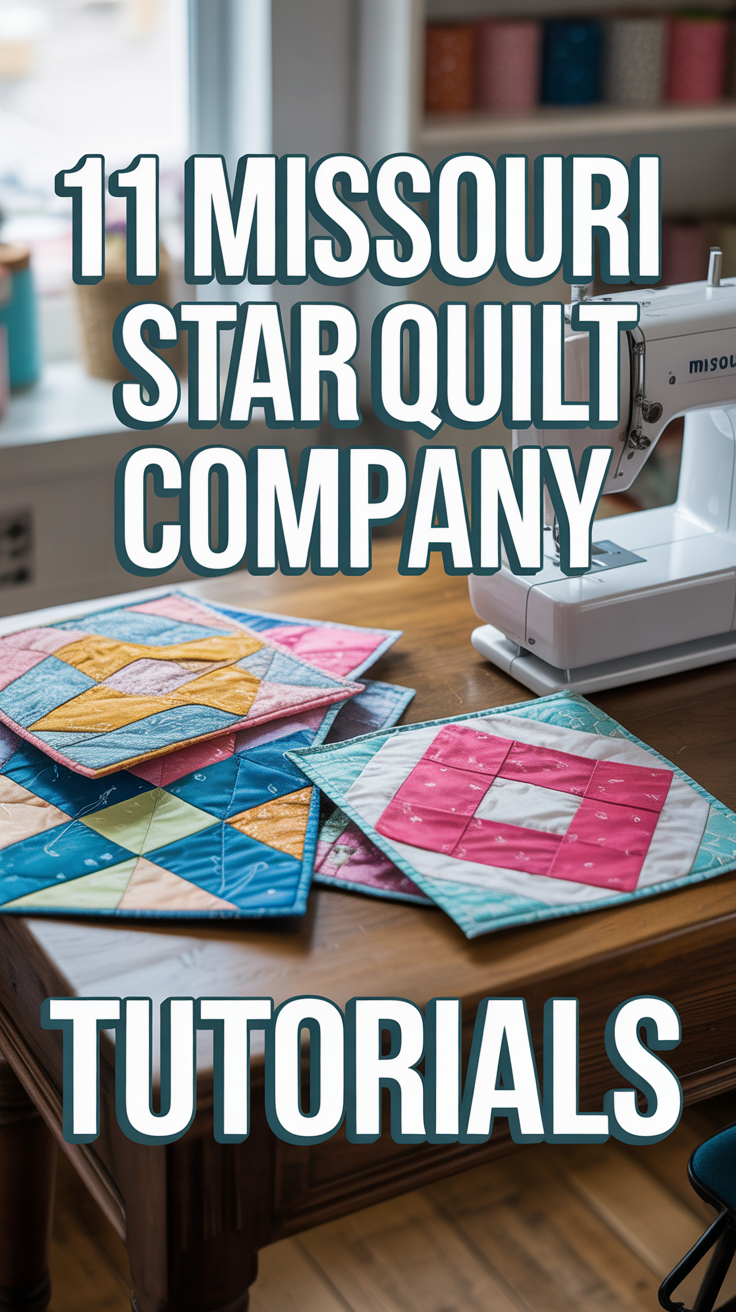
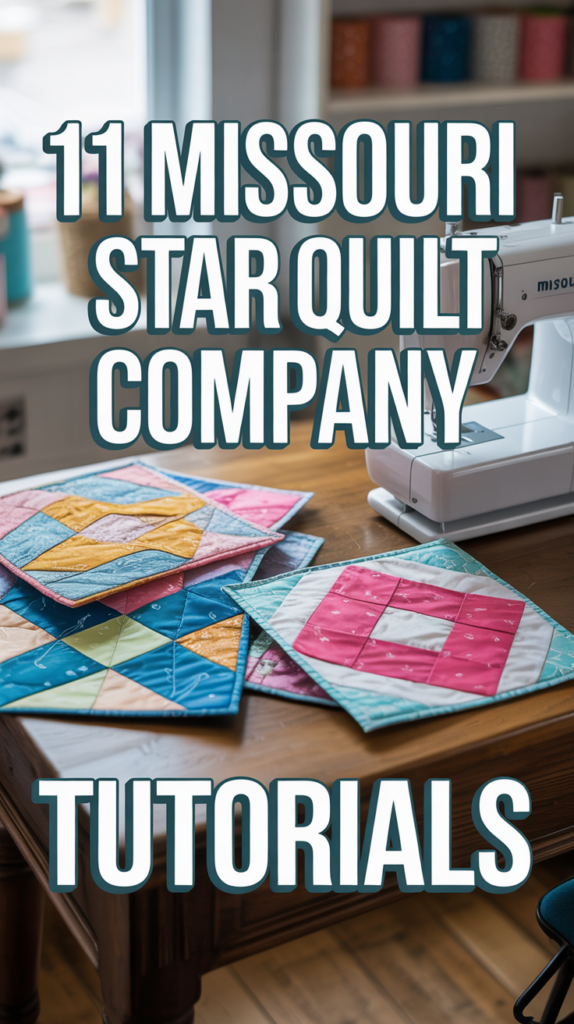
🧵 11 Missouri Star Quilt Company Tutorials
Alright, listen up, fellow fabric hoarders and aspiring stitch wizards. If you haven’t yet fallen down the glorious rabbit hole that is Missouri Star Quilt Company, are you even living? Seriously, Jenny Doan and her crew basically invented the concept of “quilting made easy, but still looks like you’re a genius.” Forget those stuffy, complicated patterns. We’re diving into the good stuff, the tutorials that make you think, “I can totally do that,” and then you actually do. It’s magic, I tell ya. Pure, unadulterated, fabric-fueled magic.
1. The Disappearing Nine Patch
This one is a classic for a reason, folks. You start with a simple nine patch block, all innocent and unassuming, then Jenny pulls out her rotary cutter and BAM! It transforms into something that looks way more complex than it actually is. It’s like a magic trick, but with fabric instead of rabbits.
Seriously, it’s the ultimate beginner-friendly illusion. You get to play with color and watch a basic block turn into a super intricate design with just a few clever cuts and rearrangements. Pro tip: use a really strong contrast between your fabrics to make those “disappearing” elements truly pop. You’ll fool everyone into thinking you spent days on it, when really, it was just an afternoon well-spent.
2. Jelly Roll Race Quilt
Need a quilt top done, like, yesterday? The Jelly Roll Race is your new best friend. This tutorial is basically the Formula 1 of quilting – fast, furious, and incredibly satisfying. You take a jelly roll, sew all the strips end-to-end, then do some clever folding and sewing, and suddenly, you have a quilt top.
It’s gloriously simple and perfect for when you need a quick gift or just want to feel productive without a massive time commitment. Pro tip: Chain piece those long seams to shave even more time off your race. Your sewing machine will get a workout, and you’ll have a finished top before your coffee even gets cold.
3. Half-Square Triangles HSTs Made Easy
Ah, the humble Half-Square Triangle. The building block of so many amazing quilts, yet often a source of mild dread for new quilters. Missouri Star literally demystifies the whole process, showing you how to crank out a bunch of perfectly sized HSTs without ever cutting a single tiny triangle.
This method is an absolute game-changer, opening up a world of patterns from pinwheels to stars without the usual fuss. Pro tip: Invest in a good HST trimming ruler; it makes squaring them up incredibly fast and accurate, ensuring all your points meet perfectly. You’ll be a master of the triangle in no time, trust us.
4. The Charm Pack Cherry Quilt
Got a stack of those adorable 5-inch charm squares just begging to be sewn? The Charm Pack Cherry tutorial is sweet, simple, and makes those pre-cuts shine. It’s a fantastic way to use up those curated fabric bundles without overthinking it.
This quilt comes together quickly, showcasing each charm square beautifully with a simple background fabric. Pro tip: Press your seams open when joining blocks to reduce bulk and help everything lay nice and flat. It’s a charming quilt that’s easy to love and even easier to make.
5. Layer Cake Lemonade Quilt
If you’re sitting on a pile of 10-inch layer cake squares, this tutorial is your refreshing dose of inspiration. It takes those larger pre-cuts and transforms them into a vibrant, dynamic quilt with minimal fuss. It’s like making lemonade, but way more satisfying.
You’ll learn how to slice and dice those layer cake squares into smaller units that fit together beautifully, maximizing the impact of your chosen fabric line. Pro tip: Starch your layer cake squares lightly before cutting; it helps prevent stretching and keeps your cuts super precise. Get ready for a burst of color and a seriously satisfying finish.
6. Sashing and Borders Basics
Let’s be real, sashing and borders are the unsung heroes of quilting. They frame your beautiful blocks and give your quilt that polished, “I know what I’m doing” look. This tutorial breaks down how to add those crucial elements without making you want to pull your hair out.
Learning to add sashing between blocks and perfectly measured borders around your quilt top makes all the difference. Pro tip: Always measure your quilt top in at least three places (middle and both ends) for both length and width, then average those measurements for your borders. This prevents wavy borders and makes your quilt lay flat and square.
7. Binding a Quilt The Easy Way
You’ve stitched, you’ve pieced, you’ve quilted – now don’t let the finish line trip you up! Jenny’s method for binding a quilt is legendary for a reason. It’s straightforward, produces beautiful mitered corners, and makes the final step of quilting feel less like a chore and more like a victory lap.
This tutorial covers everything from creating your binding strips to attaching them securely and beautifully, even tackling those tricky corners. Pro tip: Use a walking foot when sewing your binding onto the quilt; it helps feed all those layers evenly and prevents puckering. You’ll be binding like a pro in no time, giving your masterpiece the perfect frame.
8. Rag Quilt How-To
Want a quilt that’s cozy, forgiving, and looks like a cloud of soft texture? Enter the rag quilt. This tutorial is perfect for beginners because it actually encourages exposed seams and a wonderfully “imperfect” aesthetic. It’s basically the ultimate comfort project.
You’ll learn how to sew blocks together with exposed seam allowances, then clip those seams to create a soft, fluffy texture after washing. Pro tip: Use flannel or minky for the backing fabric to really amp up the snuggle factor. It’s a fantastic way to make a super warm and cuddly quilt that hides all your quilting “oopsies” with style.
9. Stack and Whack Quilts
Prepare for some serious fabric magic with the Stack and Whack method. This tutorial takes a large-scale print fabric, stacks multiple layers, and then, with a few clever cuts, transforms it into kaleidoscope-like blocks that are absolutely mesmerizing. It’s truly a “whack” of creativity.
You get to watch busy prints become stunning, intricate designs that look incredibly complex but are surprisingly easy to achieve. Pro tip: Fussy cut your initial squares carefully to ensure your repeating motifs align perfectly for the most dramatic “whack” effect. You’ll be creating art with fabric repeats like a seasoned illusionist.
10. The Tumbler Quilt Block
Tired of just squares and rectangles? The Tumbler block is here to shake things up, literally. This tutorial shows you how to use a tumbler ruler or template to cut easy-to-sew shapes that fit together perfectly, creating a dynamic, tumbling effect across your quilt.
It’s a fun departure from traditional block shapes, adding movement and interest to your projects. Pro tip: Press your seams in alternating directions when joining tumbler blocks; this allows them to nest perfectly and reduces bulk. Get ready to tumble into a whole new world of simple, striking designs.
11. Quilt As You Go Method
Wrestling a king-sized quilt through your domestic sewing machine is basically an Olympic sport. Thankfully, the Quilt As You Go method is here to save your sanity. This tutorial teaches you how to quilt individual blocks or sections, then join them together, making large projects totally manageable.
It’s the ultimate cheat code for tackling big quilts without needing a long arm or a chiropractic appointment. Pro tip: Use batting scraps for each block or section to minimize waste and make the process even more economical. You’ll be amazed at how easily you can finish large quilts on your home machine.
Conclusion
So there you have it, eleven glorious reasons why Missouri Star Quilt Company tutorials are basically the best thing since sliced bread and pre-cut fabric. You’re now armed with the knowledge to tackle anything from a lightning-fast jelly roll race to a mind-bending stack and whack. Jenny and her team make quilting accessible, fun, and honestly, a little bit addictive. Go forth, grab your fabric, and start creating something amazing. Your sewing machine is waiting.